Chalk Pastel California Missions for Fourth Grade


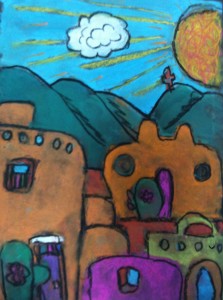
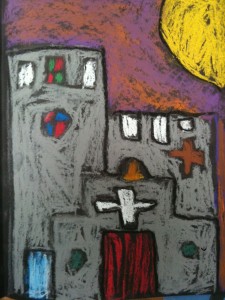
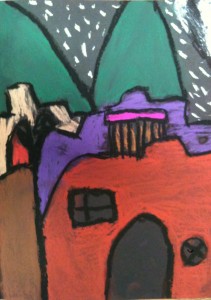
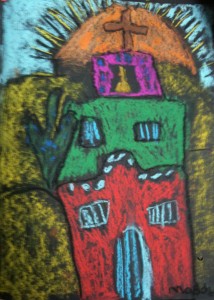
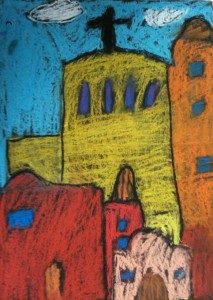
Fourth graders made chalk pastel drawings as a complement to their California history social studies unit.  Allow two 40-minute classes.


Thinking about a successful, fun art project for a 4th grade California Mission lesson? Try this  art project from Deep Space Sparkle, easily adapted for a California Mission project.

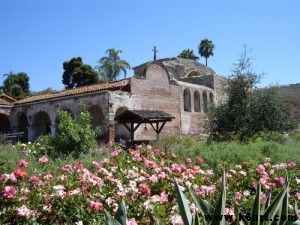
Mission San Juan Capistrano

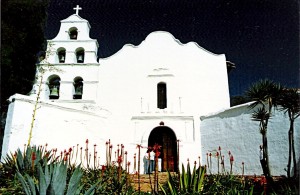
Mission San Diego de Acala, San Diego, California

Materials:

  • black, dark blue or purple construction paper
  • chalk pastels
  • black or dark blue oil pastel for outlining
  • hair spray (or other fixative) to keep completed artwork from smearing

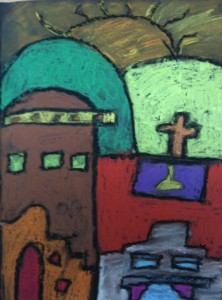
Examples of completed 4th grade student work:

Deep Space Sparkle has all the instructions and a downloadable drawing aid for adobe architecture.  You may want to print out this California mission coloring page to use as a Mission drawing aid.

This art project fit in beautifully for our school’s annual 4th grade California history field trip. This year: Rancho Buena Vista Adobe. In past years: Mission San Juan Capistrano.

Tips:

Don’t let students blow excess pastel color. During class, provide a piece of newspaper so they can tap off the excess.

After class, I washed down the tables with a bucket of plain water and a large sponge. Expect to change the water and rinse the sponge out after just a few tables – they get really dusty – but it is worth it for such a successful project.

The completed artwork will smear unless you spray it with a fixative (I use ordinary unscented Aqua Net hairspray from the drugstore). Please spray the artwork outside!


UPDATE: New Photo tour of Mission San Diego de Acala! Full color photos of Mission San Diego PLUS PHOTOS OF REAL SIGNAGE from the exhibits. A great resource for your classroom, Mission San Diego field trip or mission project. Just $5 each. Click here for Mission San Diego PowerPoint.  Click here for Mission San Diego Keynote.


Clay Sea Rocks

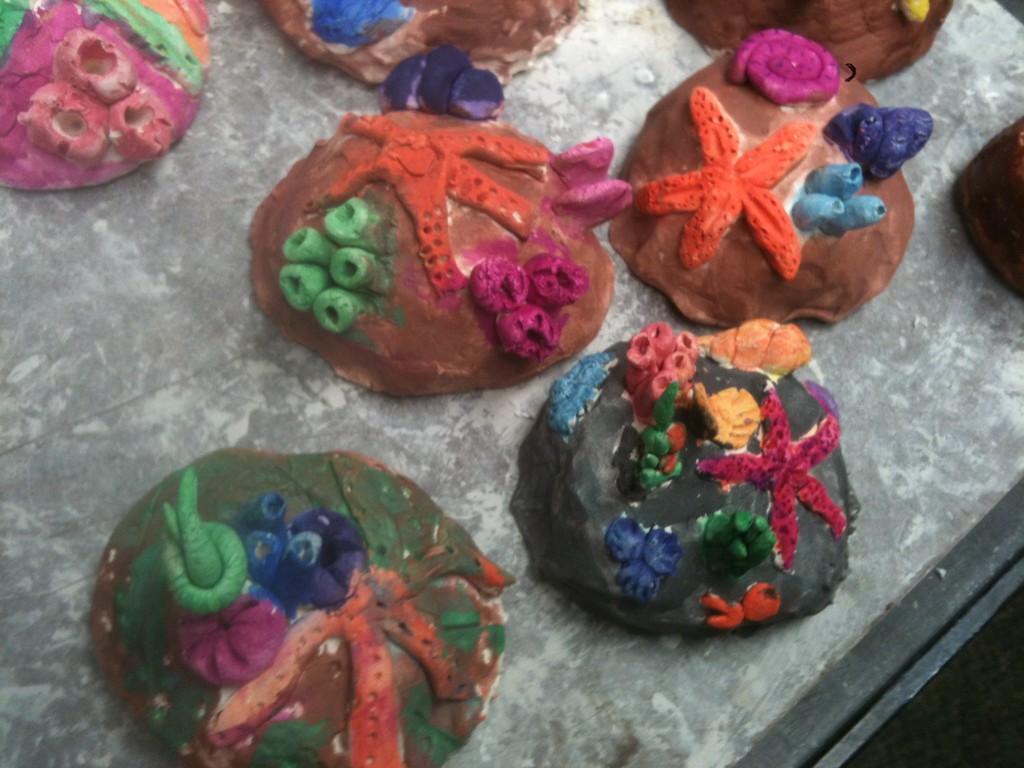
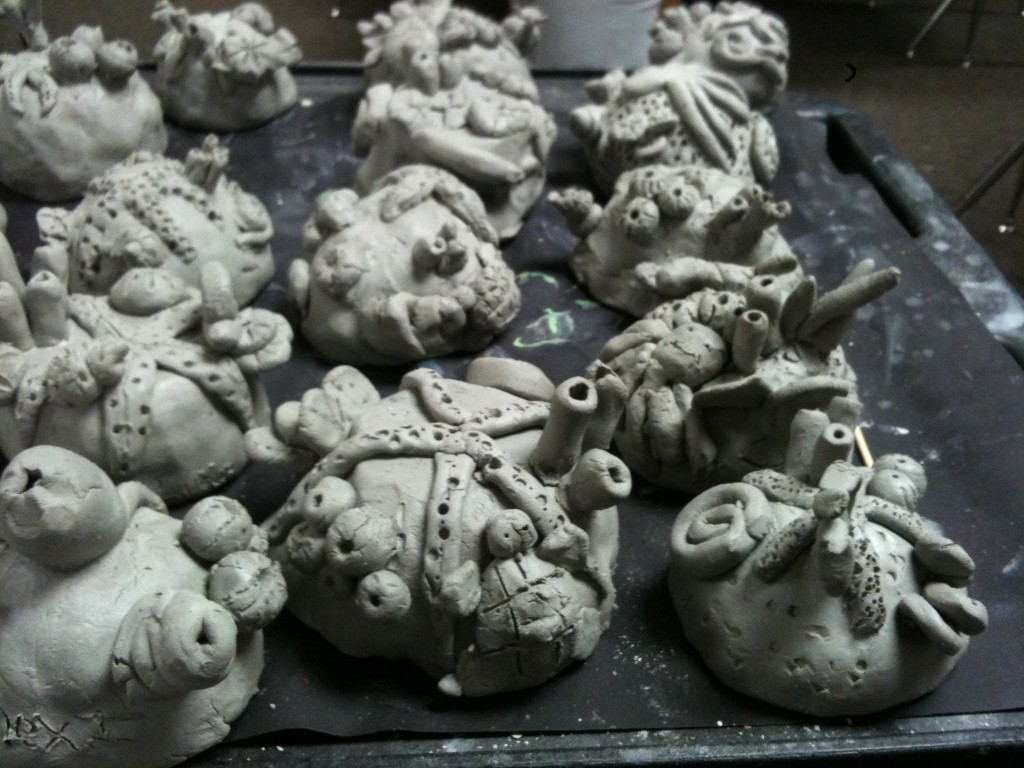
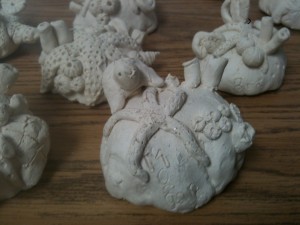
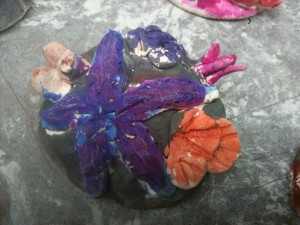
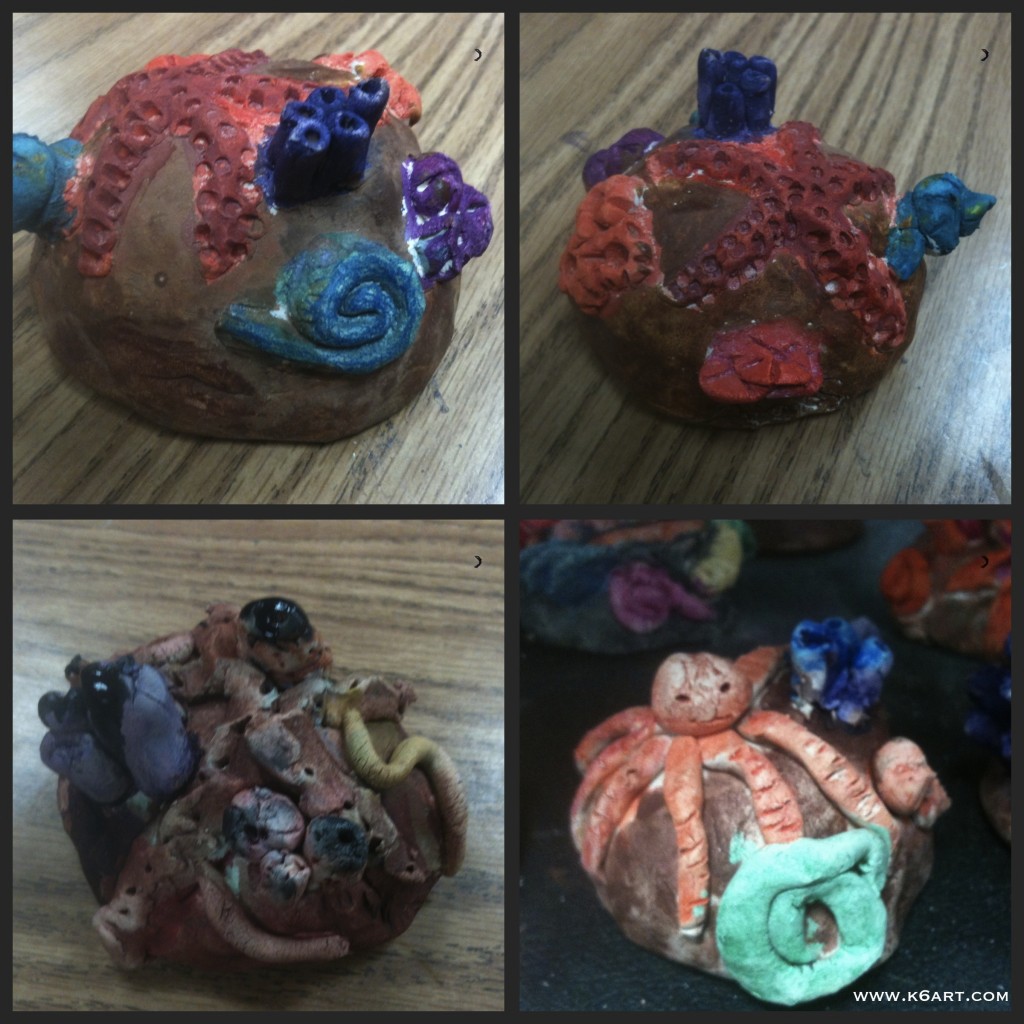
5th graders made clay 'sea rocks'. Allow three 40-minute sessions.

Want an ocean-themed clay project with high success? Super fun? Colorful? Only one firing? And……NO SLIP!

Try this sea rocks lesson plan!

Supplies:

  • clay
  • newspaper
  • white vinegar in small cups
  • Q-tips
  • toothpicks
  • pencils
  • Popsicle stick or other clay tools
  • gallon-size Ziploc storage bags (if more than one session is required)

Day 1:

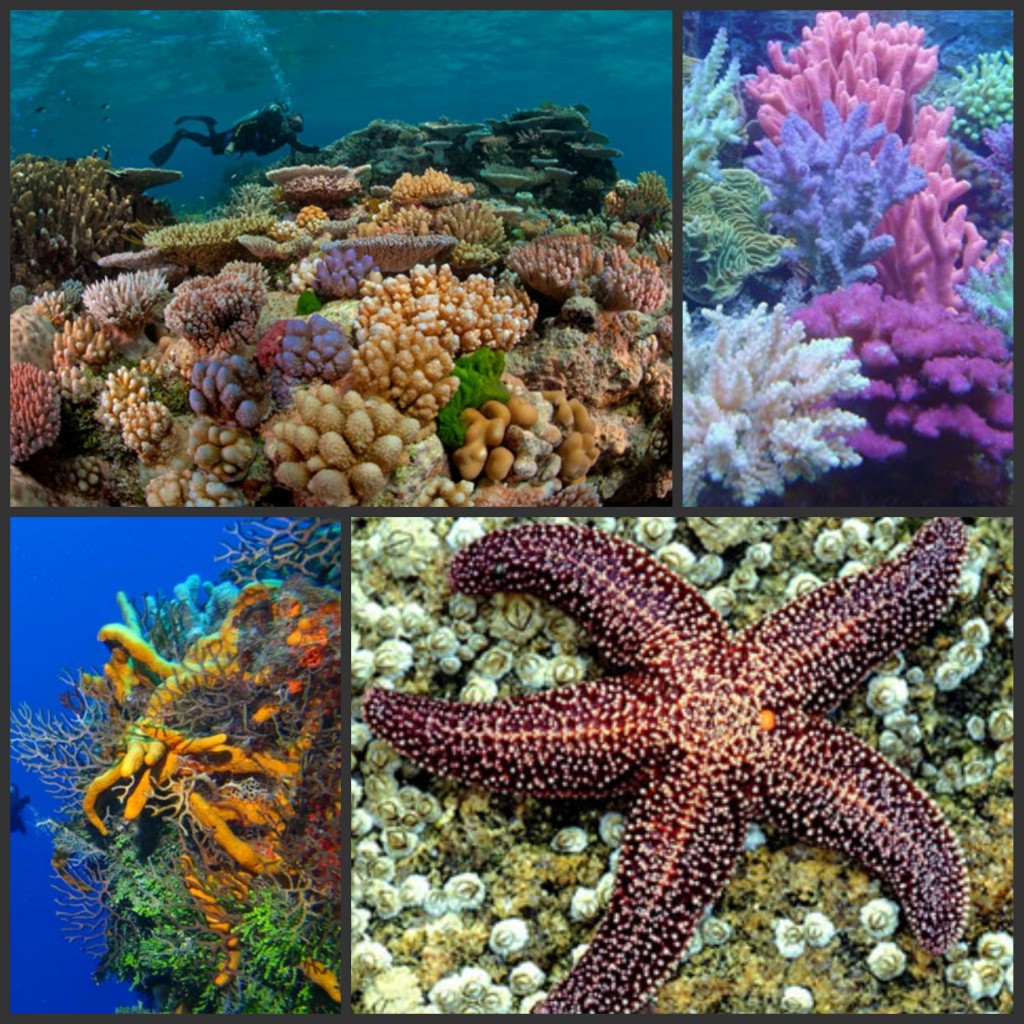
Look at photos of sea life that attaches to rock.

Coral reef.

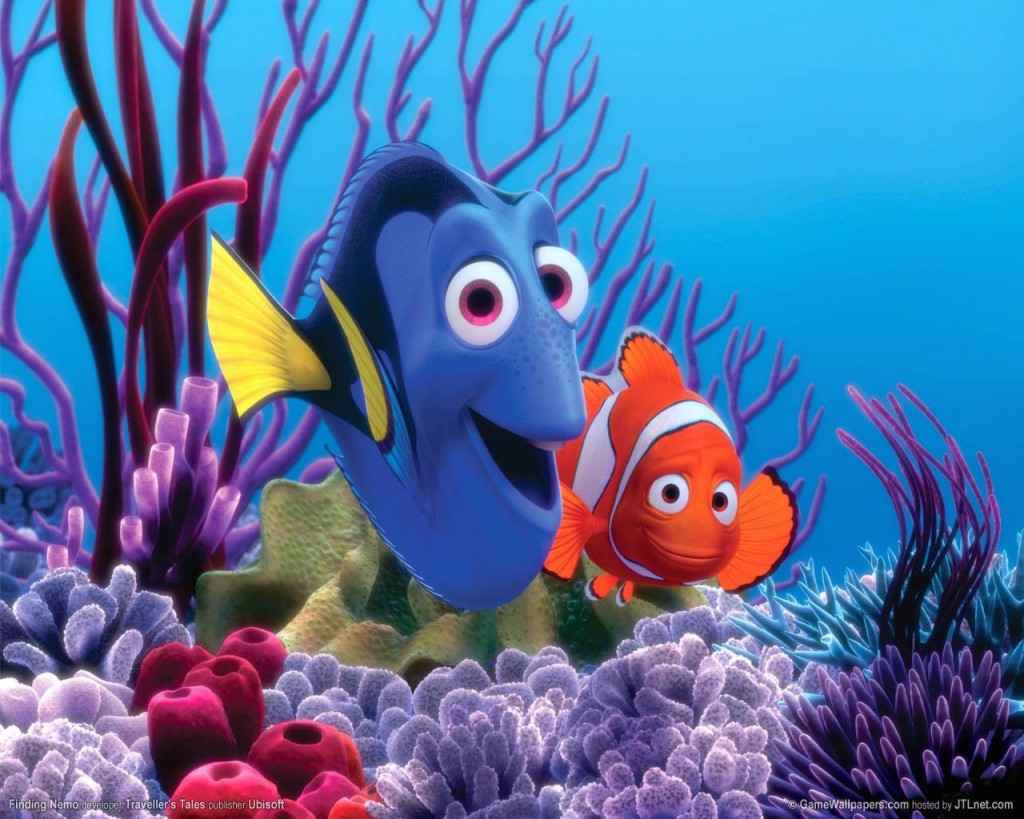
For another artist’s take on sea life, view images from Disney movie ‘Finding Nemo’. Look at the sea life on the ocean floor.

Inspiration: colorful sea floor from Disney movie 'Finding Nemo'

Download this clay sea rocks powerpoint from CAEA conference (we think this project was presented by clay educator Barry Bernam around 2005).

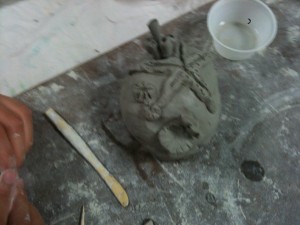
It all starts with a pinch pot. Stuff with crumpled newspaper for support and turn upside down. Apply starfish, urchins, coral etc. to top of rock using vinegar to attach.

Vinegar, clay tool, toothpick


If you don’t finish, wrap clay in damp paper towels and seal in Ziploc bag.

Day 2:

Finish adding sea life to rock.


I let them dry for 12 days, then fired on slow setting.

Although no slip was used to attach decorations, only one decoration came off during bisque firing.

Day 3:

We painted with pan watercolors and tiny brushes. Students had option of rinsing off excess paint (they called this ‘fading’). Also could draw on painted ‘rock’ with colored pencil.


I will add shine with a little spray gloss (I use Rust-Oleum Painter’s Touch Spray Gloss ).

A huge thank you to SDAEA’s Carol Catalano Webb, who brought back this lesson from California state conference AND made the YouTube movie. A huge thank you to the clay teacher who created the Powerpoint (we think it was Barry Bernam-please leave a comment if you know Barry!).

Seurat Pointillism Mural (and more!)

Seurat Pointillism Mural group project uses $8 downloadable PDF

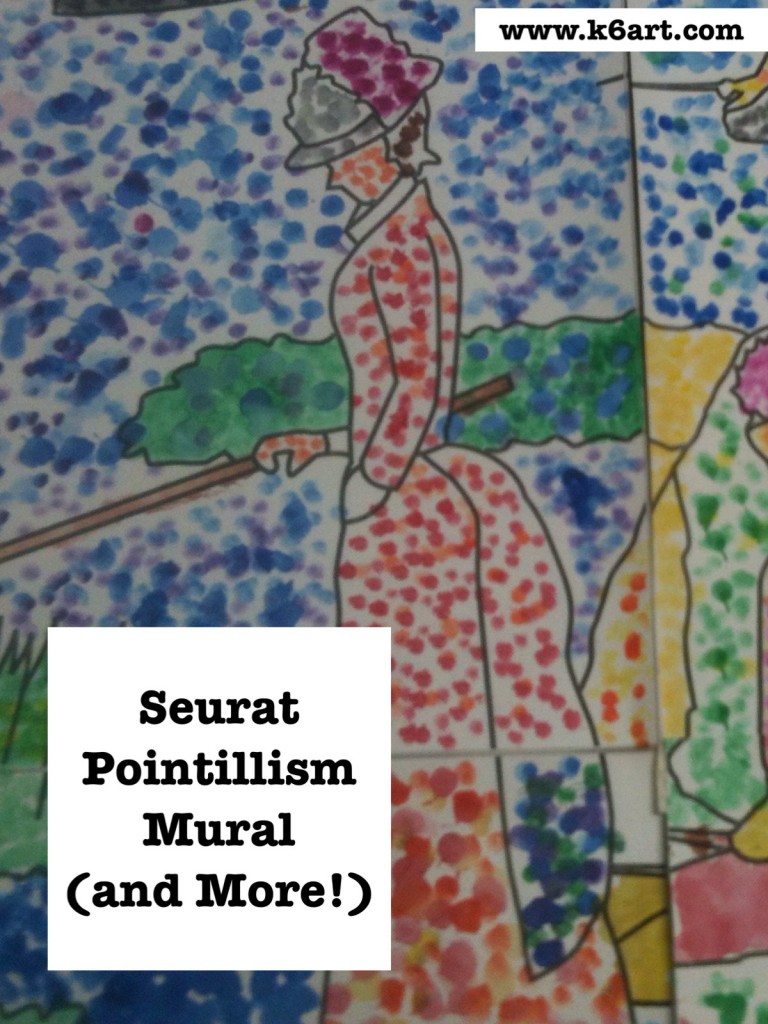
Need a group art project? 4th grade just completed a pointillism mural based on Seurat’s “Sunday Afternoon at the Island of La Grade Jatte”.

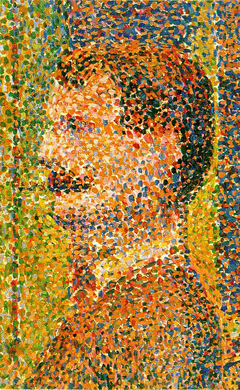
‘La Parade’ by George Seurat. 1889


Day 1:

Introduce pointillism. We discussed how Seurat made paintings in a whole new way: instead of blending colors, he placed different colors of dots side by side and let the viewer’s eye mix them.

Close up view:

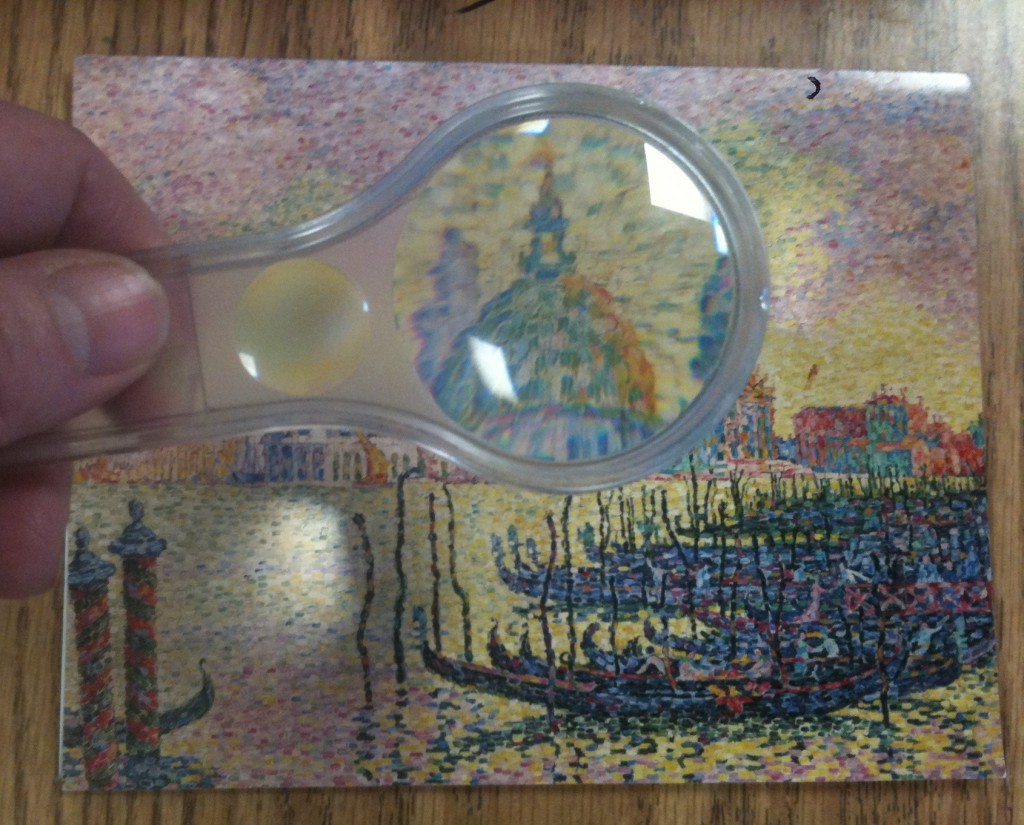
I passed out some greeting cards with pointillist art and let students examine them closely. They really need to see the art works up close to appreciate how many dots Seurat put in his paintings (tip: pass out magnifying glasses for a close up view).  I added some great close-ups to this Seurat Powerpoint  (sadly I am not sure who posted this Powerpoint).

Pointillist notecards + magnifier

UPDATE: Thanks to Google Art Project, you can view A Sunday on La Grade Jatte at incredible zoom level (flash required).
Google Art Project has a Seurat from MoMA in its online collection: you can view Seurat’s ‘Evening, Honfleur’ at incredible zoom level. Notice that Seurat used dots on the artwork and the picture frame!
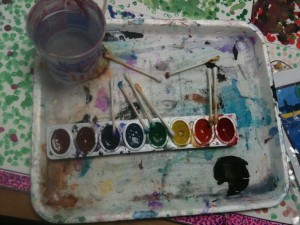
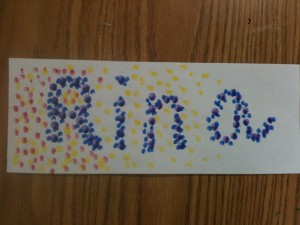
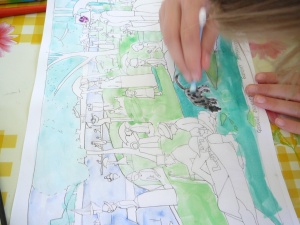
Individual warm-up project: make your name in dots on a 4.5″x12″ strip of paper. Color the background with dots as well. We used Q-tips and pan watercolors.

Make your name in dots as an introduction to pointillism.


Days 2-3:

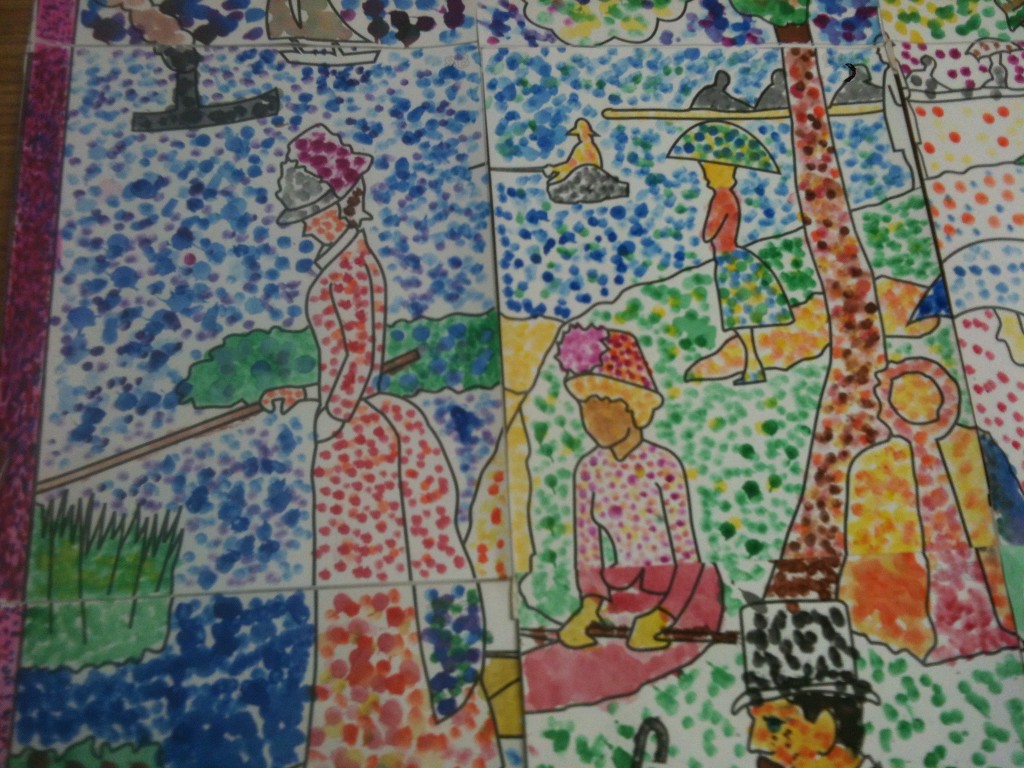
Group project. I purchased the downloadable pdf mural ‘Sunday in the Park’ from Art Projects for Kids ($8). The pdf contains a 28-piece mural (perfect size for a 4th grade class!) which you print onto cardstock. Each student ‘dotted’ their respective part of the mural, using the coloring guide included in the download.


Seurat’s famous ” (aka ‘Sunday in the Park’). Seurat’s masterpiece contains over 3 million dots and took over 2 years to complete.

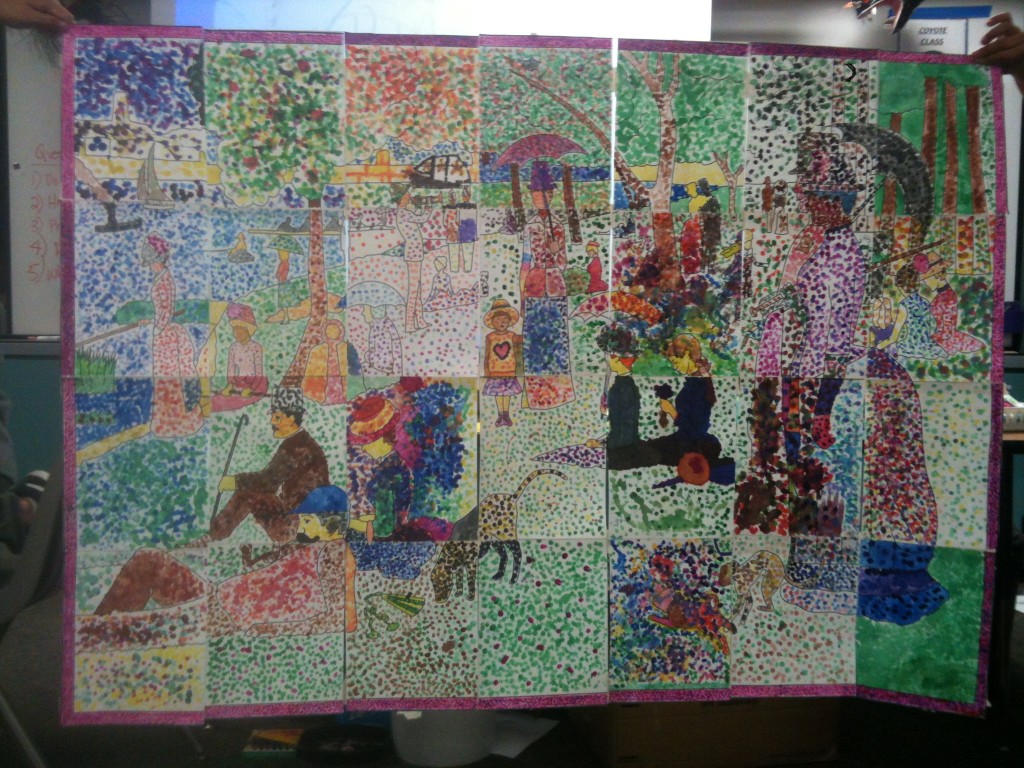
28 individual pointillist artworks come together to form Seurat mural.

The assembled mural is 55 inches x 40 inches.

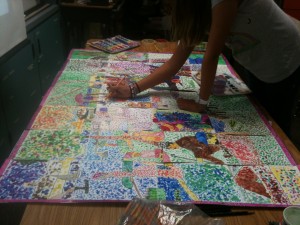
We carefully assembled the mural by attaching long strips of masking tape on the seams (note: get a helper for assembly!). Bonus: it folds up like a map! Easy to store until the art show.

The completed mural.

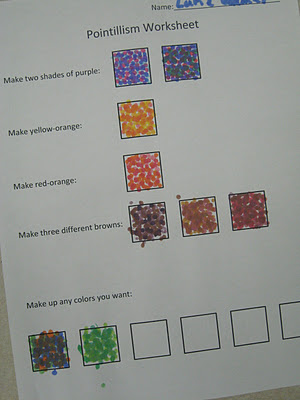
The kids really enjoyed this project.  I did notice there was a lot of variety in the assembled mural – some students made a near-solid dot pattern with almost no white paper showing.  Others had sparsely dotted areas. Next year I will use this pointillism practice worksheet from Miss Young’s Art Room blog.

Pointillism worksheet from Miss Young’s Art Room blog.

Options:

Individual coloring sheet for ‘Sunday in the Park’. From Practical Pages blog.

Want an individual project based on ‘Sunday in the Park’? There is a great post including download on the Practical Pages blog.

Try out different materials for pointillism:

  • Q-Tip + tempera
  • Marker
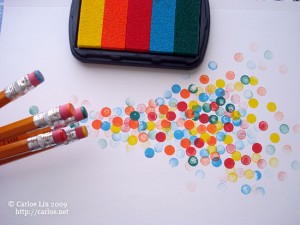
  • Unused eraser tip from a standard pencil + pan watercolor
  • Unused eraser tip from a standard pencil + stamp pad

Stamp pad + eraser tip


How do you teach pointillism to your students? Leave a comment!

UPDATE 10/17/13:

NEW!!! Pointillism art project – make pointillist FOOD using watercolors, q-tips and markers! AWESOME pointillism video! Click here.
seurat pointillist food: Q-tips, pan watercolor and markers. Very successful!
*****Thanks for visiting! Don’t forget to please vote for 2012 Art Ed Blog of the Year, which you can do by clicking this link and voting for K-6 Art! Voting open through December 14, 2012.******


Kindergarten Wheels Drawing

The kindergarten made their wheel drawings today.

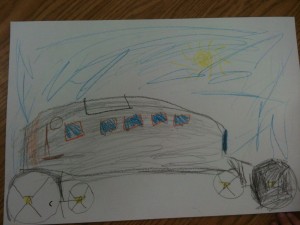
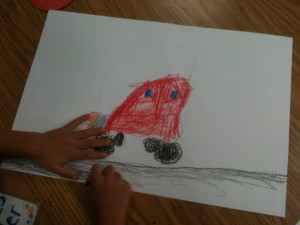
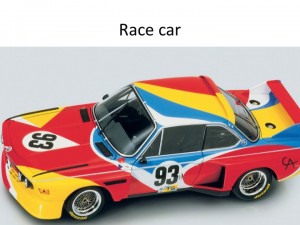
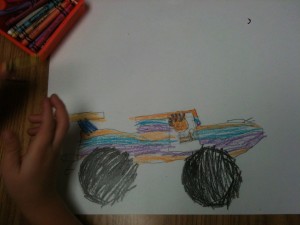
Kindergarteners use circle templates as a starting point for drawing wheeled vehicles.


This is one of those lesson plans that is perfect for a single 40-minute kindergarten class.  It takes no prep or clean up. Kindergarteners love cars and trucks. The use of circle tracers (various sizes of jar lids) for the wheels makes this lesson highly successful.

Materials:

  • white drawing paper
  • pencils and erasers
  • circle tracers: assorted jar lids, old masking tape rolls, etc.
  • crayons
  • reference photos of things with wheels (cars, trucks, wagons, bikes, etc.)


Instructions:

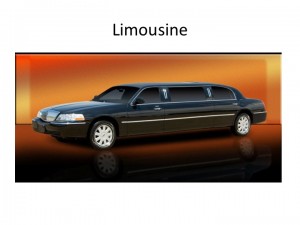
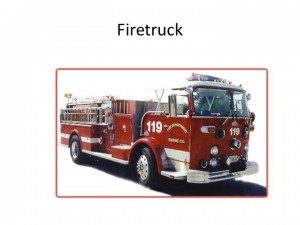
  • Show pictures of things with wheels.  Discuss how wheels are circles.  Look for other shapes (squares, rectangles) in the pictures.

Pass out paper, pencils, erasers and various sizes of circle tracers.  Ask students to draw something with wheels.  Remind them to add a background or road. After 10-15 minutes, pass out crayons and allow students to color in their designs.


Kindergarteners often draw themselves and family members in the vehicles.


You may see drawings of all kinds of imaginary wheeled vehicles. Great!

I have a computer and projector in my art room and try to teach with powerpoints.  You can download my kindergarten wheels powerpoint here.

This would also be a great substitute lesson plan.

The kindergarten wheels lesson was inspired by this fabulous lesson on trucks and tractors at Deep Space Sparkle.

Foil Name Art Relief with Patina

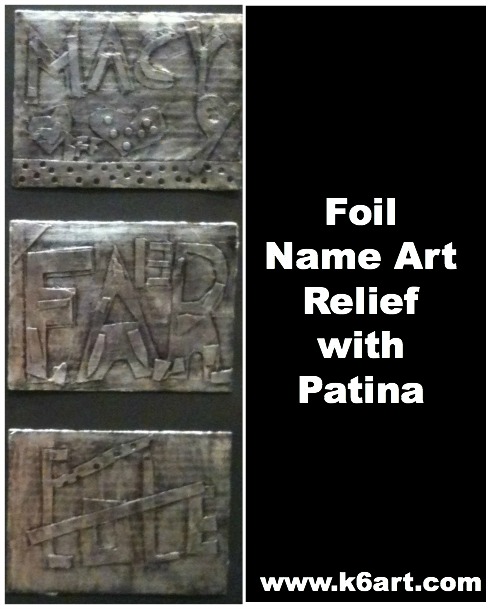
foil name art relief with patinaName art: what a great idea for the first art project of the school year. The sixth grade recently finished their foil name art reliefs. You can download my foil relief Powerpoint here.

Materials:

  • sturdy cardboard for background
  • foil (I used pre-cut foil Pop-up Sheets and cut my background cardboard a bit smaller than the foil)
  • light cardboard or tagboard  in two colors (I used red and gold)
  • pencils and erasers
  • scissors
  • hole punch
  • glue stick
  • spray glue
  • permanent black marker (I use Marks-A-Lot Large Chisel Tip Permanent Marker)
  • fine steel wool

Days 1-2: Design a two-color relief

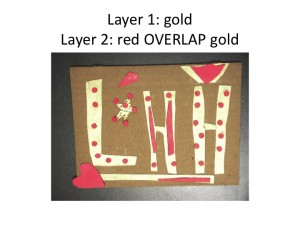
We started by layering two colors of light cardboard to create a name art collage. Students could use their name, initials, or nickname. Students used hole punches to add interest to their designs.

It really helps to work with two colors of light cardboard when creating the relief.

Day 3: Cover relief with foil and black marker, buff with steel wool

I had students bring their reliefs outside. I sprayed the cardboard with spray glue, then slapped on a sheet of pre-cut foil. Alternately, you could glue foil to a whole stack of reliefs during your prep time. Or you could let kids cover the relief with glue stick and lay on the foil themselves.

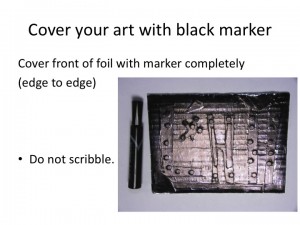
Next, we covered the foil completely with black permanent marker.

Students covered the foil with permanent black marker.

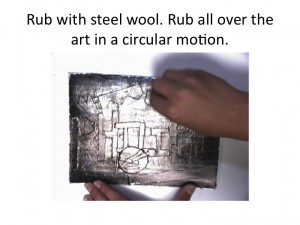
Finally we rubbed off the marker with steel wool to create an attractive patina.

Use fine steel wool.


All the students loved this project!  They felt the resulting patina looked like old metal.

Sixth grade examples:

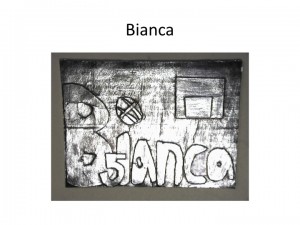
Biana added a basketball, hoop, and her jersey number to her name art relief.

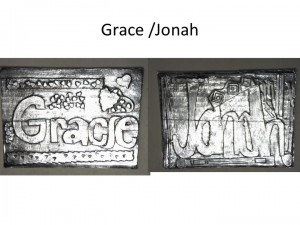
Grace used a heart shape hole punch to add interest to her design. Jonah added layered geometric shapes.

Extensions:

After their reliefs were complete, students did crayon rubbings of their name art. Some did rubbings of their friends’ art on large tag board and used it to create their portfolios.

Want more name art ideas? Check out my other name art posts:

Enjoy!

Do you have a favorite name art project for the beginning of the year?

 NOTE: Post update 1/3/14

This post contains affiliate links.


Related Posts Plugin for WordPress, Blogger...