I tried out Scratch, the free kid-friendly coding website from MIT. The website has great step by step directions for creating animated name art using drag and drop commands. It took me a little while to get the hang of it, but soon I was able to get my letters to make sounds, change colors, bounce and rotate. Scratch provides ready-made letters, or you can draw your own. You can also upload your own files for the background or for individual letters.
Here’s my attempt. For letter ‘I’, I found an image of the Chrysler Building and erased the background. (Please note – this animation requires Flash and cannot be viewed on iPads).
I liked Scratch a lot. There are tons of student-made name art examples to inspire you. Scratch lets you look at the code (‘script’) inside everyone’s creations. You can even remix other folk’s creations.
Scratch requires Flash – unfortunately you can’t use it with iPads.
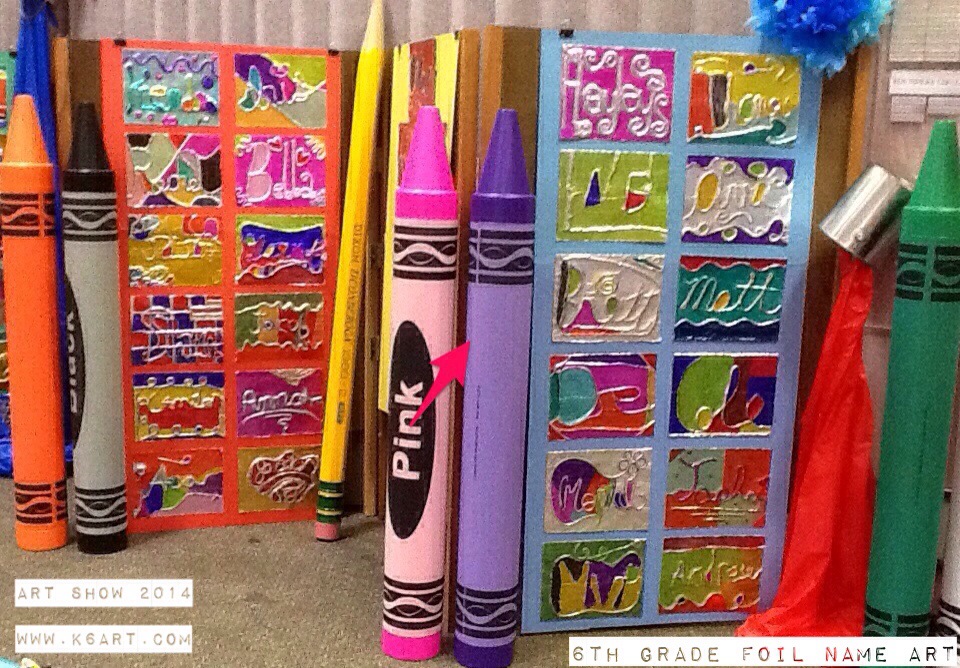
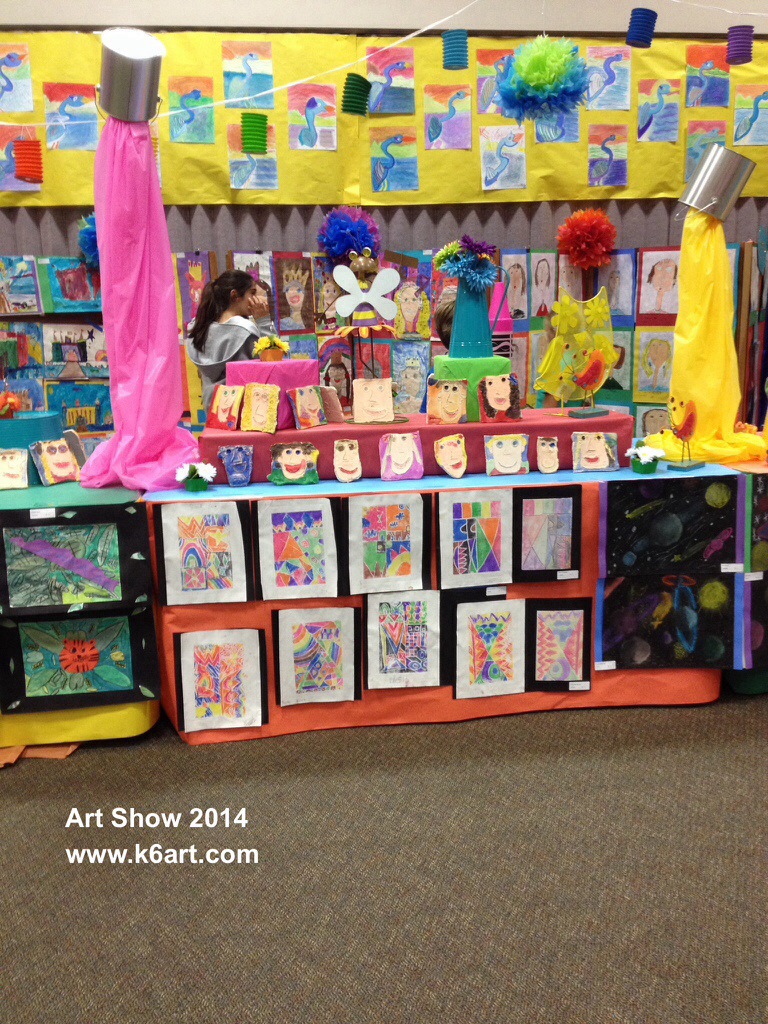
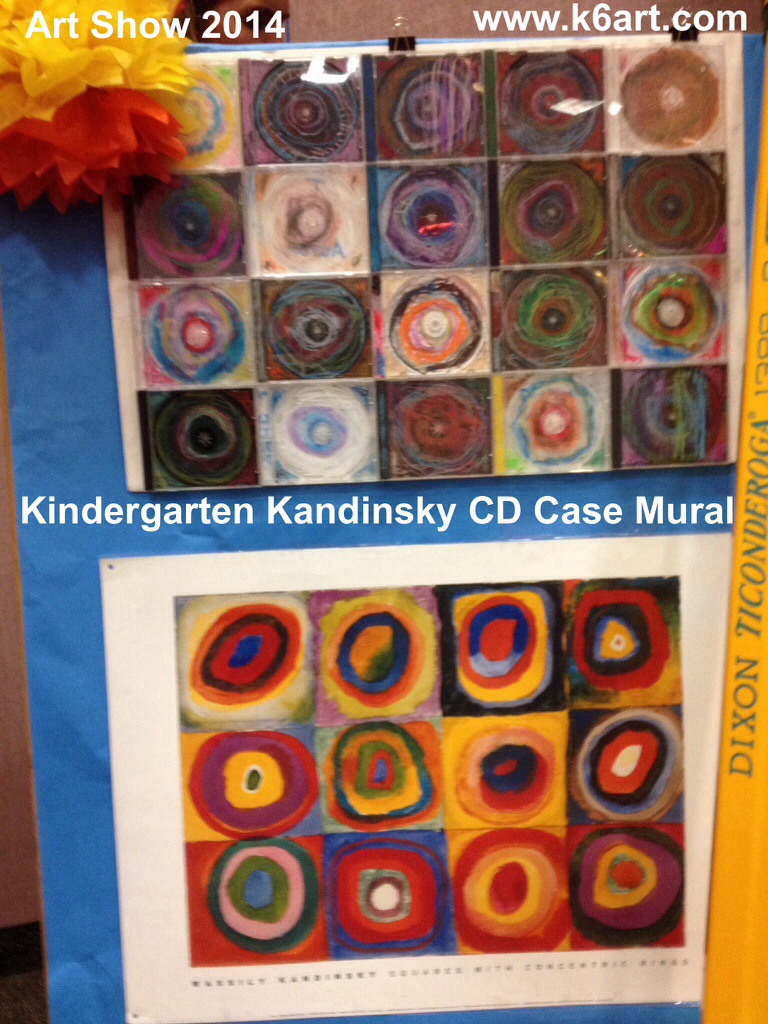
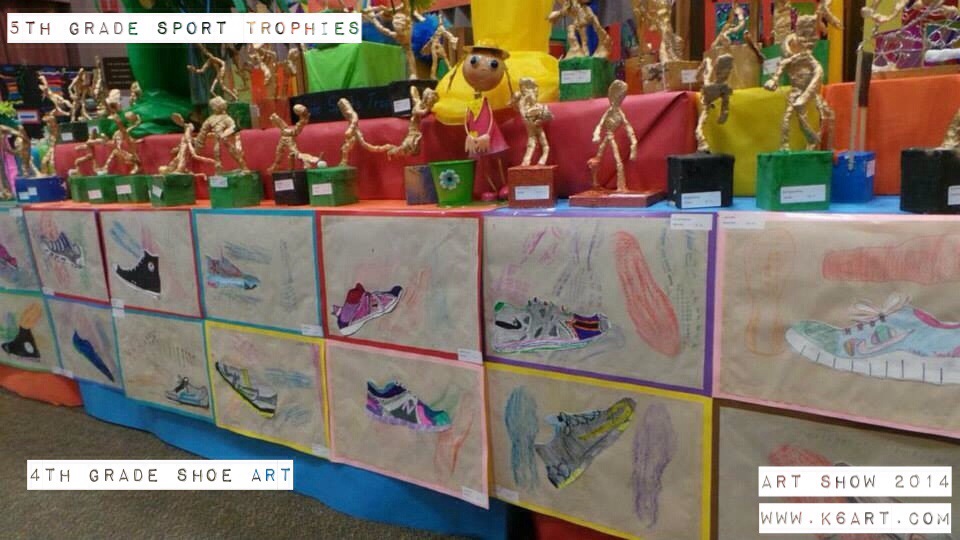
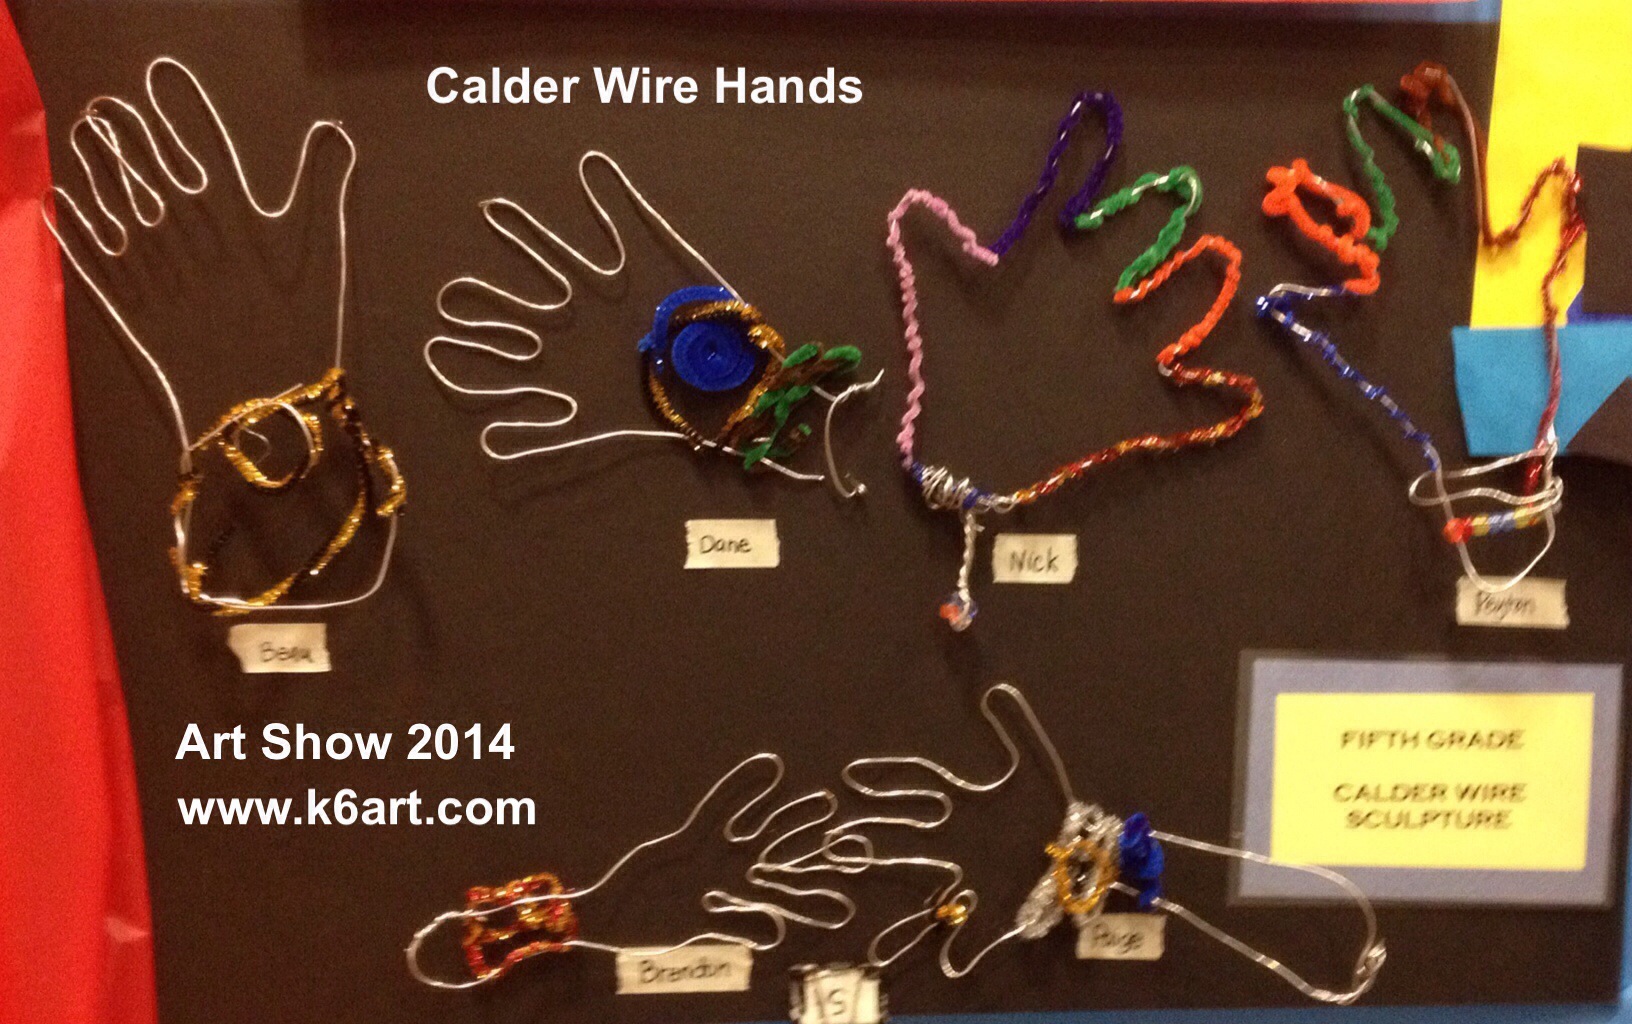
Here are some more photos from Art Show 2014. Thanks again to Devan, our art show chair (and party planning/layout genius) and all the AMAZING art show and art room volunteers who put this show together.
Our volunteers are the best! Our school is blessed to have the help of parents year-round in the art room. We had some amazing, hard-working parents who hung this show in just three days.
It was our last show with Devan as chair. We will really miss her vision and energy. How fortunate we are to have had her help these past four shows.
Sharpies or other permanent marker, black and colored
spray glue
small squares of felt
q-tips
pencil/erasers
Students began by writing their names in pencil on cardboard. They traced their names in glue, then yarn.
Students write their names in glue and yarn.
Next they added decorative glue/yarn lines. I sprayed the plates with spray glue and slapped on a piece of pre-cut foil.
Students carefully polished the foil with felt squares. This helps the foil adhere to the cardboard and smooths the foil. A q-tip is good for polishing tight areas. Finally, they got to the best part: coloring in with jewel-tone colored Sharpies. Black sharpie looks good too! Remind students to avoid coloring the raised yarn lines.
scissors (blunt tip kindergarten scissors are fine)
optional embellishments: pre-cut 18″ Stem Wire (I use 20- and 26-gauge), colored wire (such as Twisteez), Pony Beads, sequins
Pre-cut floral wire (AKA stem wire) and sculpture wire
Session one:
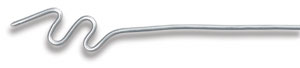
To practice, give each child a piece of paper, marker and an 18 inch piece of wire. Kids should write their first initial on the paper. They may print or use cursive. They they trace their written letter in wire.
100% of 10- and 11-year-old students could do this by the end of the first 40 minute session.
Session two:
Give each child a piece of paper, marker and a 6 ft. length of sculpture wire. They should write out their first name in marker this time. They may print or use cursive, then trace their name in wire.
Write out name on paper, trace with sculpture wire (teacher example).
Did you notice? I added a single pony bead to dot each lower case ‘i’ and ‘j’.
There should be a lot of excess wire at the end of the wire name. Students should loop the excess wire back, and attach to the beginning of the name with a quick twist. Voila! Name art with hanger!
Approximately 85% of 10 and 11 year olds were able to make their names in wire. I would recommend struggling students create a larger, single initial.
Session three (optional):
Want to take it further? Offer pony beads, sequins, and super-fine wire (I use pre-cut 18 inch 26-gauge stem wire).
Students can string the hanger wire with pony beads. They can clip the excess wire with (kindergarten!!) scissors. They can thread a bead or sequin onto 26-gauge wire and tie a knot around it.
Some students created small sculptures to embellish their name art.
Robby suspended his name from his sculpture.
Milan made a tiny mouse.
Riley perched a peacock on her name art.
How nice these will look on the students’ walls at home!
This would be a nice tie in to an Alexander Calder project. Check out my other Calder wire projects: wire sculpture and wire portraits.
Disclosure: I am an affiliate of Amazon and Blick Art Materials. I have been using Blick’s 14 gauge sculpture wire for 9 years and I love it!
Fourth graders use markers to make landscape name art. Allow two 40-minute sessions.
Looking for quick, fun name art project? Here is the colorful project that gives 100% success and lets you get to know your students.
Students made a simple landscapes using curved lines. Each section was filled with a single repeated word. One section had to filled with the student’s name; the other sections had to be filled with single repeated words that described the student in some way. Students incorporated their pets, favorite subjects (yay art!), sports, activities, family members and favorite foods.