Gyotaku means ‘fish rubbing’ and is a printmaking technique traditionally used by Japanese fishermen to record their catches. It was the perfect project for my Japan-themed art camp.
We began by watching this brief video of Hawaiian gyotaku artist/fisherman Naoki.
The campers were really excited to start!
Materials:
- rubber Gyotaku Fish Printing Replicas (or fresh real whole fish).
- black tempera cake, water and stiff brush
- copy paper
- paper towels
- chalk pastels
- watercolors
(note: this post contains compensated affiliate links. Which means if you buy the rubber fish, I get a small commission. The rubber fish rock, BTW. They last forever, and you can share them with other teachers).
Instructions
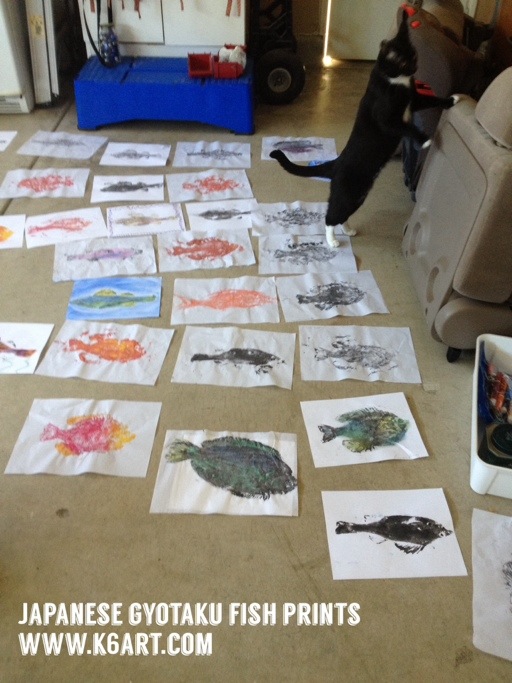
We tried printing with thin Japanese paper and with copy paper. The thin paper wrinkled and copy paper stayed smooth. We also tried printing with liquid orange tempera.
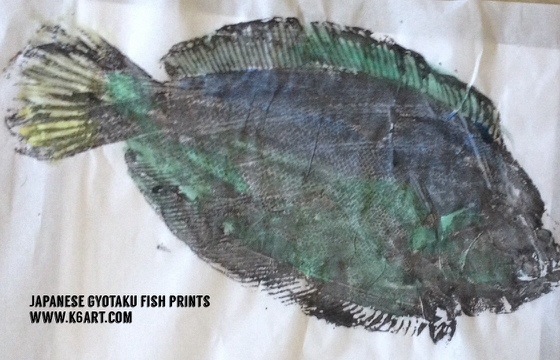
Paint the fish with black tempera cake. Cover fish with copy paper and rub (don’t wiggle the paper!). Pull the print.
If the fine details (such as scales) don’t show, try Naoiki’s method: re-coat the fish and then pounce with a balled up paper towel to remove some paint. Cover with copy paper and take another print. Let dry.
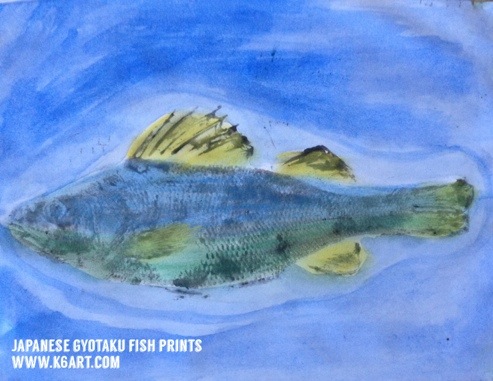
Color the print with chalk pastels
In the video, Naoki hand-colors his gyotaku prints with watercolors. We used chalk pastels to add color to our fish. Campers blended the pastels with their hands or with tissues.
I love how they turned out!
Campers also had the option of painting or decorating the negative spaces with watercolor. I really think they did a nice job.
The project was inspired by this post at the Fine Lines blog.
Enjoy!

This project was taught in my Japan-themed art + cooking camp. Each day we made an art project and a cooking project.
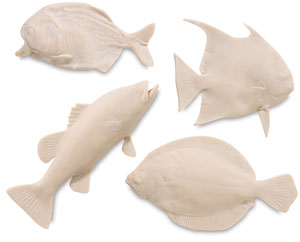
Gyotaku Fish Printing Replicas
from: Blick Art Materials