Vintage Encyclopedias: a dusty relic that belongs in your art room!

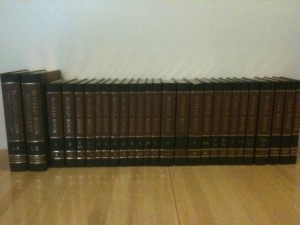
Old school 1979 World Book encyclopedia

Back in the (pre-internet) day…

Parents bought their school-age children an encyclopedia to help with home work/book reports  etc. They were a bit pricey, and for some it was a real luxury to have a set on the shelf at home.

My parents bought the 1975 World Book encyclopedia for me and my siblings. In 1975. When we were kids.

They are now essentially worthless. Old sets are donated to thrift shops and libraries all the time.

But you should have a set in the art room!

You see, some things never change.  Cats look like cats, the same as they did in 1975. Open the World Book Volume C and you will see tons of breeds of cats on a single page. Kids love this!

Take that volume back to your seat, kid. Draw the Abyssinian cat.

What does a lighthouse look like? Go get Volume L.  A skeleton? Volume S.  You get the picture.

Sure, I could look them up on the Google images. But I have only one computer, and I have a whole set of World Books.

If you run across a complete set at a thrift shop or garage sale, grab it! Or better yet, let your colleagues/friends/neighbors know you would like a vintage set. Someone in your town is surely cleaning out the attic this weekend.

5th Grade Plaster Masks Update

The 5th grade is just about finished with the annual mask project.  I wrote about it earlier in this post.

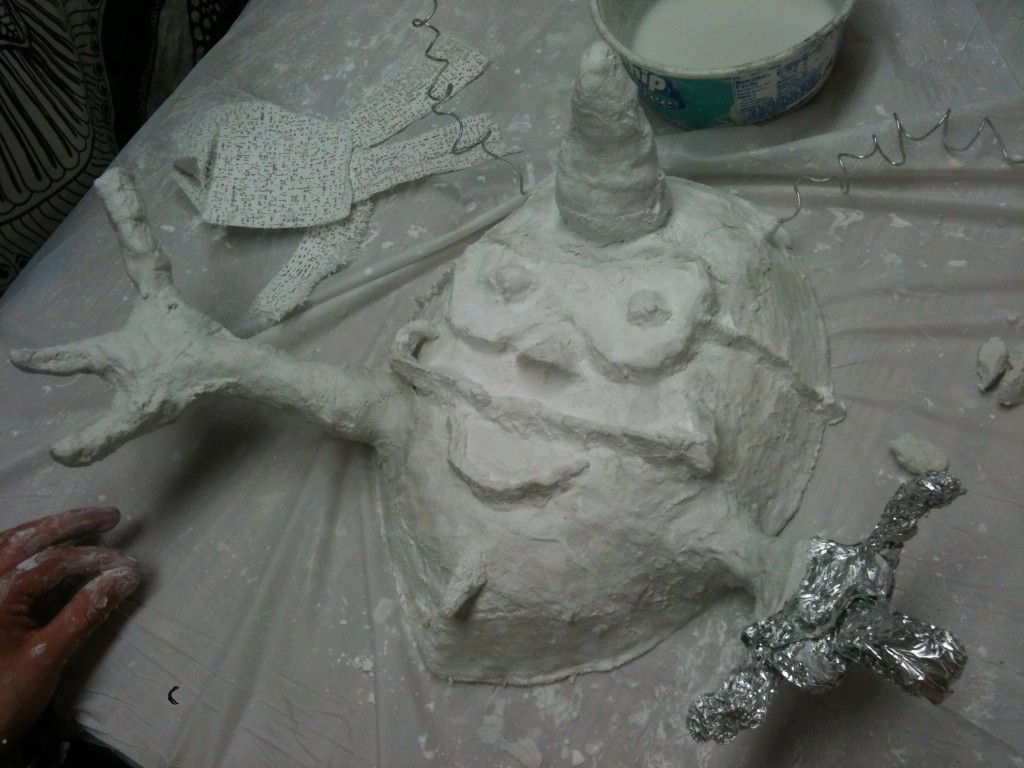
Some students used sculpted foil under the plaster.  Wow! The effect is fabulous and rock hard.

This mask uses foil as an armature. Student also added wire antennae.

After completing the sculpture, we sealed the masks with matte medium and painted them with tempera.

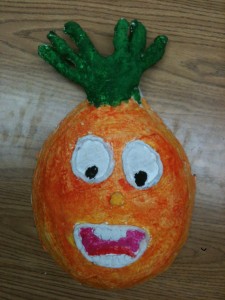
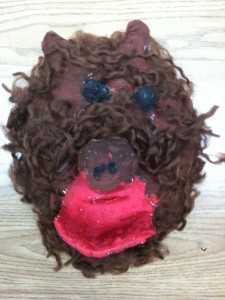
Here are some more 5th grade masks:

Pineapple 'hair' made of sculpted foil covered in plaster wrap.


Student separated strands of roving yarn to make fur.


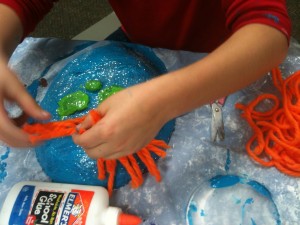
Elmer's Glue works great for adding yarn hair.


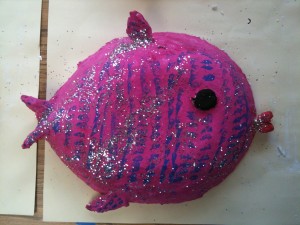
Glitter looks great on this fish.


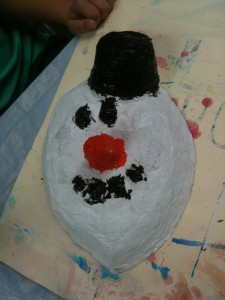
Snowman's hat is made from a yogurt cup.

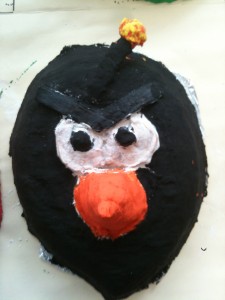
Angry birds are popular this year. Beak and antenna made of foil and plaster wrap.


Can’t wait till all 75 are up on the wall….

Update: Do you love plaster sculpture? New project now online! Click here and here for our plaster sport trophy posts.

Wacky Wax Sculpture

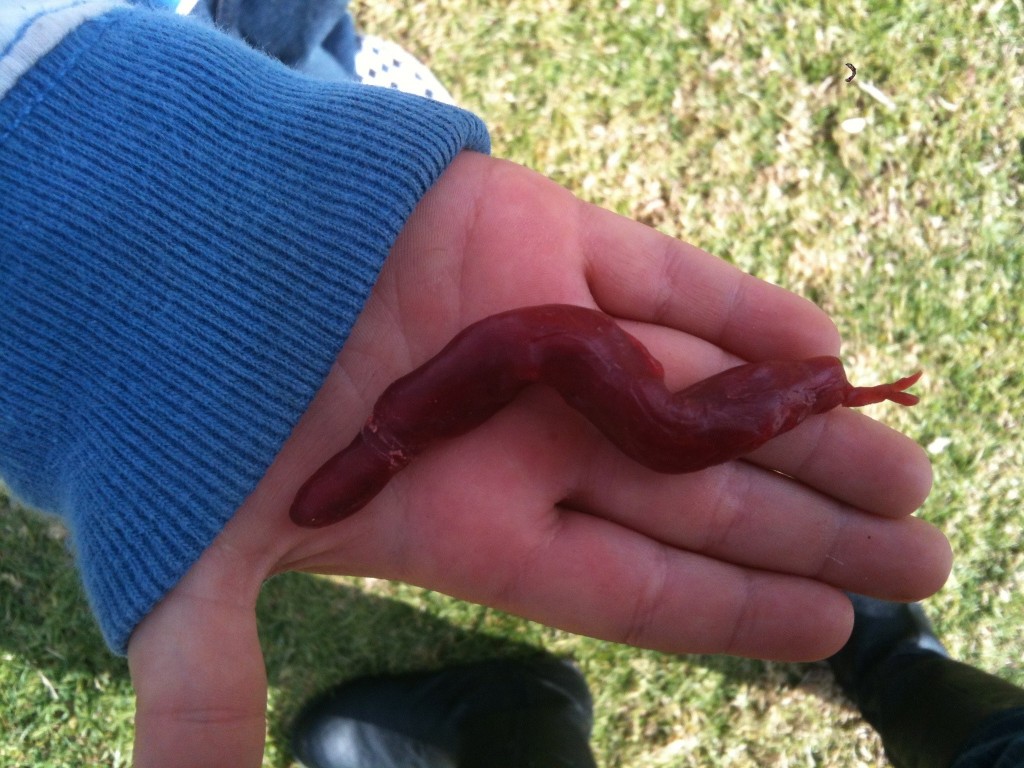
A first grader brought a wax sculpture to school.  He saved all the wax wrappers from his sister’s Babybel cheese and sculpted this snake.

He tried to make a design for a rattlesnake rattle at the tip.

The shape of this snake reminds me of the clay dragons he made a couple of months ago…

What a resourceful little guy!  I can’t wait to see how he develops as an artist over the next 5 years. Makes me happy to be an art teacher 🙂

Kindergarten Wheels Drawing

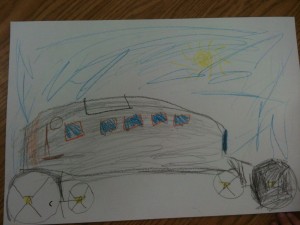
The kindergarten made their wheel drawings today.

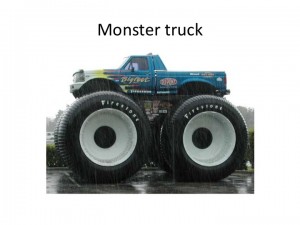
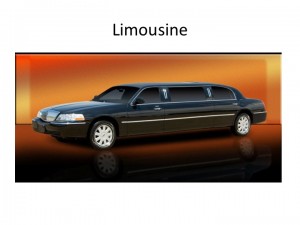
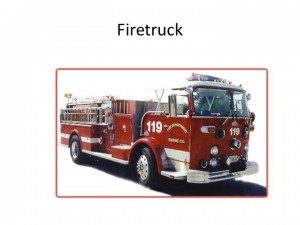
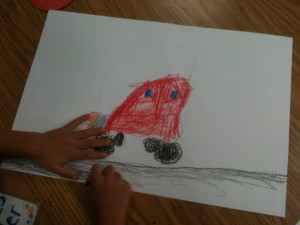
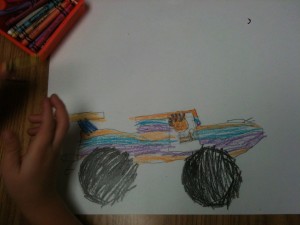
Kindergarteners use circle templates as a starting point for drawing wheeled vehicles.


This is one of those lesson plans that is perfect for a single 40-minute kindergarten class.  It takes no prep or clean up. Kindergarteners love cars and trucks. The use of circle tracers (various sizes of jar lids) for the wheels makes this lesson highly successful.

Materials:

  • white drawing paper
  • pencils and erasers
  • circle tracers: assorted jar lids, old masking tape rolls, etc.
  • crayons
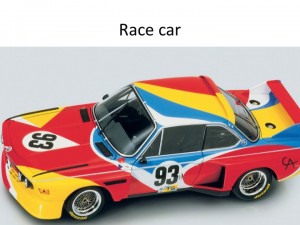
  • reference photos of things with wheels (cars, trucks, wagons, bikes, etc.)


Instructions:

  • Show pictures of things with wheels.  Discuss how wheels are circles.  Look for other shapes (squares, rectangles) in the pictures.

Pass out paper, pencils, erasers and various sizes of circle tracers.  Ask students to draw something with wheels.  Remind them to add a background or road. After 10-15 minutes, pass out crayons and allow students to color in their designs.


Kindergarteners often draw themselves and family members in the vehicles.


You may see drawings of all kinds of imaginary wheeled vehicles. Great!

I have a computer and projector in my art room and try to teach with powerpoints.  You can download my kindergarten wheels powerpoint here.

This would also be a great substitute lesson plan.

The kindergarten wheels lesson was inspired by this fabulous lesson on trucks and tractors at Deep Space Sparkle.

Foil Name Art Relief with Patina

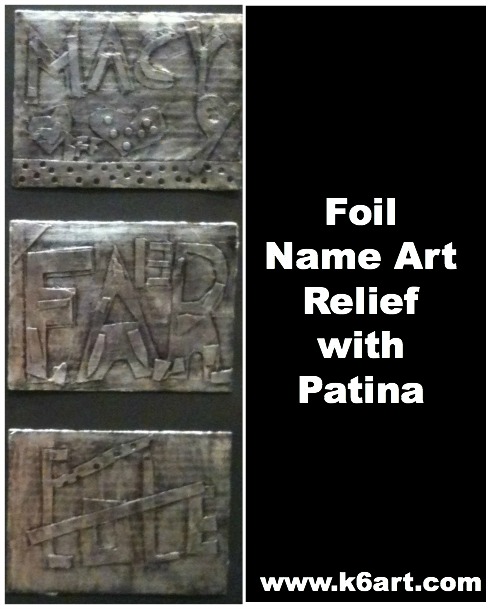
foil name art relief with patinaName art: what a great idea for the first art project of the school year. The sixth grade recently finished their foil name art reliefs. You can download my foil relief Powerpoint here.

Materials:

  • sturdy cardboard for background
  • foil (I used pre-cut foil Pop-up Sheets and cut my background cardboard a bit smaller than the foil)
  • light cardboard or tagboard  in two colors (I used red and gold)
  • pencils and erasers
  • scissors
  • hole punch
  • glue stick
  • spray glue
  • permanent black marker (I use Marks-A-Lot Large Chisel Tip Permanent Marker)
  • fine steel wool

Days 1-2: Design a two-color relief

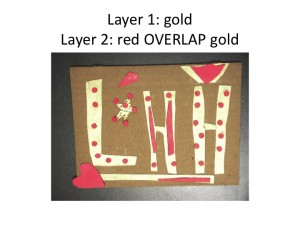
We started by layering two colors of light cardboard to create a name art collage. Students could use their name, initials, or nickname. Students used hole punches to add interest to their designs.

It really helps to work with two colors of light cardboard when creating the relief.

Day 3: Cover relief with foil and black marker, buff with steel wool

I had students bring their reliefs outside. I sprayed the cardboard with spray glue, then slapped on a sheet of pre-cut foil. Alternately, you could glue foil to a whole stack of reliefs during your prep time. Or you could let kids cover the relief with glue stick and lay on the foil themselves.

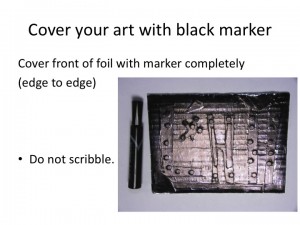
Next, we covered the foil completely with black permanent marker.

Students covered the foil with permanent black marker.

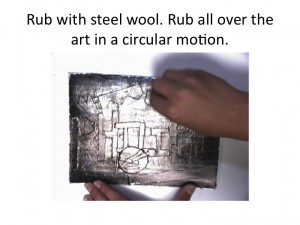
Finally we rubbed off the marker with steel wool to create an attractive patina.

Use fine steel wool.


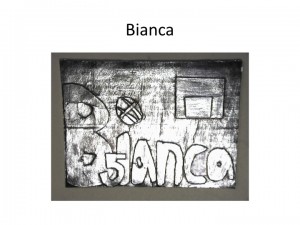
All the students loved this project!  They felt the resulting patina looked like old metal.

Sixth grade examples:

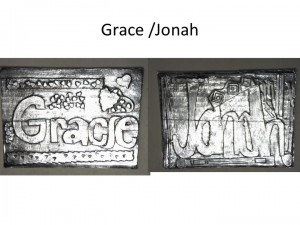
Biana added a basketball, hoop, and her jersey number to her name art relief.

Grace used a heart shape hole punch to add interest to her design. Jonah added layered geometric shapes.

Extensions:

After their reliefs were complete, students did crayon rubbings of their name art. Some did rubbings of their friends’ art on large tag board and used it to create their portfolios.

Want more name art ideas? Check out my other name art posts:

Enjoy!

Do you have a favorite name art project for the beginning of the year?

 NOTE: Post update 1/3/14

This post contains affiliate links.


Related Posts Plugin for WordPress, Blogger...