This week the fifth graders continued work on their spectacular sport trophies. The wire and foil figures are now posed and wrapped with plaster wrap. Almost all have been stapled to wooden bases. Our fifth graders have experience working with plaster (see this post and this post) so almost all finished wrapping the figures during our 40 minute class.
Volleyball
Don’t you love the poses and accessories?
Skier with popsicle stick skis and bamboo skewer poles.
Here’s a ‘wrap up’ (get it?) of all the steps so far:
wire armature made from two pieces of 18 inch pre-cut floral wire
Most of the 5th graders at our schools have at least one trophy – for soccer, baseball, basketball, dance, etc. Each year the fifth graders create their own sport trophy sculptures using wire, foil and plaster wrap.
2012 is an Olympic year. We begin by looking at photos of Olympic athletes in all sorts of sports. We talked about dynamic poses – athletes in motion – and how much more interesting they are than static poses.
It all starts with a pinch pot. Stuff with crumpled newspaper for support and turn upside down. Apply starfish, urchins, coral etc. to top of rock using vinegar to attach.
Vinegar, clay tool, toothpick
http://youtu.be/TUuvmrJIXiQ
If you don’t finish, wrap clay in damp paper towels and seal in Ziploc bag.
Day 2:
Finish adding sea life to rock.
I let them dry for 12 days, then fired on slow setting.
Although no slip was used to attach decorations, only one decoration came off during bisque firing.
Day 3:
We painted with pan watercolors and tiny brushes. Students had option of rinsing off excess paint (they called this ‘fading’). Also could draw on painted ‘rock’ with colored pencil.
A huge thank you to SDAEA’s Carol Catalano Webb, who brought back this lesson from California state conference AND made the YouTube movie. A huge thank you to the clay teacher who created the Powerpoint (we think it was Barry Bernam-please leave a comment if you know Barry!).
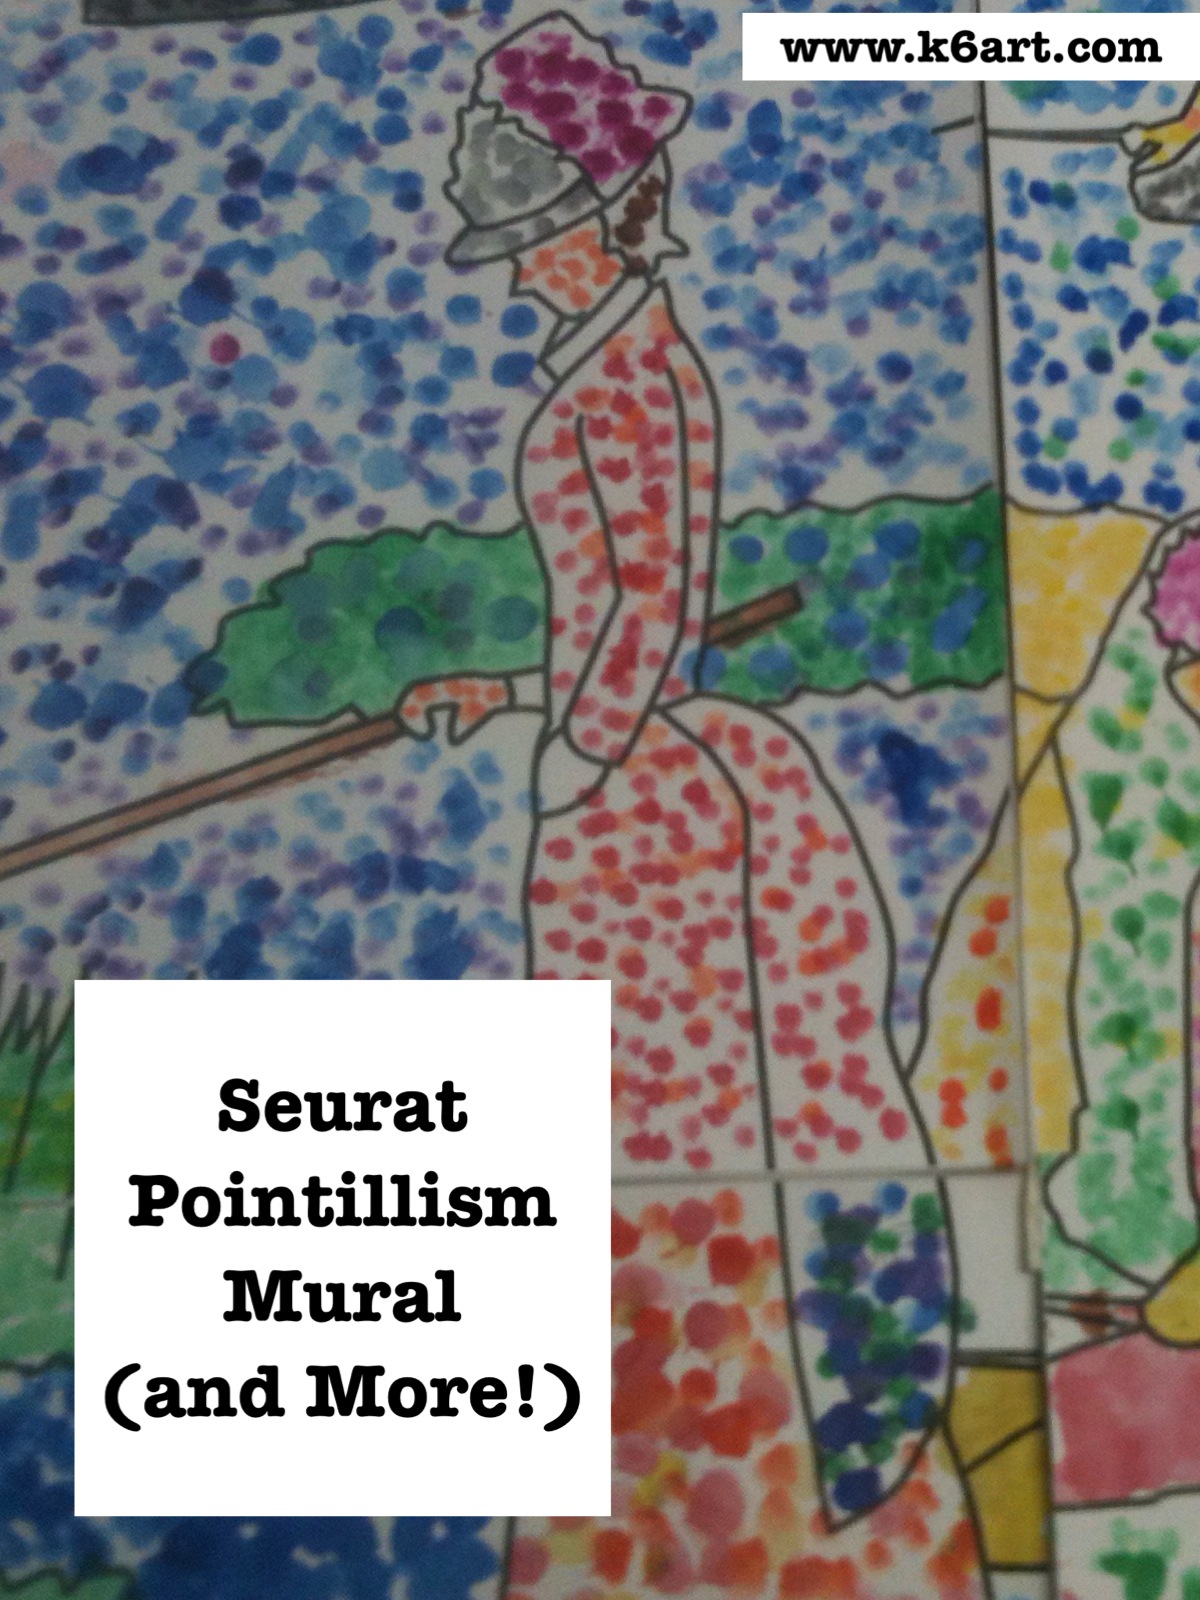
Need a group art project? 4th grade just completed a pointillism mural based on Seurat’s “Sunday Afternoon at the Island of La Grade Jatte”.
‘La Parade’ by George Seurat. 1889
Day 1:
Introduce pointillism. We discussed how Seurat made paintings in a whole new way: instead of blending colors, he placed different colors of dots side by side and let the viewer’s eye mix them.
Close up view:
I passed out some greeting cards with pointillist art and let students examine them closely. They really need to see the art works up close to appreciate how many dots Seurat put in his paintings (tip: pass out magnifying glasses for a close up view). I added some great close-ups to this Seurat Powerpoint (sadly I am not sure who posted this Powerpoint).
Individual warm-up project: make your name in dots on a 4.5″x12″ strip of paper. Color the background with dots as well. We used Q-tips and pan watercolors.
Make your name in dots as an introduction to pointillism.
Days 2-3:
Group project. I purchased the downloadable pdf mural ‘Sunday in the Park’ from Art Projects for Kids ($8). The pdf contains a 28-piece mural (perfect size for a 4th grade class!) which you print onto cardstock. Each student ‘dotted’ their respective part of the mural, using the coloring guide included in the download.
Seurat’s famous ” (aka ‘Sunday in the Park’). Seurat’s masterpiece contains over 3 million dots and took over 2 years to complete.
28 individual pointillist artworks come together to form Seurat mural.
The assembled mural is 55 inches x 40 inches.
We carefully assembled the mural by attaching long strips of masking tape on the seams (note: get a helper for assembly!). Bonus: it folds up like a map! Easy to store until the art show.
The completed mural.
The kids really enjoyed this project. I did notice there was a lot of variety in the assembled mural – some students made a near-solid dot pattern with almost no white paper showing. Others had sparsely dotted areas. Next year I will use this pointillism practice worksheet from Miss Young’s Art Room blog.
Pointillism worksheet from Miss Young’s Art Room blog.
Options:
Individual coloring sheet for ‘Sunday in the Park’. From Practical Pages blog.
Want an individual project based on ‘Sunday in the Park’? There is a great post including download on the Practical Pages blog.
Try out different materials for pointillism:
Q-Tip + tempera
Marker
Unused eraser tip from a standard pencil + pan watercolor
Unused eraser tip from a standard pencil + stamp pad
Stamp pad + eraser tip
How do you teach pointillism to your students? Leave a comment!
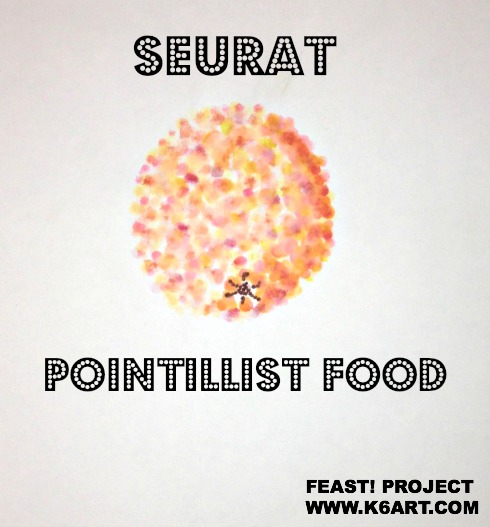
UPDATE 10/17/13:
NEW!!! Pointillism art project – make pointillist FOOD using watercolors, q-tips and markers! AWESOME pointillism video! Click here.
*****Thanks for visiting! Don’t forget to please vote for 2012 Art Ed Blog of the Year, which you can do by clicking this link and voting for K-6 Art! Voting open through December 14, 2012.******