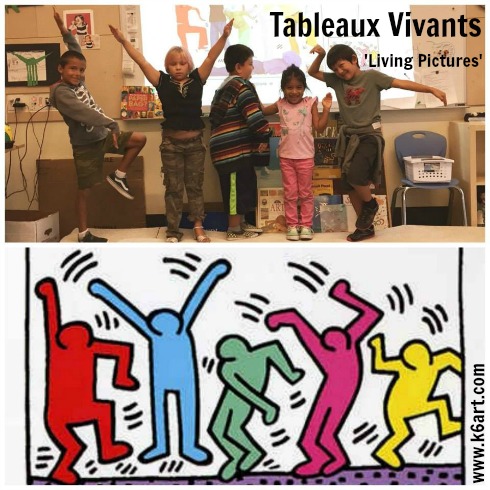
First grade tableau vivant: Keith Haring, “Five Figures Dancing”.
Our first and second graders acted out a series of tableaux vivants (‘living pictures’ ) last week. In traditional tableaux, people dress up as the characters in an artwork. They hold a minutes-long pose in front of an elaborately painted background. We skipped the costumes and backdrops, but still had a great time interacting with the artworks.
We began with a Powerpoint and video (see below). For a warm up, we practiced posing like the Mona Lisa. After students understood the basic concept, they acted out artworks with progressively larger groups of characters.
After a few group activities, I put a bunch of art books on the tables and let students act out whatever they liked.
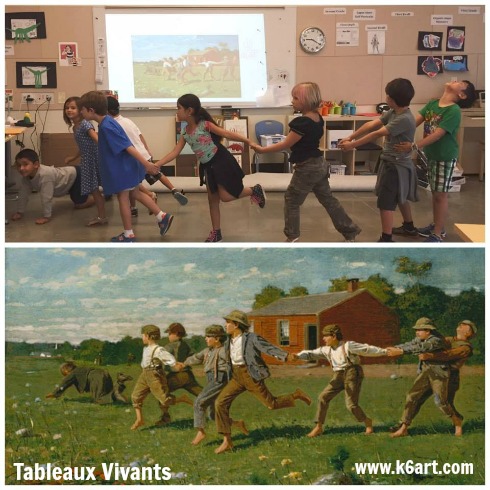
First grade tableau vivant: Winslow Homer ‘Snap the Whip’.
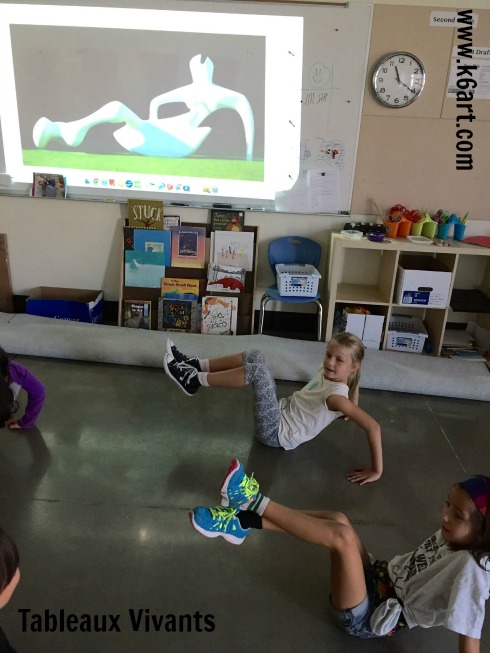
Second grade tableau vivant: Henry Moore, “Reclining Figure”.
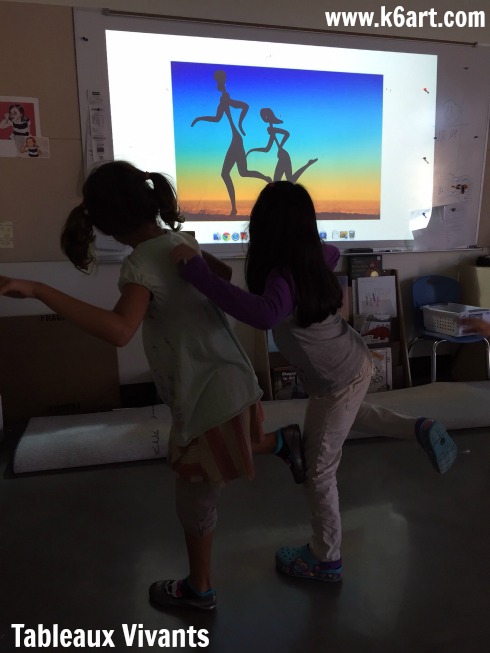
Second grade tableau vivant.
I love the second grade interpretation of Roy Lichtenstein’s Wham!. The little girl in the photo is acting out the explosion.
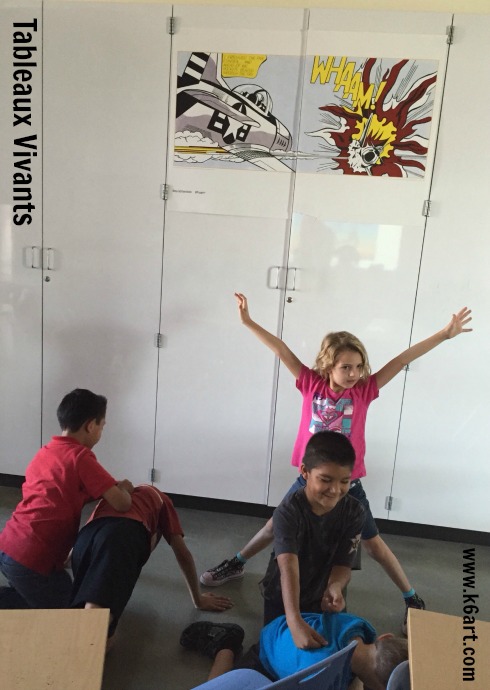
Second grade tableau vivant: Roy Lichtenstein, ‘Wham!’
Resources:
‘Pagent of the Masters’ is an elaborate tableaux vivants production staged each summer here in Southern California. It has been going on since 1933, and features tableaux based on painting, sculpture, prints and more. Check out this video from CBS Sunday Morning .
Here is the Google Presentation (it’s just like a Powerpoint) I created for our lesson. It includes some fun ‘sculpture game’ activities at the end.
Tableaux vivants are a great way to interact with artworks at the museum. Check out this article from Art Museum Teaching.
Next steps:
Can you imagine the students staging their own Pagent of the Masters? They could select their own artworks, dress up, paint their own background, gather props, have a student director, an iPad photographer….how cool would that be? Maybe next term….
Enjoy!