Enjoy!


Enjoy!

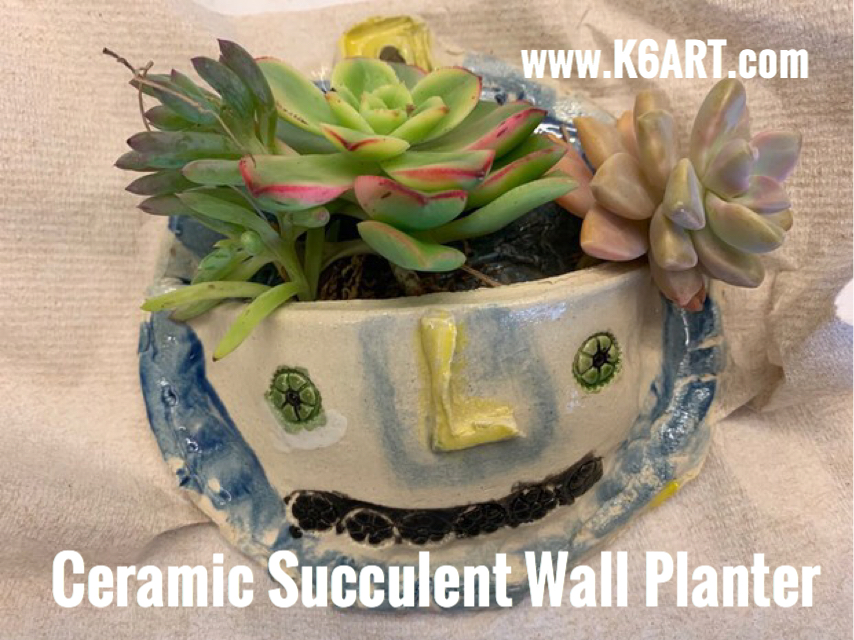
We used butcher paper, poster tubes, fake spider webs and paint to create large scale sculptures.+6
5th graders are almost done.
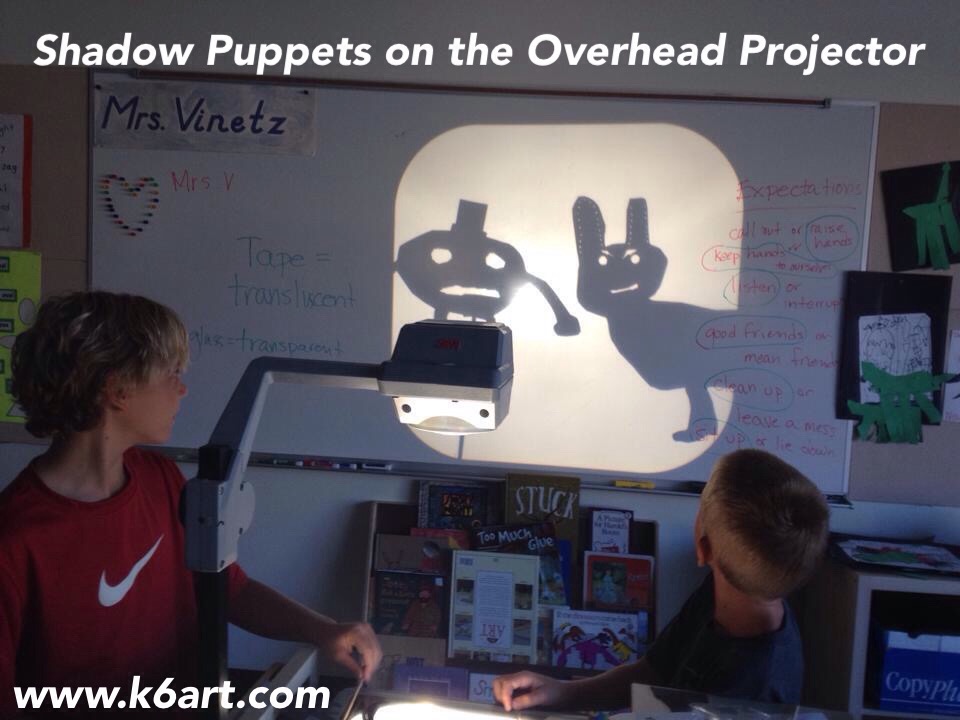
Our fifth graders just completed a shadow puppet unit. We had a lot of fun creating shadow puppets and performing with them on our old overhead projector. If you’ve got one (or more) of these old projectors at school, grab them! Your students will have a blast making shadow puppets.
Materials:
Create a puppet:
Draw a character on tagboard or paper. Encourage kids to make puppets with interesting silhouettes. Cut out. Use the punches to add a decorative edge. Students can also cut out slits or interesting shapes within the puppets. They can also pierce the puppets with a push pin to make tiny dots of light (look carefully at the octopus below to see this effect). Tape on a bamboo skewer and you are ready to go!
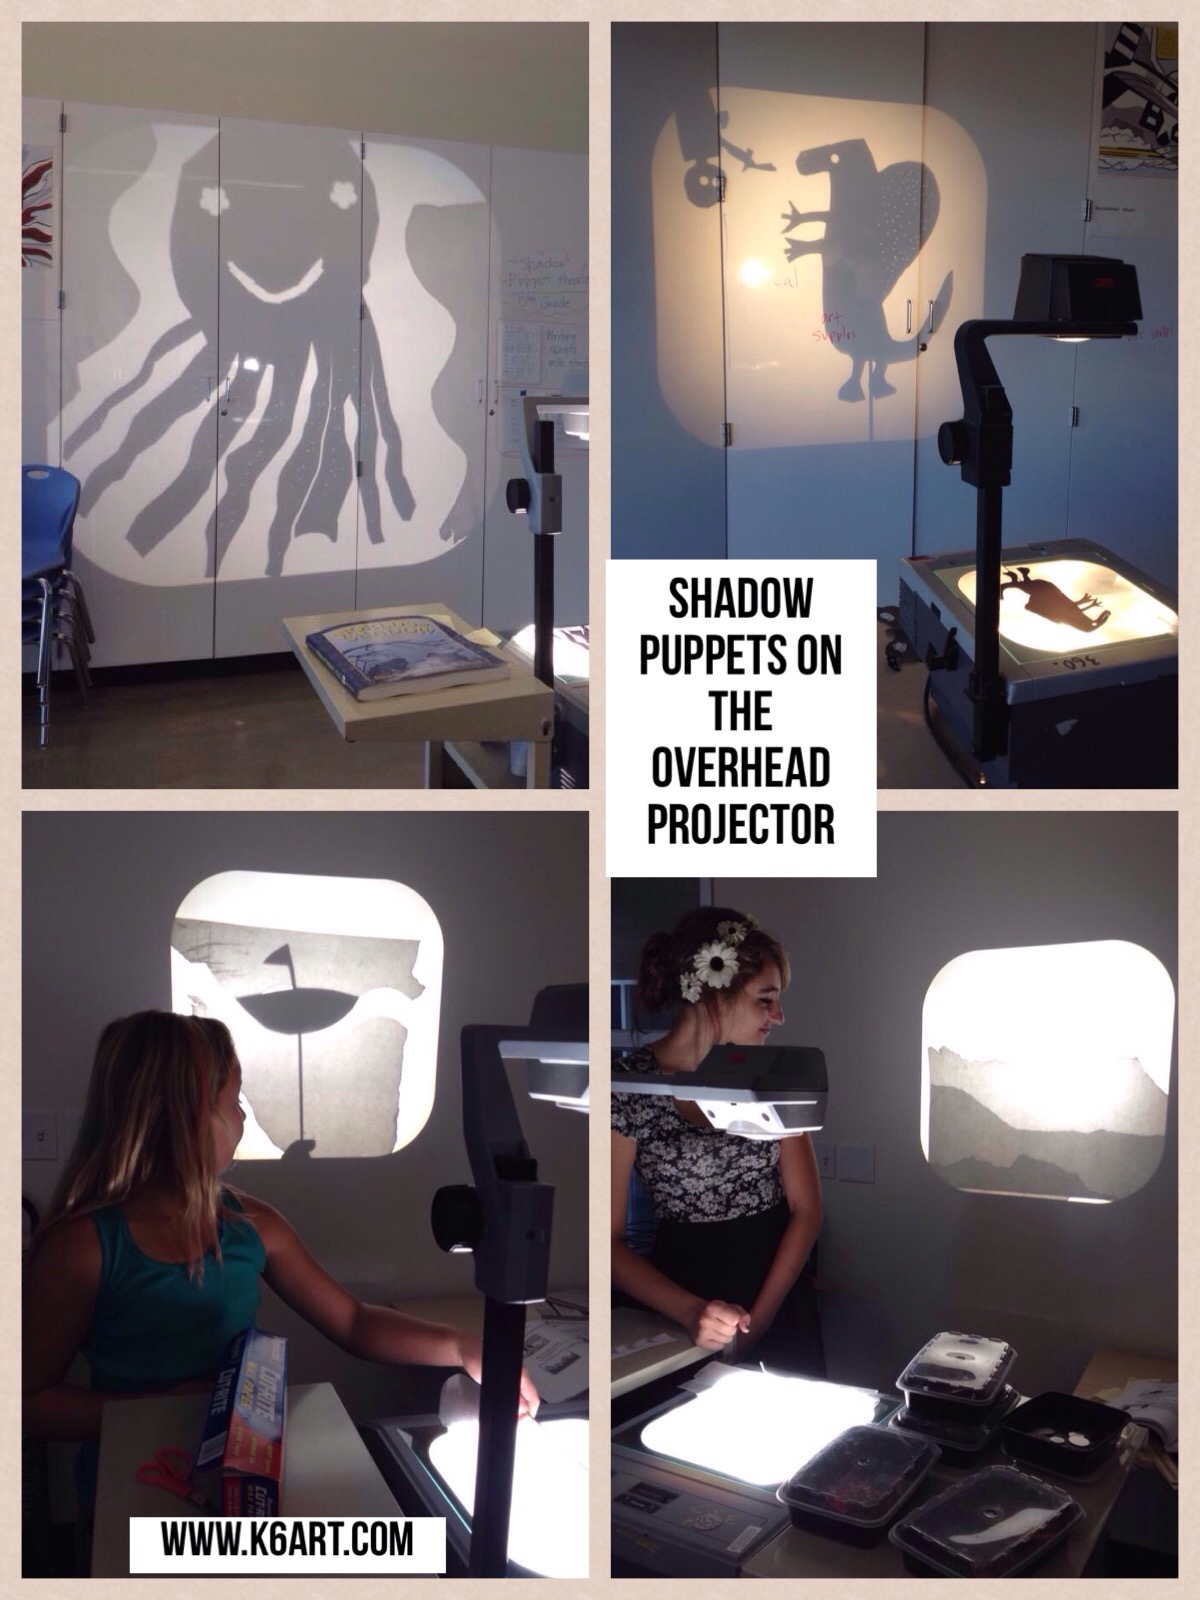
Students created shadow puppets from black paper and bamboo skewers
You can learn to create a shadow puppet show step-by-step in the book Worlds of Shadow: Teaching with Shadow Puppetry. The book has great direction for making puppets with movable joints as well.
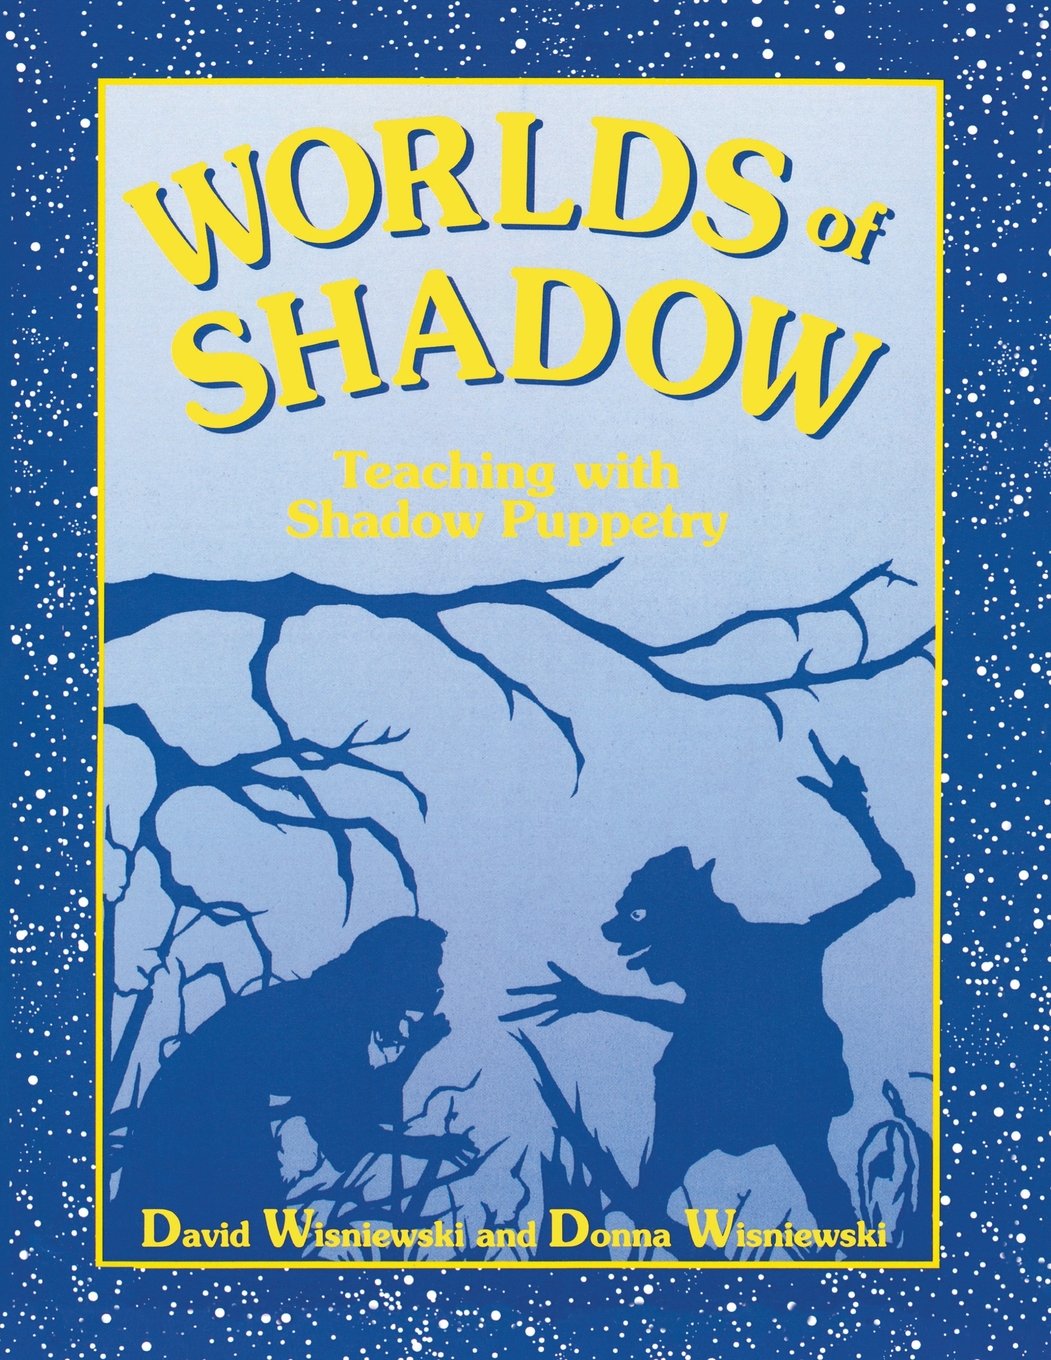
Worlds of Shadow
Backdrops:
Wax paper:
We used wax paper as a backdrop. It makes a smokey, translucent shadow when placed on the overhead projector. We used cut wax paper to make ocean waves and torn wax paper to make mountain tops.
Overhead transparencies + colored Sharpie:
Students made a lot of beautiful backdrops on transparencies. Here is a brief video that shows the vibrant color:
http://youtu.be/nEPpR5EmBEk
I wrote about part one of our shadow puppet unit in this post.
I learned how to create shadow puppets from Baltimore art teacher Grace Hulse – you can see Grace’s shadow puppet Prezi and video in this post.
Enjoy!
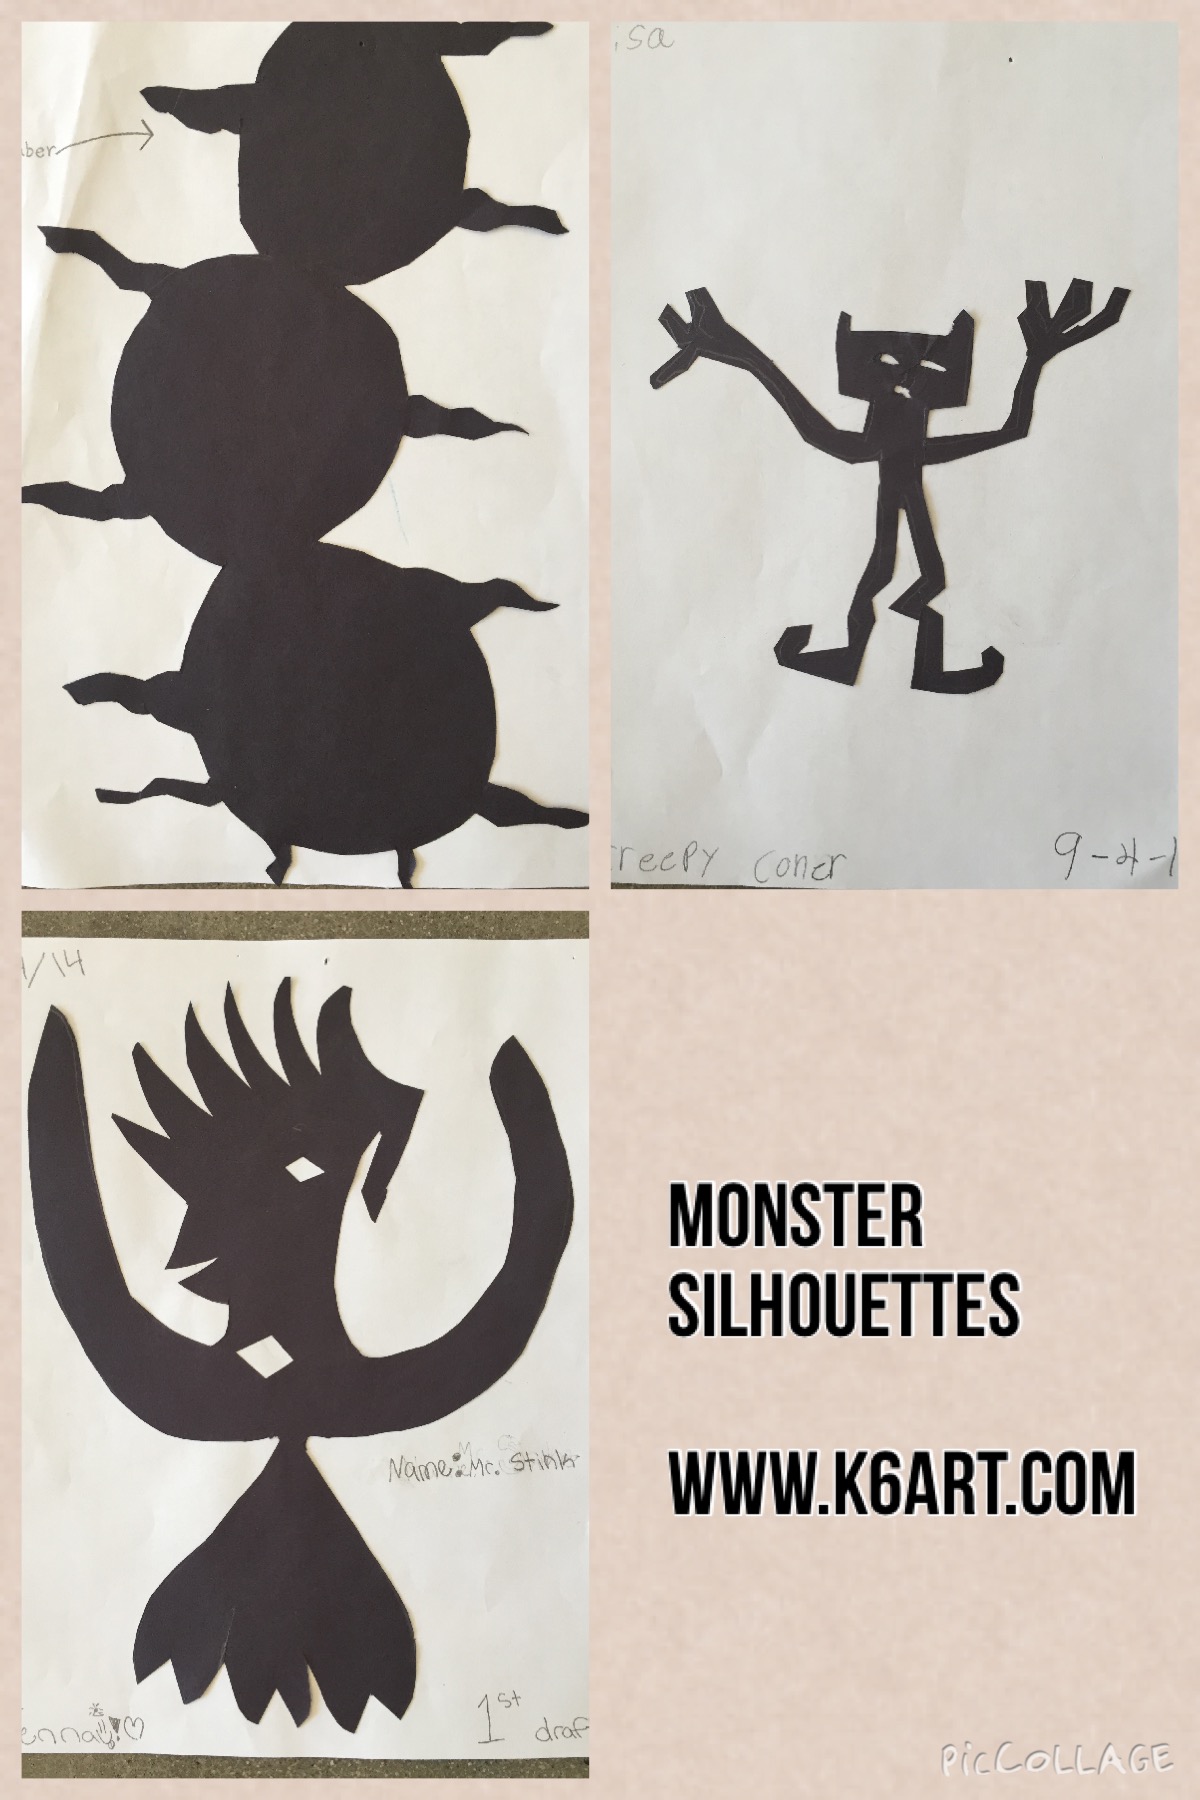
Our fifth graders just created these fabulous monster silhouettes. They learned how contour, organic shape and negative space contribute to an interesting design.
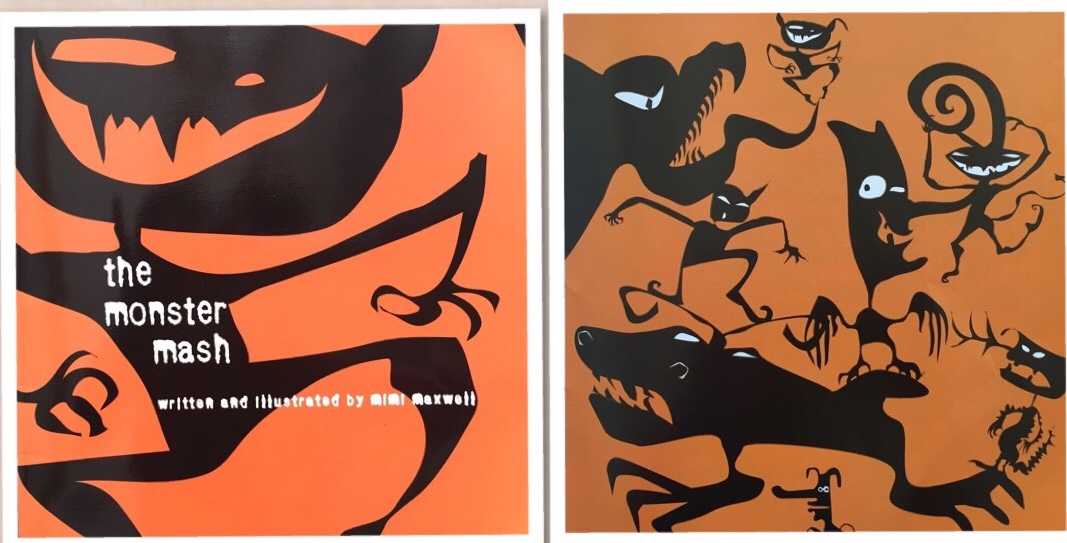
Illustrations from ‘Monster Mash’ by Mimi Maxwell
We began by looking at the illustrations in the book Monster Mash by Mimi Maxwell. The monsters are all in silhouette. We discussed organic (free form) vs. geometric shape. We also noticed the most interesting monsters had pointed or swirling body parts. Many had cut-outs (aka negative space).

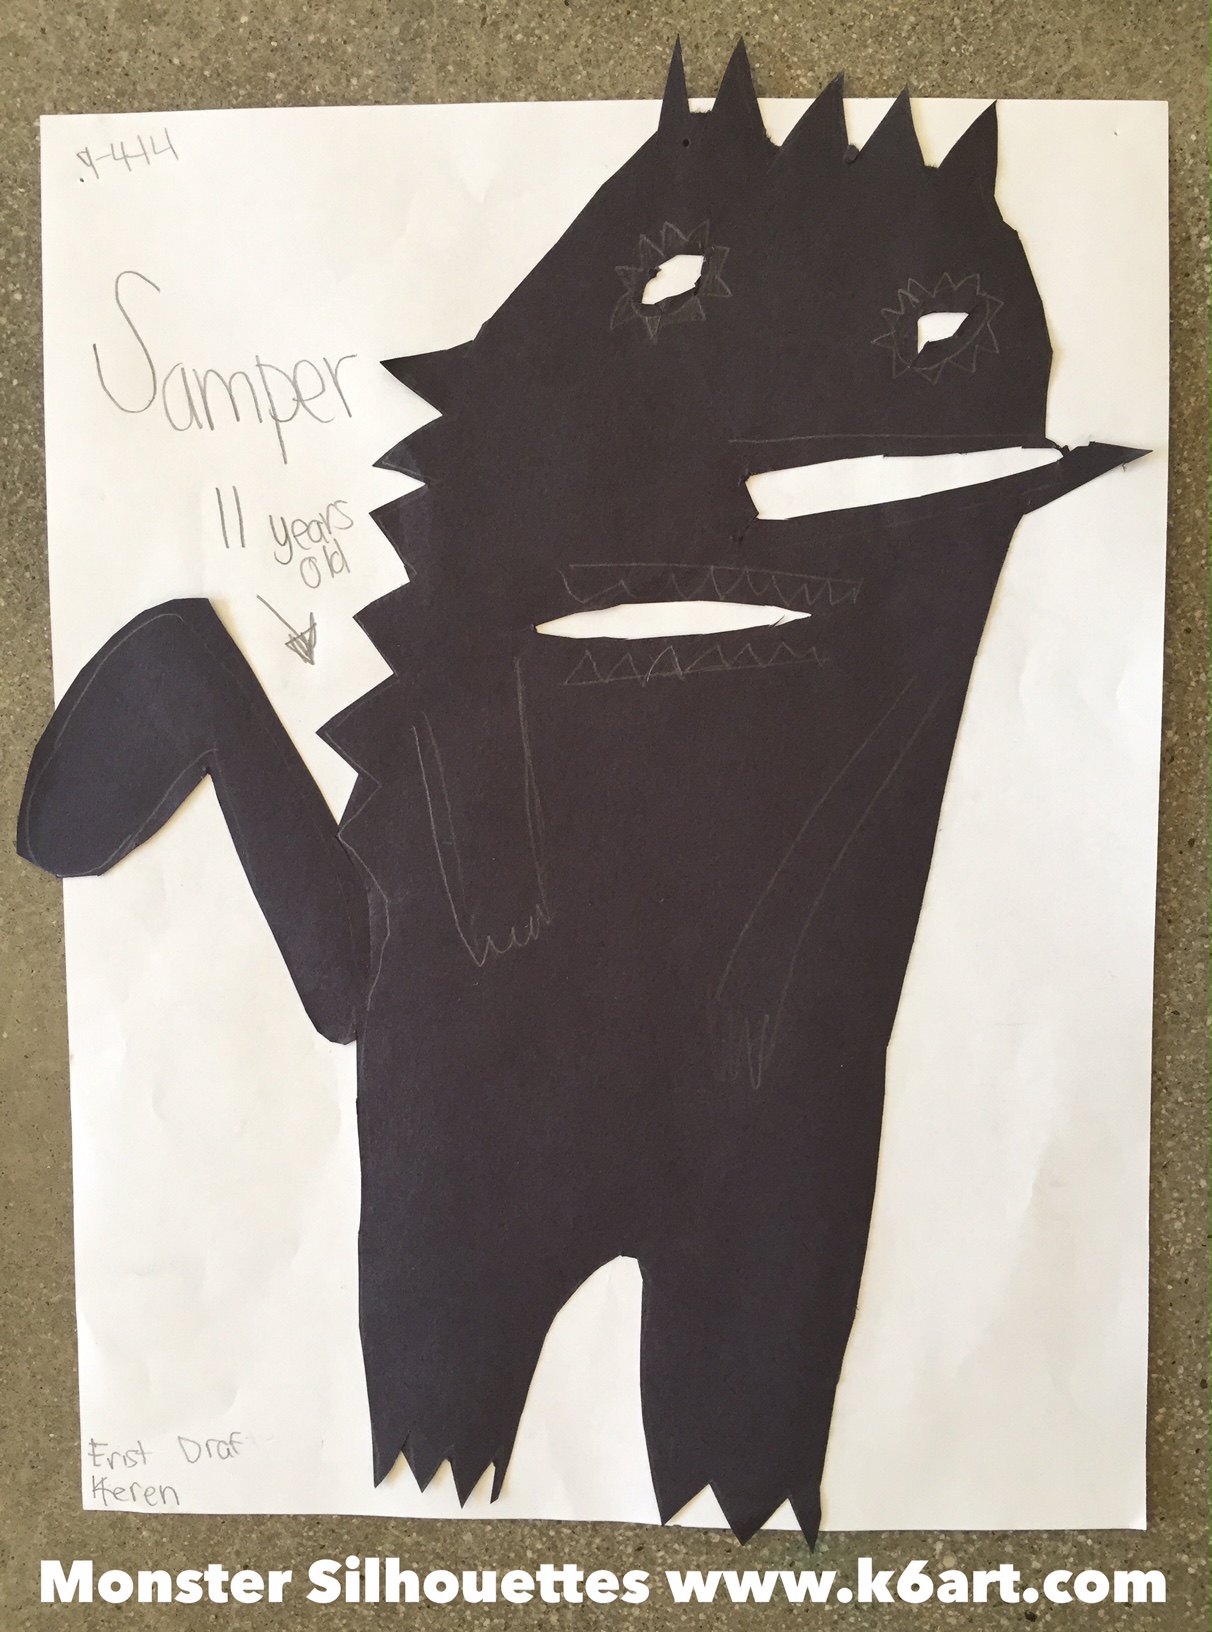
Fifth grade monster silhouettes.
Fifth grade monster silhouette. Allow 90 minutes.
Students did a couple of thumbnail sketches, then drew their monsters on black paper. Remind your students to design large monsters with interesting body parts and cut-outs. The most common problem is when a student draws a tiny, perfect monster that is too small to cut out.
Use glue stick to mount on copy paper.
I got this great lesson plan from art teacher Grace Hulse. Grace recommends this project as an introduction to a shadow puppet lesson. Click here to see more about Grace’s shadow puppet workshop at NAEA14.
Enjoy!