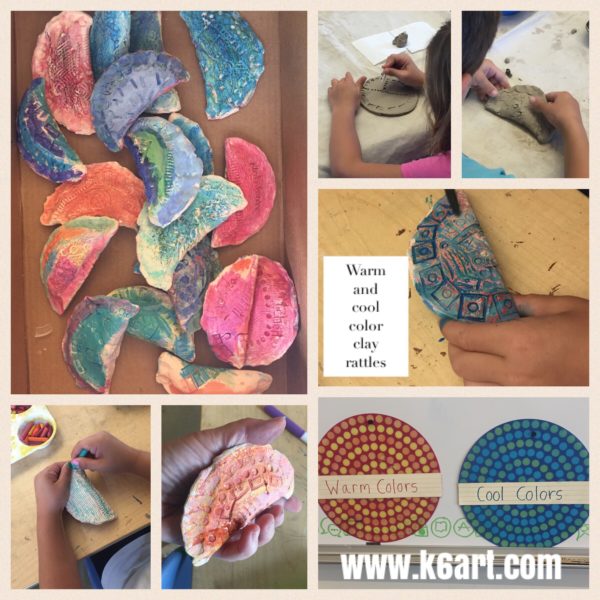
Warm and Cool Color Clay Rattles: 100% Success!

Warm and Cool Clay Rattles

If you are looking for a super-successful clay lesson for Kindergarteners-second grade, you’ve come to the right place. These functional clay rattles only requires a single bisque firing, and are finished with a fast and easy warm and cool color process. Students, parents and teachers loved them. I’ve included an instructional video at the end of this post – all my kindergarten students watched it and created the rattles independently.

Materials:

To create the rattles:

  • Clay
  • Rolling pin and slats (or slab roller)
  • Circle template or bowl to trace
  • Pin tool
  • Texture tools (we used LEGO)
  • Toilet Paper
  • Toothbrushes and water bowls

Prep:

Roll the slab and cut the circles. Cover the tables. Each table should have a tray of LEGO, one toothbrush for every two students, and small water dish. They also need a couple of squares of toilet paper and a little scrap clay.
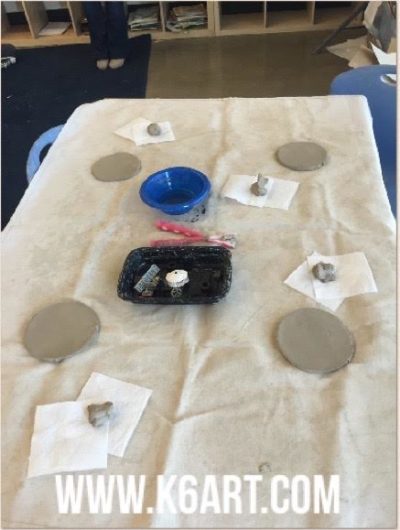
table set up

Process is in my instructional video. This was a very effective video: 100% of KINDERGARTENERS did this project correctly and independently the first time. I strongly recommend showing this.

Coloring the rattles:

Materials:

  • crayons/construction paper crayons, sorted into warm and cool colors
  • individual pans of water color
  • brushes and water cups

Process:

Students scribble on the textured ceramic with their crayons. Ideally, one side could be cool color crayons and the other warm. Then they paint over the crayons with (ideally), the opposite color scheme. This was kindergarten….some did it, some didn’t, but they all looked great.

This was a great end of year project: all my water colors had just about run out. Yet we had enough for this project. I sure look tired in this video, though. Typical for end of year…
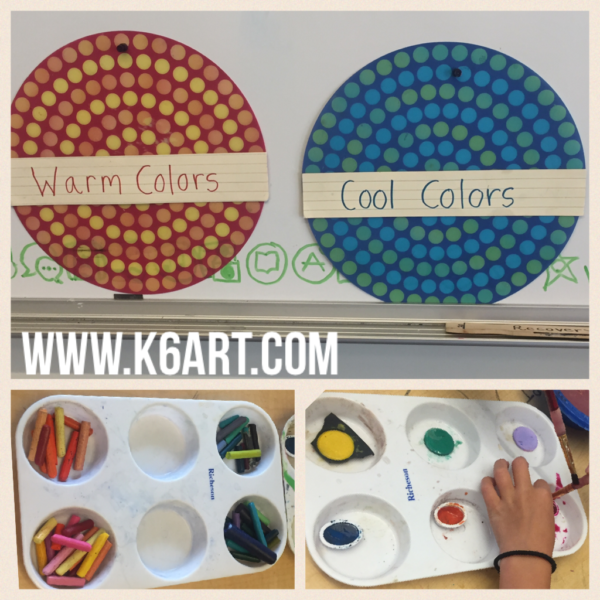
Set-up for coloring the rattles

Enjoy!

Do you have a sure-fire clay project for kindergarten?

Have you tried creating instructional videos?

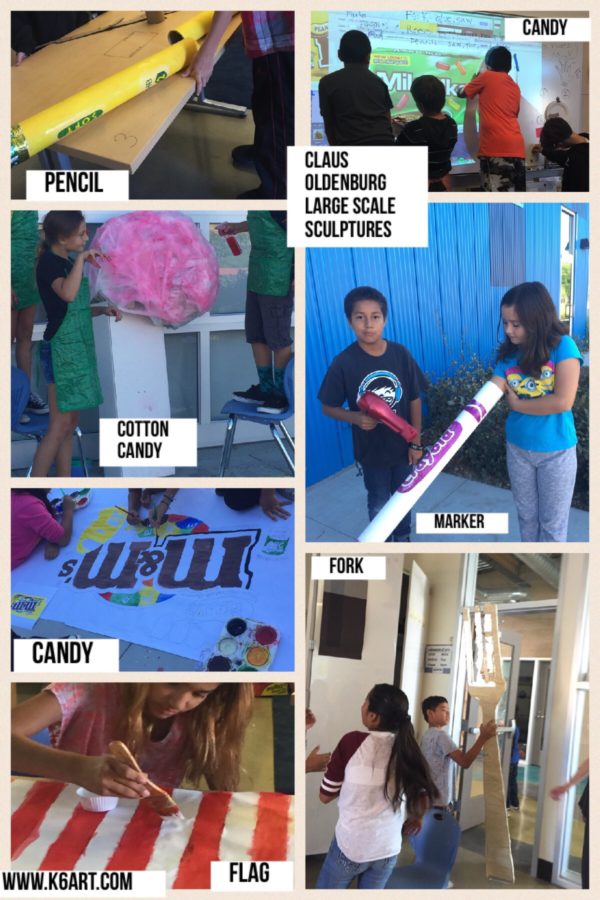
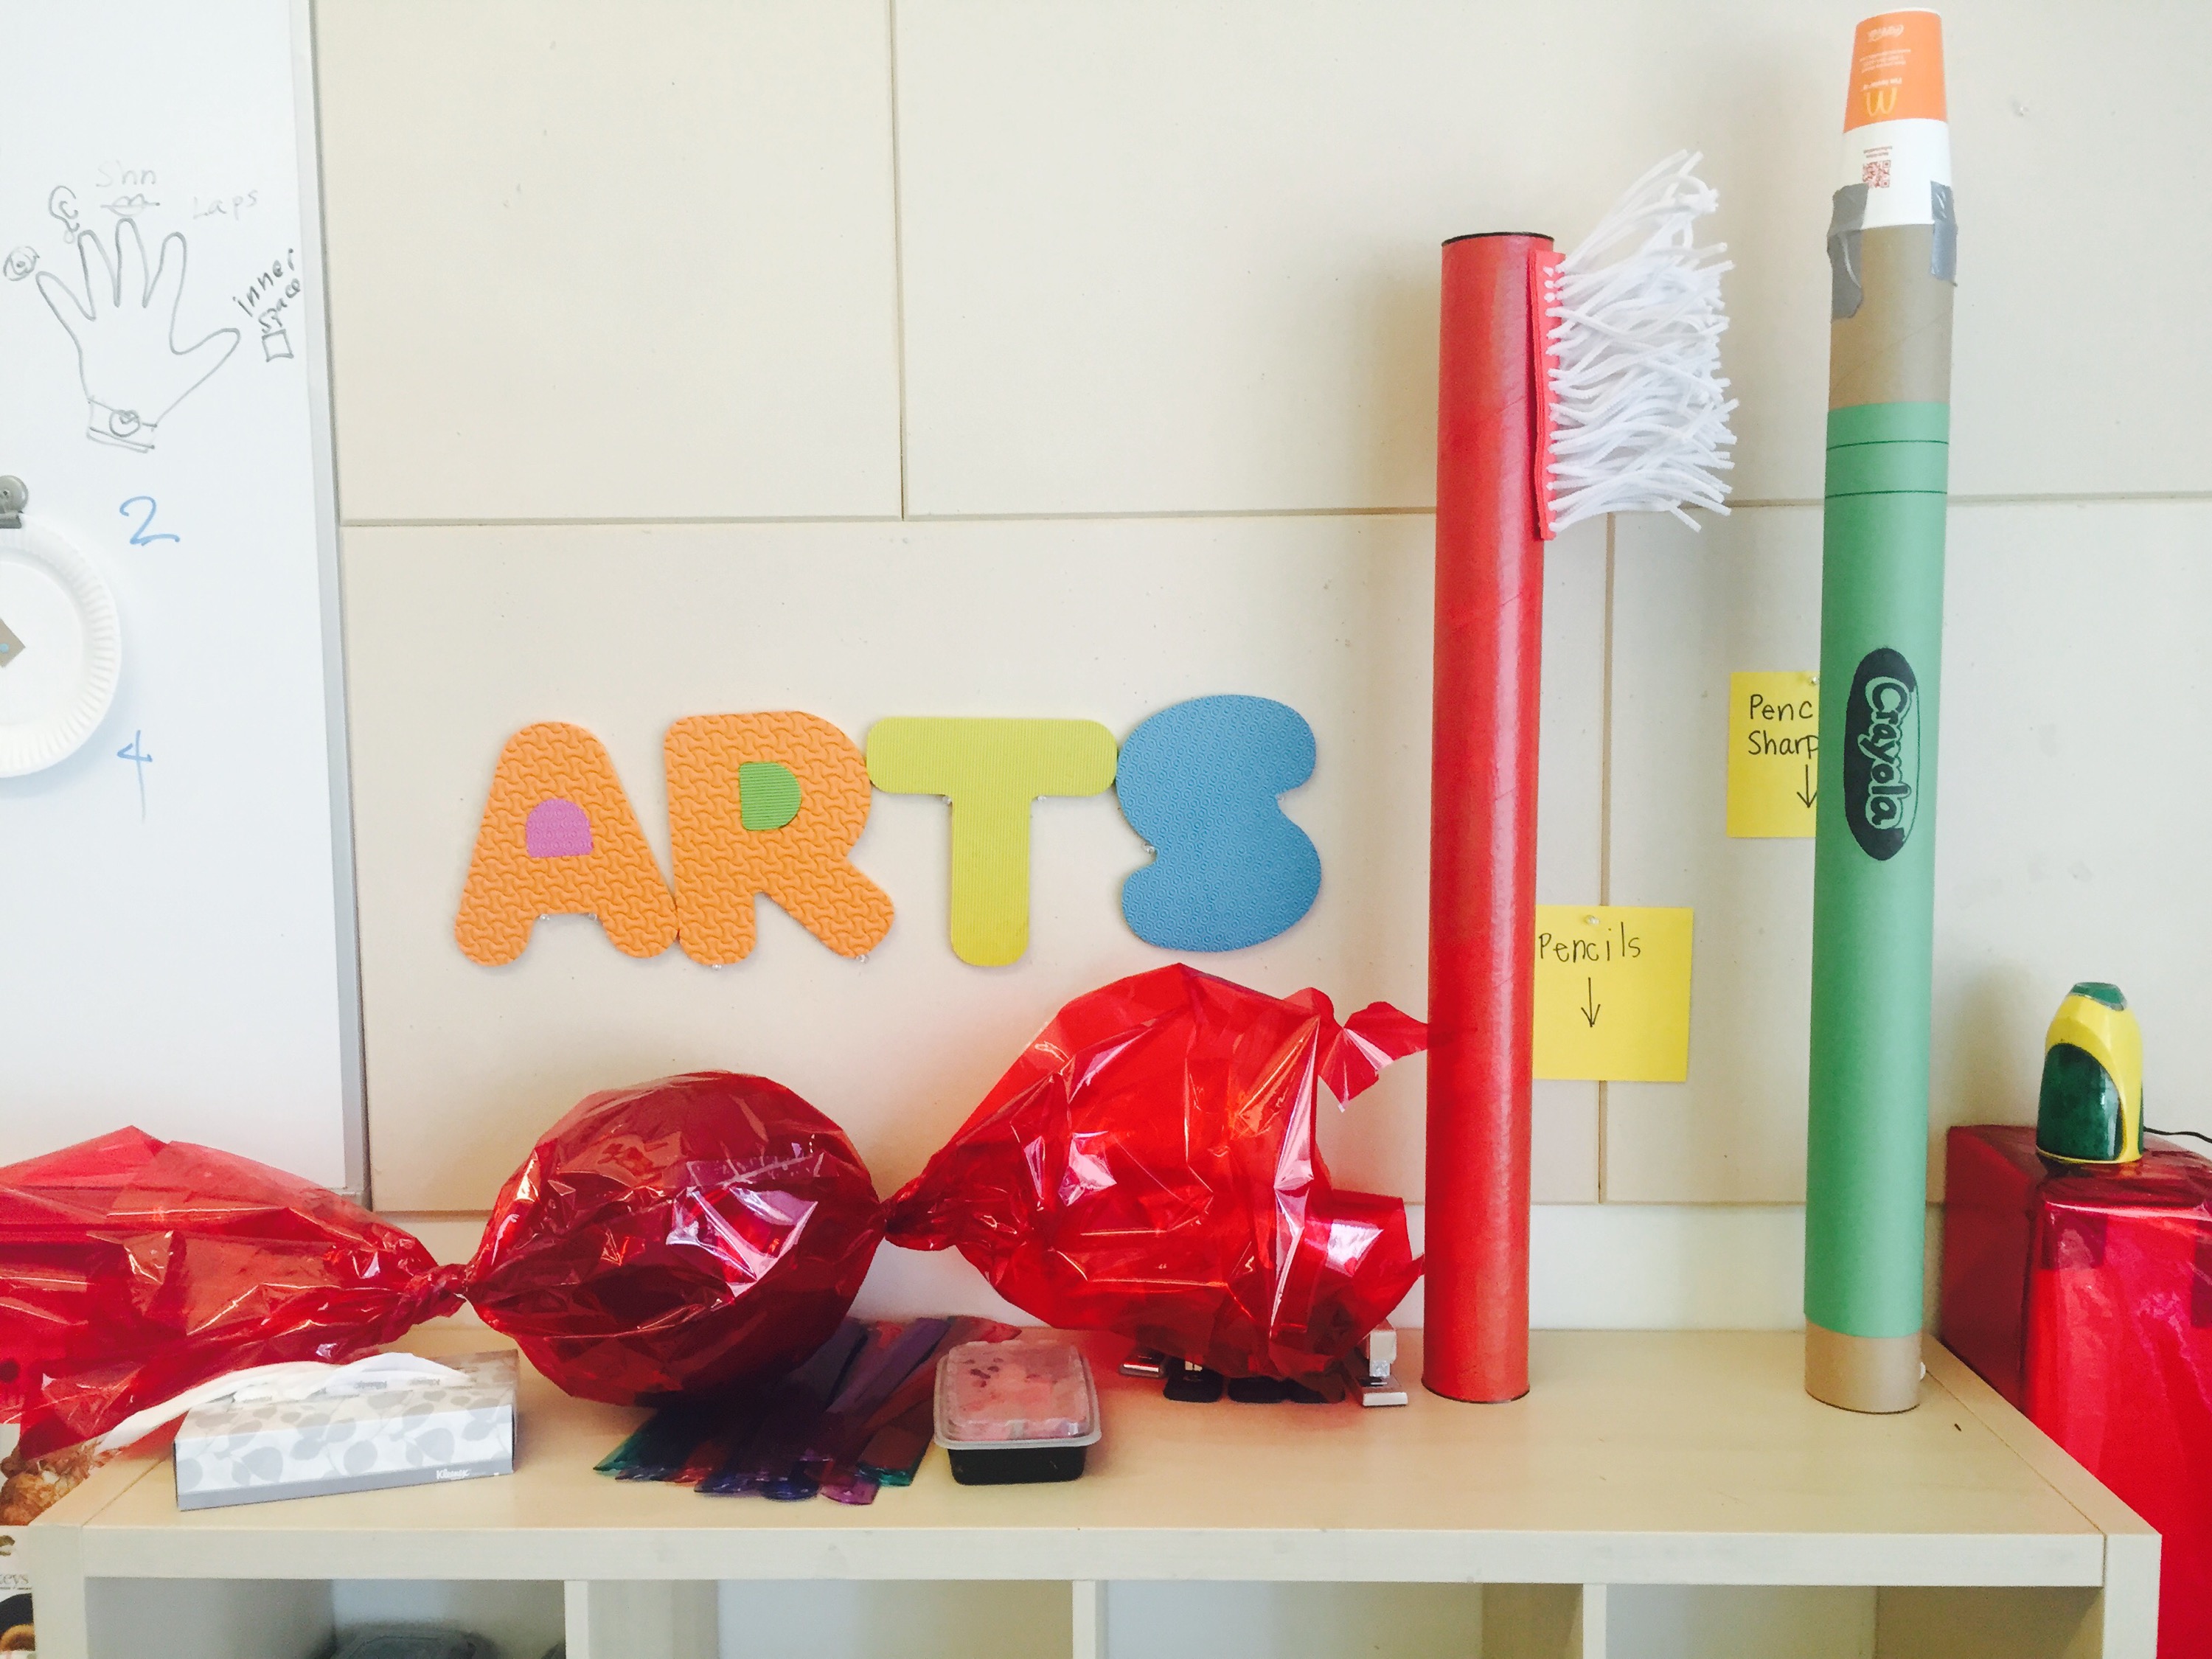
Oldenburg: candy, pencil, marker

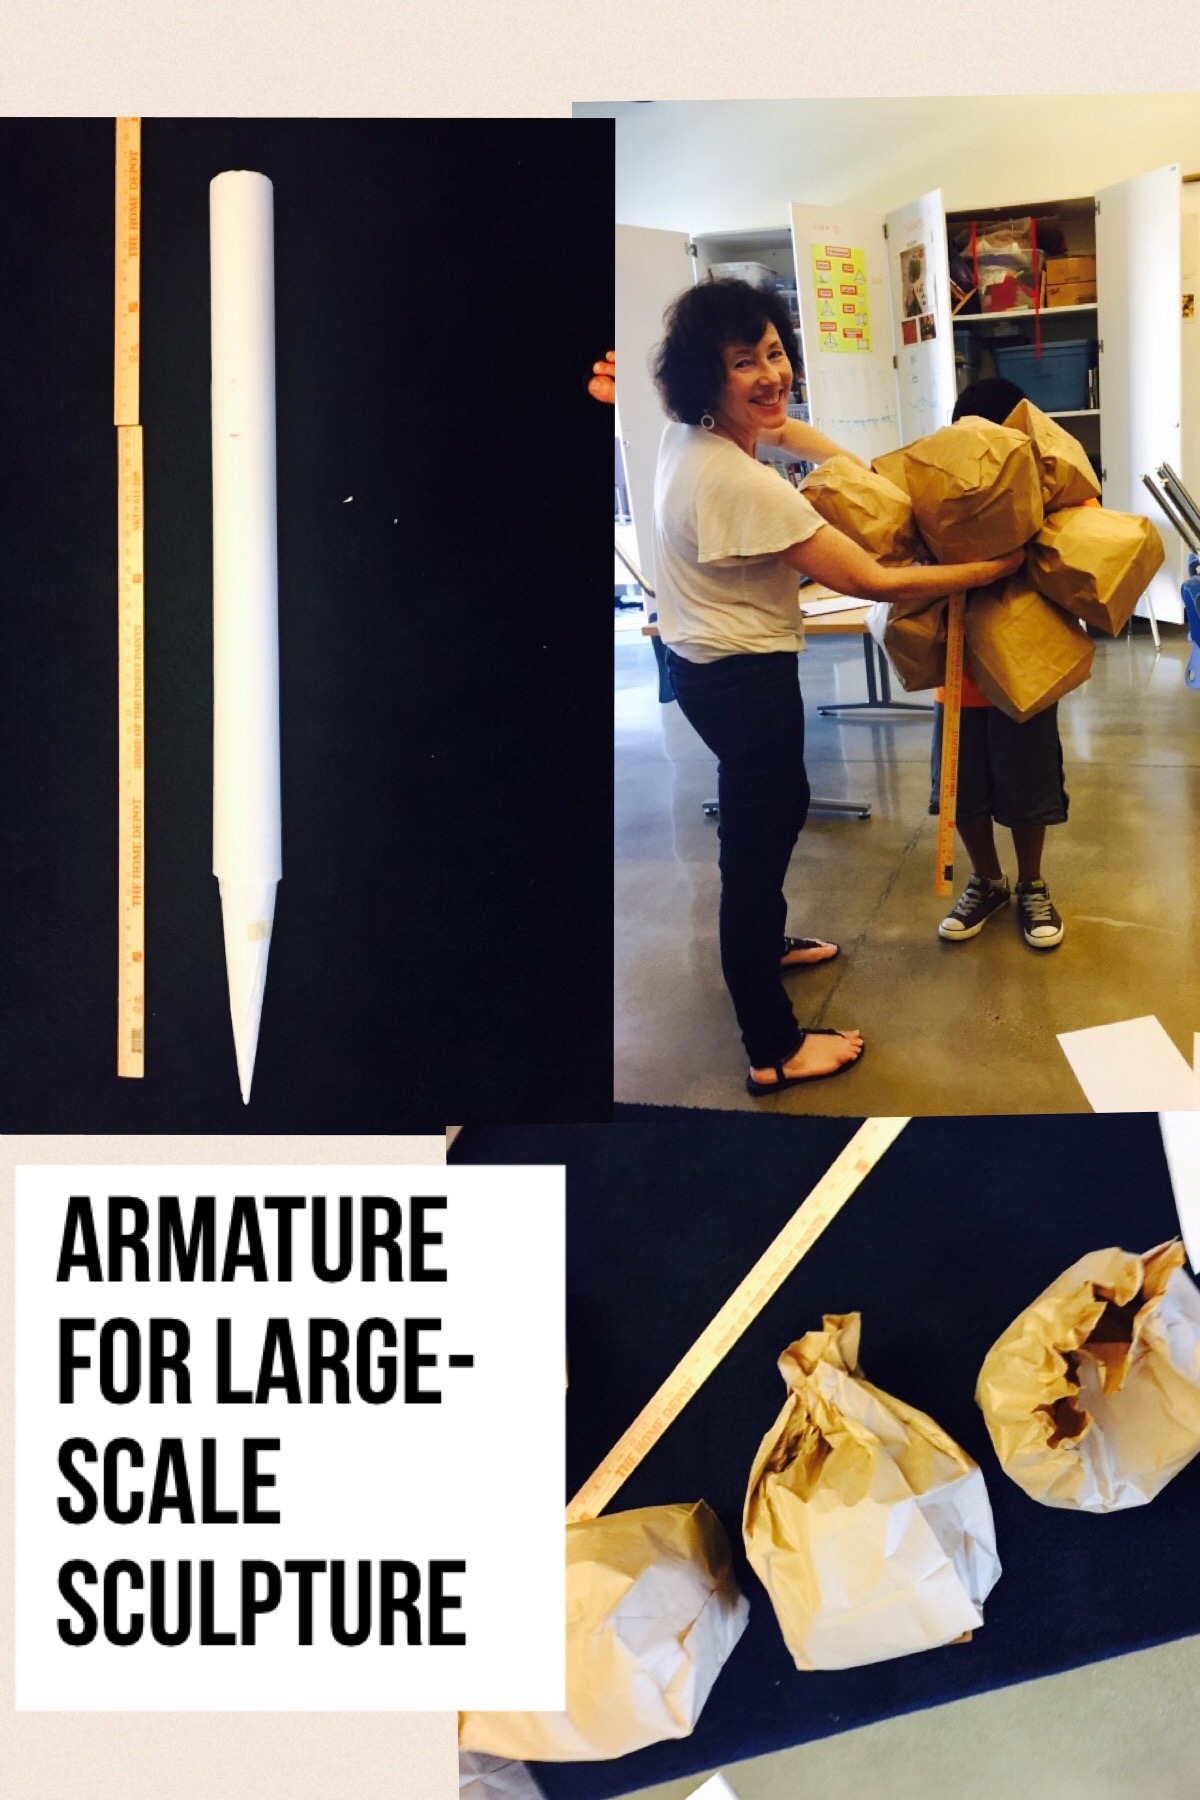
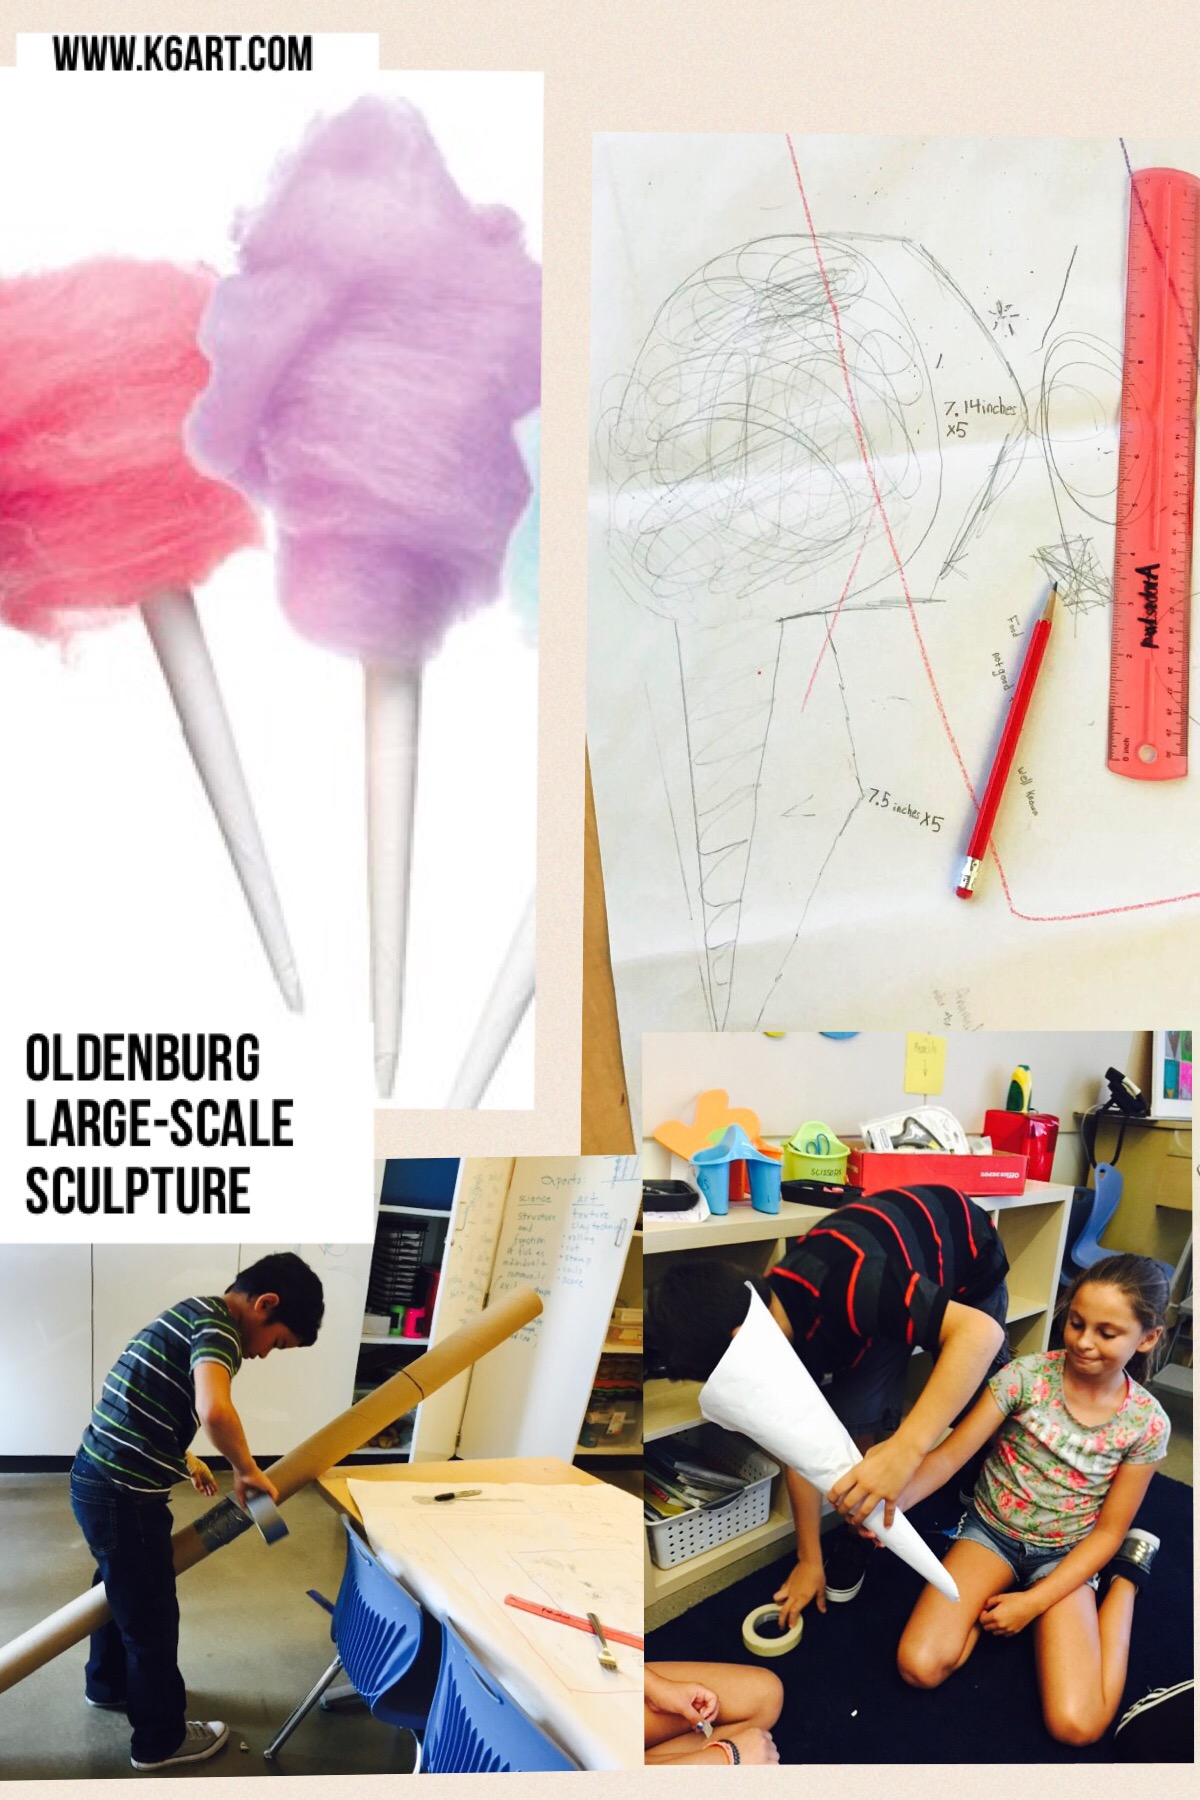
We used butcher paper, poster tubes, fake spider webs and paint to create large scale sculptures.

We used butcher paper, poster tubes, fake spider webs and paint to create large scale sculptures.+6

5th graders are almost done.

  • Fork: insulation wrapped in tape.
  • Flag, mike & Ike and m&ms: computer images projected onto white butcher paper. Painted with tempera cakes.
  • Pencil and marker: poster tubes
  • Cotton candy: Halloween spider webs sprayed with liquid watercolor over armature.

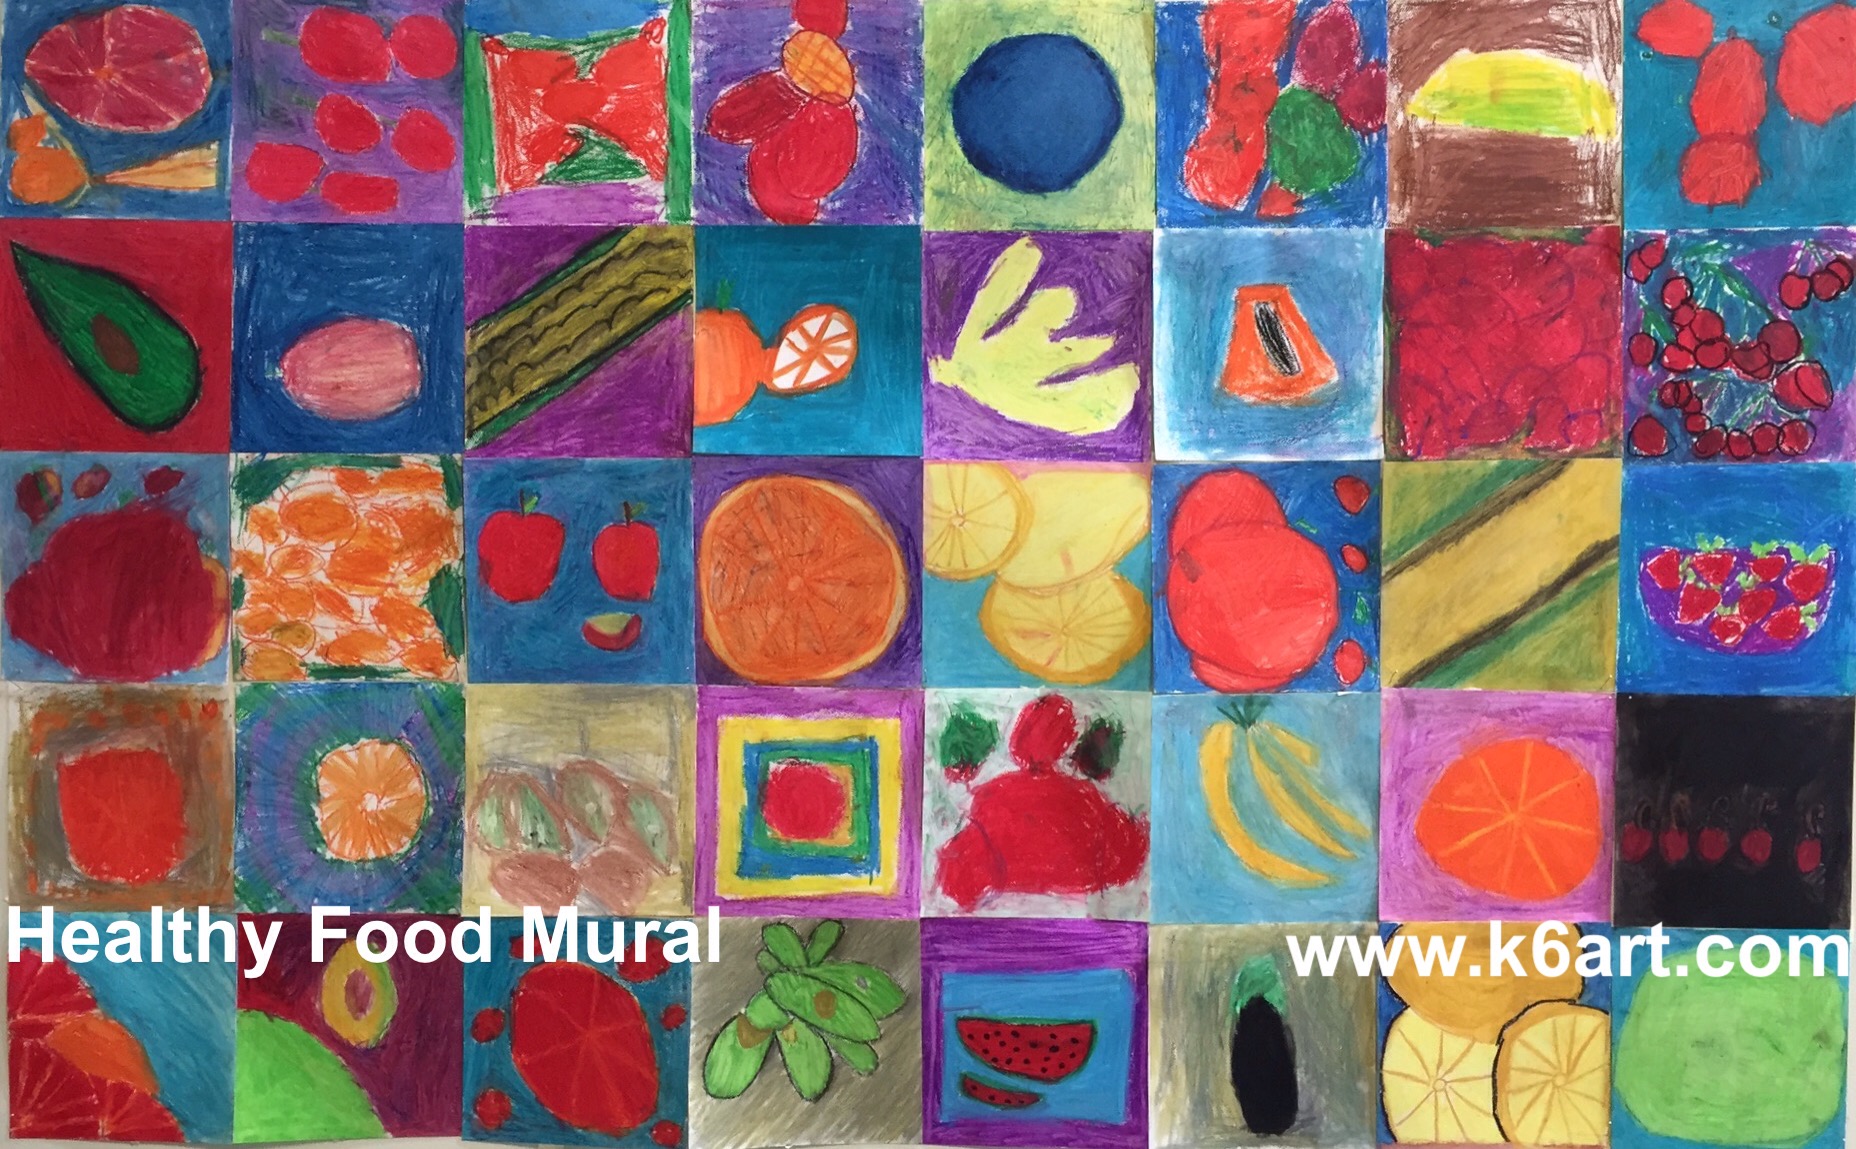
Healthy Food Mural

IMG_2914.JPG

Our second graders are studying healthy foods. We created this mural as part of the project. It was also an extension of our warm and cool color lesson.

Materials:
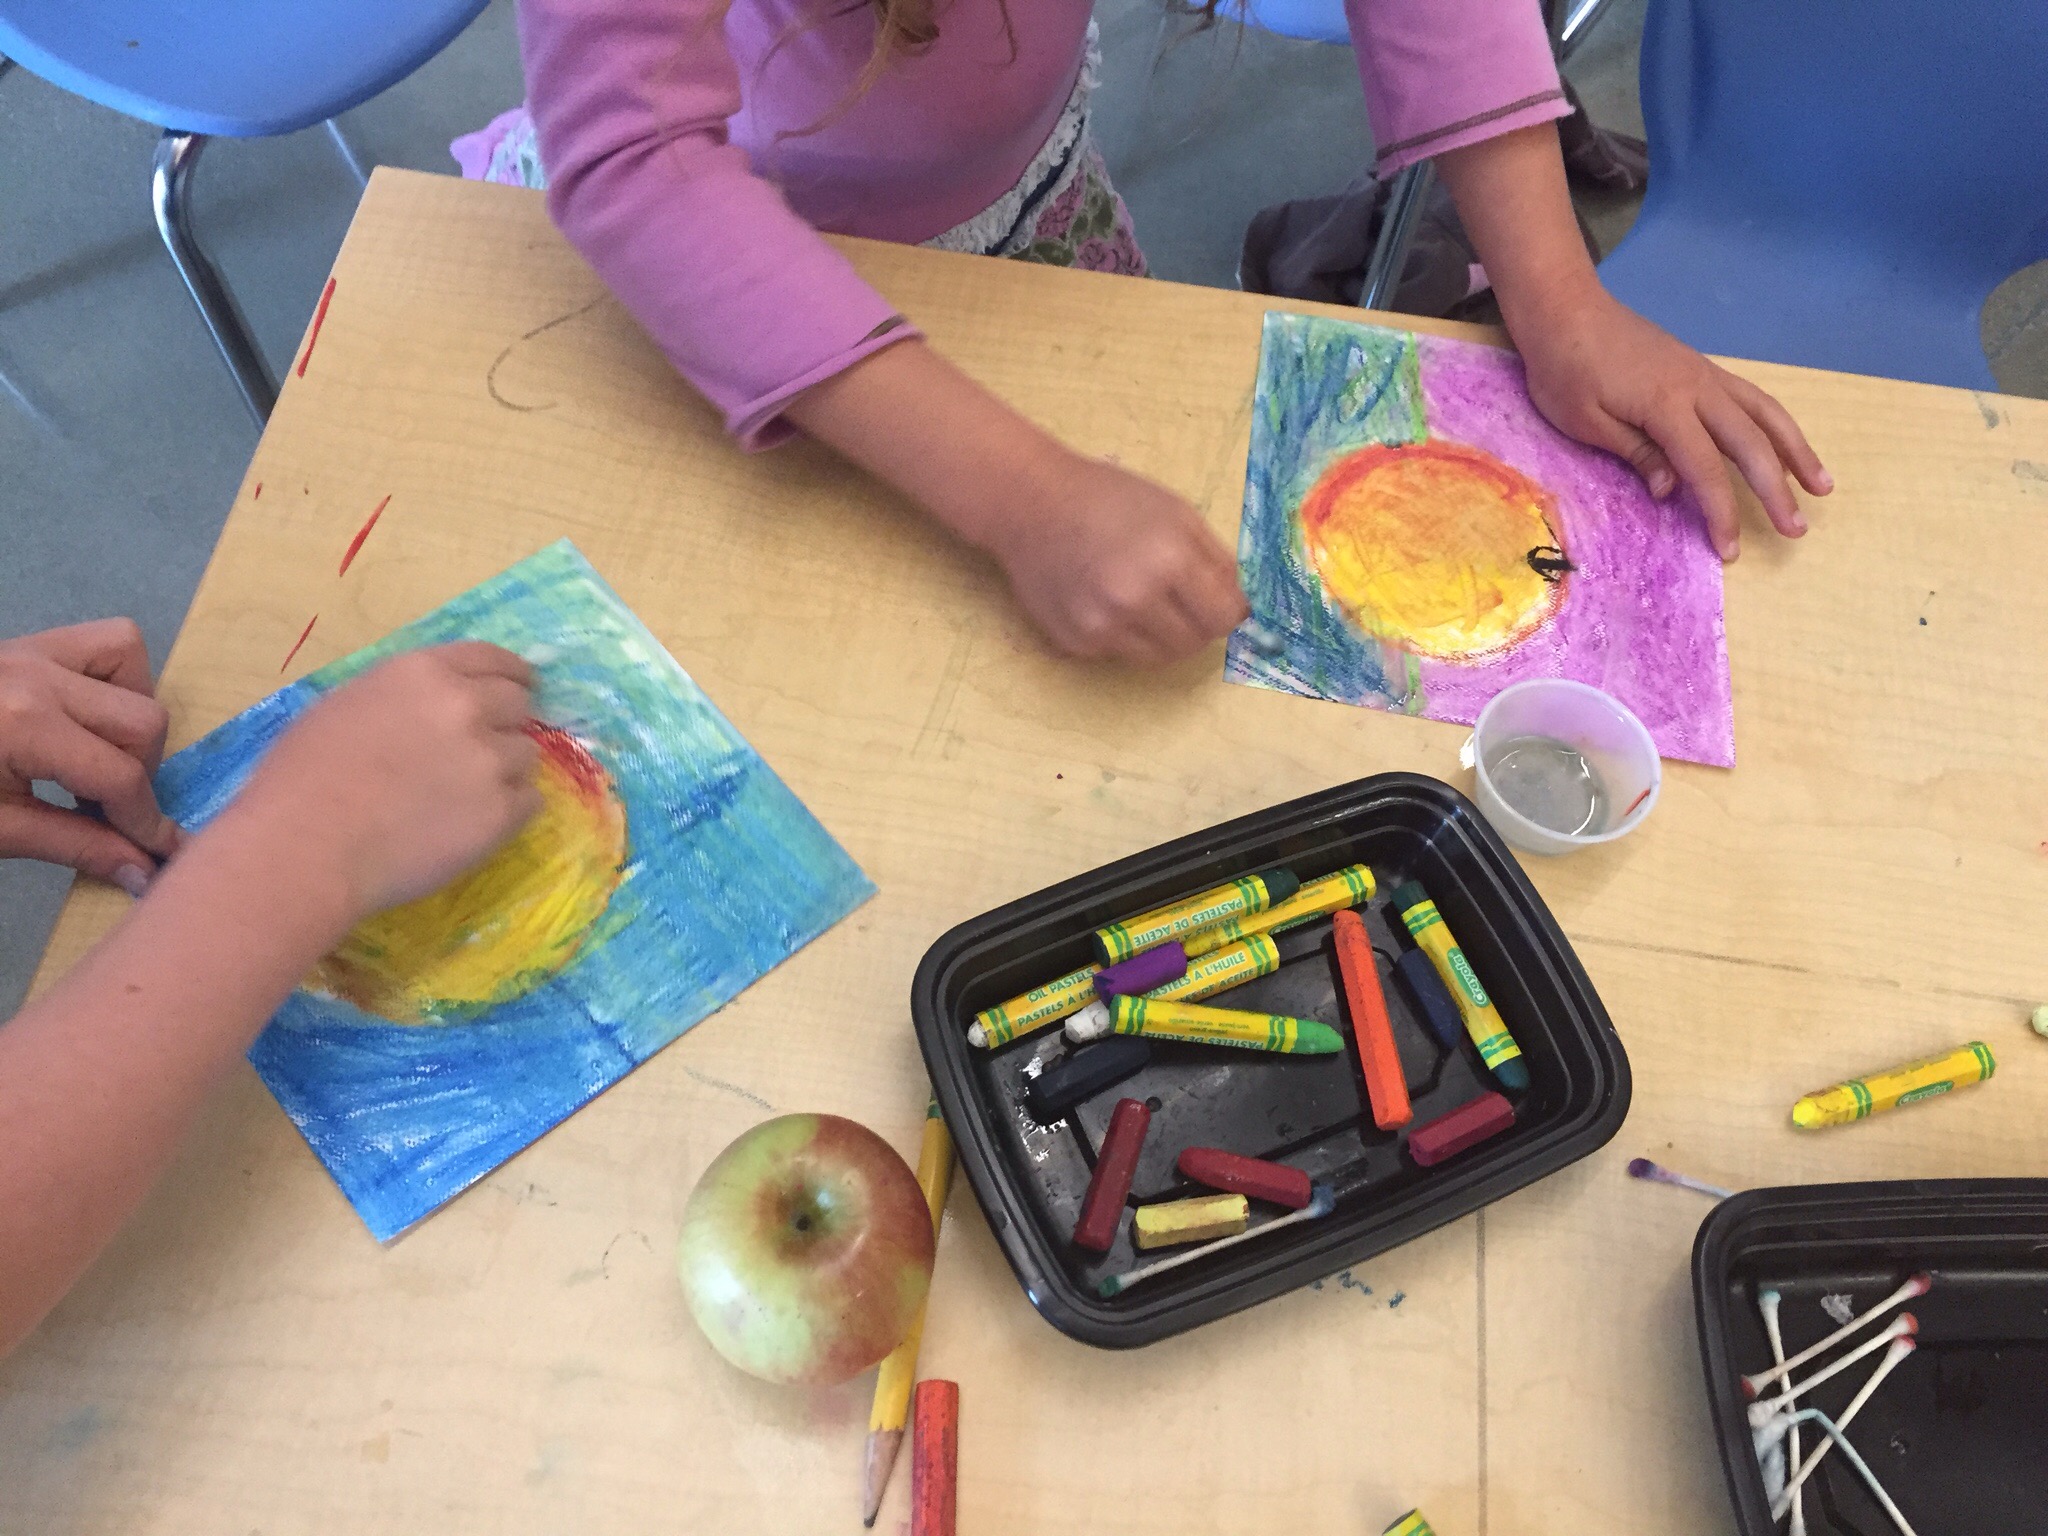
watercolor paper, 7″x7″
oil pastels
baby oil
q-tips
reference photos of fruits and vegetables (we used the weekly grocery store ads from the newspaper)

Directions
Draw one type of fruit or vegetable on the paper using oil pastel. Fill the square. Use and warm and cool color scheme – if you draw a warm color fruit, use a cool color background, and vice versa.

After drawing, blend the oil pastels with a q-tip dipped in a BIT of baby oil. Be sure to use two q-tips – one for blending warms, and one for blending cools.

Place completed artworks on a drying rack for a day or two so excess oil can absorb into the paper.

Mounting:
I laid out the artwork face down in a grid, and taped all the seams together with masking tape. If you use enough tape on the back you can hang it as a single piece.

If you ever decide to take down your masterpiece, you have the option of cutting on the seams and returning individual artworks to students.

Enjoy!

IMG_4379.JPG

Shadow Puppets on the Overhead Projector

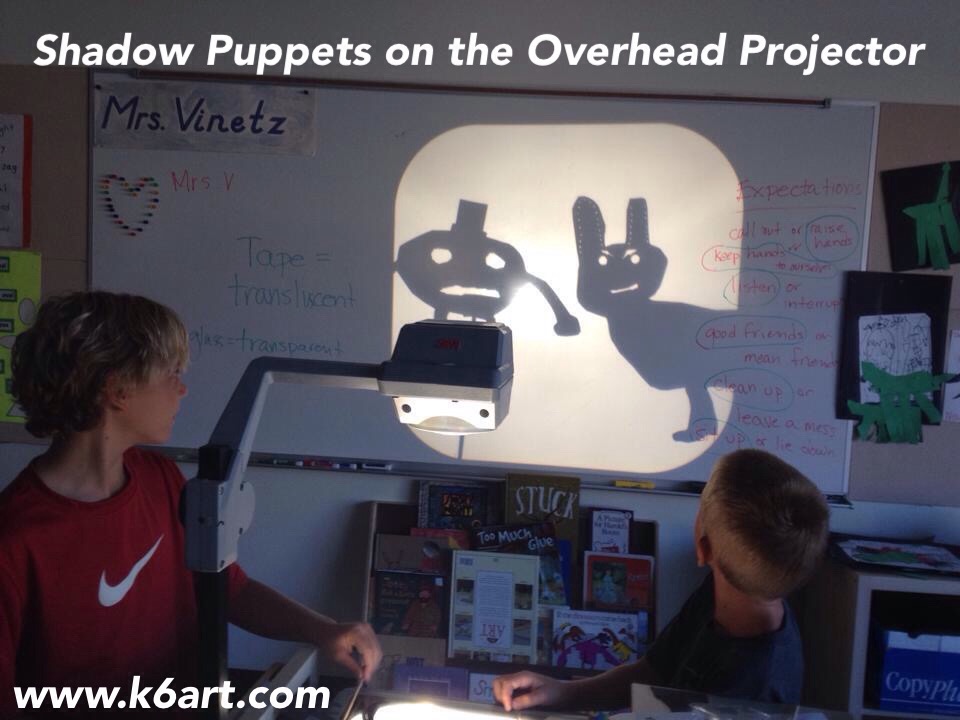
Shadow puppets on the overhead projector

Our fifth graders just completed a shadow puppet unit. We had a lot of fun creating shadow puppets and performing with them on our old overhead projector.  If you’ve got one (or more) of these old projectors at school, grab them! Your students will have a blast making shadow puppets.

Materials:

  • overhead projector
  • tagboard or construction paper
  • pencils/erasers
  • scissors
  • bamboo skewers
  • tape
  • decorative punches
  • push pins
  • wax paper
  • overhead transparencies
  • colored Sharpie permanent markers

Create a puppet:

Draw a character on tagboard or paper. Encourage kids to make puppets with interesting silhouettes. Cut out. Use the punches to add a decorative edge. Students can also cut out slits or interesting shapes within the puppets. They can also pierce the puppets with a push pin to make tiny dots of light (look carefully at the octopus below to see this effect). Tape on a bamboo skewer and you are ready to go!


Students created shadow puppets from black paper and bamboo skewers

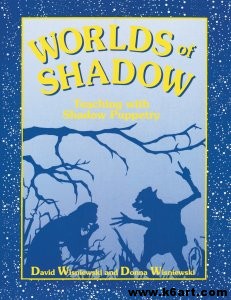
You can learn to create a shadow puppet show step-by-step in the book Worlds of Shadow: Teaching with Shadow Puppetry. The book has great direction for making puppets with movable joints as well.

Worlds of Shadow

Worlds of Shadow

Backdrops:

Wax paper:

We used wax paper as a backdrop. It makes a smokey, translucent shadow when placed on the overhead projector. We used cut wax paper to make ocean waves and torn wax paper to make mountain tops.

Overhead transparencies + colored Sharpie:

Students made a lot of beautiful backdrops on transparencies. Here is a brief video that shows the vibrant color:

I wrote about part one of our shadow puppet unit in this post.

I learned how to create shadow puppets from Baltimore art teacher Grace Hulse – you can see Grace’s shadow puppet Prezi and video in this post.

Enjoy!

Related Posts Plugin for WordPress, Blogger...