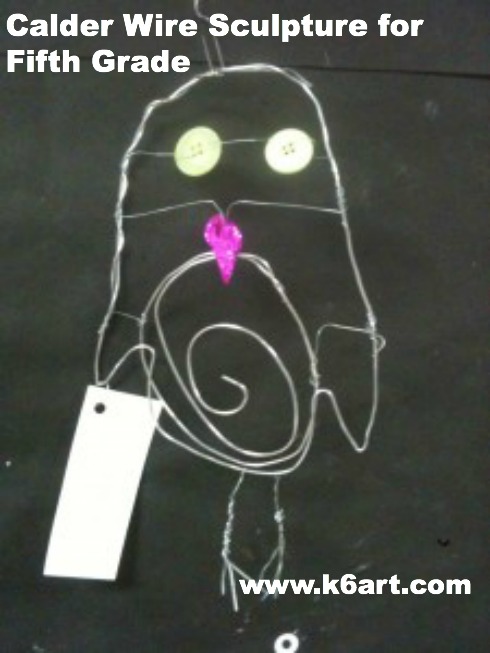
Of all the famous artists we study, students think Alexander Calder is the most fun. Fifth graders made Calder-inspired wire animal sculptures.
Alexander Calder’s Fish (1944).
5th graders made wire sculptures focusing on contour. Allow 2-3 40 minute sessions.
Materials:
Notes: When buying wire, the higher the gauge, the thinner and more flexible the wire. The wires below are soft enough for students to cut with our blunt-tip school scissors! Simplify your life and buy pre-cut 18″ floral wire (available at floral suppliers, Wal-Mart and Michaels).
pre-cut 18″ floral wire, 26 gauge. I call this super-fine and flexible wire ‘sewing wire’ because it is fine enough to pass through sequins, beads and window screen.
optional: Ziploc gallon-size storage bags for storing unfinished work between sessions
We begin by looking at this Calder wire sculpture Powerpoint. Next students sketch a contour drawing of an animal on copy paper. The sketch should touch all four edges of the paper and should be simple. Then students trace the contour with 14 gauge sculpture wire, overlap the ends and twist to secure.
Trace marker sketch with wire.
They can string shorter wires or pipe cleaners with beads, sequins and buttons across the center. Encourage kids to experiment.
We link up the sculptures in a chain (using my favorite paper-clip ‘S’ hooks) and suspend from the ceiling. Instant group Calder mobile!
Calder’s art is so varied and interesting, you could do an entire unit: a mobile lesson, stabile lesson, a wire sculpture lesson, a circus lesson, even a jewelry lesson.
After creating chalk pastel stencil art with multiple classes last week I had a lot of colorful used stencils. I sprayed them with fixative (Aqua Net unscented hairspray) and glued them to construction paper.
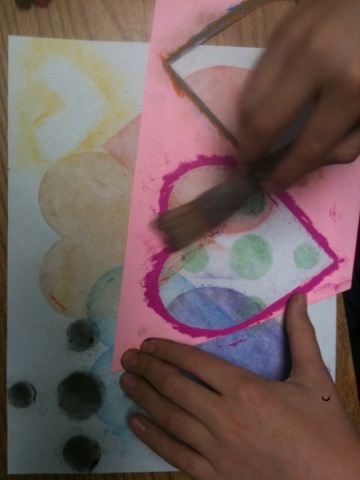
Students outlines stencil opening with chalk pastel and brushes color inward.
Used die-cut and hand-cut stencils make another kind of Valentine.
Which is more beautiful- stencil art or used stencil art? I can’t decide…Happy Valentine’s Day!
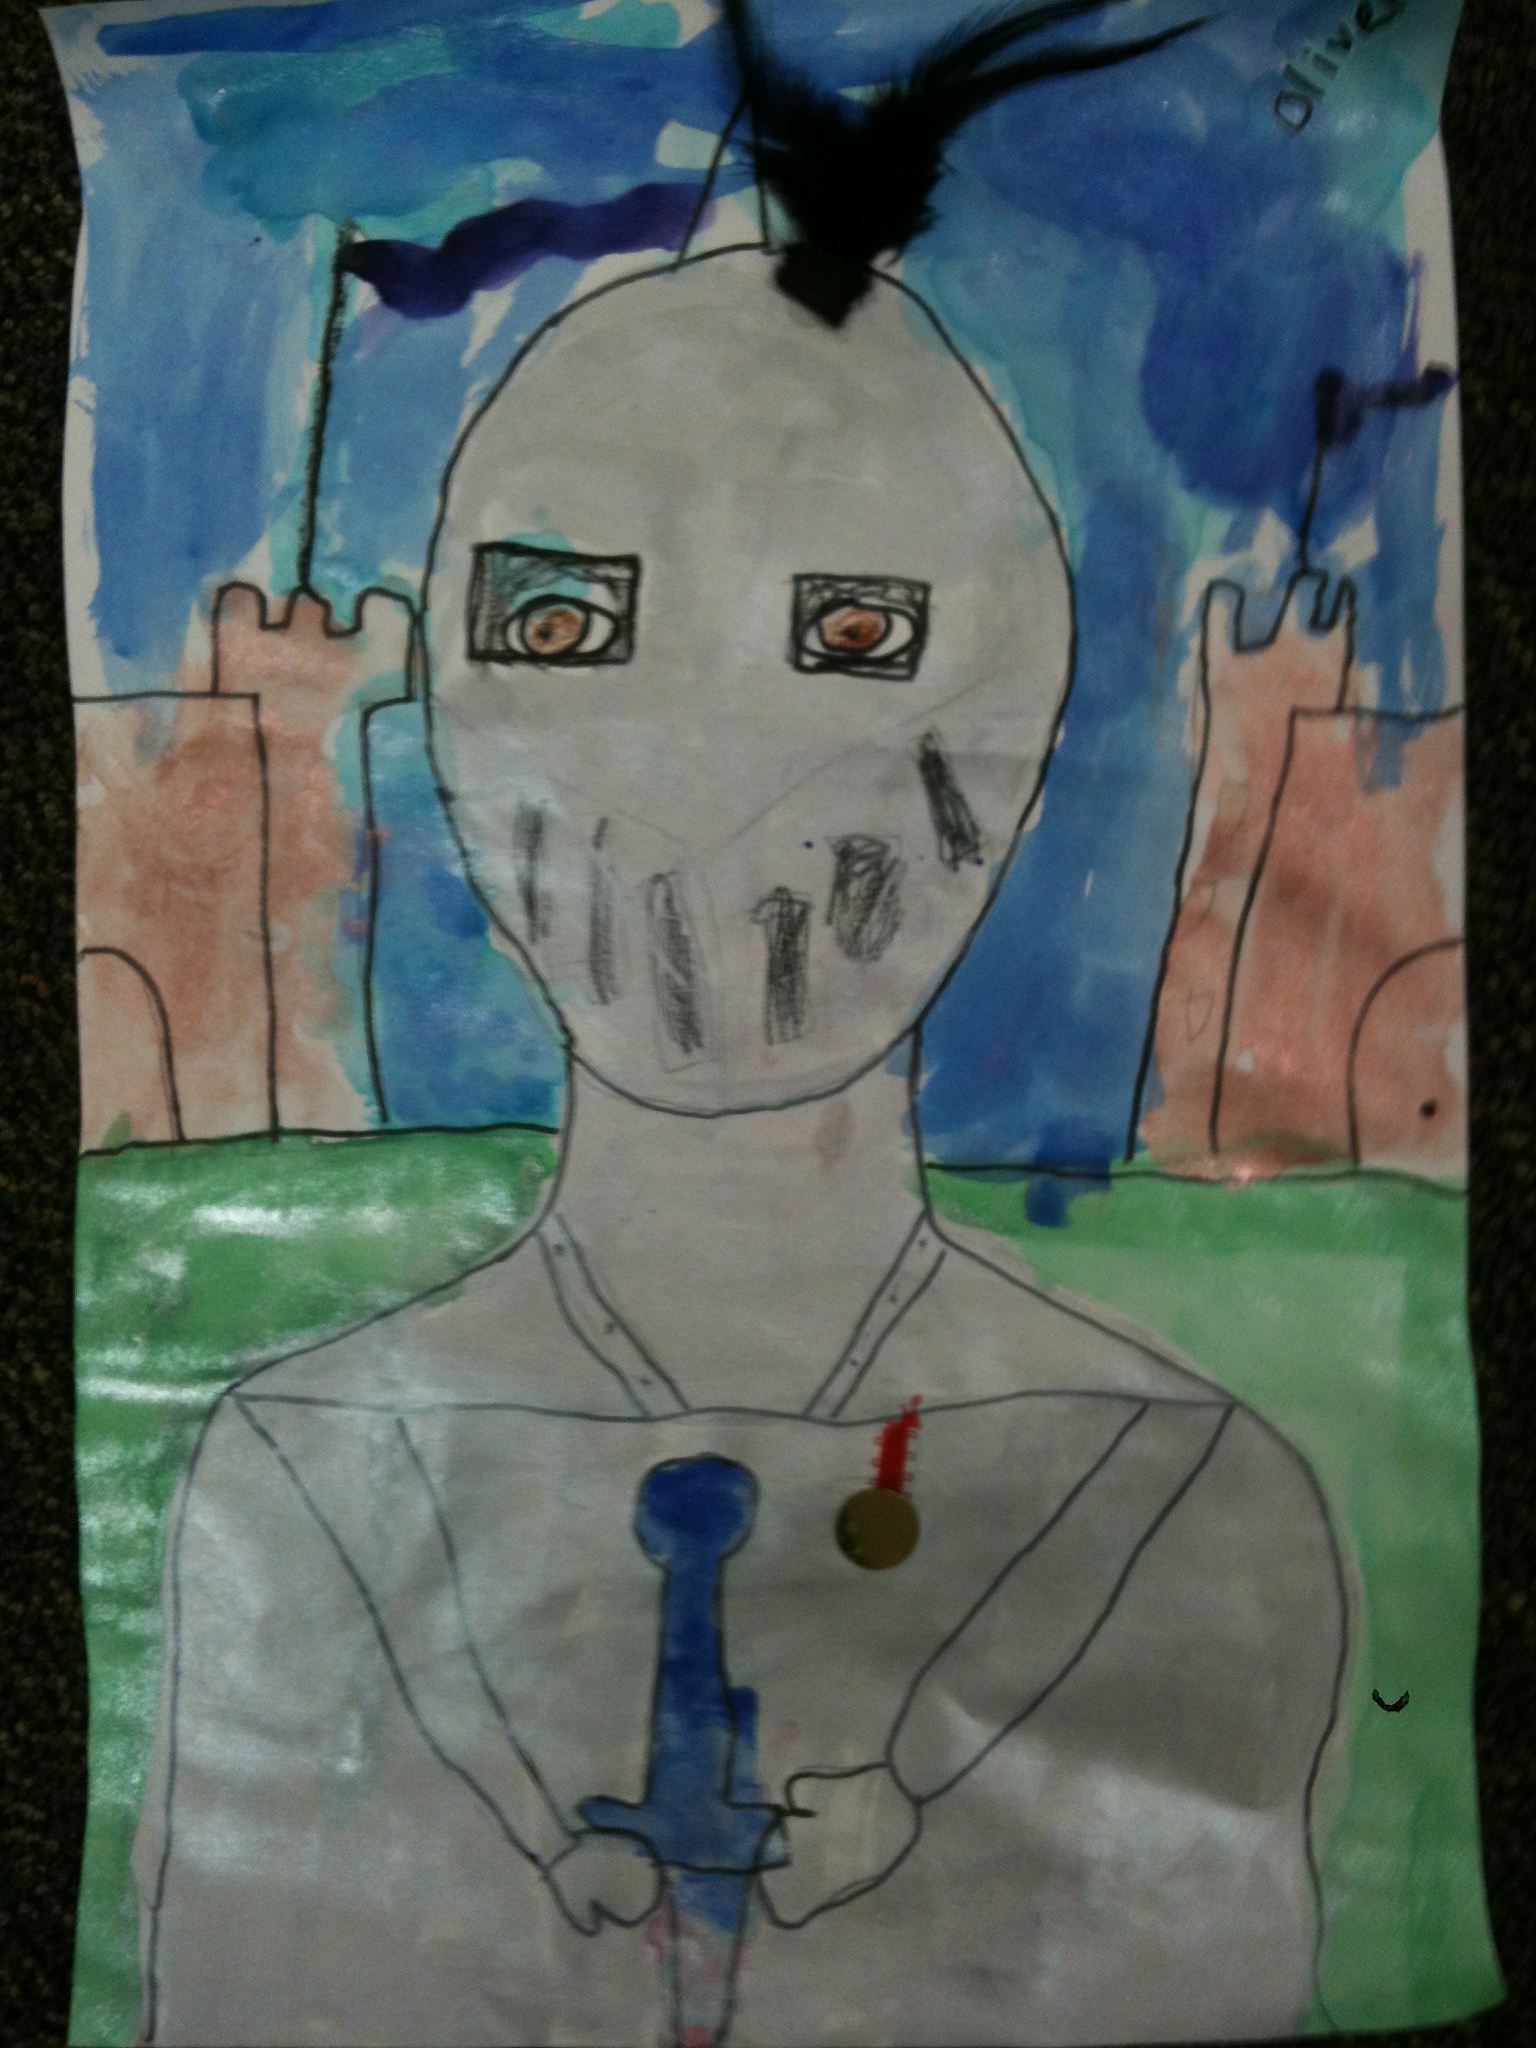
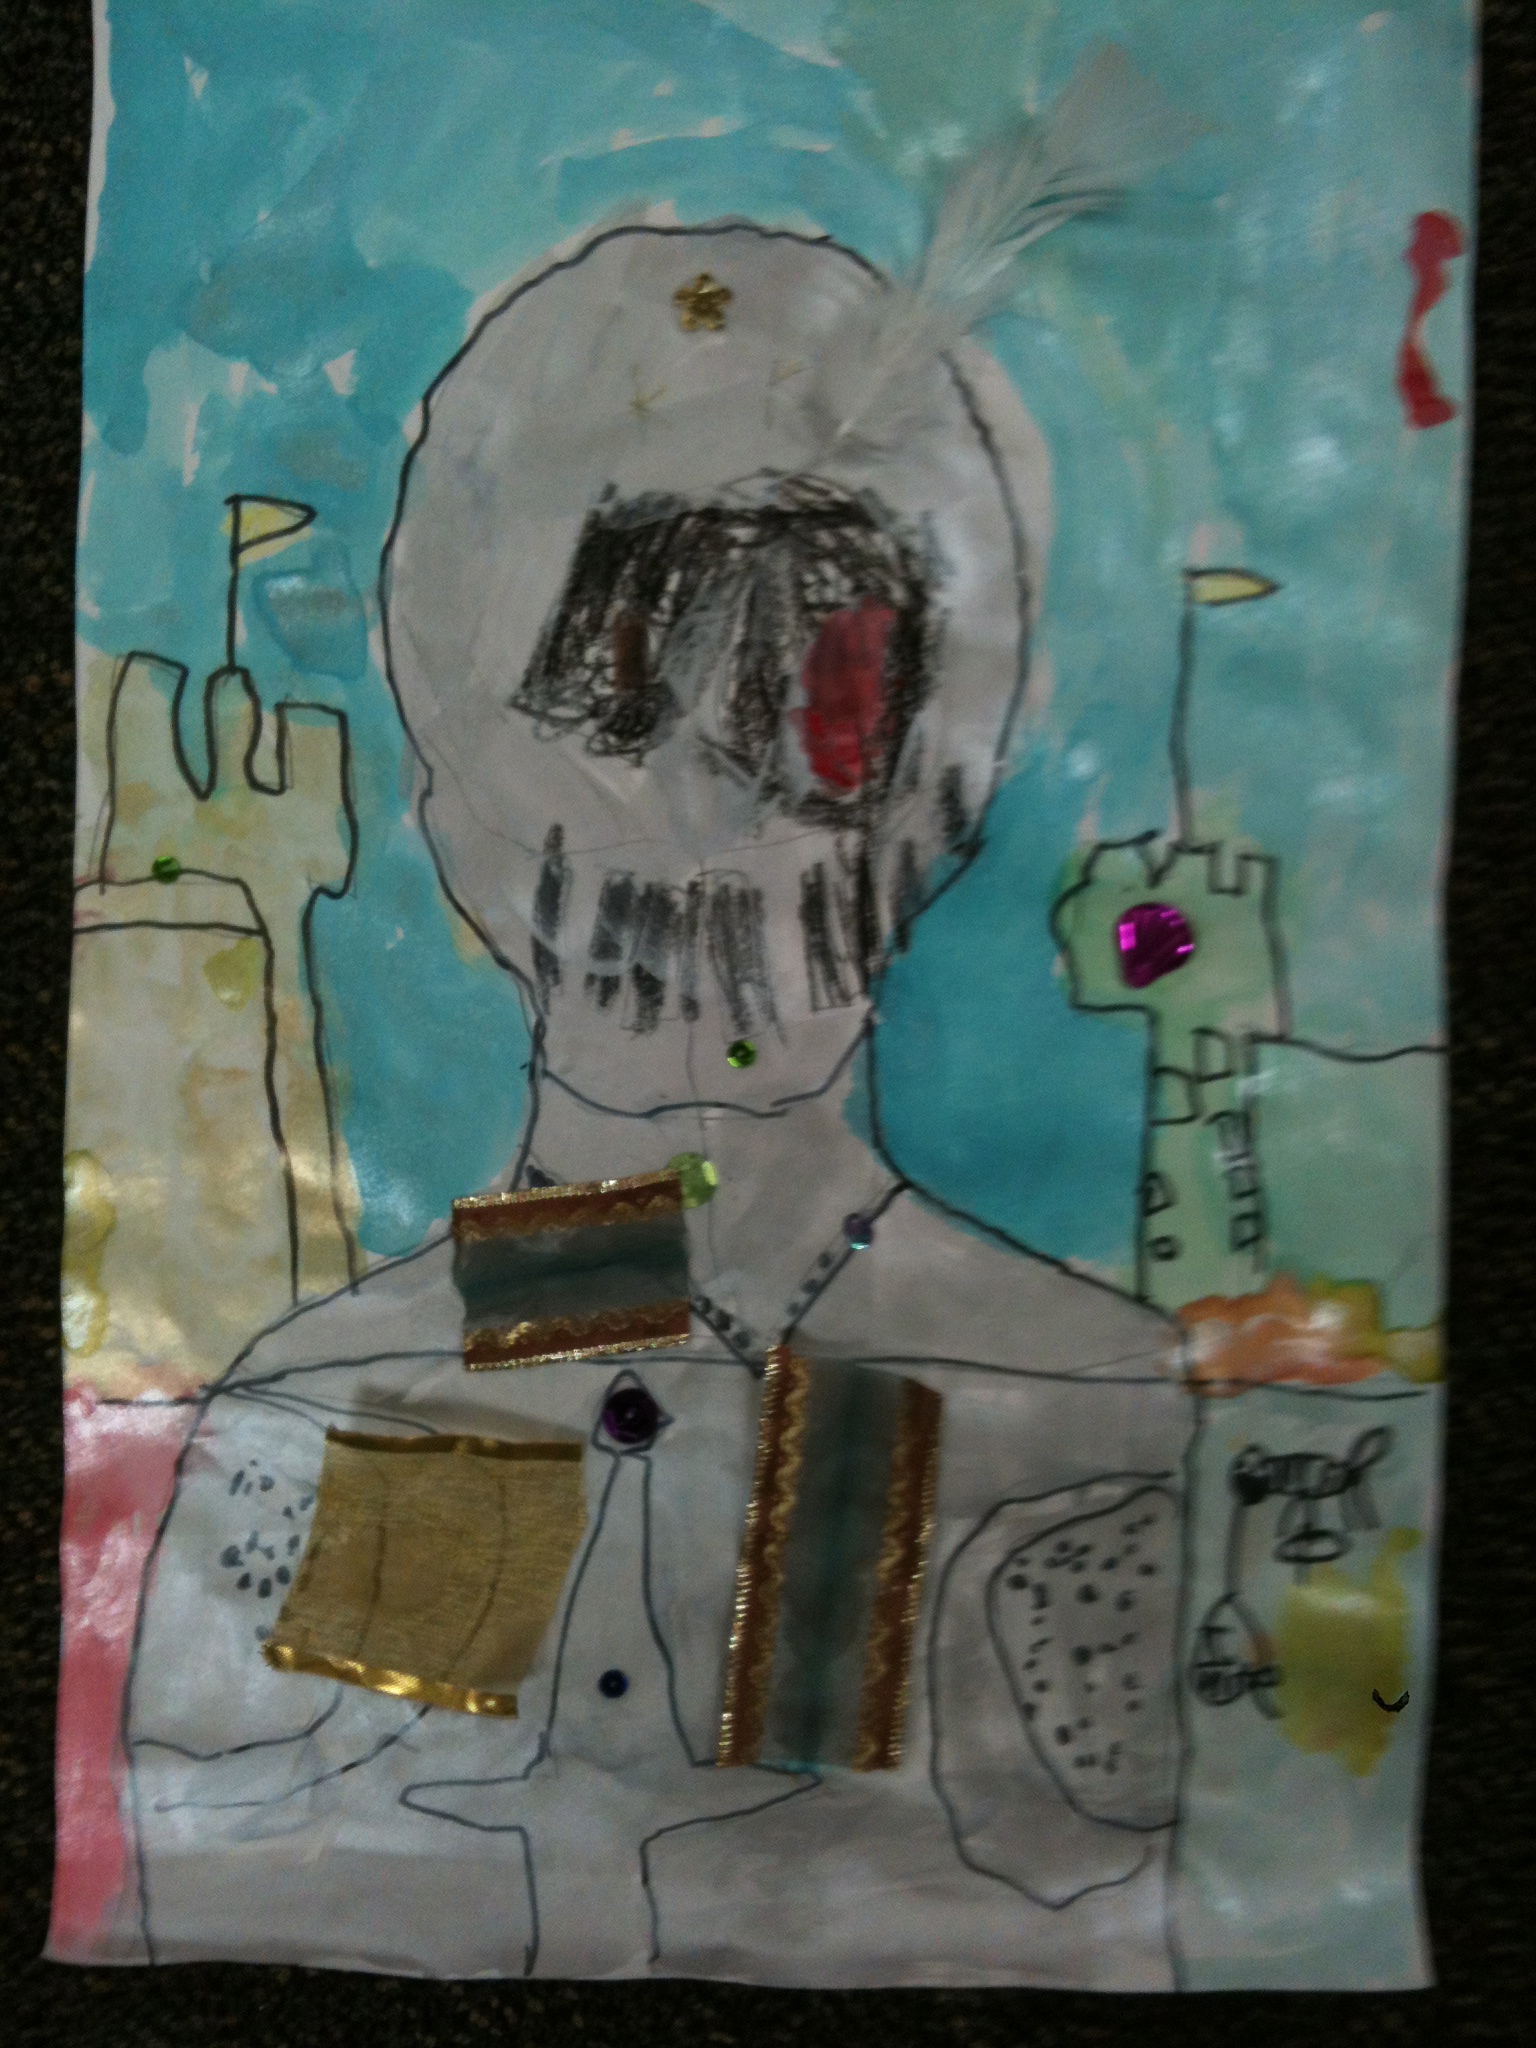
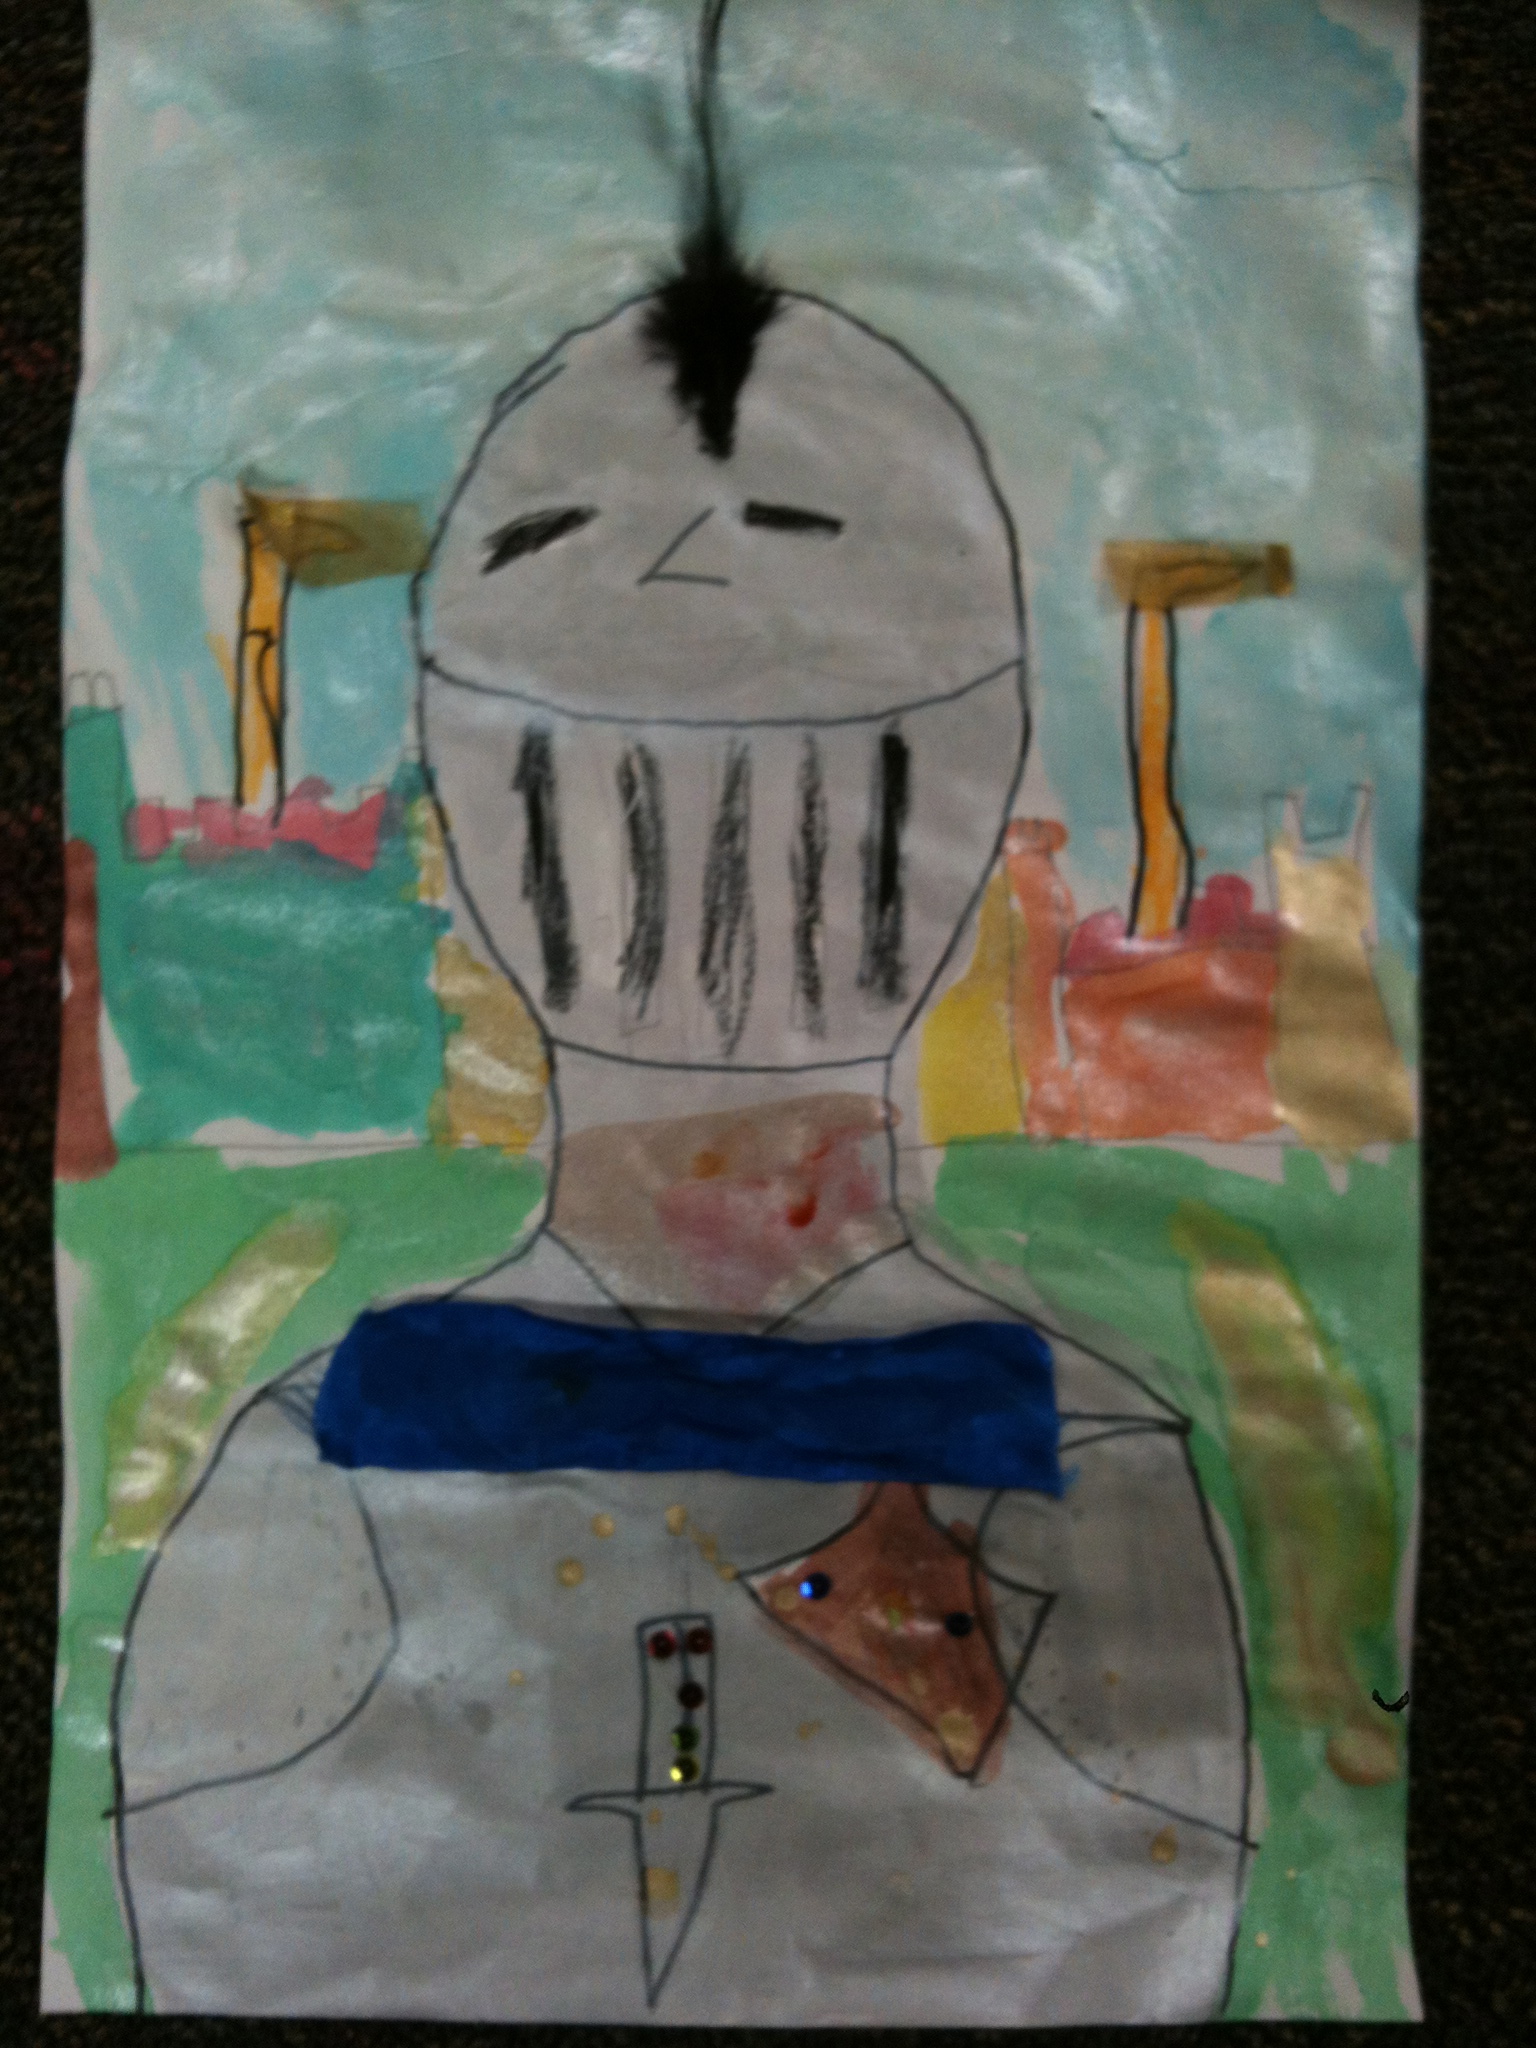
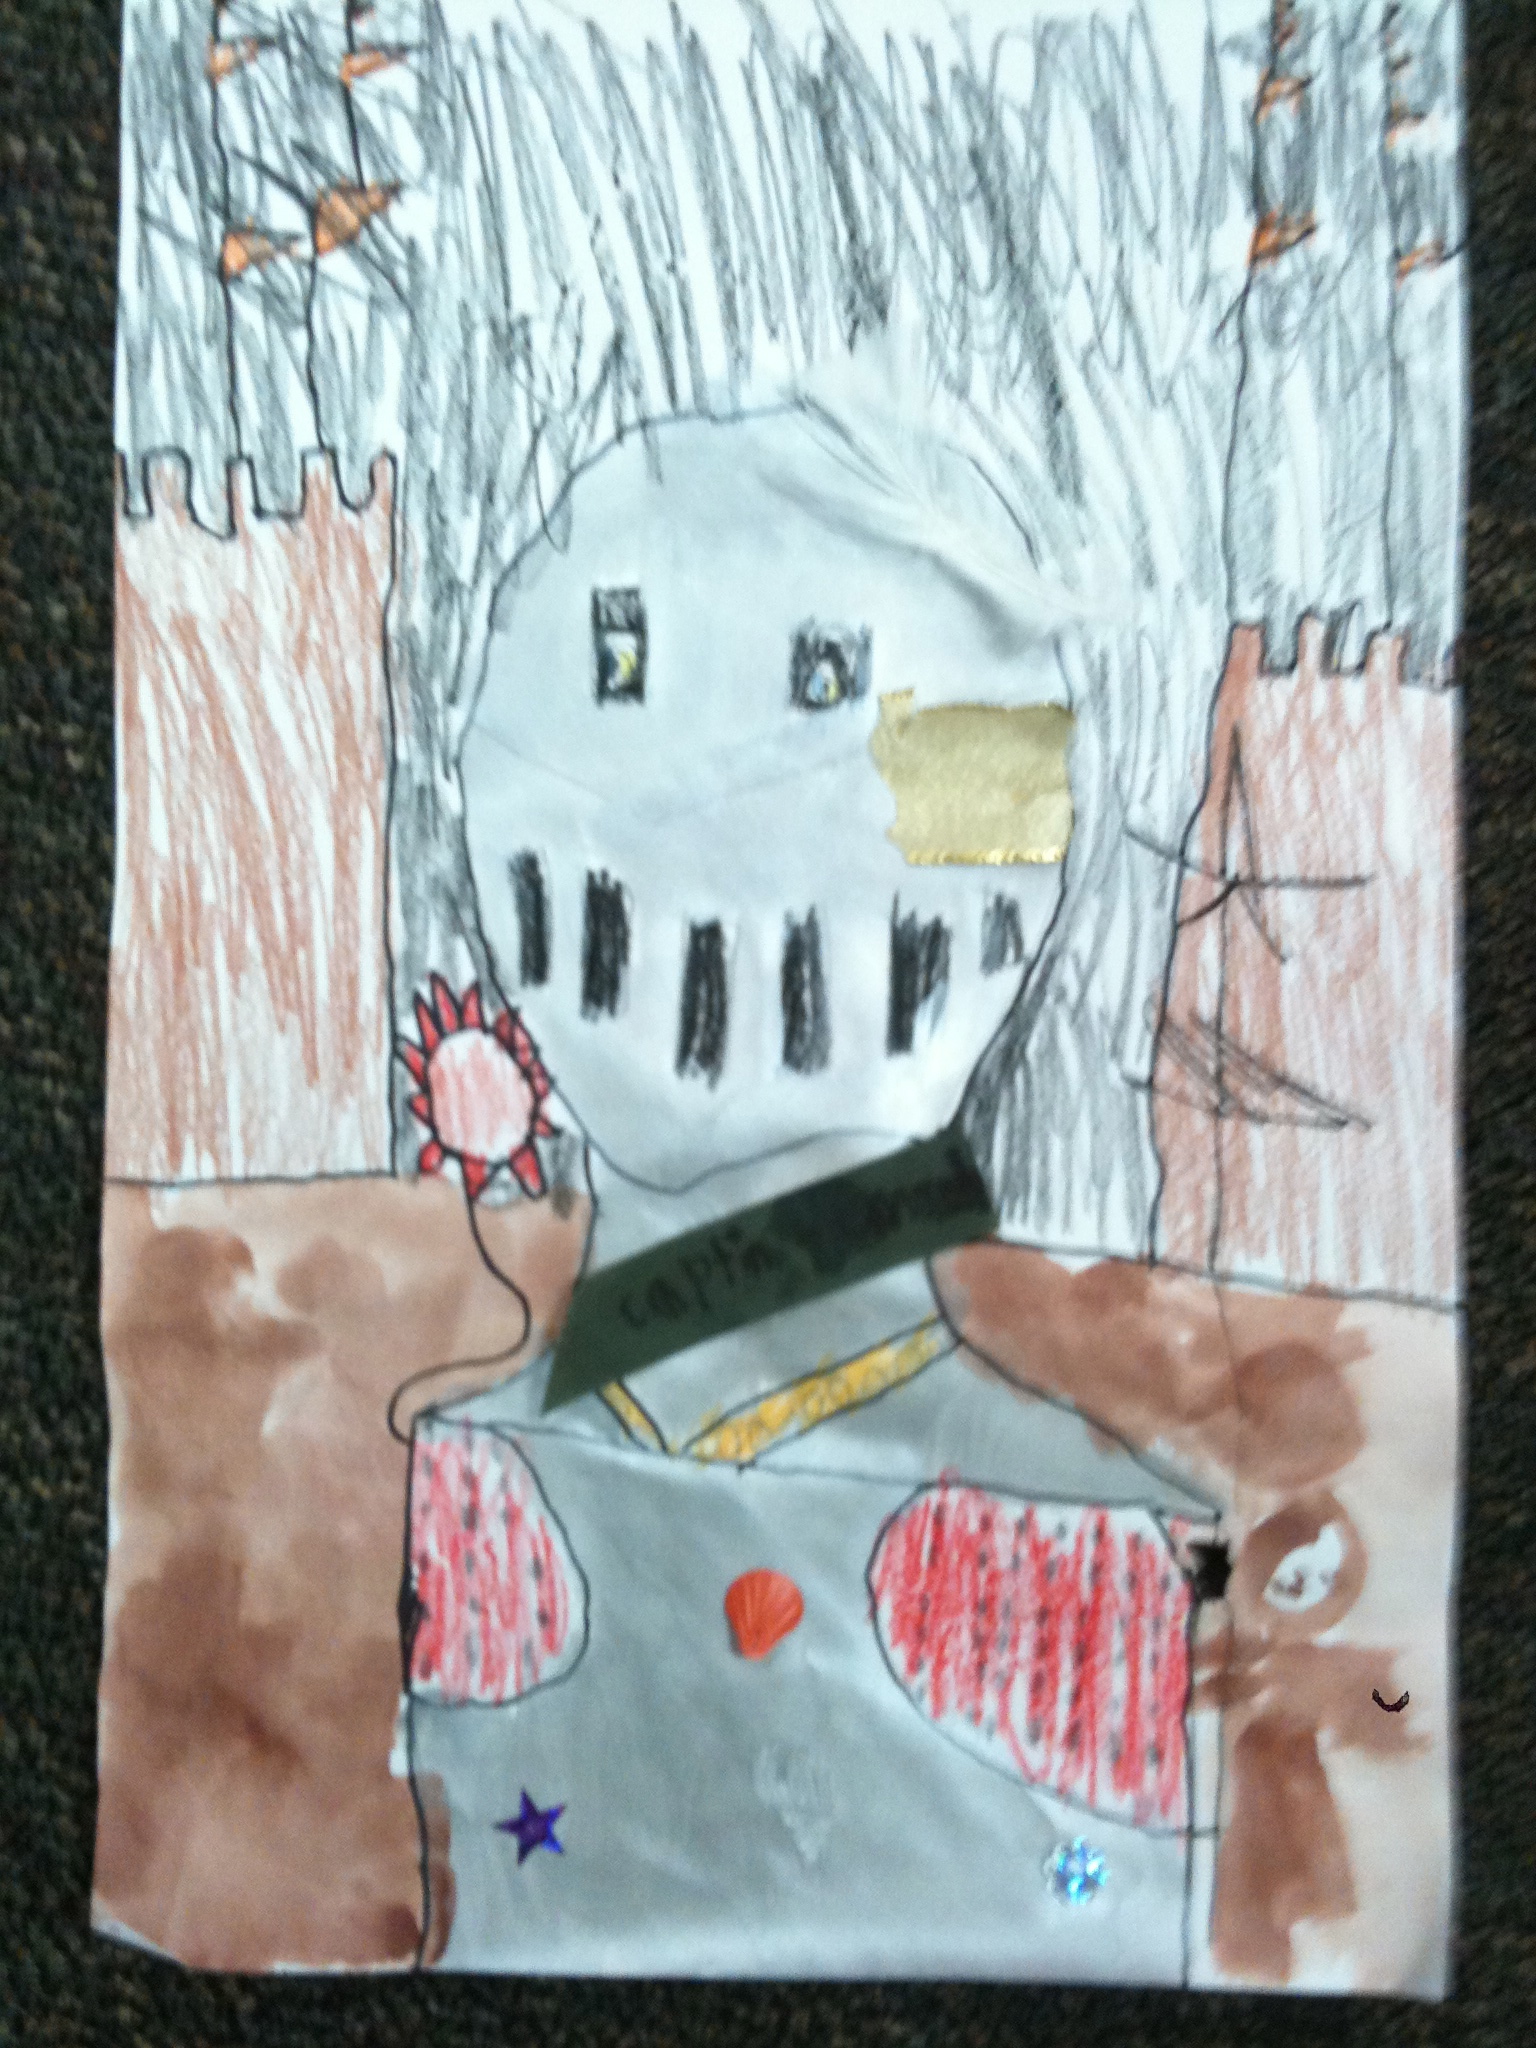
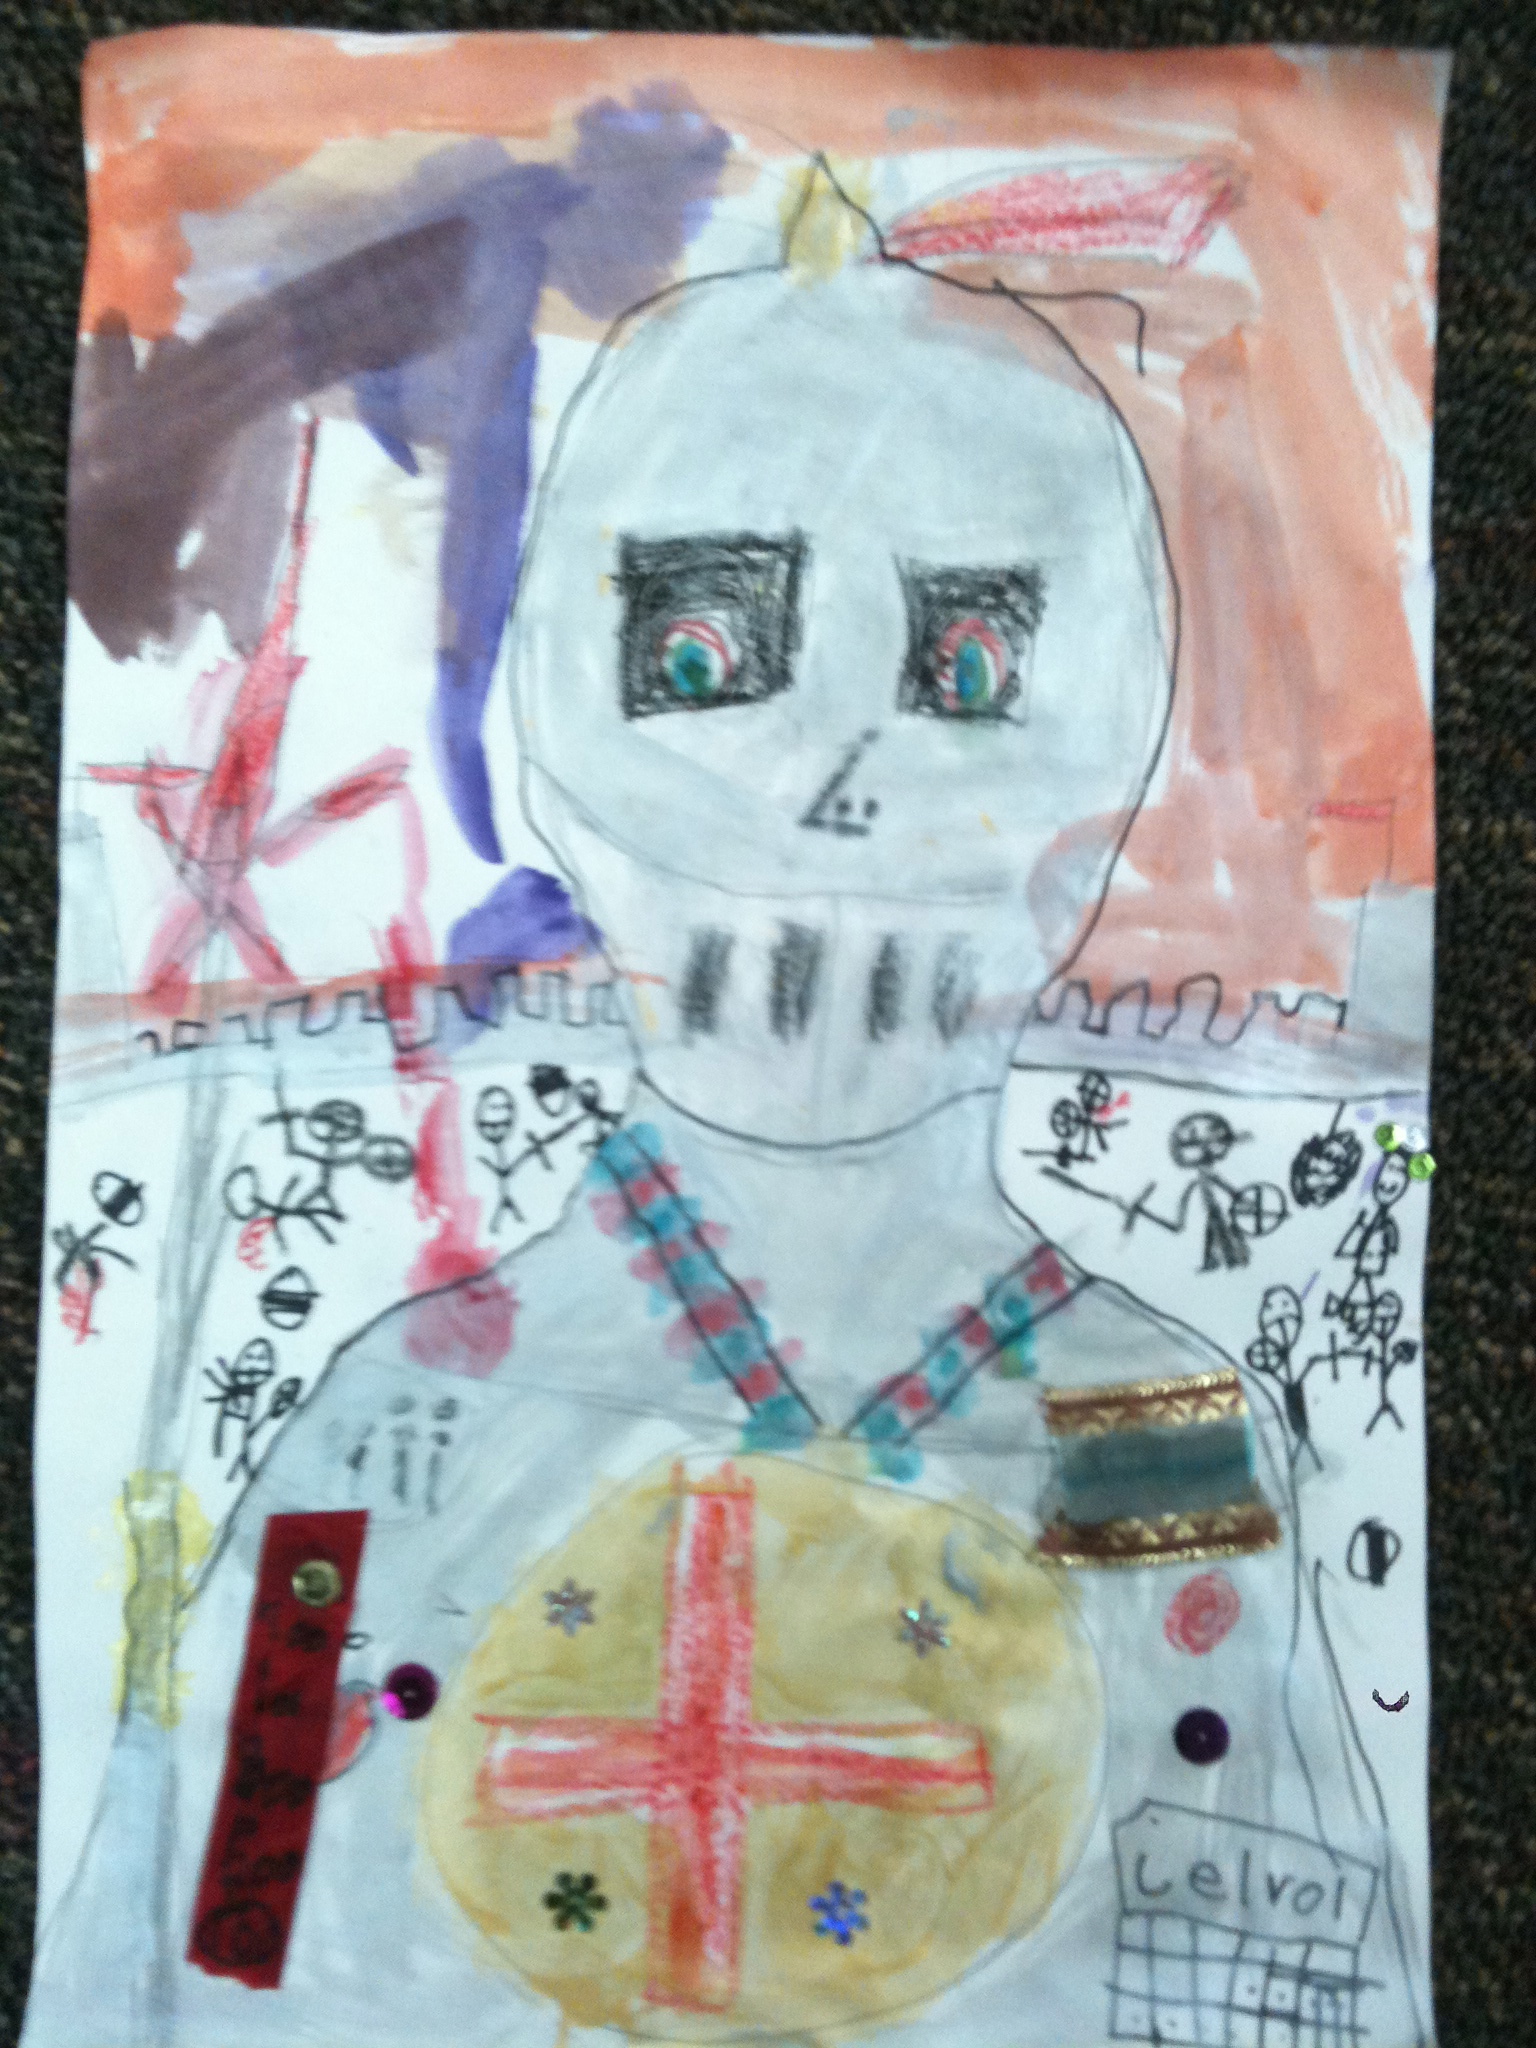
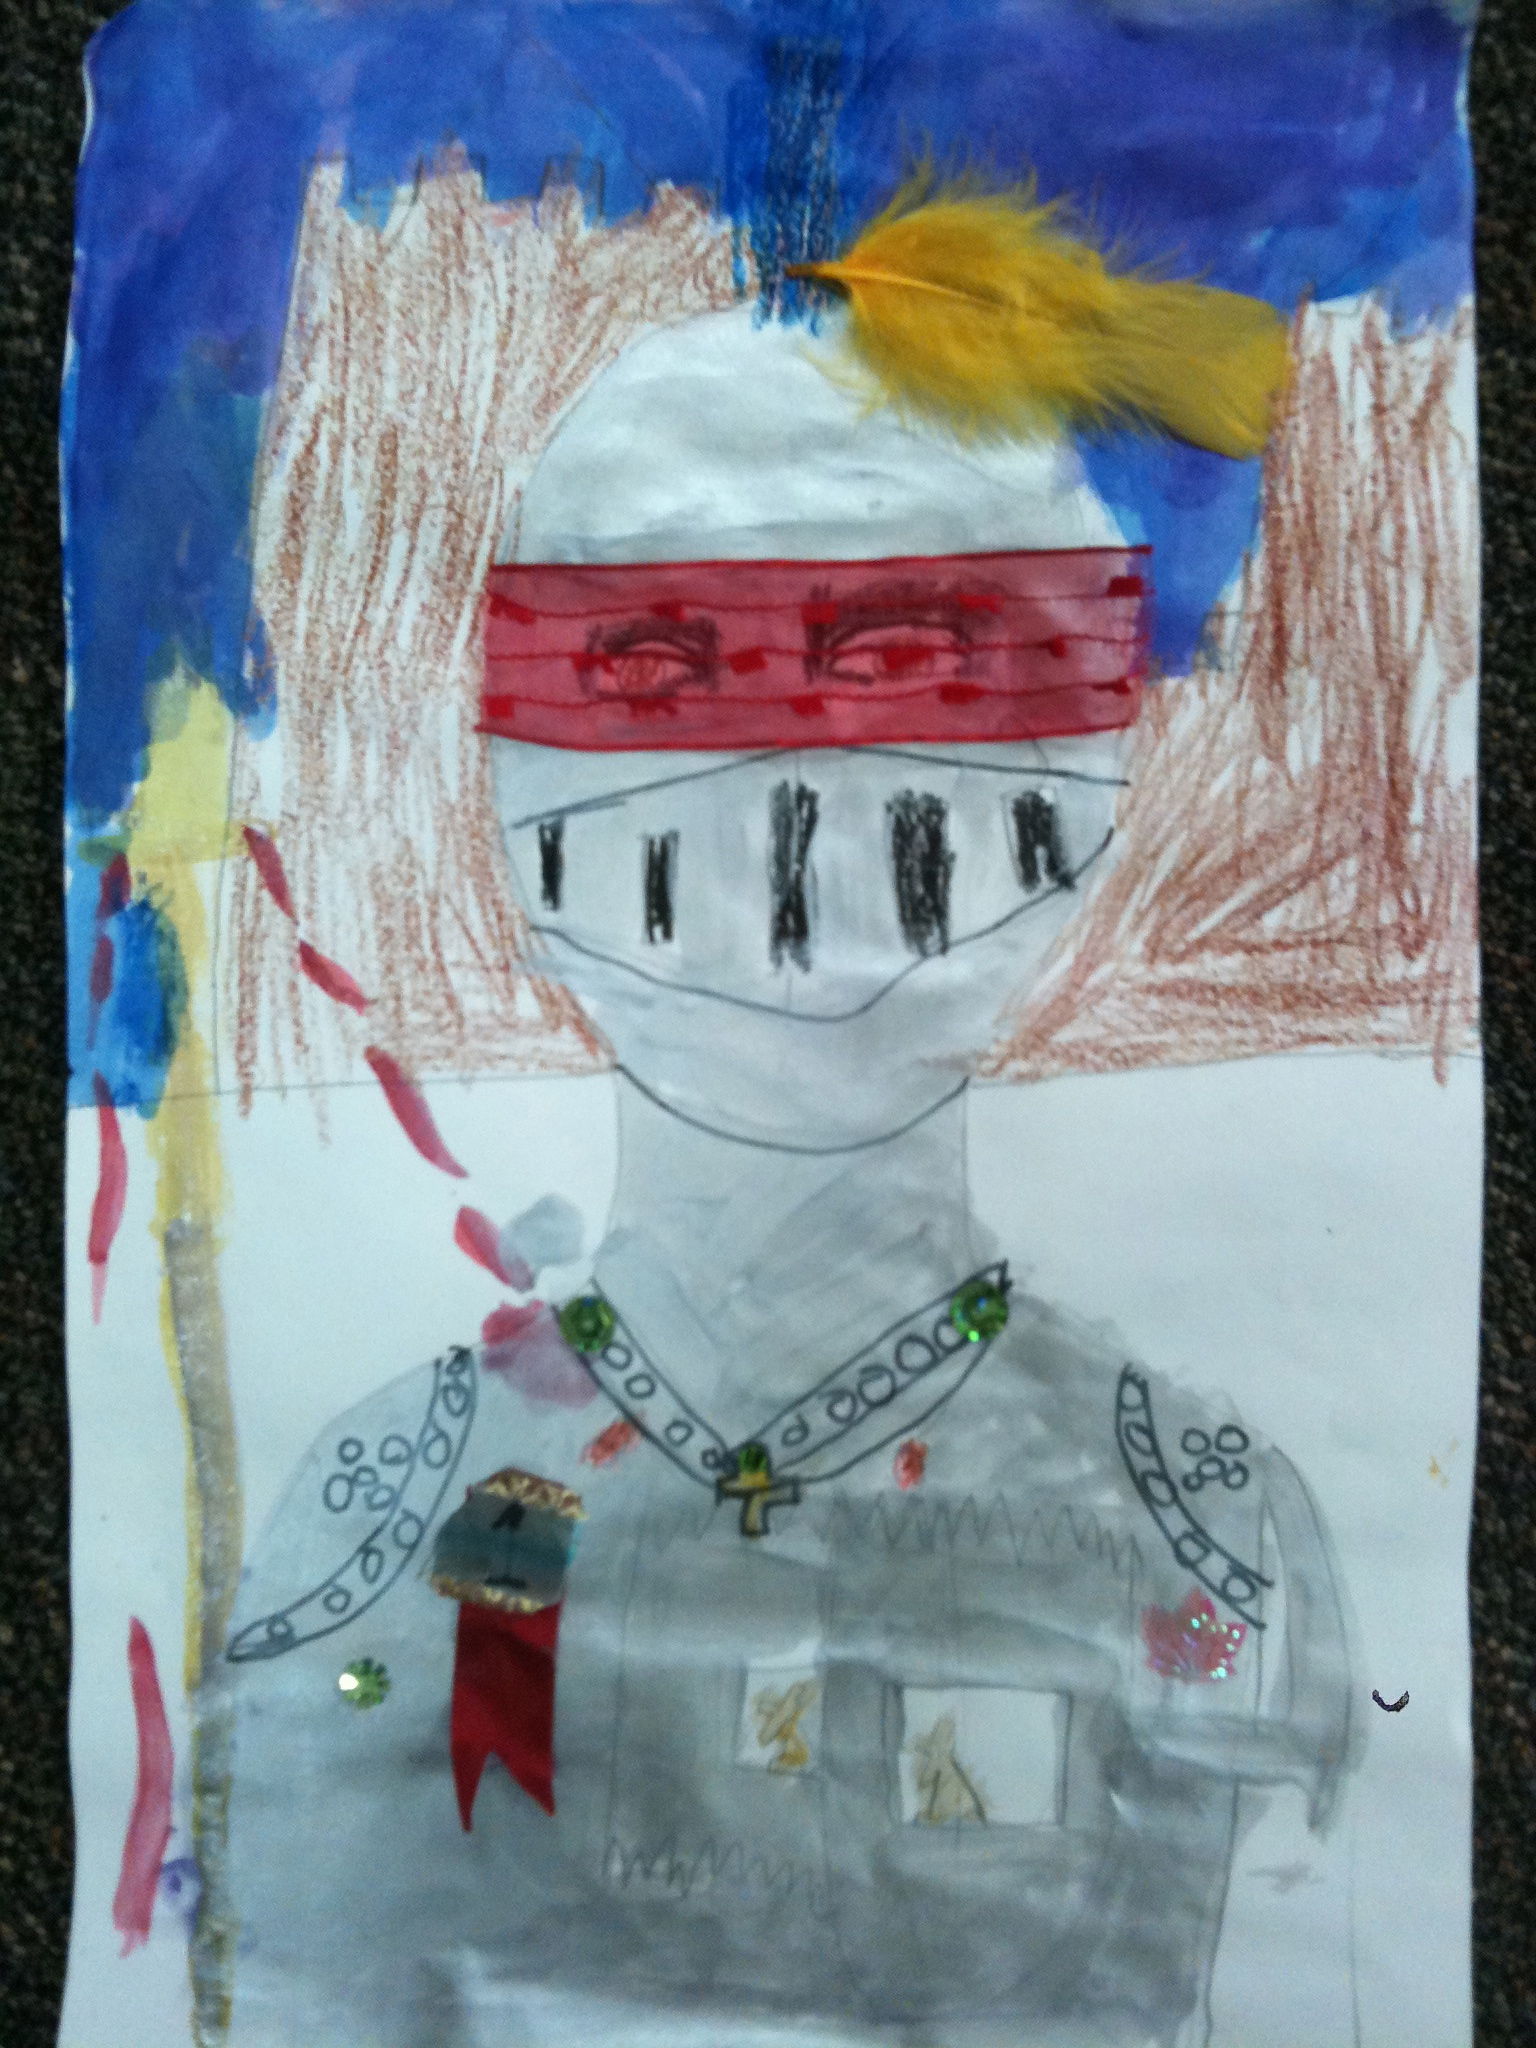
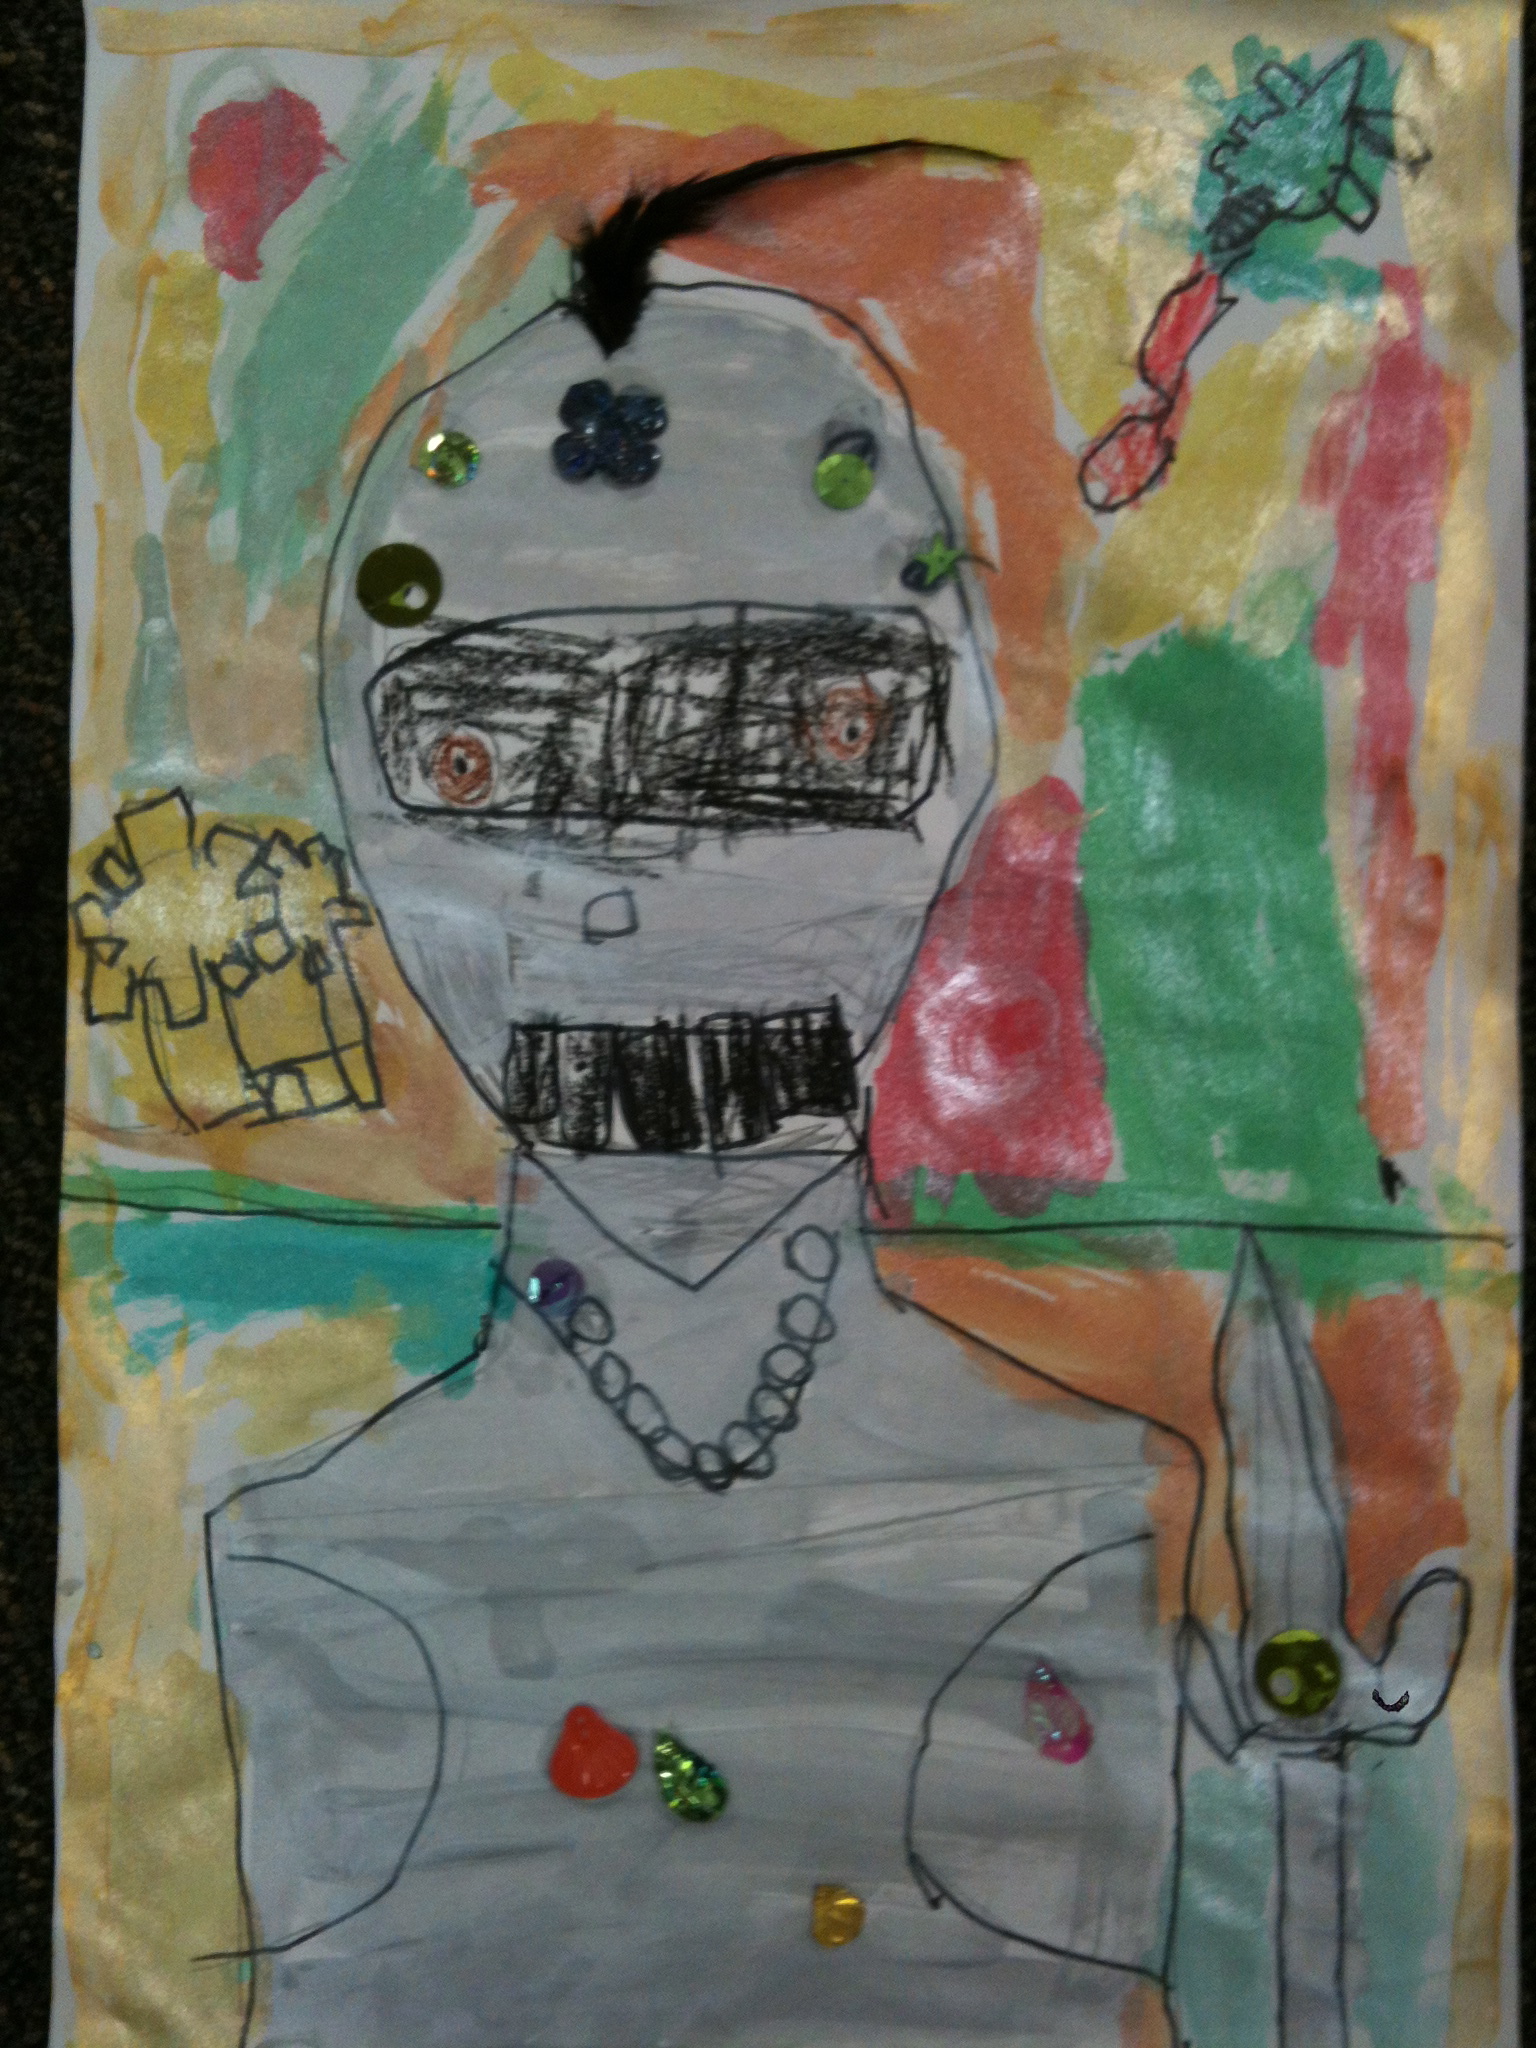
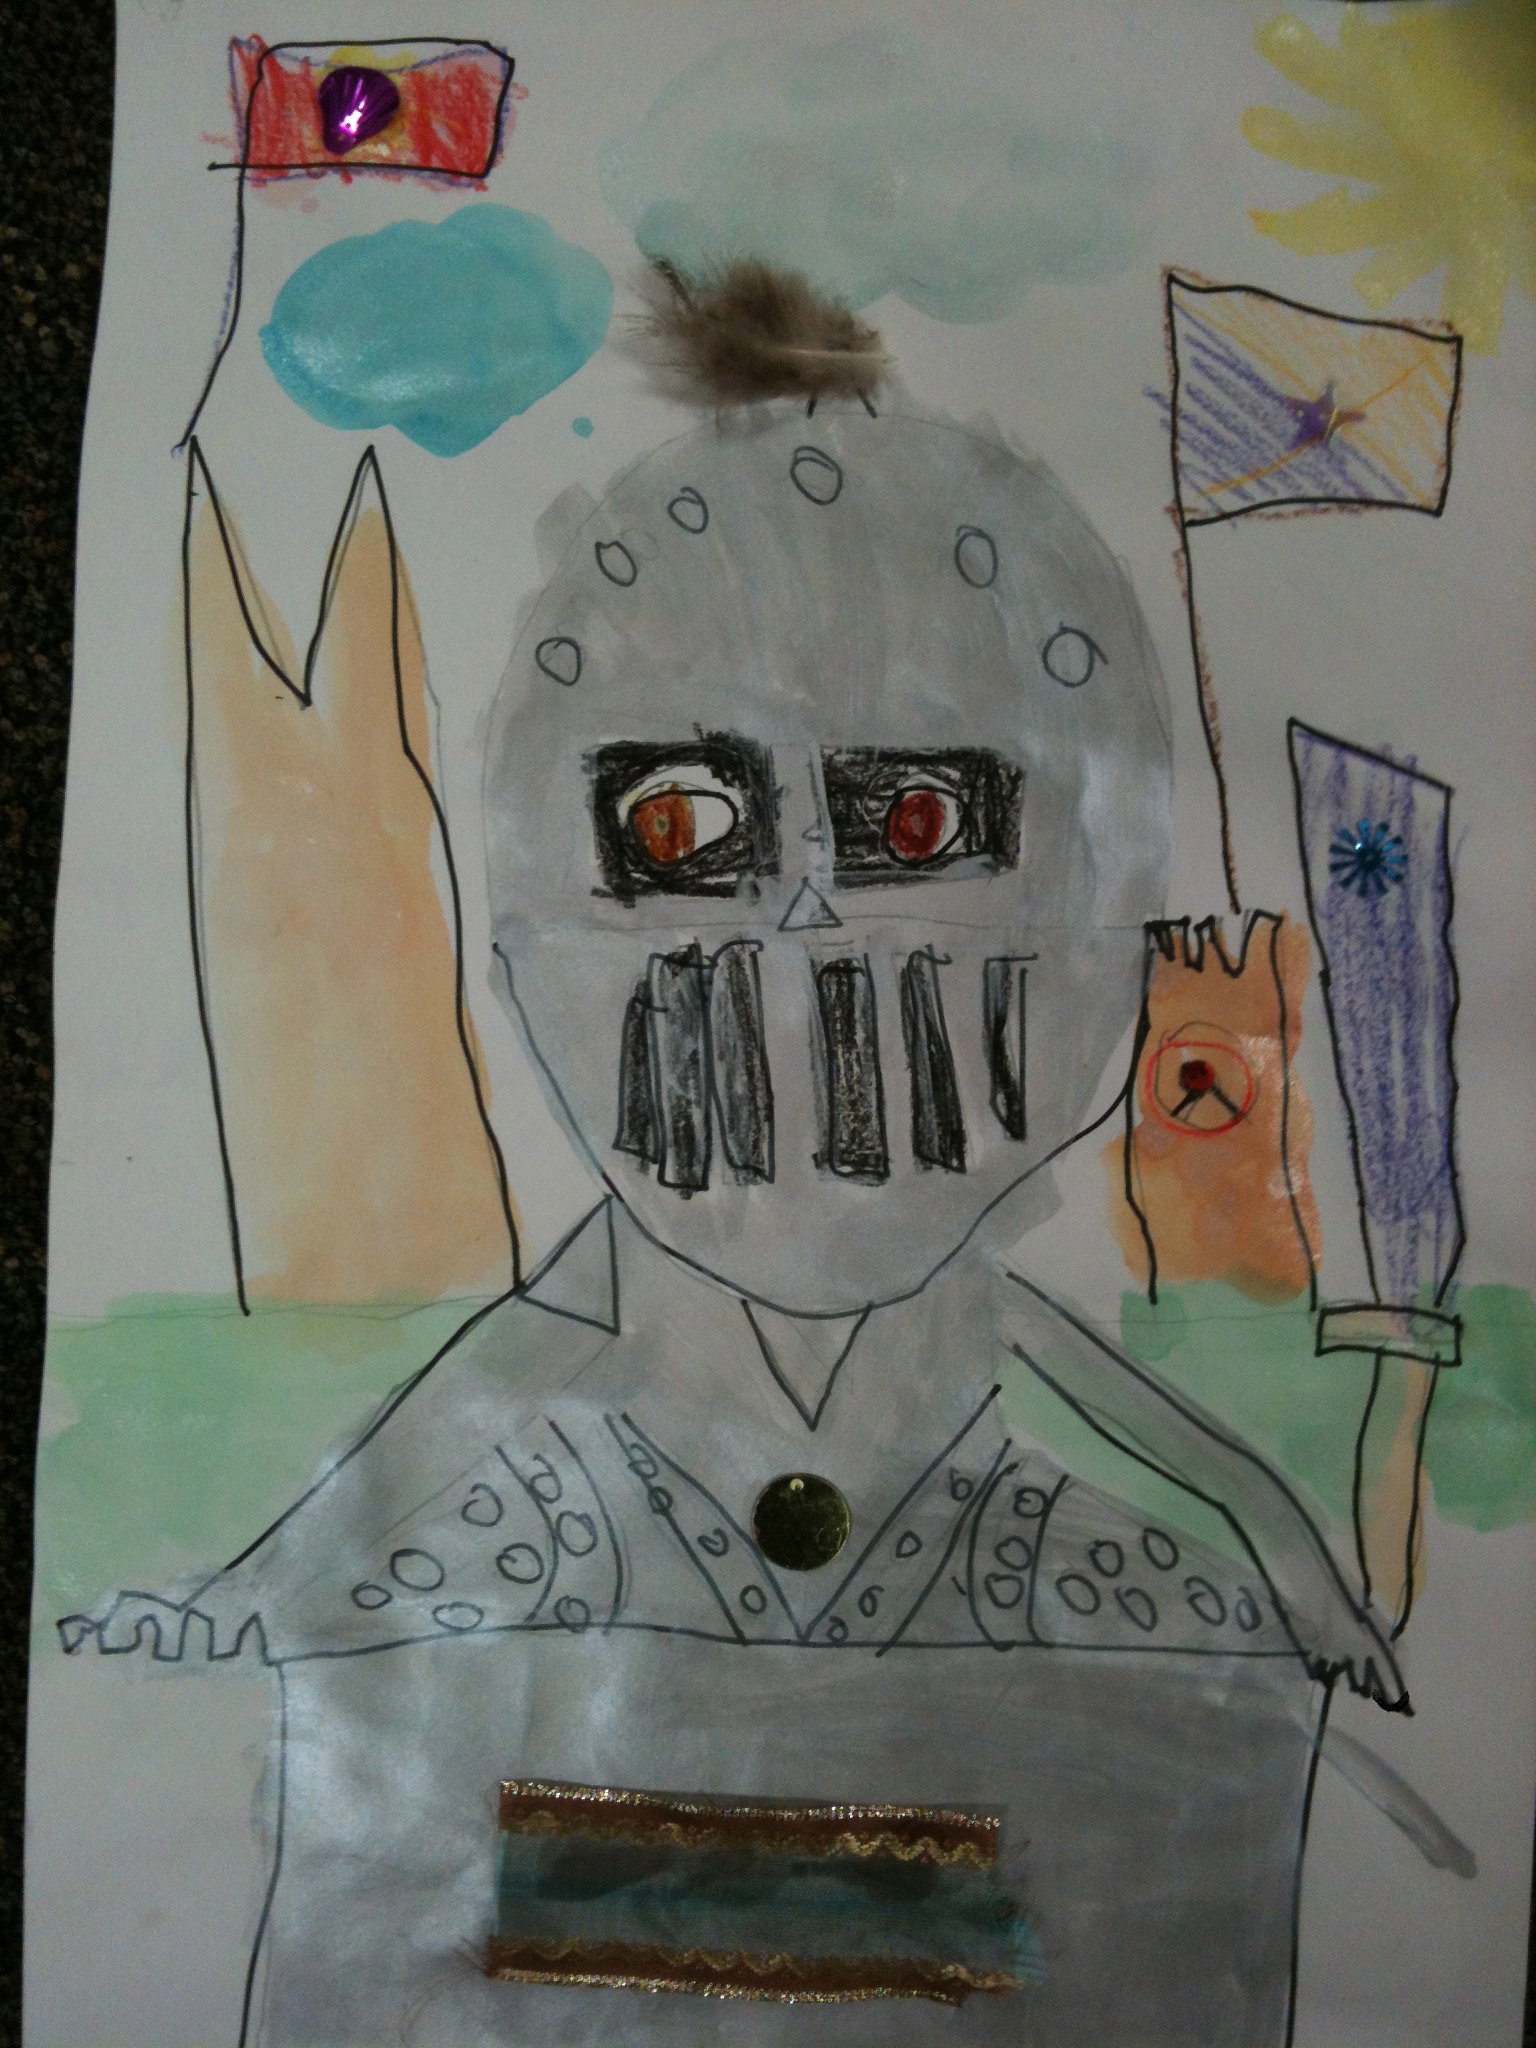
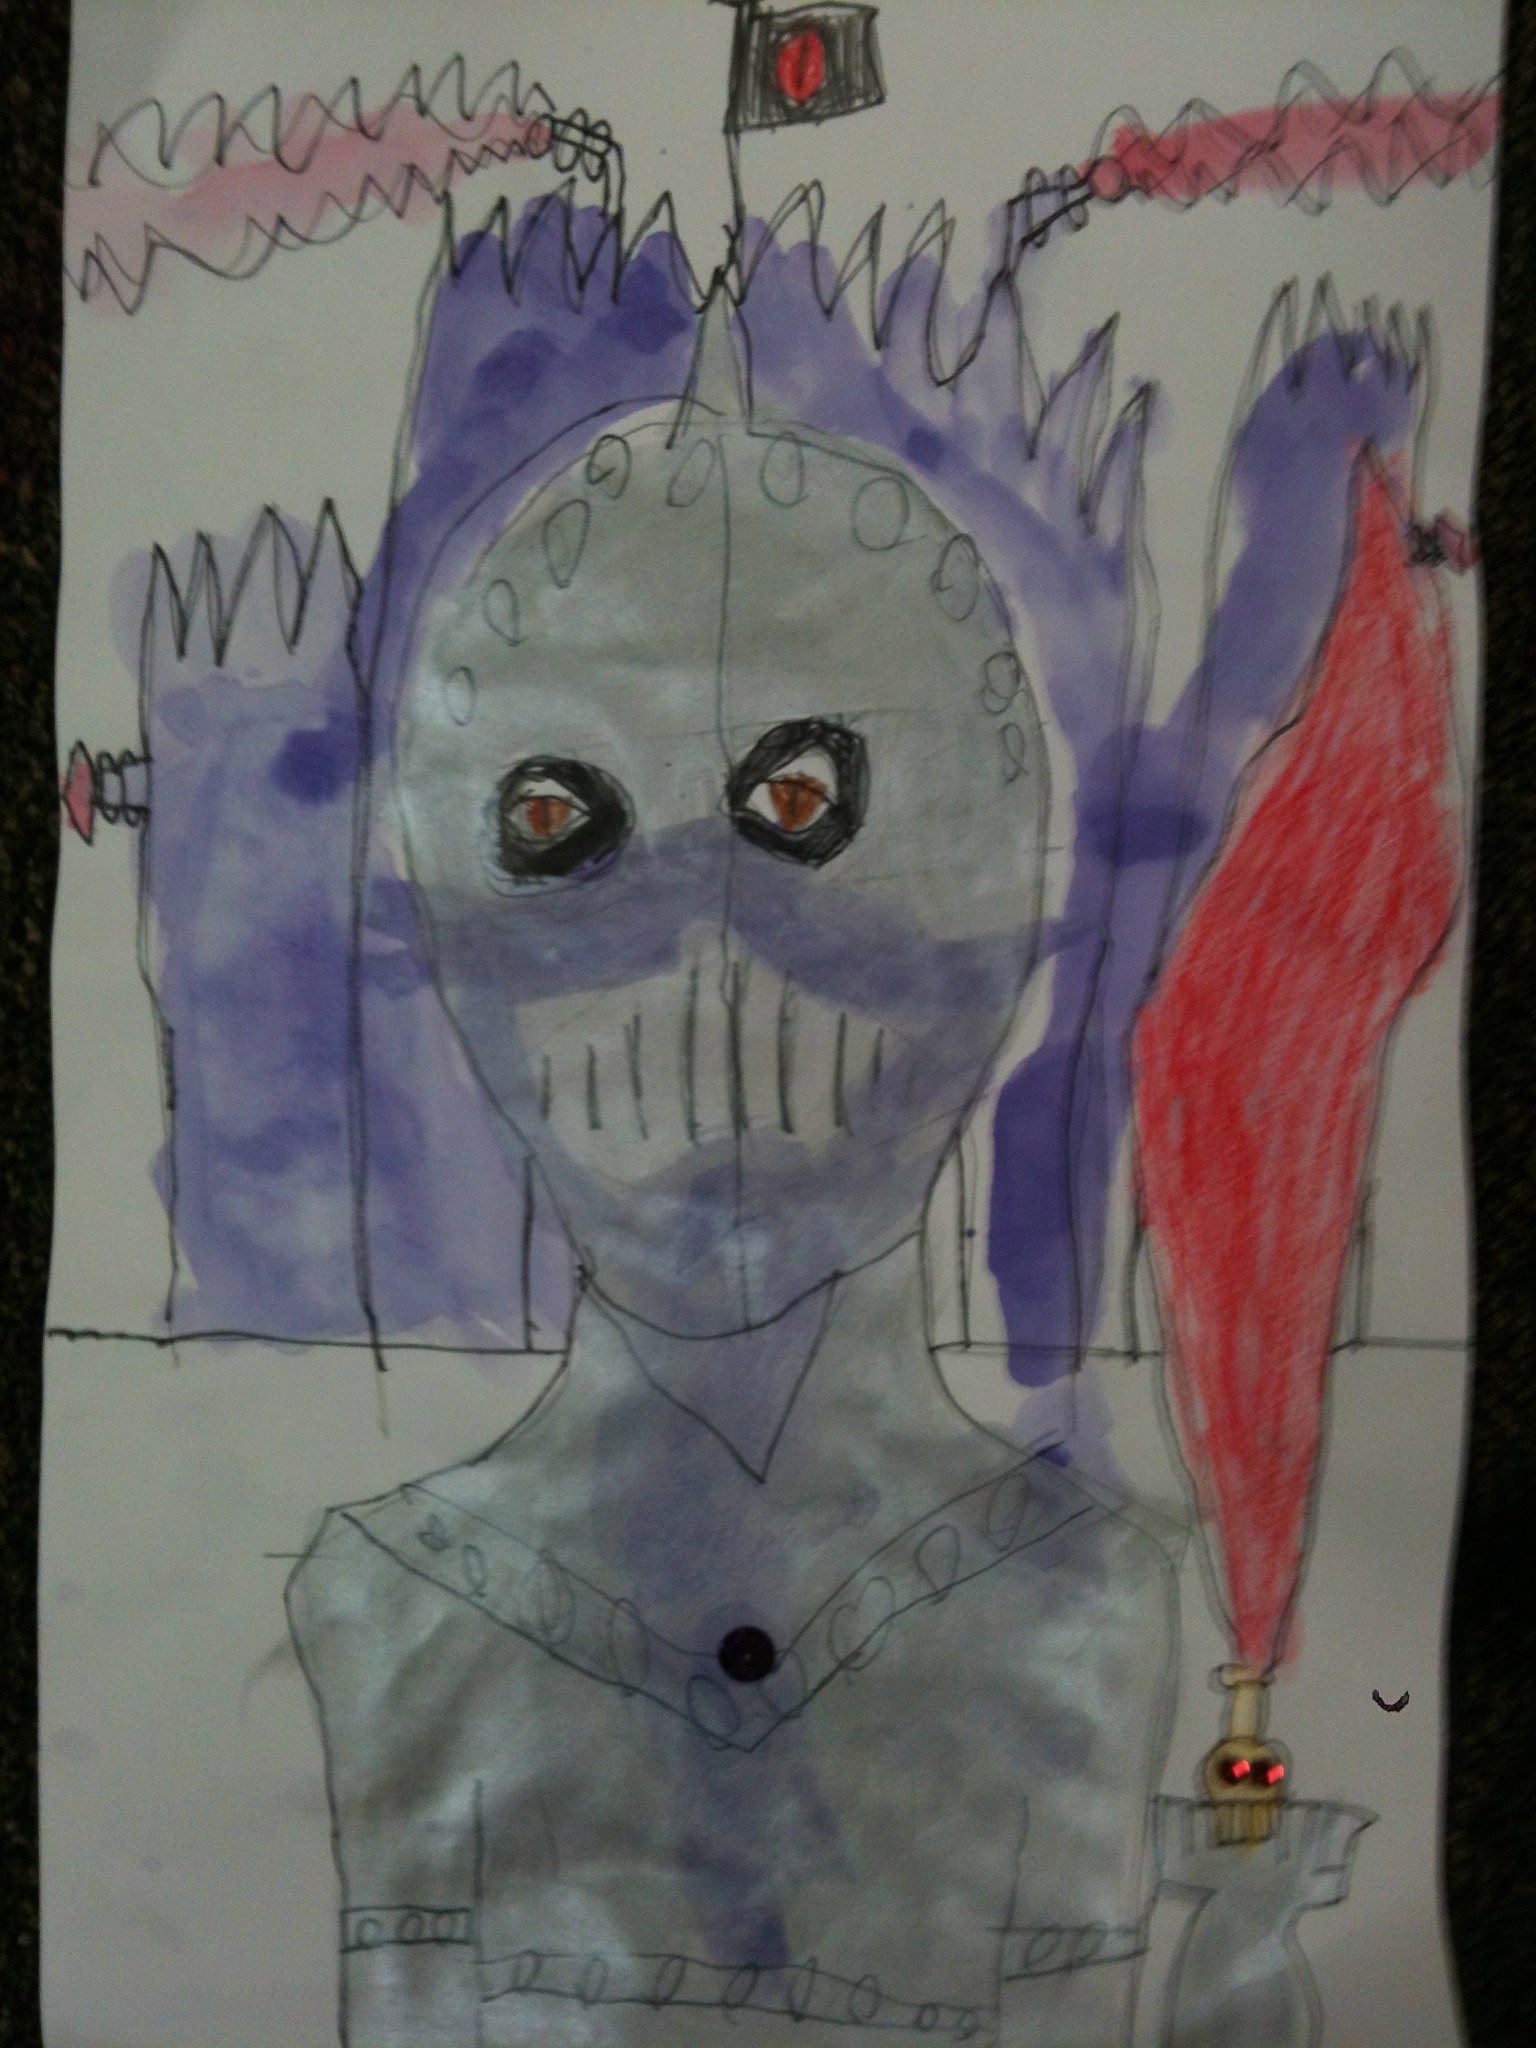
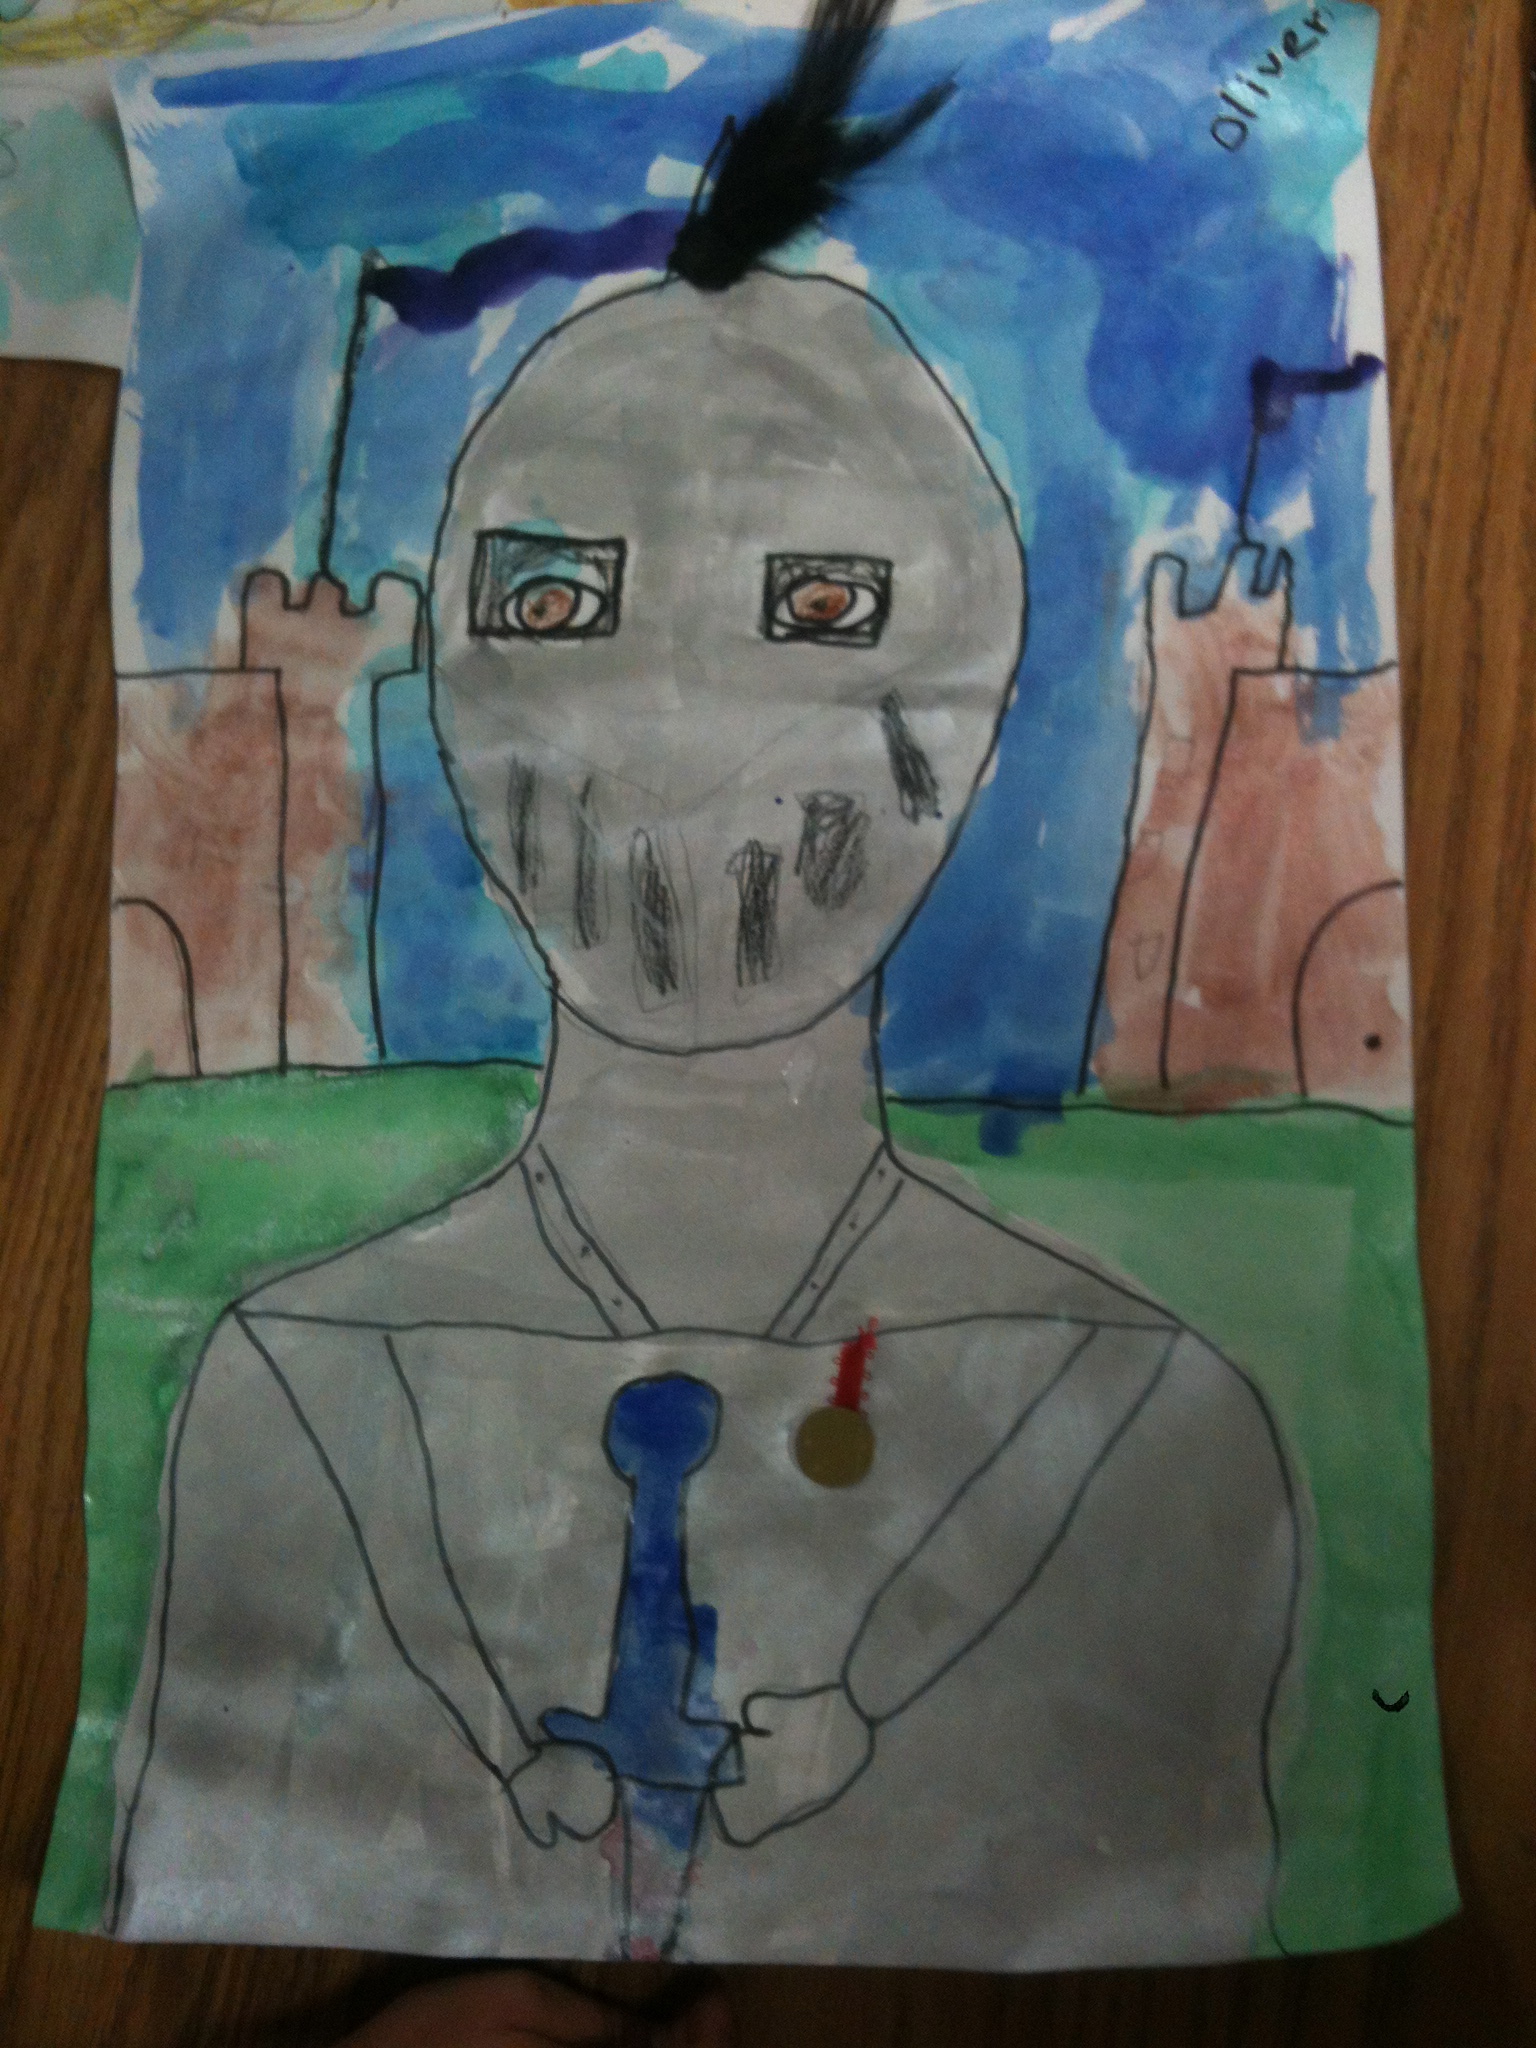
First graders just love knights. We traced a template, then drew in details. We used silver tempera, metallic watercolors and fabulous embellishments to create our knights. Intruders beware – the castle is safe!
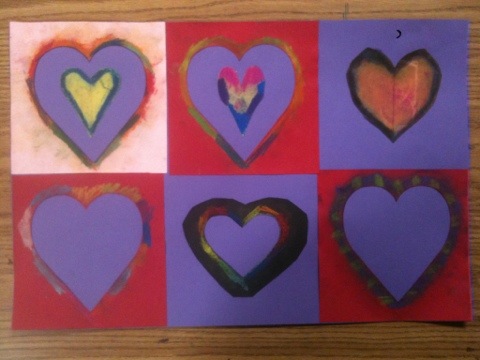
5th graders used chalk pastels and cut paper stencils to make overlapping hearts.
These beautiful chalk pastel stencils take only one 40 minute session!
Materials:
Chalk Pastels
Stiff brush (we use our old tempera brushes)
scissors
construction paper for background (we used white 9″x12″)
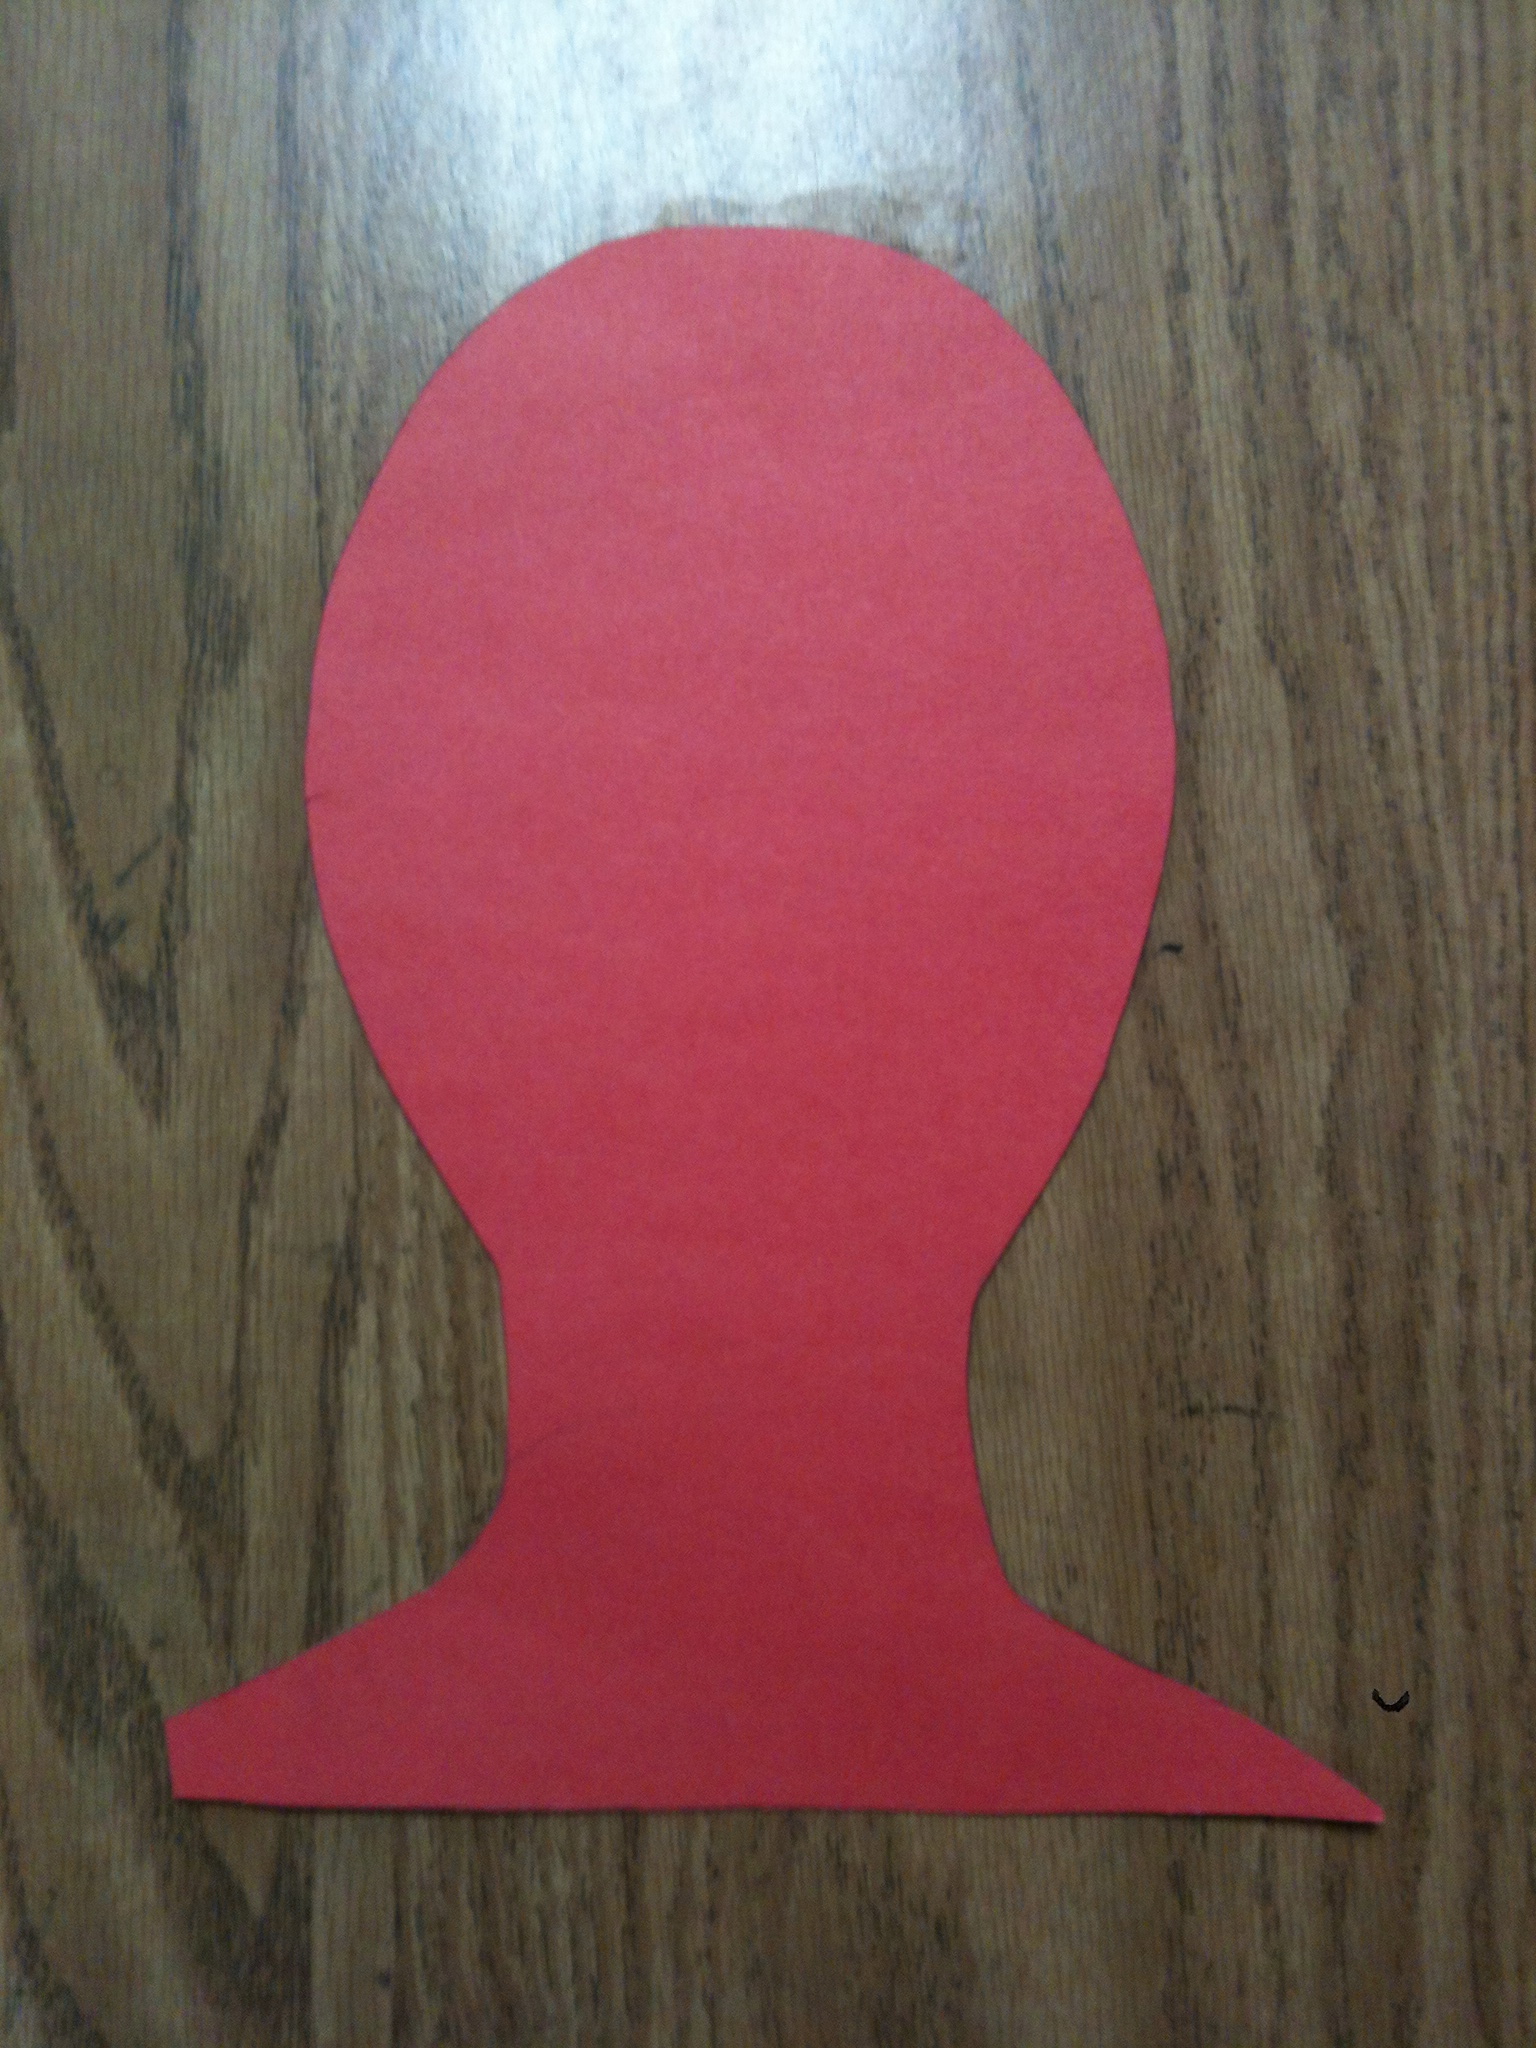
construction paper cut approx. 4″x6″ for making stencils
optional: ready-made stencils
Instructions:
Fold the small rectangle in half. Draw a half heart on the fold and cut out.
Students can use both the positive and negative shapes from homemade stencils.
Color around the edges of the cut out 'window'.
Now take the stiff brush and brush the colored pastel into the stencil ‘window’.
These pink hearts 'stencils' were made on the school die-cut machine.
Lift up the stencil. Students will ooh and aah if they have never tried this process before! Now shift the stencil and repeat the process. Encourage students to overlap.
Now take the positive shape and color the edge with pastel. Place on the background paper, and brush the color outward onto the paper.
Positive shape can be used as a stencil.
Nice composition and color.
We reused our die-cut stencils for three classes. We just colored and colored again around the edges. Tell the students to relax – it’s going to look beautiful.
Students can also color the background.
Another stencil made on the school die-cut machine.
This student used his stencils to make a bird.
This method would be very interesting with cut paper snowflakes or doilies.
Experiment with doilies.
Try a homemade snowflake stencil.
Minimize the mess: ask students to tap their excess chalk pastel dust onto a piece of newspaper.