Seurat Pointillism Mural (and more!)

Seurat Pointillism Mural group project uses $8 downloadable PDF

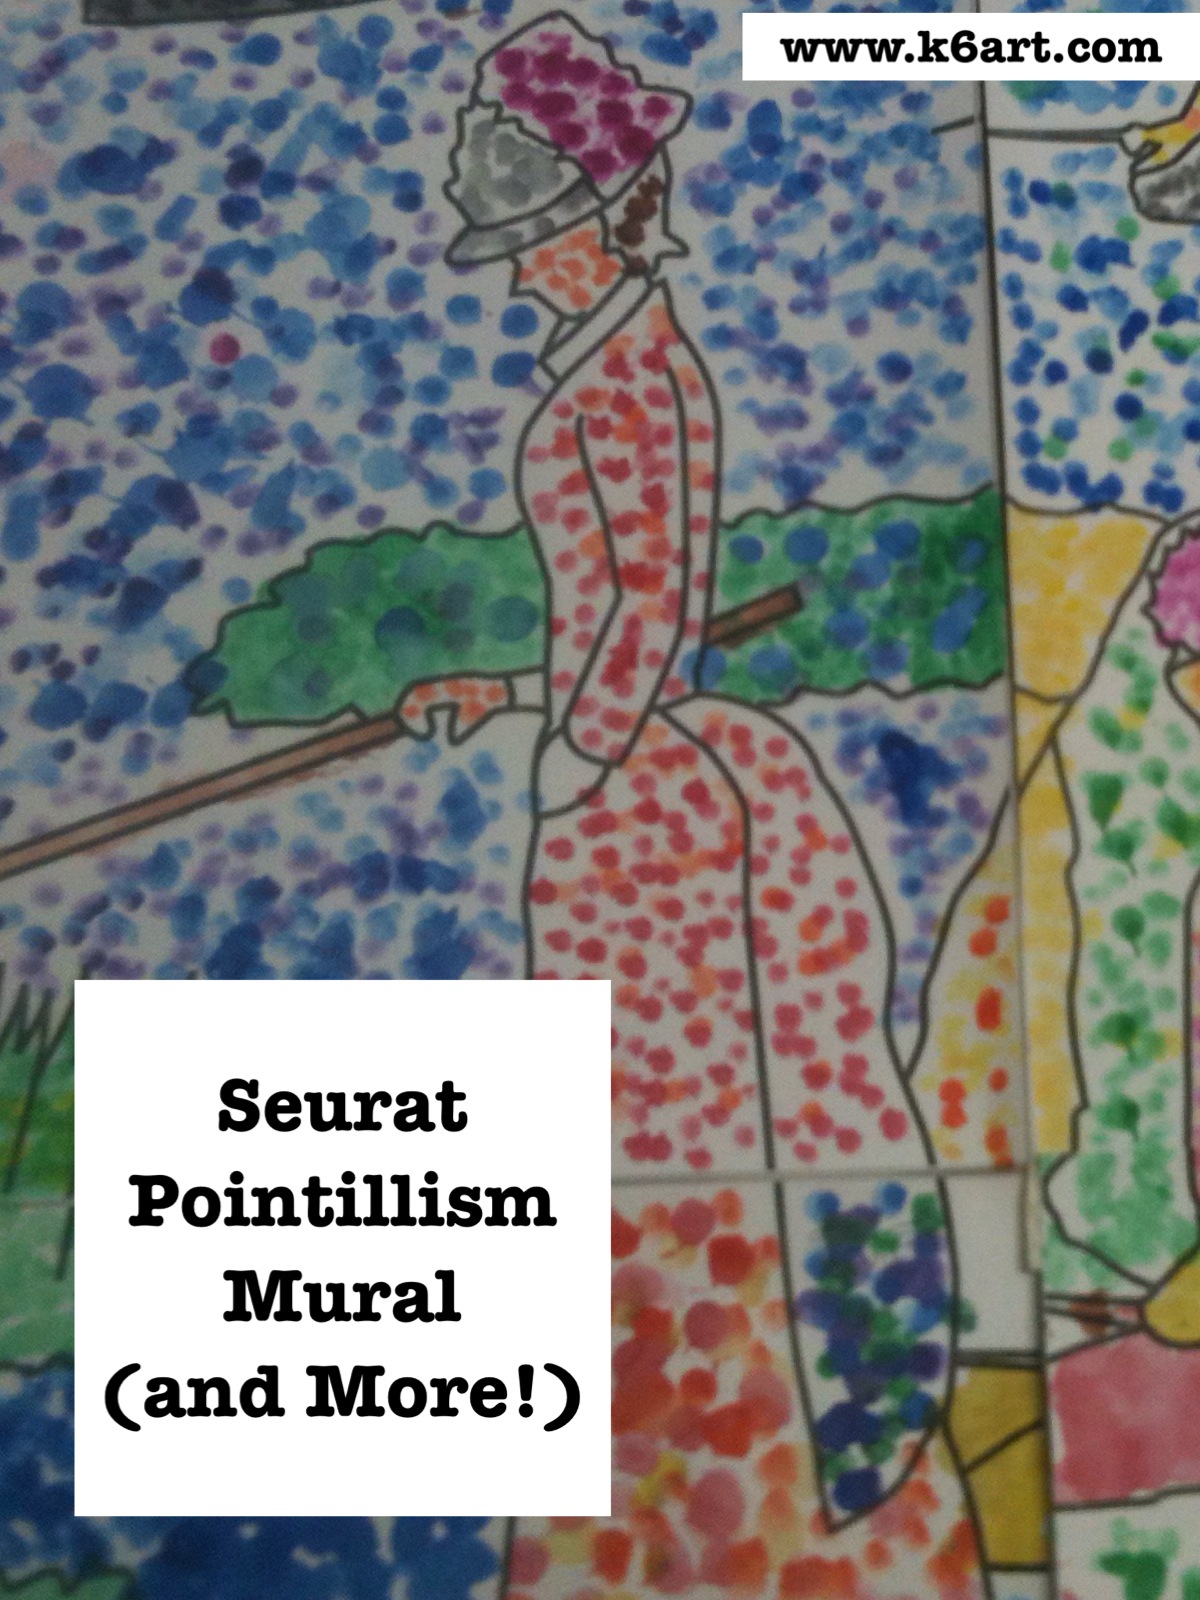
Need a group art project? 4th grade just completed a pointillism mural based on Seurat’s “Sunday Afternoon at the Island of La Grade Jatte”.

‘La Parade’ by George Seurat. 1889


Day 1:

Introduce pointillism. We discussed how Seurat made paintings in a whole new way: instead of blending colors, he placed different colors of dots side by side and let the viewer’s eye mix them.

Close up view:

I passed out some greeting cards with pointillist art and let students examine them closely. They really need to see the art works up close to appreciate how many dots Seurat put in his paintings (tip: pass out magnifying glasses for a close up view).  I added some great close-ups to this Seurat Powerpoint  (sadly I am not sure who posted this Powerpoint).

Pointillist notecards + magnifier

UPDATE: Thanks to Google Art Project, you can view A Sunday on La Grade Jatte at incredible zoom level (flash required).
Google Art Project has a Seurat from MoMA in its online collection: you can view Seurat’s ‘Evening, Honfleur’ at incredible zoom level. Notice that Seurat used dots on the artwork and the picture frame!
Individual warm-up project: make your name in dots on a 4.5″x12″ strip of paper. Color the background with dots as well. We used Q-tips and pan watercolors.

Make your name in dots as an introduction to pointillism.


Days 2-3:

Group project. I purchased the downloadable pdf mural ‘Sunday in the Park’ from Art Projects for Kids ($8). The pdf contains a 28-piece mural (perfect size for a 4th grade class!) which you print onto cardstock. Each student ‘dotted’ their respective part of the mural, using the coloring guide included in the download.


Seurat’s famous ” (aka ‘Sunday in the Park’). Seurat’s masterpiece contains over 3 million dots and took over 2 years to complete.


28 individual pointillist artworks come together to form Seurat mural.

The assembled mural is 55 inches x 40 inches.

We carefully assembled the mural by attaching long strips of masking tape on the seams (note: get a helper for assembly!). Bonus: it folds up like a map! Easy to store until the art show.

The completed mural.

The kids really enjoyed this project.  I did notice there was a lot of variety in the assembled mural – some students made a near-solid dot pattern with almost no white paper showing.  Others had sparsely dotted areas. Next year I will use this pointillism practice worksheet from Miss Young’s Art Room blog.

Pointillism worksheet from Miss Young’s Art Room blog.

Options:

Individual coloring sheet for ‘Sunday in the Park’. From Practical Pages blog.

Want an individual project based on ‘Sunday in the Park’? There is a great post including download on the Practical Pages blog.

Try out different materials for pointillism:

  • Q-Tip + tempera
  • Marker
  • Unused eraser tip from a standard pencil + pan watercolor
  • Unused eraser tip from a standard pencil + stamp pad

Stamp pad + eraser tip


How do you teach pointillism to your students? Leave a comment!
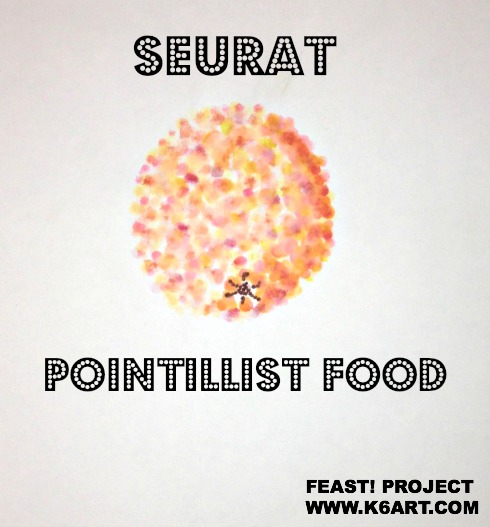
UPDATE 10/17/13:

NEW!!! Pointillism art project – make pointillist FOOD using watercolors, q-tips and markers! AWESOME pointillism video! Click here.

seurat pointillist food: Q-tips, pan watercolor and markers. Very successful!

*****Thanks for visiting! Don’t forget to please vote for 2012 Art Ed Blog of the Year, which you can do by clicking this link and voting for K-6 Art! Voting open through December 14, 2012.******


Kindergarten Fish Mobiles

I have admired the fabulous yarn-wrapped cardboard fish mobiles shown on a couple of elementary art blogs. I wanted to do the project with kindergarten as part of a whole-school ocean-themed art installation to be hung later this spring….

Kindergarteners created yarn-wrapped cardboard fish. Allow two 40-minute classes.

Materials:

  • Thin cardboard approx 8″x10″
  • black marker
  • scissors
  • crayons or markers
  • yarn cut in 6 foot lengths, one per student
  • large paper clips (for hanging)
  • hole punch (for hanging)
  • optional: bottlecaps and tacky glue/glue dots for eyes

Part one:

We started with thin cardboard rectangles about 8″x10″. We did a dot-to-dot directed draw of a simple fish shape.

Kinders started with a dot-to-dot directed draw. Don’t make base of tail too narrow or fish may rip.

Then the students cut out the fish shape. Because we used thin cardboard, 95% were able to cut the fish without help.

Now kinders add four dots to the top edge of the fish, and four dots to the bottom. A few kids made their dots too close together….so I’d say 90% did this task independently.

The kids use scissors to cut slits along the edges of the fish, stopping at the dots. 100% were able to do this task independently.

Now color both sides of the fish. We used regular crayons (I wish I had construction paper crayons to brighten the dull gray cardboard…next year!).

Part two:

Students finished coloring both sides of their fish. Each received a six-foot length of yarn (cut by me, lest you think I didn’t have ANY prep on this project…..) and wrapped the yarn around and around and up and down across their fish.

Wrapping the yarn was tricky for some students. I found out kids were more successful with the yarn wrap when I modeled it in front of the room (as opposed to on my document camera). I’d say about 70% could do this independently on their first attempt.

Optional: glue on eyes.

To hang the fish: use a hole punch to make one hole near the top edge and one at the bottom edge.  Open a large paper clip to form a ‘S’ hook.

Open paper clip connects fish for mobile.

Connect your chain. I was able to make a hanging chain of five fish.

Inspiration for this projects comes from this post on the Fem Manuals blog and this post on the Deep Space Sparkle blog.

I believe that a lot of my lesson plans (at all grade levels) could be tweaked to increase student independence.

What do you think of ‘kinderpendence’? 

Paul Klee Painted Desert for Third Grade

3rd graders stamped a line landscape with black acrylic paint, then painted with pan watercolors. Allow two 40-minute sessions.

Do you want a landscape lesson plan that delivers gorgeous art with 100% success in only two 40-minute sessions? Try the Paul Klee lesson featured in the book Dynamic Art Projects for Children by Denise M. Logan. Students spent their first class using black acrylic paint and small pieces of mat board to stamp a jagged landscape. They painted with watercolors during the second class. Here are the results:

Dynamic Art Projects for Children is a fabulous book with many colorful, engaging lesson plans for kids in grades 1-6.  I wrote about the book’s Kuna mola lesson plan in this post.

Can you recommend a book with awesome lesson plans?  Leave a comment!


Eraser Stamps for Sixth Grade: Abstract Design

Sixth graders carve erasers with their own abstract design and use them to print individual and group artworks.

Sixth grade is making eraser stamps.

I learned the method from Geninne’s Art Blog. Geninne has a fabulous tutorial on stamp-making including an instructional video. This assignment has two parts….1) create an abstract design stamp and 2) create a stamp based on your initials.

Part 1: Abstract Design

Materials:

  • Magic Rub vinyl erasers
  • Pencils
  • Paper (copy paper is fine)
  • Tracing paper
  • Popsicle stick or ruler
  • Lino cutter (student grade – we used the ones from this Soft Kut class pack)
  • Stamp pads
  • Watercolor markers (we used Crayola)

I teach this assignment with a packet of handouts…

Explain to students we will be cutting away the white portions of their design…..since they are beginners, the design should be fairly simple. No letters, no words, no numbers!!!!

Here are some sketches…I have to approve their final designs before they cut.

After approval, students transfer design to eraser. Placed traced design ‘dirty side down’ on the eraser and rub with edge of Popsicle stick to transfer.

Carve eraser:

Rules:

  • Stay seated.
  • Keep eraser flat on the table.
  • Grip cutter as if it was a pencil.
  • Make shallow cuts, not deep.
  • Your cutting hand should stay low, close to the table. Your wrist can go up about an inch above the table.
  • Direct cuts away from your body.
  • Rotate eraser so that cuts are directed away from your hand.
  • Cut away white portions of design.

Printing:

Time to print! Students could use a stamp pad or color their erasers with watercolor markers (we used Crayola markers). The stamp pad method is quick, but the marker method allows more variety.

Instructions on the board.....

Student Results:

Carved eraser stamps inked with watercolor marker.

6th grade artist thought overlapping colors 'looked 3D'

This student hand-colored her stamp with markers.

Group project with three stamps (hand-colored with markers).

Student hand-inked design inspired by Nike logo and colored negative space with marker.

Many students said this was their favorite project ever!!!! They are clamoring to go on to part 2, a design based on their initials. To be continued!

It is also a special joy for me to see the 6th graders complete the project – I have had about 25% of these kids since they were 5 years old and learning how to write their names.

This printmaking project is also great opportunity to discuss art principles and elements: repetition, unity, and variety. It is appropriate for grades 6-12.

Related Posts Plugin for WordPress, Blogger...