We all know kindergarteners love birthday parties. Cake, presents, decorations – what’s not to love? So it was no surprise that this birthday cake art project was super-popular with the kinders.
Day 1:
Kindergartens started by viewing my birthday cake powerpoint (note: if art class is before lunch your students will say they are hungry!). We discussed the lines and shapes we saw on the cakes, and in the frosting and decorations.
Cake drawing emphasizes lines and shapes.
Kinders drew the cakes with crayon. I emphasized that they didn’t have to color the large areas with crayon because we would paint the cakes next week. However, they should use crayon to color in the small areas such as candles, flames, balloons, numbers, etc.
Day 2:
We added cut paper birthday gifts with glue stick, then painted with regular and metallic pan watercolors.
Kindergarteners painted their crayon drawings with regular and metallic pan watercolors. Allow two 40-minute sessions.
Completed birthday cakes:
This would be a great end-of-the-year lesson to celebrate all the ‘summer’ birthdays that occur when school is out of session. This could also be a nice project for a Wayne Thiebaud lesson.
How about adding a book to the project? When I was little, Dr. Seuss’ Happy Birthday to You! was one of my favorite books and I still remember reading it on my 6th birthday (I also remember Baskin-Robbins clown cones plopping all over the back yard at the birthday party, but that is another story).
I’d love your suggestions on a book to read along with this project.
Do you have a special birthday-themed book for primary students?
First grade students made Modigliani portraits with a twist! Instead of a self-portrait, we made portraits of our mothers. We began by viewing images of Modigliani’s portraits and talked about his distinct artistic style, specifically:
long neck
long, thin nose
blank, almond-shaped eyes
small, closed mouth
One of Modigliani's many portraits of Jeanne Hebuterne
Students began the portrait using Sharpie on white paper, then colored with oil pastels. The portraits are distinguished by hair style and color, eye color, skin color and jewelry. After drawing and coloring their mothers, students made a simple solid background.
First graders make portraits of their mothers in the style of Modigliani. Allow 2-3 40-minute sessions.
I have been teaching this project for years and the mothers love it! The first grade teachers hang the framed portraits in their classrooms for the annual Mother’s Day Tea.
I adapted this lesson from a project in the book Drawing Faces (see illustration on cover). I think it is out of print. It is available used, or may be available at your library.
This is a universal truth: kids love dessert. Second grade recently completed their Wayne Thiebaud group art mural based on Thiebaud’s famous artwork, “Cakes”.
We began with my Wayne Thiebaud Powerpoint. We discussed repetition of simple shapes, variety, use of thick paint, horizon line and shadow. This year we also discussed halation – the vibrant lines of color Thiebaud uses to outline his work. If you are unfamiliar with halation read this excellent Thiebaud post on Art for Small Hands.
Next we watched a great 7-minute long Thiebaud video from CBS this Morning. Here is the link.
Materials:
Drawing paper, 9″x12″
pencil and eraser
oil pastels
scissors
glue stick
bulletin board paper (allow 5 foot length for 22 students)
tempera
Students drew the basic cylinder cake first in pencil, then in oil pastel. We outlined in bright colors. Because we were making a mural, for consistency students added purple shadows on the right side of their art.
The kids had a fabulous time ‘decorating’ their cakes, again with oil pastel. We had a ‘no words’ rule, but numbers were OK.
Students outline their cakes with vibrant colors
Students cut out their cakes and covered the backs with glue stick. I arranged the cakes on painted bulletin board roll paper.
Assembling the mural
I made two murals: a 9 foot mural for 45 cakes, and a 5 foot mural for 22 cakes. Next year I will make one 5-foot mural per class as the big one was beautiful but too unwieldy.
After the art show I will cut apart the mural. The second graders will trim and mount their cakes onto 12″x18″construction paper.
The perfect jewelry for any Thiebaud lesson 🙂
Have fun!
P.S. Want to try a digital Thibaud art activity? Try the National Gallery of Art’s
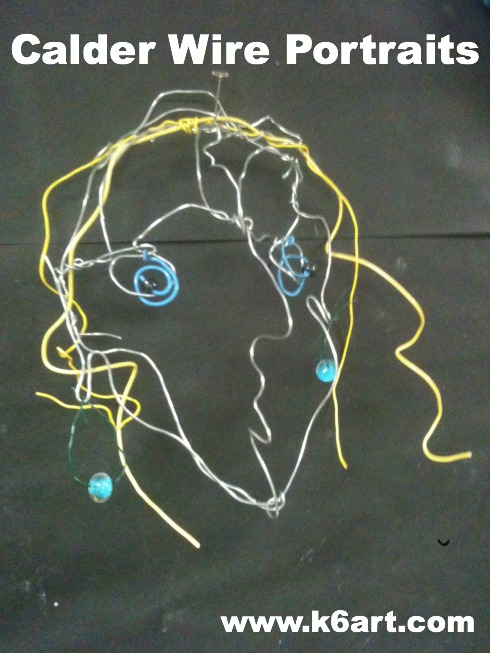
Alexander Calder was an amazing, original, sculptor with a great sense of humor. Our 5th graders had a lot of fun making Calder-inspired wire portraits.
5th grade students made 3D wire portraits in the manner of Alexander Calder. Allow three 40-minute sessions.
Materials
Basic wire sculpture supplies. All wires and decorations can be cut with kindergarten scissors.
pre-cut floral wire, (AKA ‘stem wire’) in bright aluminum, 26-gauge for wiring on embellishments (I call this fine and flexible wire ‘sewing wire’ because it is fine enough to pass through a sequin)
soft colored wires, such as Twisteez, pipe cleaners, or electrical wire (be sure it is easy to cut)
embellishments: stainless steel pot scrubbers (can cut into smaller pieces, for beard), pony beads, sequins or buttons (for eyes and earrings)
scissors
copy paper or other thin paper
Sharpie marker
optional: gallon-size Ziploc storage bag if more than one session is required.
Draw a front view of the face. Make a simple contour and touch all four sides of the paper.
Turn paper over: the black lines from the first side should be visible!
Now draw a simple profile of a face, including nose and lips. The profile should touch the top, bottom and one side of the paper.
Put sketch in labeled storage bag.
Sketch: front
Flip sketch over. Draw profile view (note front view is barely visible)
Day two:
Pass out bags, markers, and two 4 ft. lengths of 14-gauge Sculpture Wire per student. Students should turn sketch to the front view. Bend one wire around oval sketch. Overlap ends and wrap to secure.
Trace front view with wire
Flip the sketch to the reverse. Place end of second wire at top of profile and bend wire to follow sketch. Overlap ends and wrap to secure. You may have excess wire – do not cut this off yet.
Trace profile in wire.
Put sketch + wires in labeled storage bag.
Day three:
Remove wire portrait pieces from bag and insert the front view through the profile. Secure at joints at top and bottom of face using pre-cut wire and any excess wire. Give students a short piece of wire for ‘glasses’. Add ‘C’ shaped wire ears if desired (or bend out ears from face wires).
Insert the profile into the front view and secure. Add a short wire for eyes.
Side view of assembled wire portrait. Ready to embellish with pipe cleaners, beads, pot scrubbers and sequins.
Colored wire (or pipe cleaners) make fun hair and eyes.
Display:
Suspend from ceiling with string or fishing line, or link faces together with paper clip ‘S’ hooks for a giant mobile.
Calder-inspired wire portraits hang in chains at school art show.
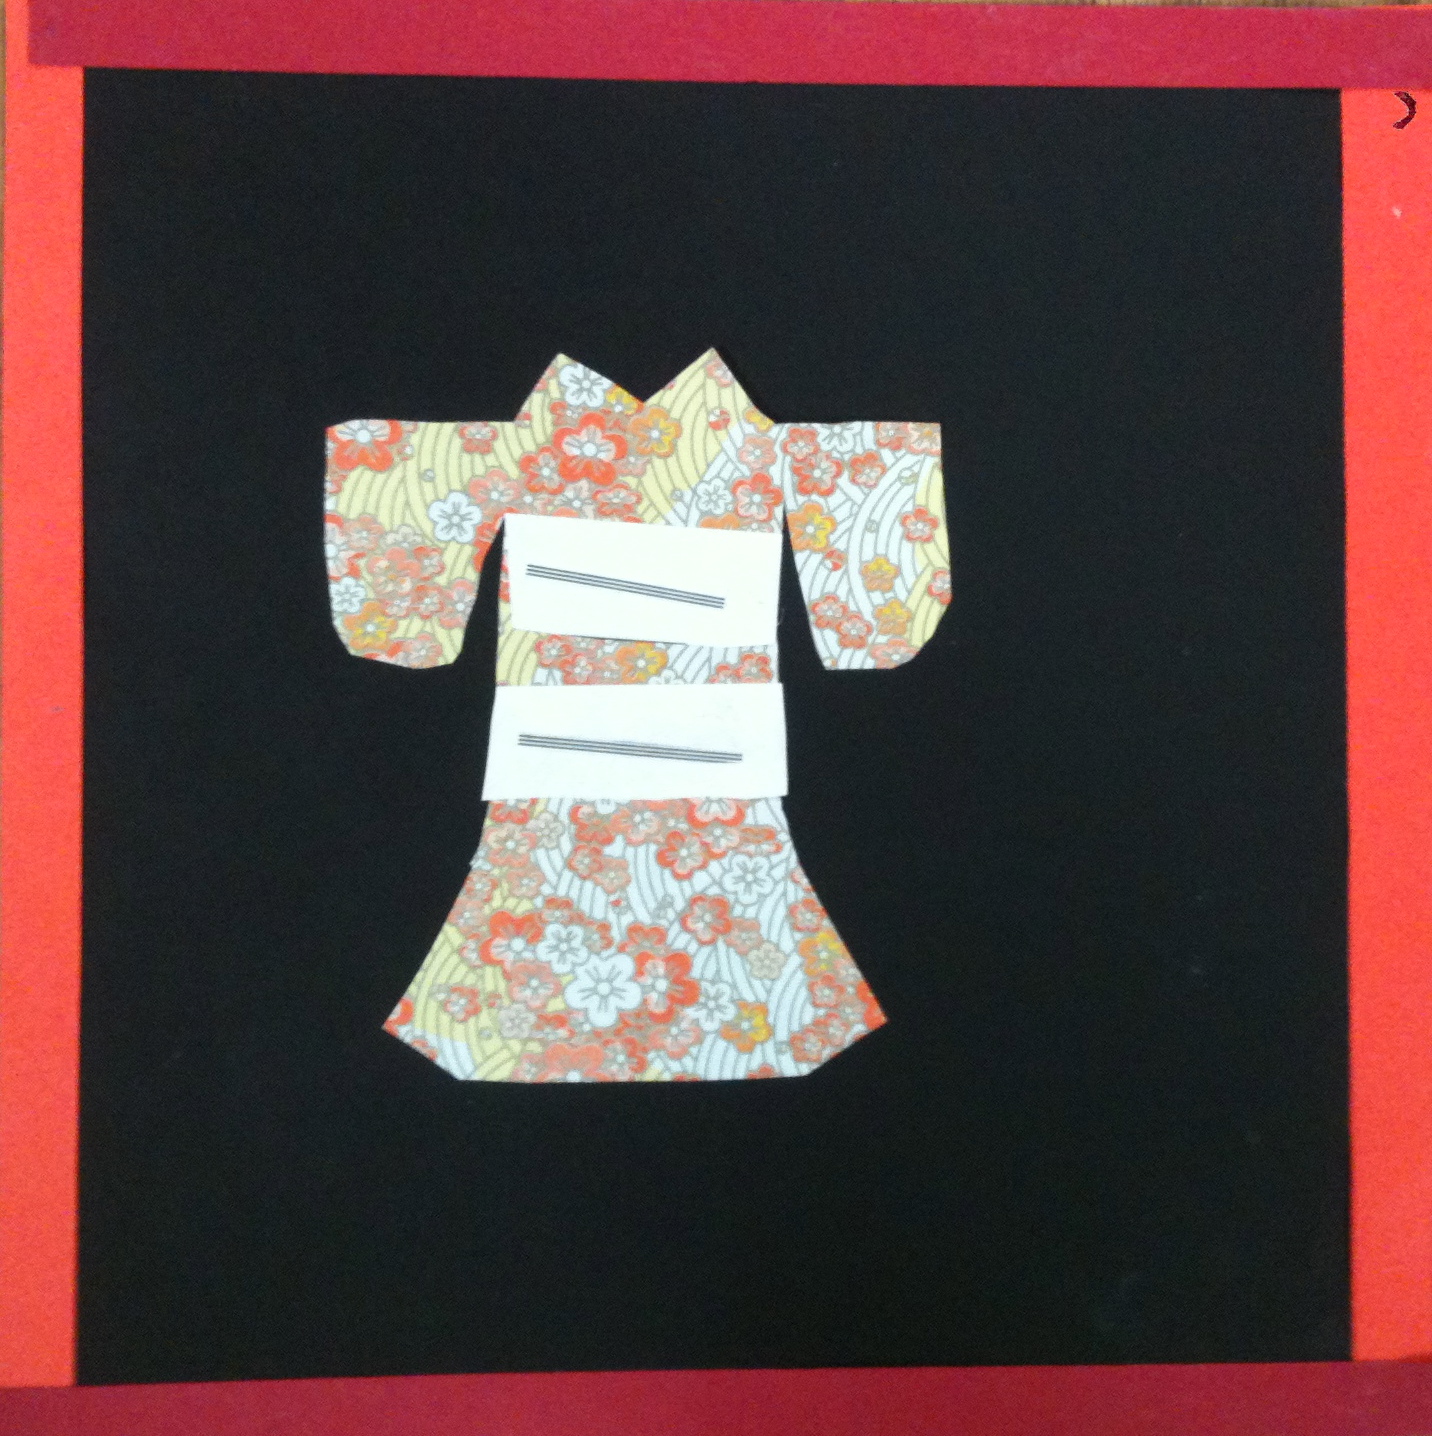
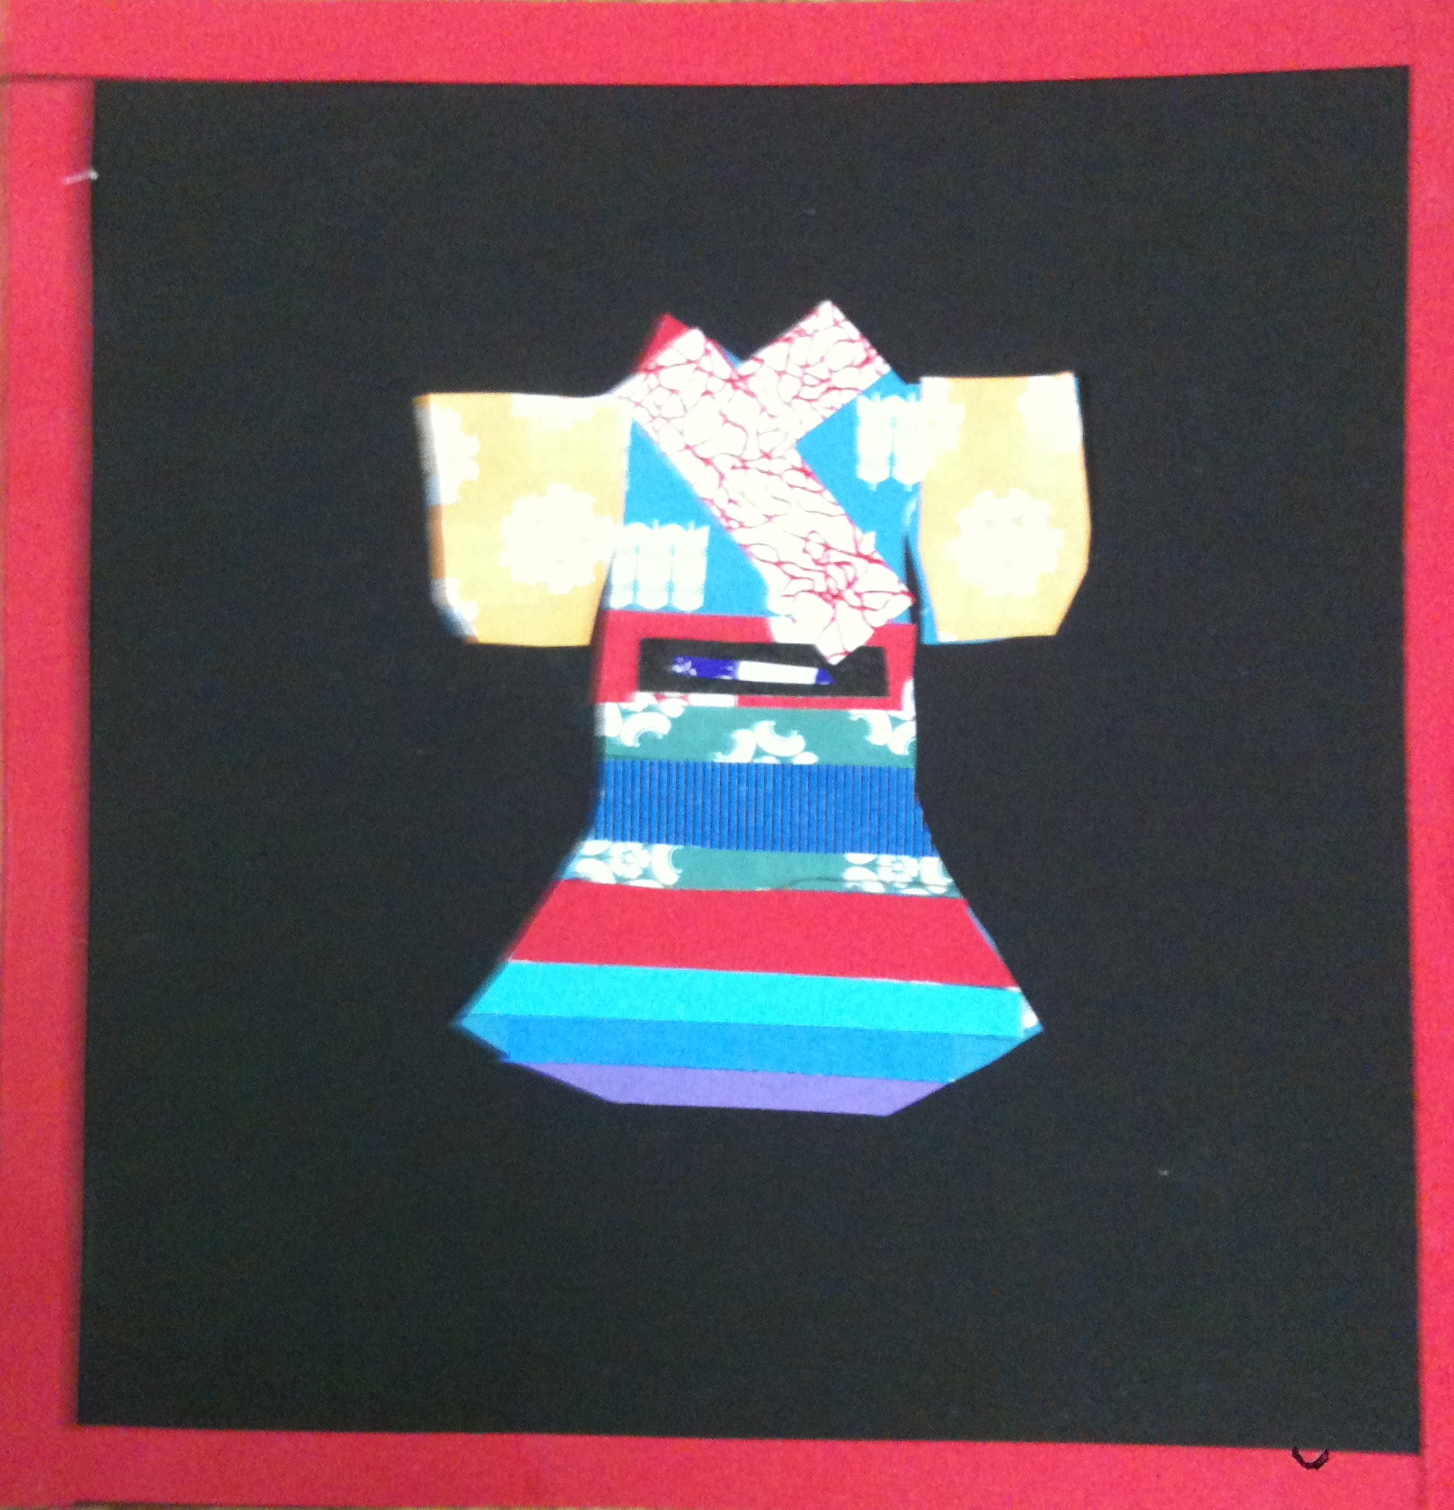
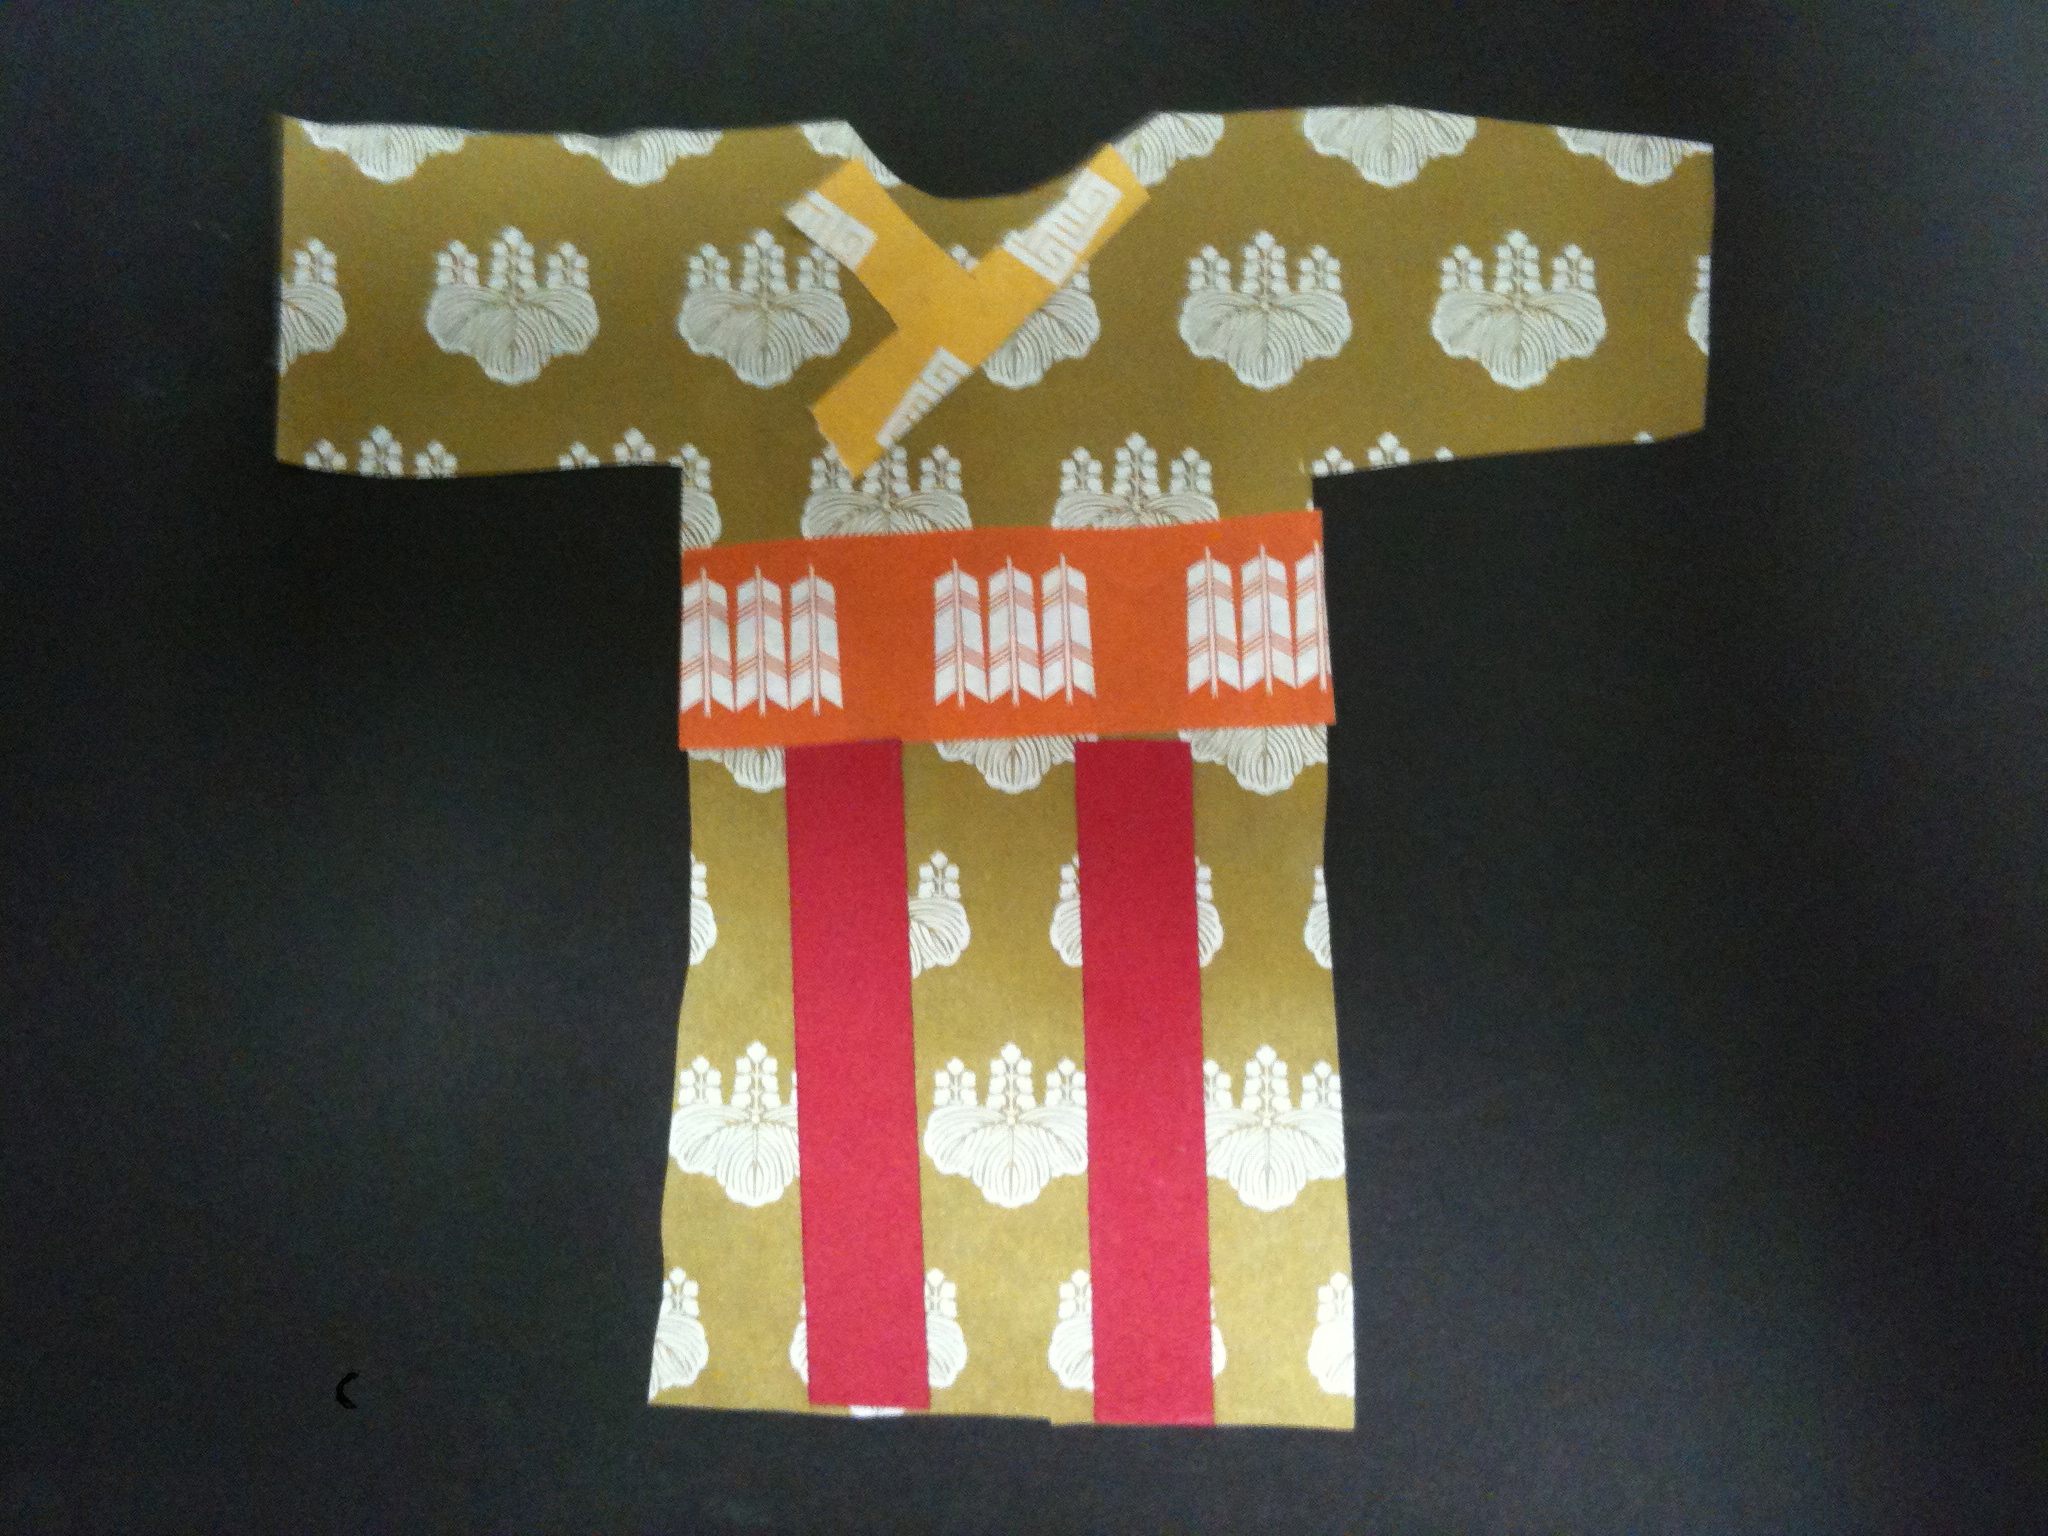
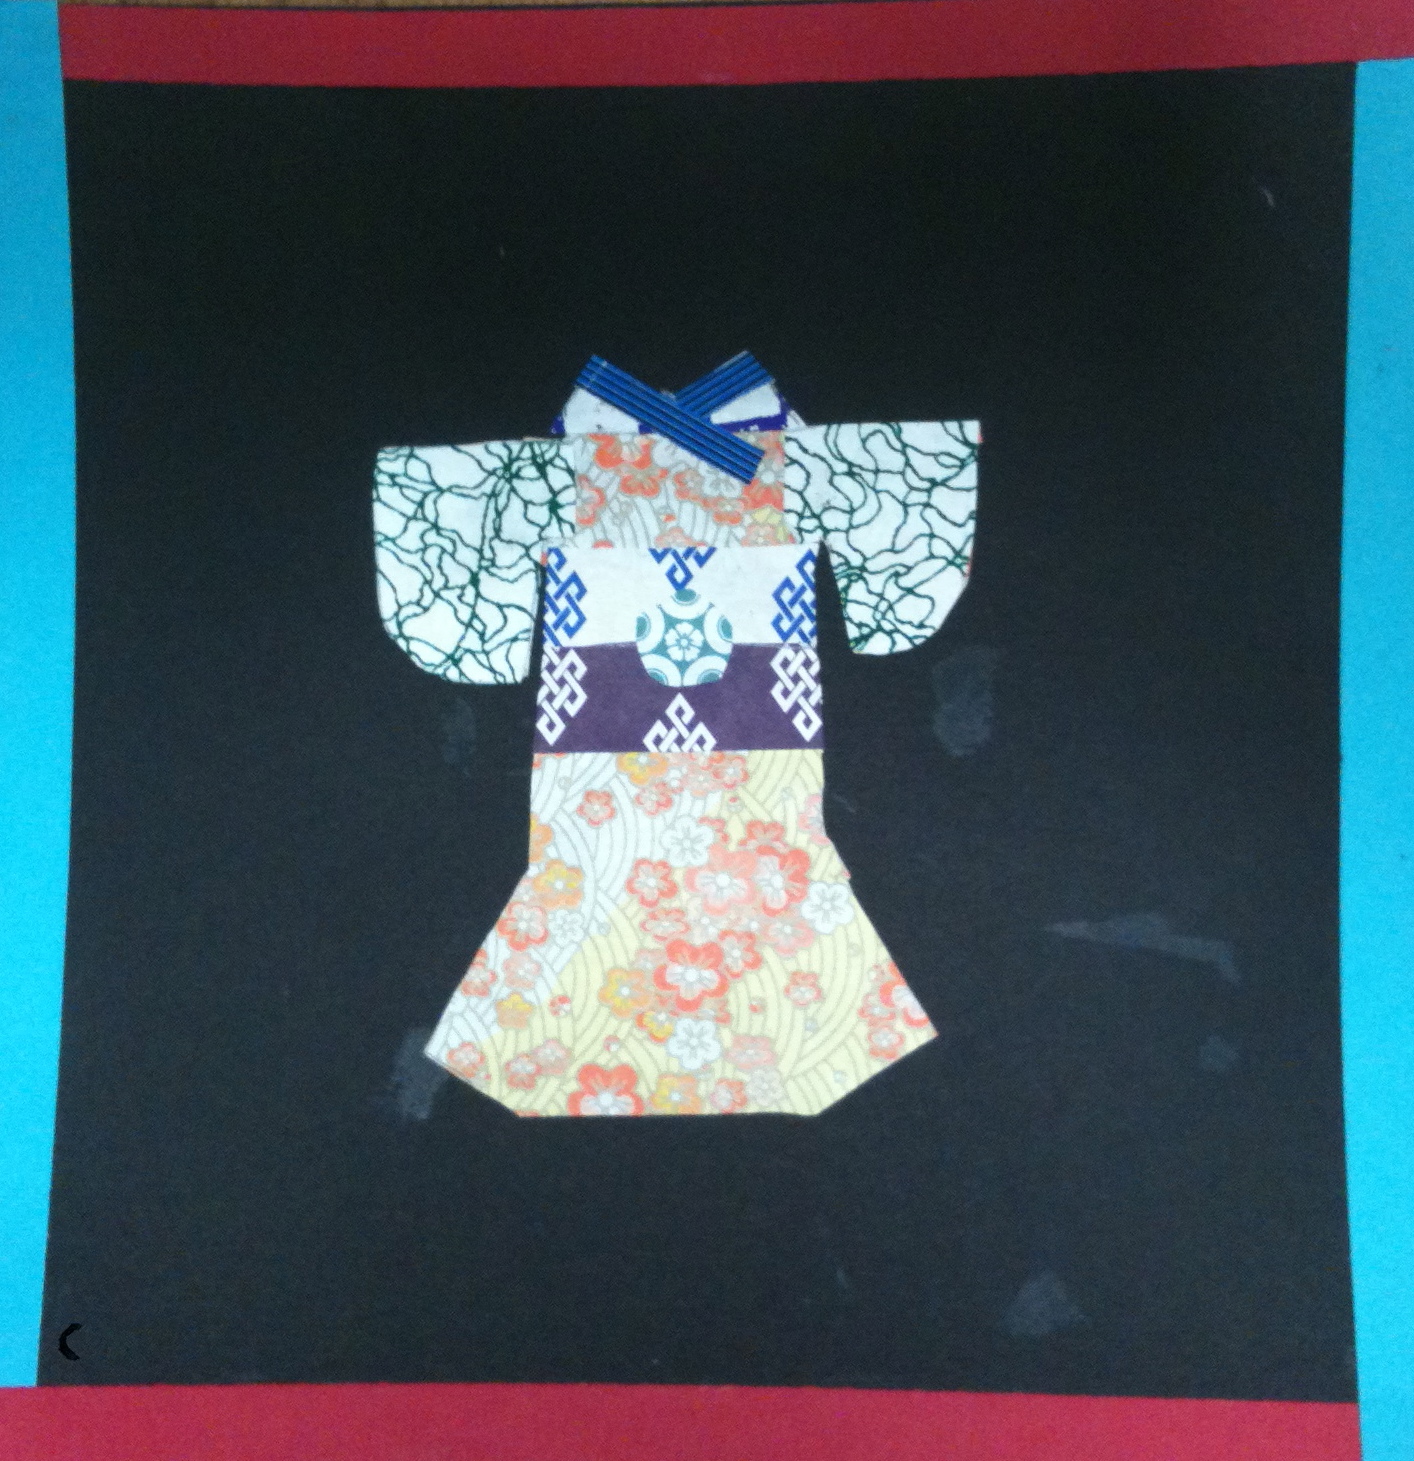
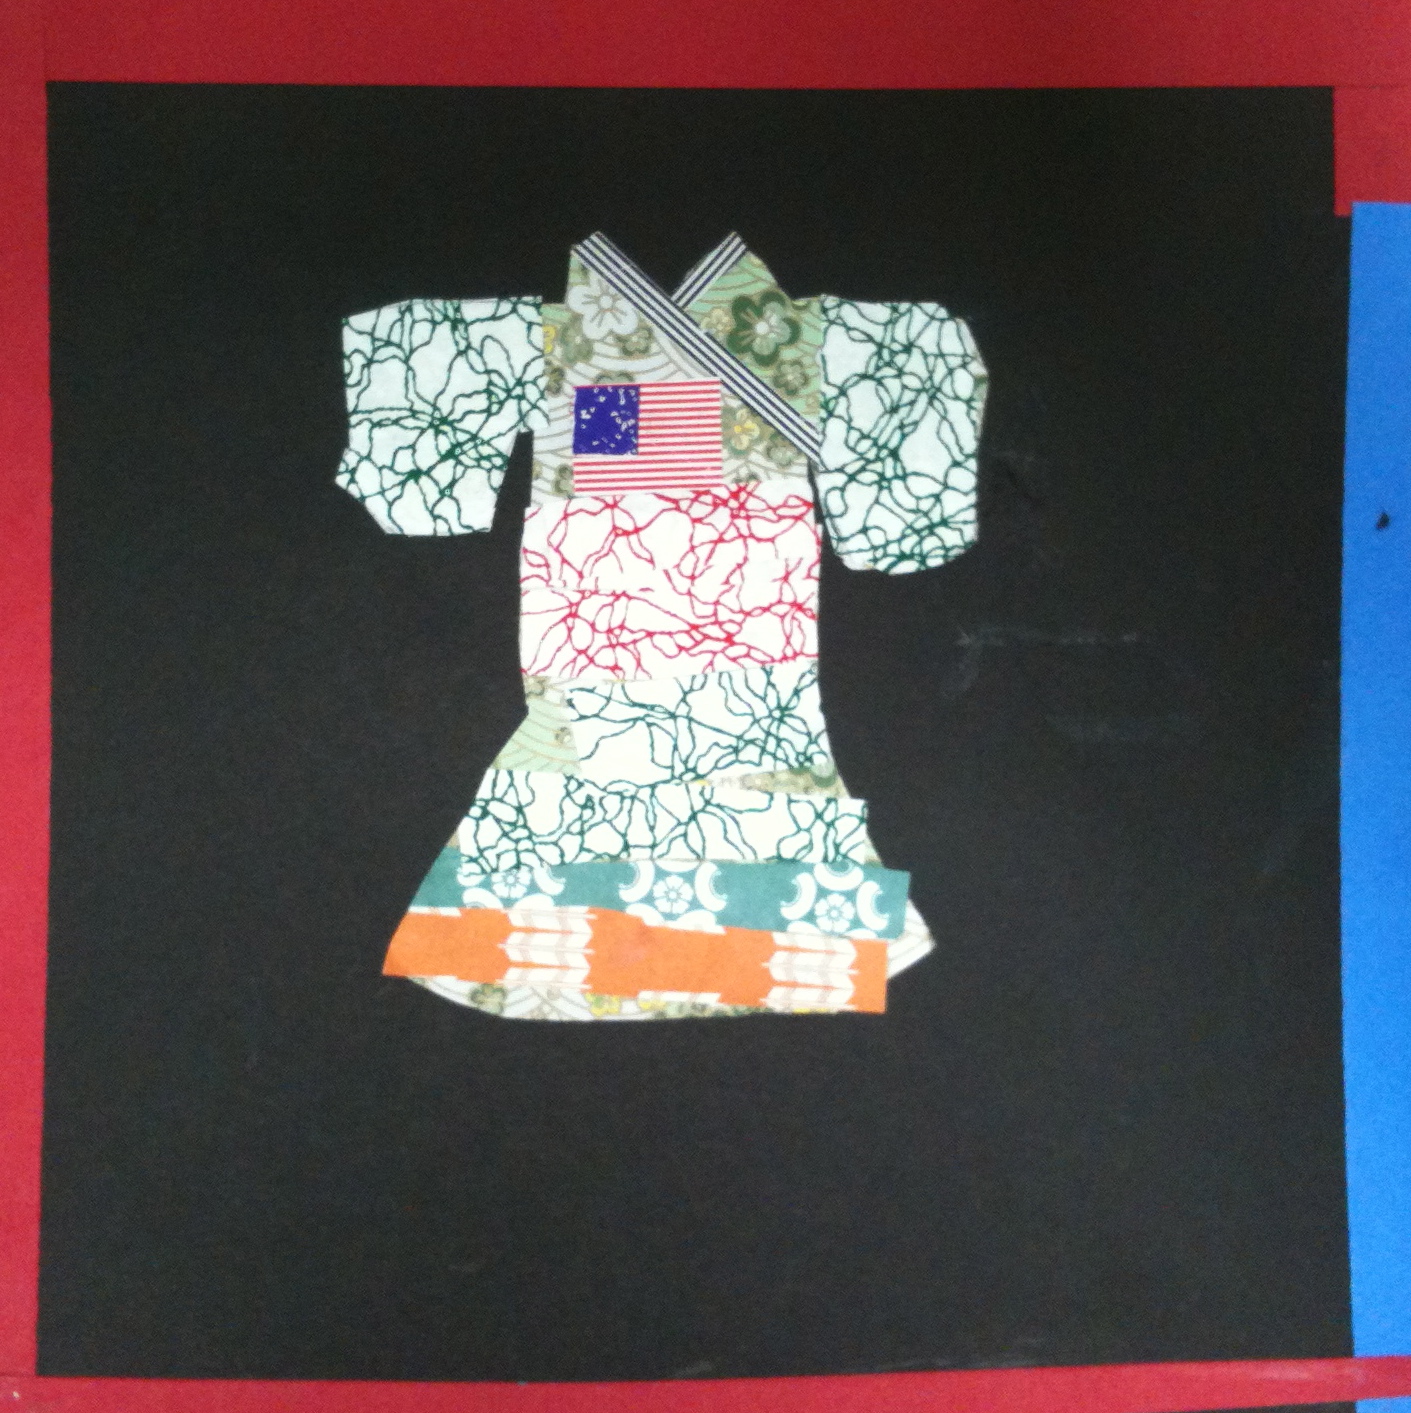
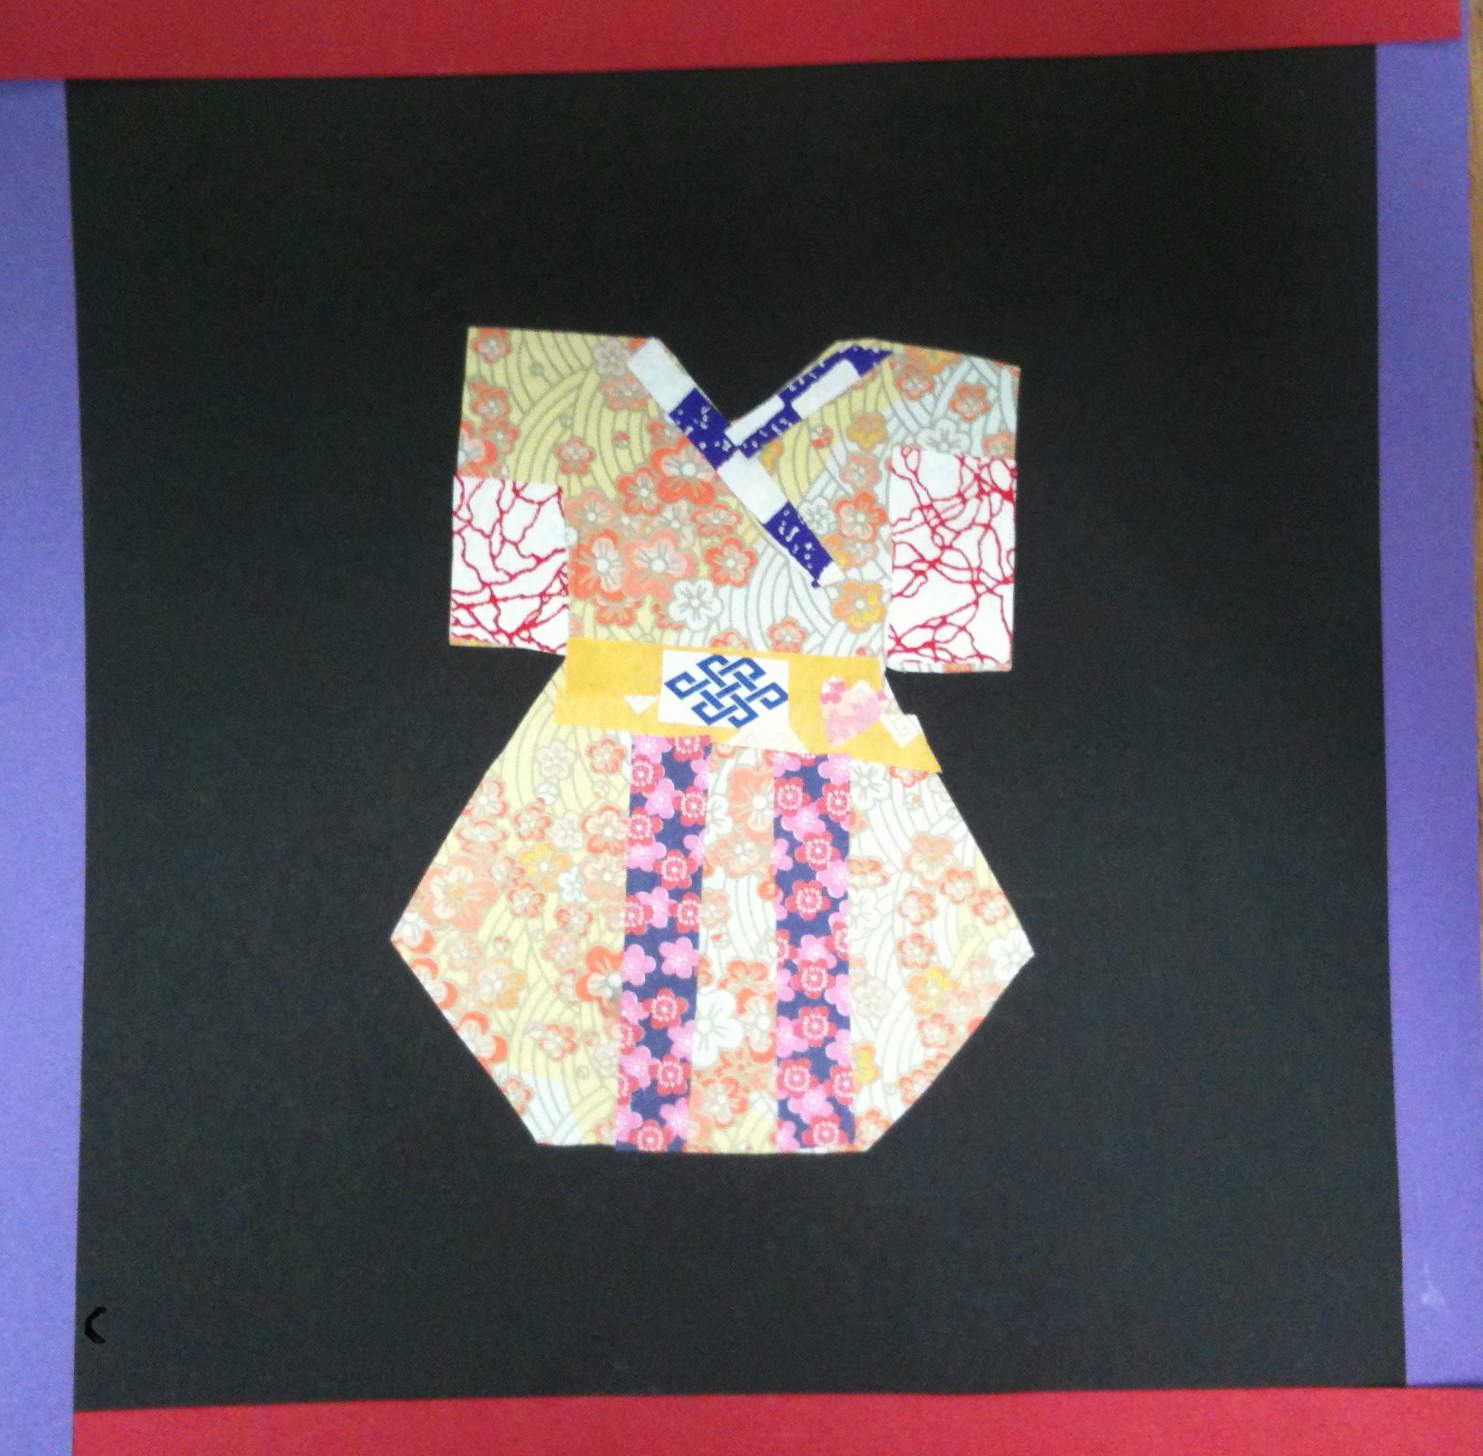
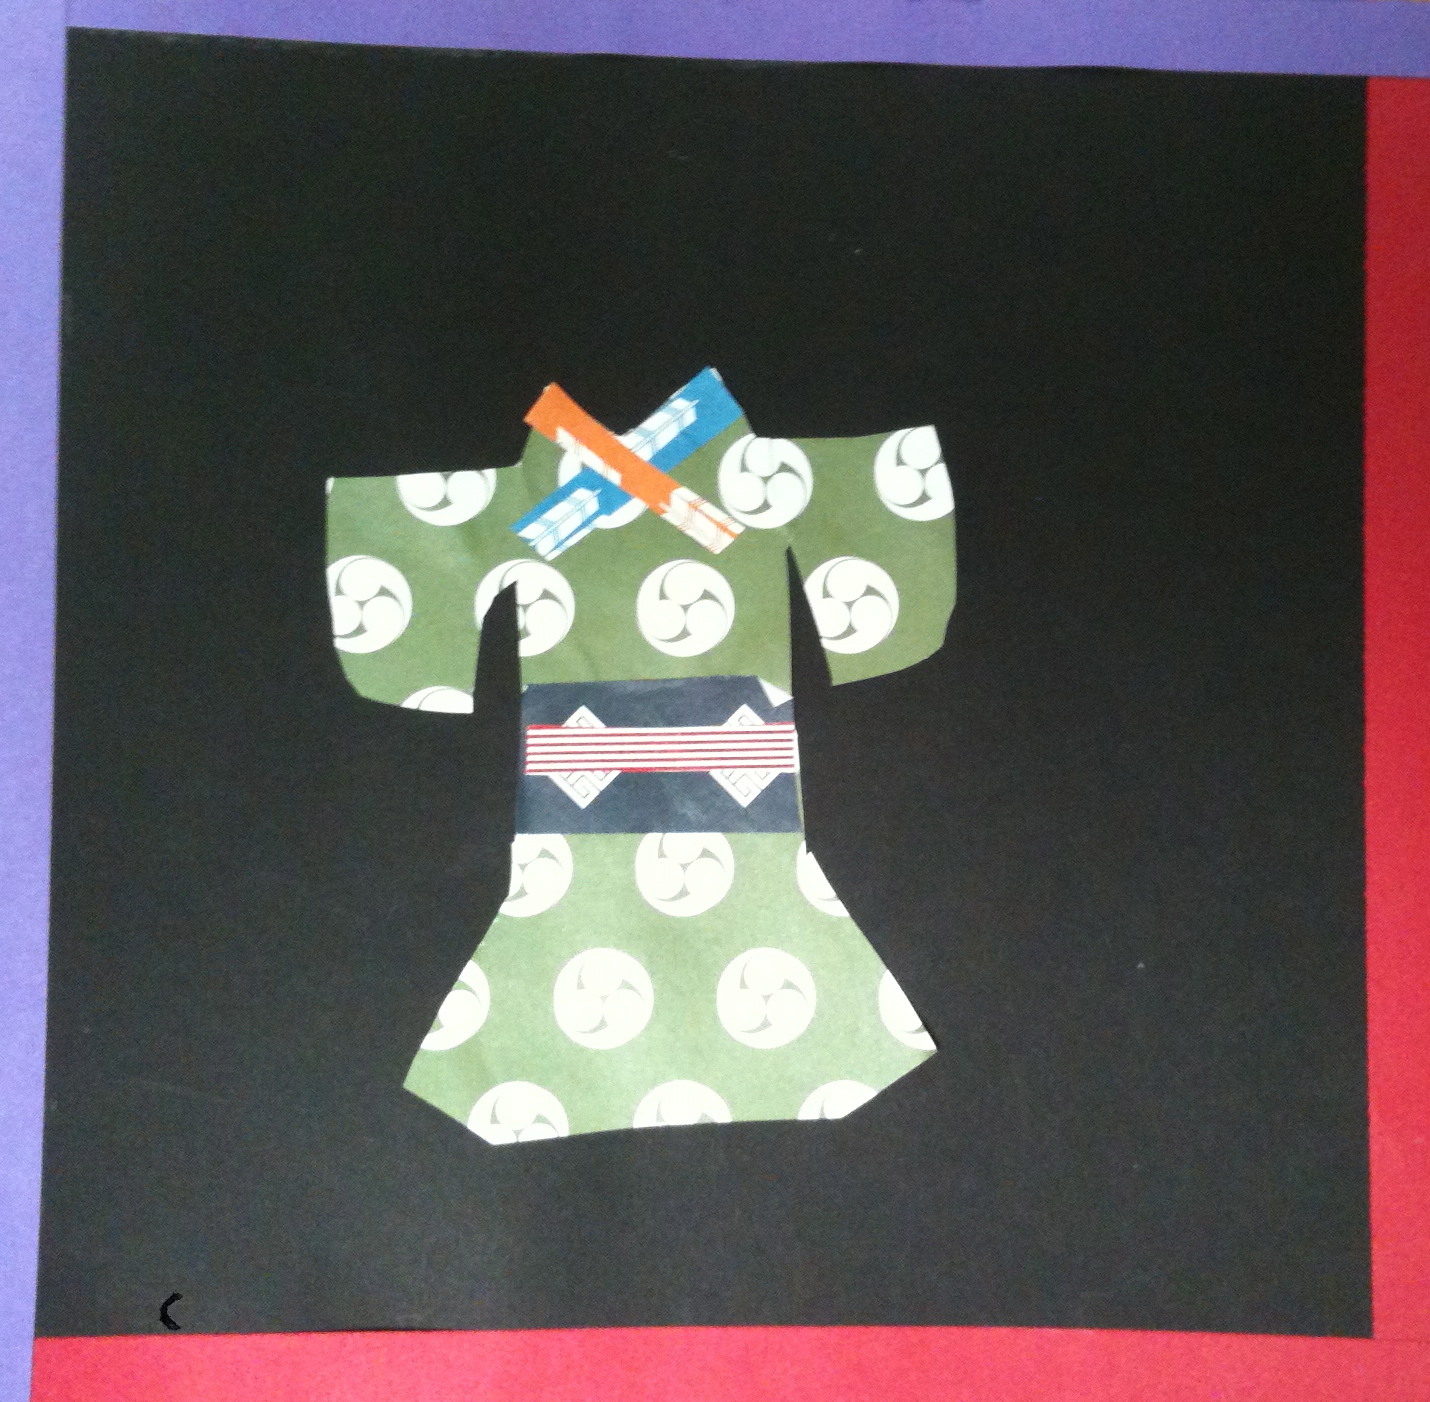
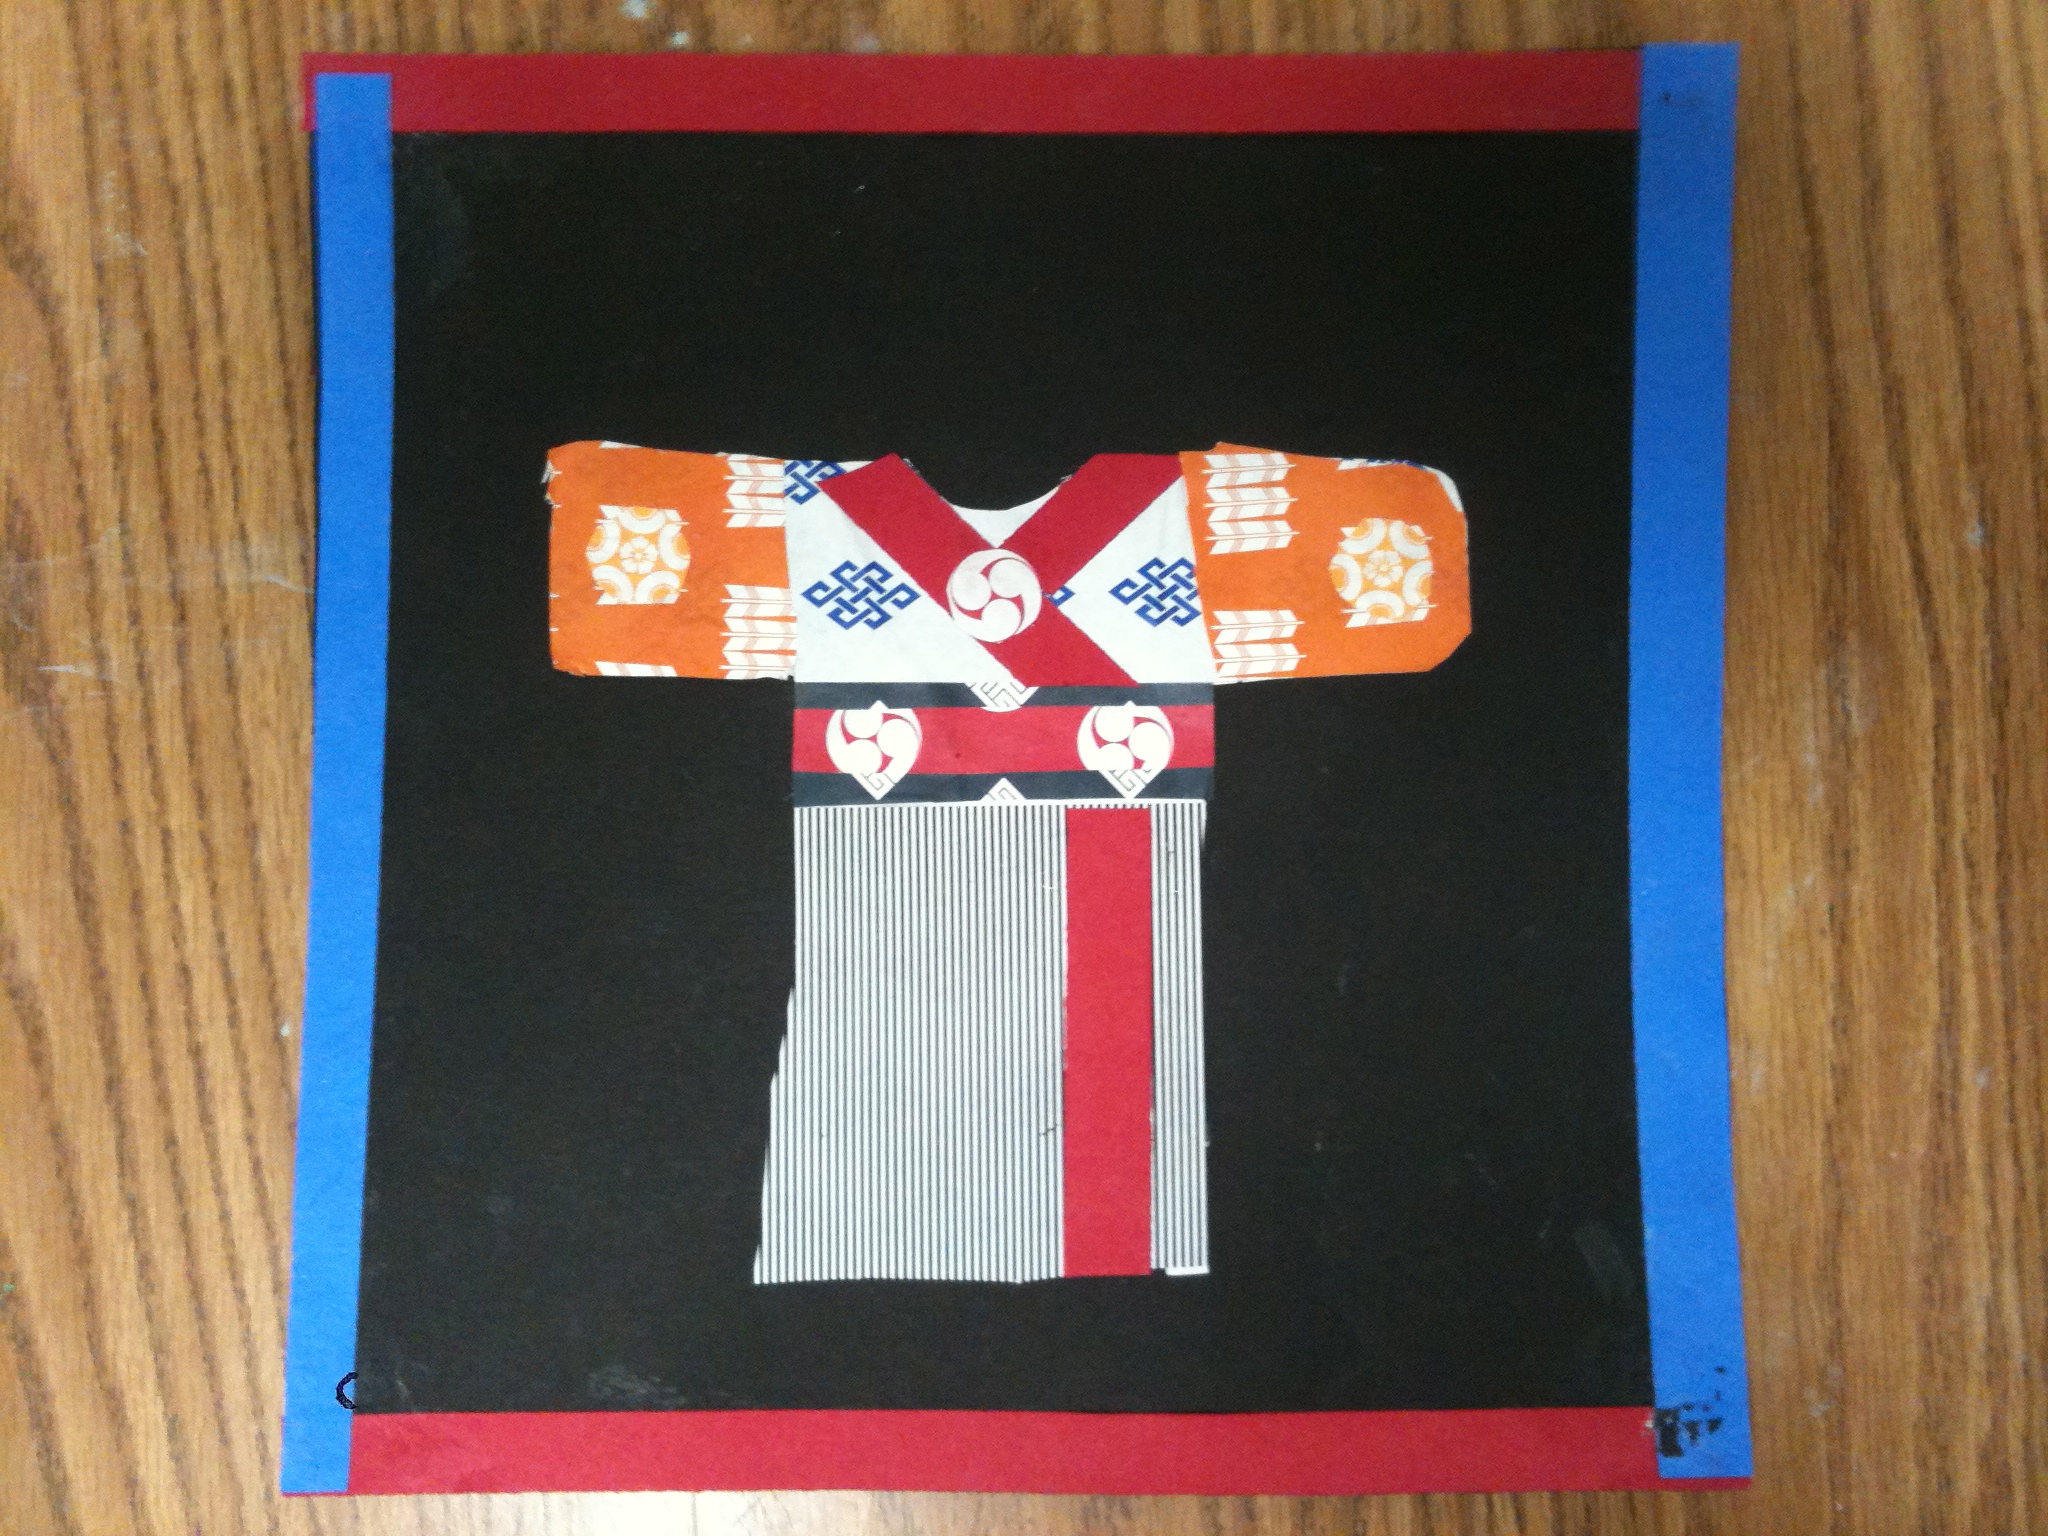
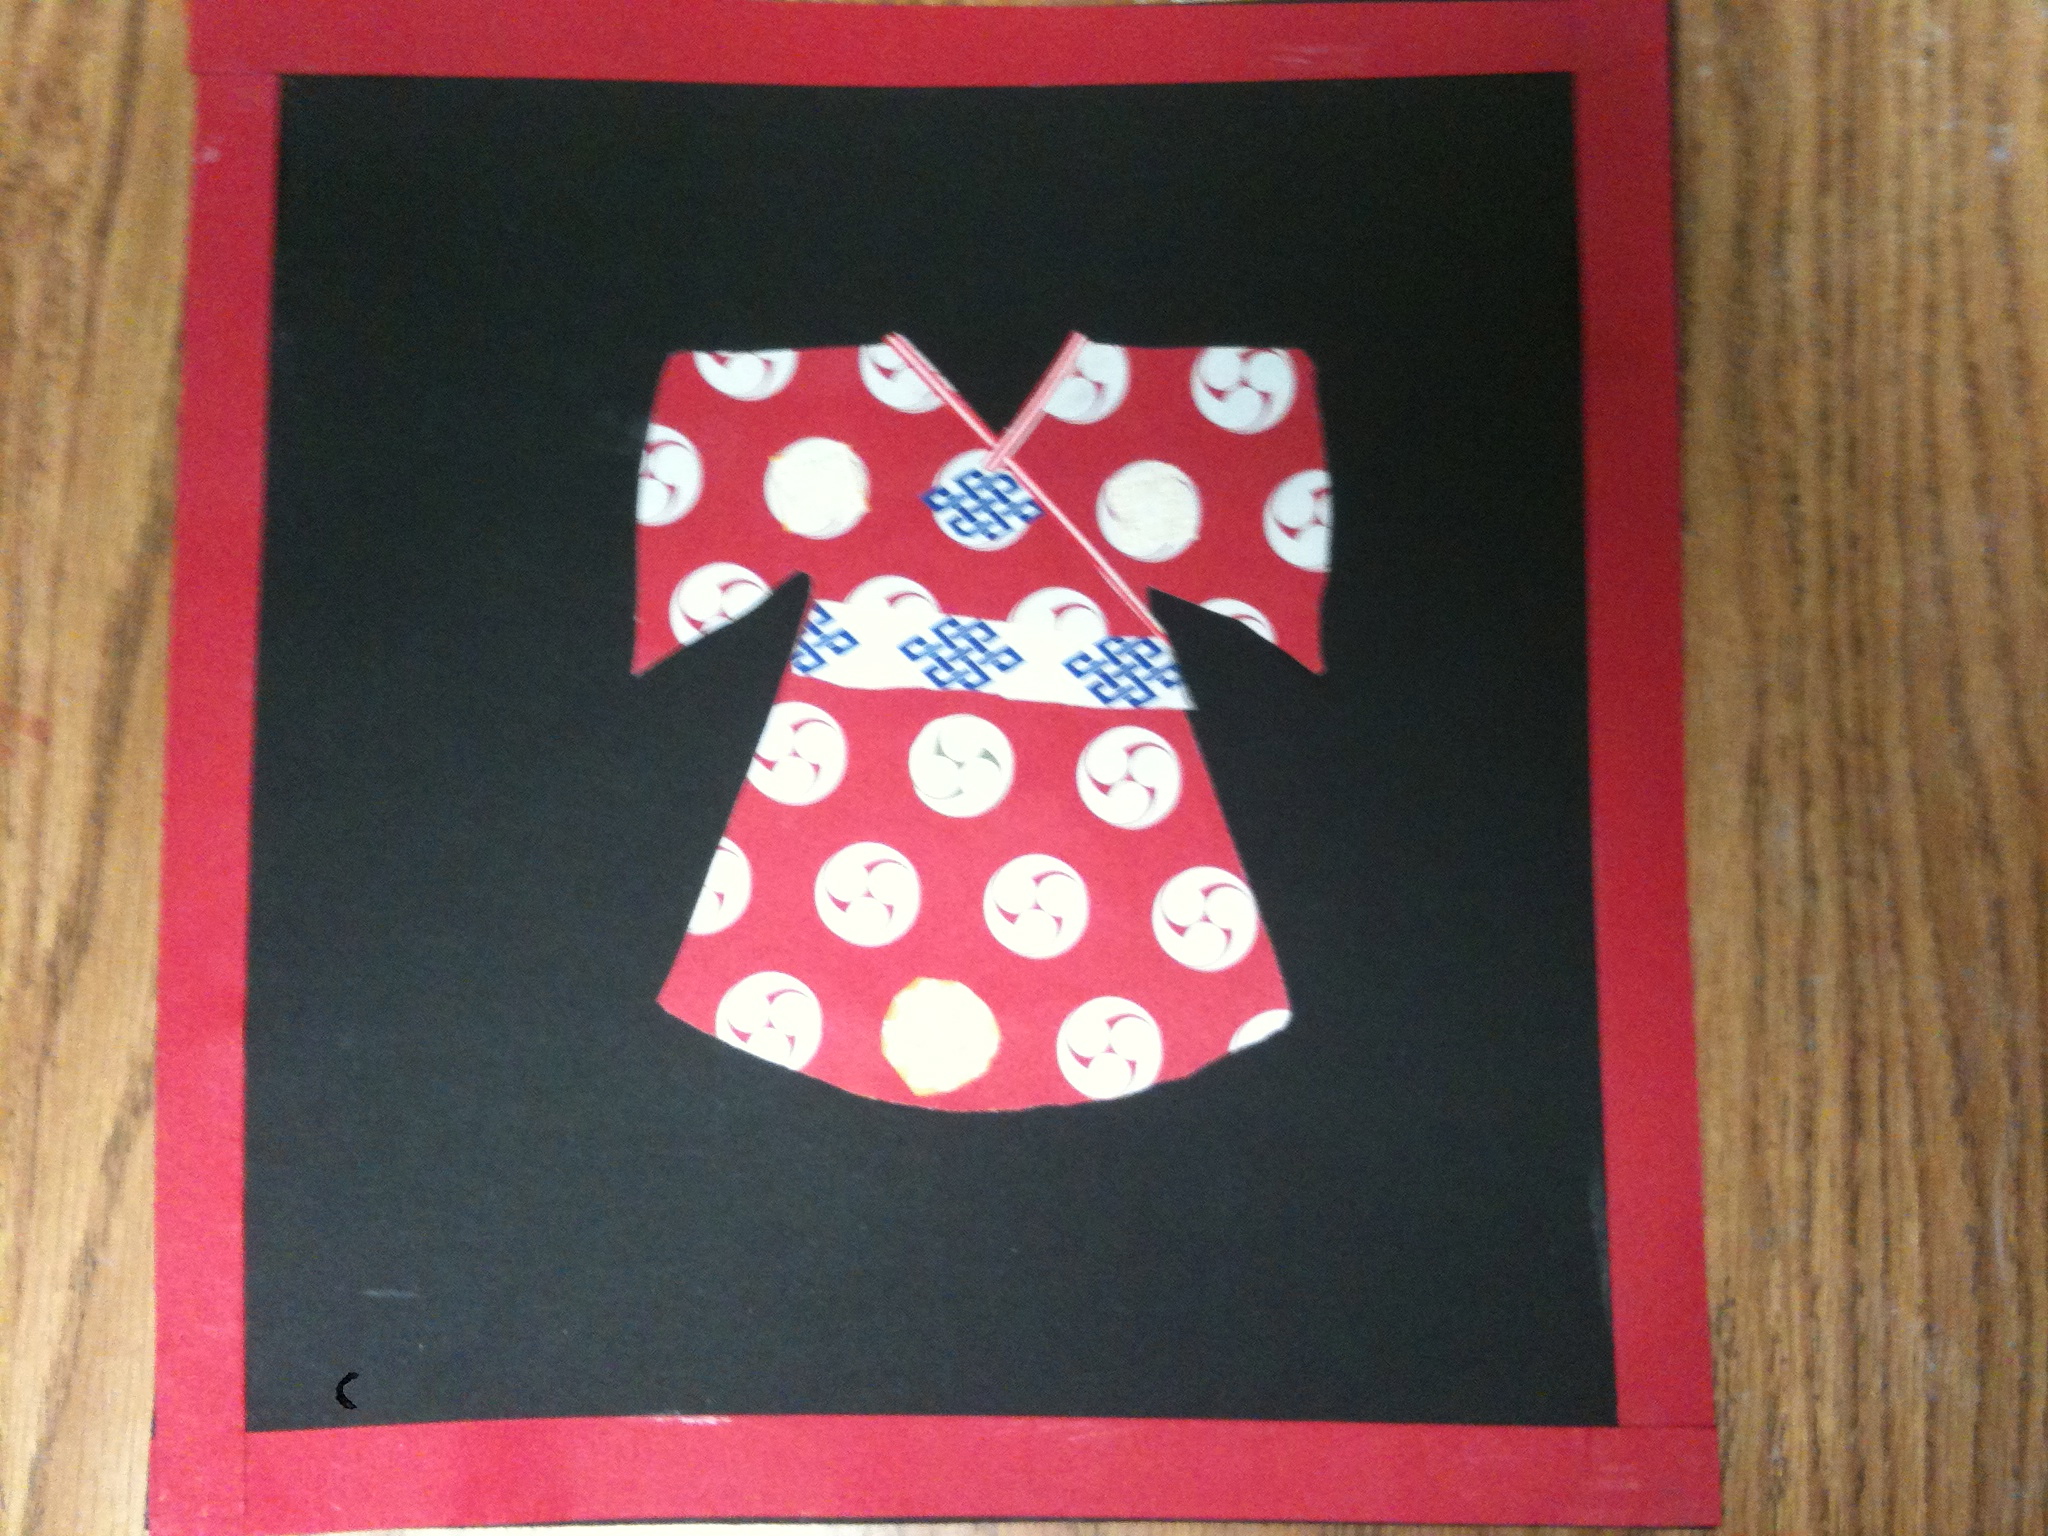
Third grade is doing a Japanese unit. In music class, they are working hard on their school play, a Japanese-themed ‘Emperor’s New Clothes’ (featuring real Taiko drums). I found this great kimono collage lesson plan developed by Renee Collins at My Adventures in Positive Space. The project was extremely successful – 100% of students made beautiful collages.

 We all know kindergarteners love birthday parties. Cake, presents, decorations – what’s not to love? So it was no surprise that this birthday cake art project was super-popular with the kinders.