Seurat Pointillism Mural (and more!)

Seurat Pointillism Mural group project uses $8 downloadable PDF

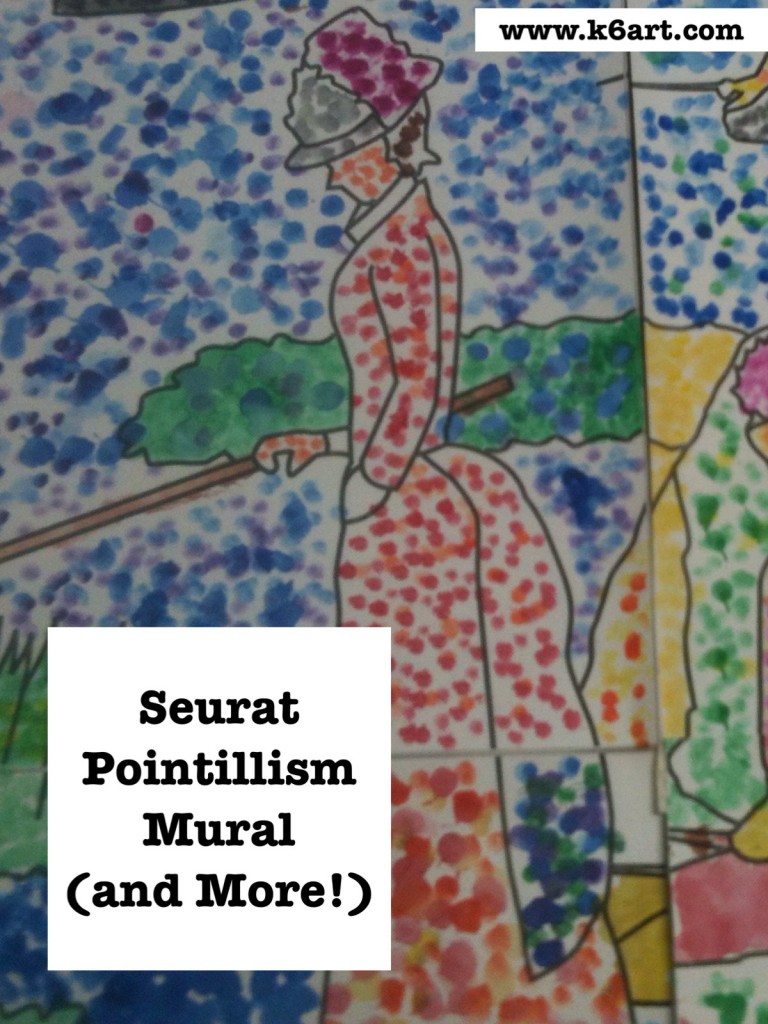
Need a group art project? 4th grade just completed a pointillism mural based on Seurat’s “Sunday Afternoon at the Island of La Grade Jatte”.

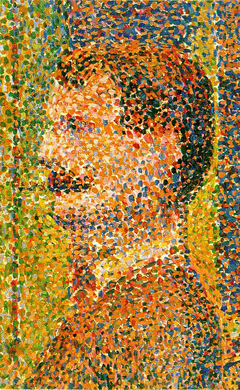
‘La Parade’ by George Seurat. 1889


Day 1:

Introduce pointillism. We discussed how Seurat made paintings in a whole new way: instead of blending colors, he placed different colors of dots side by side and let the viewer’s eye mix them.

Close up view:

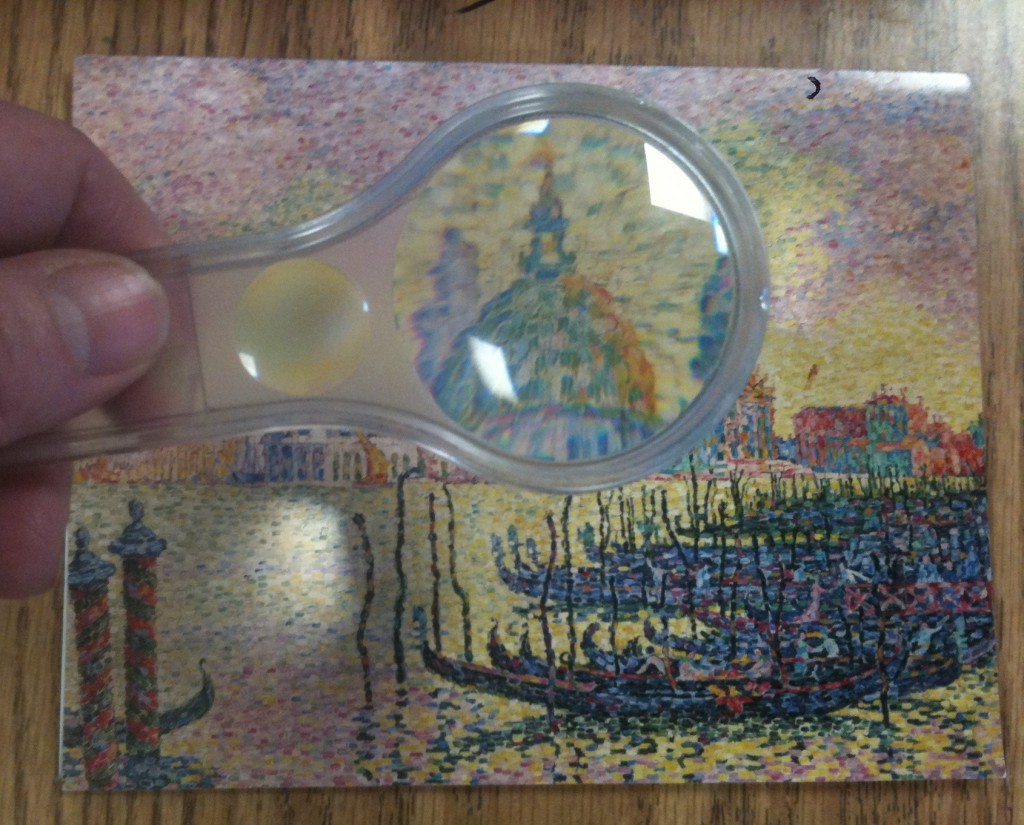
I passed out some greeting cards with pointillist art and let students examine them closely. They really need to see the art works up close to appreciate how many dots Seurat put in his paintings (tip: pass out magnifying glasses for a close up view).  I added some great close-ups to this Seurat Powerpoint  (sadly I am not sure who posted this Powerpoint).

Pointillist notecards + magnifier

UPDATE: Thanks to Google Art Project, you can view A Sunday on La Grade Jatte at incredible zoom level (flash required).
Google Art Project has a Seurat from MoMA in its online collection: you can view Seurat’s ‘Evening, Honfleur’ at incredible zoom level. Notice that Seurat used dots on the artwork and the picture frame!
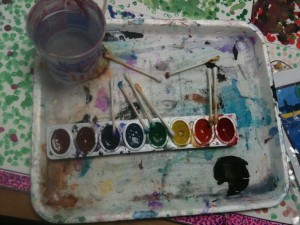
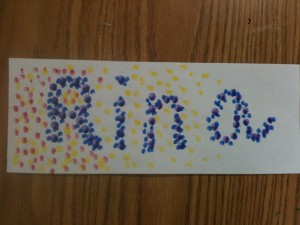
Individual warm-up project: make your name in dots on a 4.5″x12″ strip of paper. Color the background with dots as well. We used Q-tips and pan watercolors.

Make your name in dots as an introduction to pointillism.


Days 2-3:

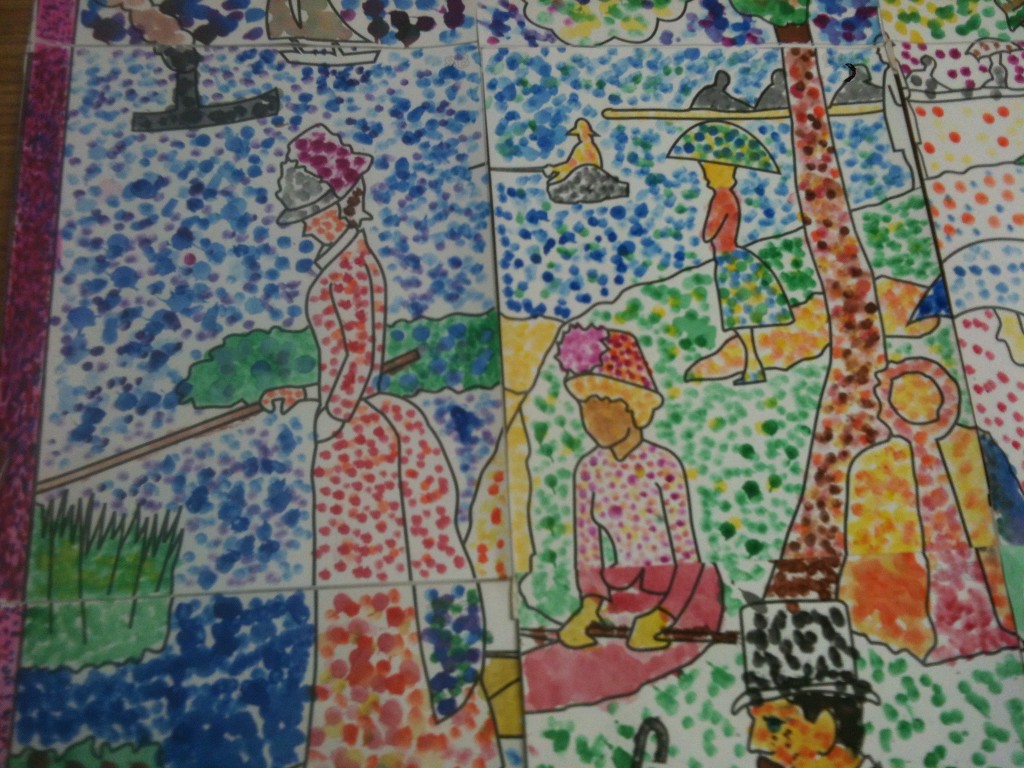
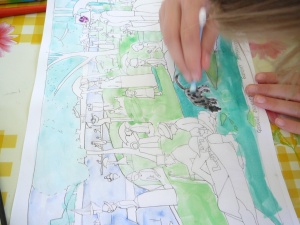
Group project. I purchased the downloadable pdf mural ‘Sunday in the Park’ from Art Projects for Kids ($8). The pdf contains a 28-piece mural (perfect size for a 4th grade class!) which you print onto cardstock. Each student ‘dotted’ their respective part of the mural, using the coloring guide included in the download.


Seurat’s famous ” (aka ‘Sunday in the Park’). Seurat’s masterpiece contains over 3 million dots and took over 2 years to complete.
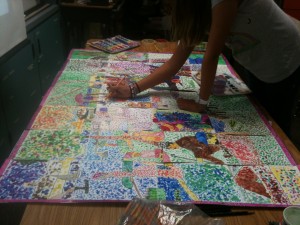

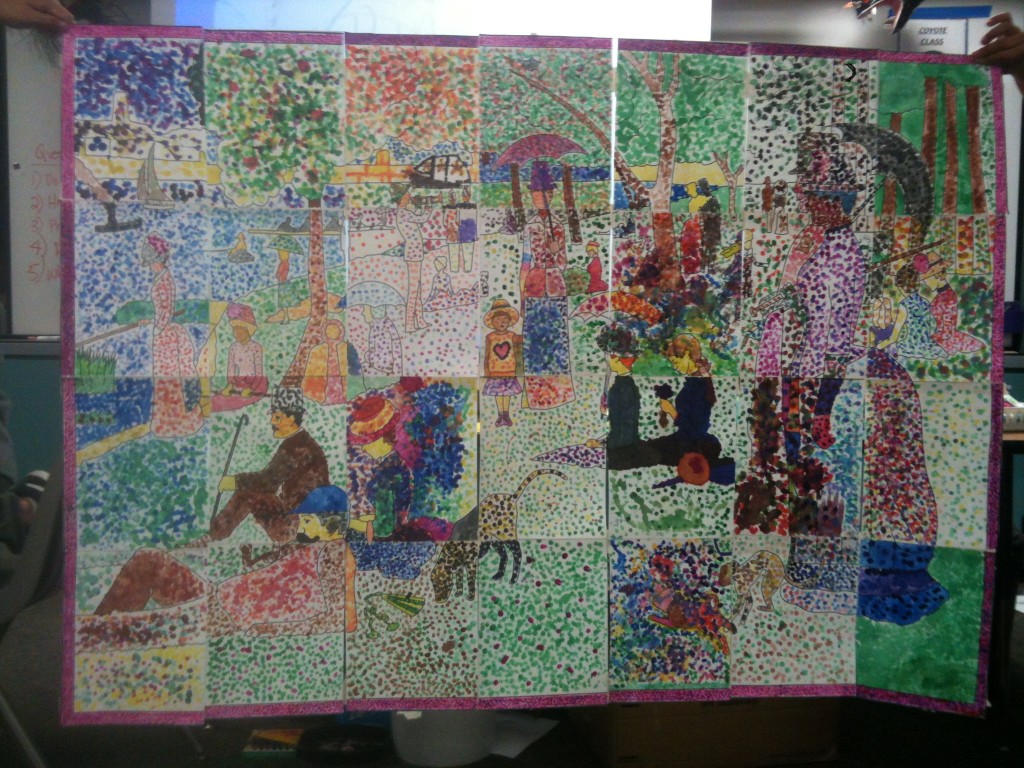
28 individual pointillist artworks come together to form Seurat mural.

The assembled mural is 55 inches x 40 inches.

We carefully assembled the mural by attaching long strips of masking tape on the seams (note: get a helper for assembly!). Bonus: it folds up like a map! Easy to store until the art show.

The completed mural.

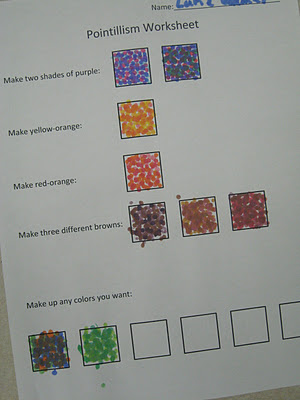
The kids really enjoyed this project.  I did notice there was a lot of variety in the assembled mural – some students made a near-solid dot pattern with almost no white paper showing.  Others had sparsely dotted areas. Next year I will use this pointillism practice worksheet from Miss Young’s Art Room blog.

Pointillism worksheet from Miss Young’s Art Room blog.

Options:

Individual coloring sheet for ‘Sunday in the Park’. From Practical Pages blog.

Want an individual project based on ‘Sunday in the Park’? There is a great post including download on the Practical Pages blog.

Try out different materials for pointillism:

  • Q-Tip + tempera
  • Marker
  • Unused eraser tip from a standard pencil + pan watercolor
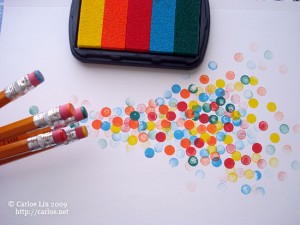
  • Unused eraser tip from a standard pencil + stamp pad

Stamp pad + eraser tip


How do you teach pointillism to your students? Leave a comment!

UPDATE 10/17/13:

NEW!!! Pointillism art project – make pointillist FOOD using watercolors, q-tips and markers! AWESOME pointillism video! Click here.

seurat pointillist food: Q-tips, pan watercolor and markers. Very successful!

*****Thanks for visiting! Don’t forget to please vote for 2012 Art Ed Blog of the Year, which you can do by clicking this link and voting for K-6 Art! Voting open through December 14, 2012.******


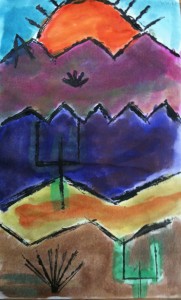
Paul Klee Painted Desert for Third Grade

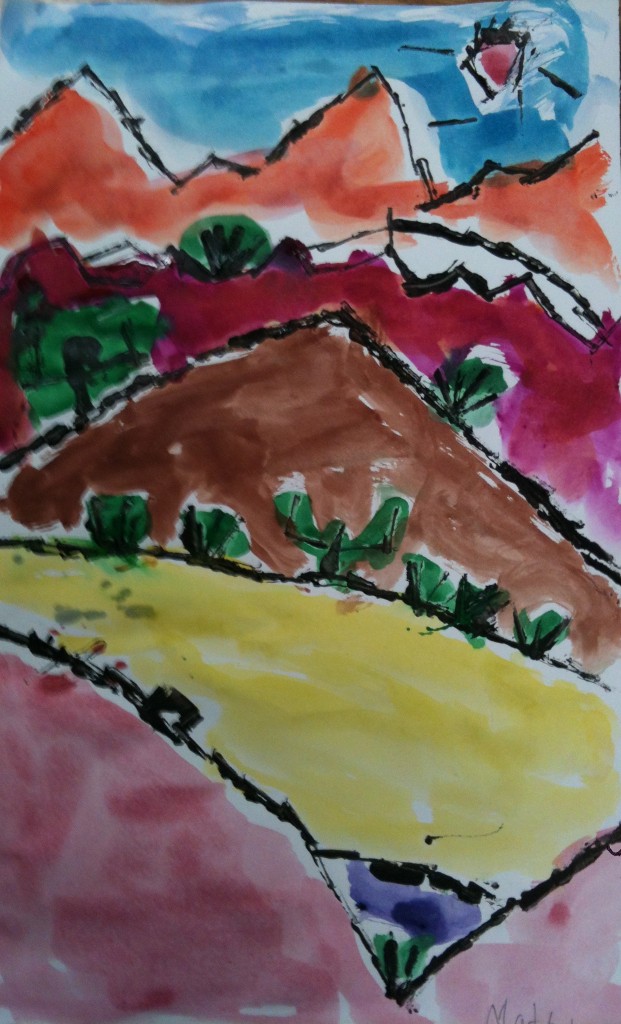
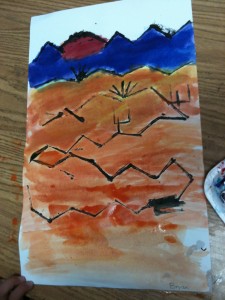
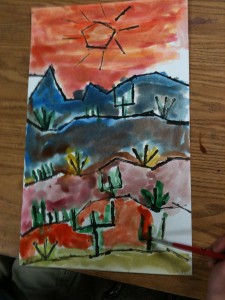
3rd graders stamped a line landscape with black acrylic paint, then painted with pan watercolors. Allow two 40-minute sessions.

Do you want a landscape lesson plan that delivers gorgeous art with 100% success in only two 40-minute sessions? Try the Paul Klee lesson featured in the book Dynamic Art Projects for Children by Denise M. Logan. Students spent their first class using black acrylic paint and small pieces of mat board to stamp a jagged landscape. They painted with watercolors during the second class. Here are the results:

Dynamic Art Projects for Children is a fabulous book with many colorful, engaging lesson plans for kids in grades 1-6.  I wrote about the book’s Kuna mola lesson plan in this post.

Can you recommend a book with awesome lesson plans?  Leave a comment!


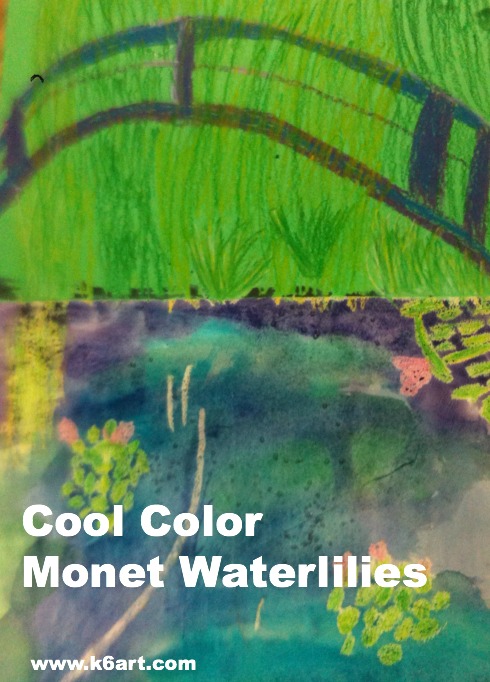
Cool Color Monet Water Lilies

cool color monet waterlilies

Second grade is studying the cool colors.  After watching the excellent elementary color theory DVD Getting to Know Color in Art  we looked at photos of Monet’s beautiful garden and pond in Giverny, France. Students could imagine themselves at the pond on a summer day, feeling the willows sway, listening to frogs as they rested on the lily pads, resting in the cool shade, even floating in Monsieur Monet’s ‘art boat’ as it passed under the Japanese bridge.

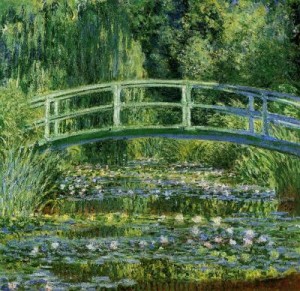
“Le Bassin aux nymphéas” 1899. One Monet’s many water-lily paintings.

We looked at several of Monet’s waterlily paintings, focusing on his use of cool colors and short, quick strokes of paint. You can download my Powerpoint of Monet’s garden here.

We then created an oil pastel and watercolor art work.

Allow three 40-minute sessions for this project.

Materials:

  • 12×18 construction green construction paper
  • 9×12 watercolor paper
  • glue sticks
  • oil pastels in blues, greens, and purples plus white, yellow and pink
  • watercolors in blue, green and purple
  • kosher salt (optional)

Discuss Monet’s art, his pond and garden. Review cool colors. View powerpoint or photos of Monet’s garden.

Fold green construction paper ‘hamburger’ (the short way). Glue watercolor paper to lower half of green paper.

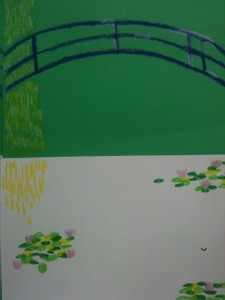
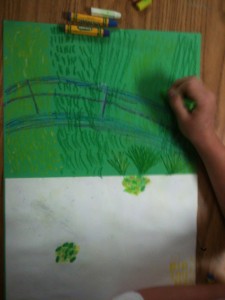
Students use oil pastel to draw bridge, water lilies and foliage.

Review painting of pond and Japanese bridge.

Oil Pastel:

Using oil purple and blue oil pastels, draw three arcs (‘rainbows’) for the Japanese bridge. Add some vertical lines to the bridge to finish. Blend and highlight with white oil pastels.

Review photos of water lilies.

Using various green and yellow oil pastels, draw clusters of lily pads on the watercolor paper. The lily pads don’t have to be perfect – just ovals or quick strokes of pastel. They should overlap a bit. Add a few pink lily flowers, highlight with white.

Fill the entire top half of the green paper with foliage in greens and yellow. Use short strokes. Add a downward cascade of short lines for the weeping willow.  Tell kids to ‘go behind’ the Japanese bridge.

Use short strokes of oil pastel to completely fill the green paper with foliage.

Painting:

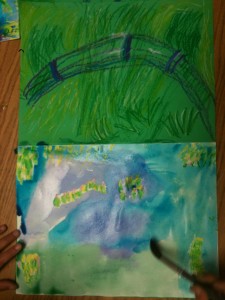
Using the cool colors (blue, green and purple), paint the watercolor paper using long horizontal strokes.  Colors can overlap and blend.  Go right over the oil pastel lily pads.

Use purple, blue and green watercolors on the lower half of artwork

Students may add a small pinch of Kosher salt to the wet watercolor. The salt absorbs a bit of color and an additional dimension to the pond. Brush off salt when dry.

Wow!!! This project was a hit! We learned about a famous artist, reinforced color theory, experienced the joy of painting on watercolor paper and blending pastels. All kids were very proud of their artwork. Success!


Enjoy!


(Note: post updated 12/22/13)

Related Posts Plugin for WordPress, Blogger...