Looking for a fun kindergarten project? Try this simple but engaging playground name art project based on the student’s first initial.
Kindergarteners make playground drawings incorporating their first initial. Allow one 40-minute period.
Students turned their first initials into playground equipment.
We talked about all the things we see on the kindergarten playground: ladders, swings, slides, sand, balls, jump ropes, hula hoops, monkey bars etc.
Then we talked about all the extra things we might see on the best playground in the world. Students wanted zip lines, trampolines, water slides, forts and mini trains.
Each child received a paper with a photocopied initial (letters were made on school die-cut machine). They drew with pencil and colored with construction paper crayons.
This kindergartener has a horse in her playground.
M for Marcos
This project was inspired by this post on the Art Cart blog.
This would be a nice kindergarten sub plan.
Do you have a favorite name art project for the beginning of the year?
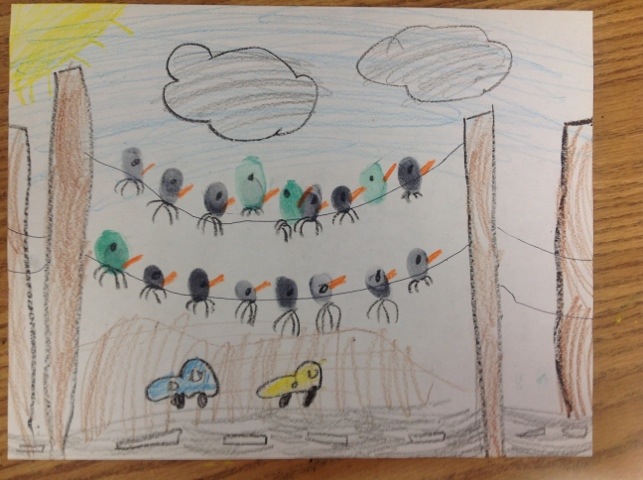
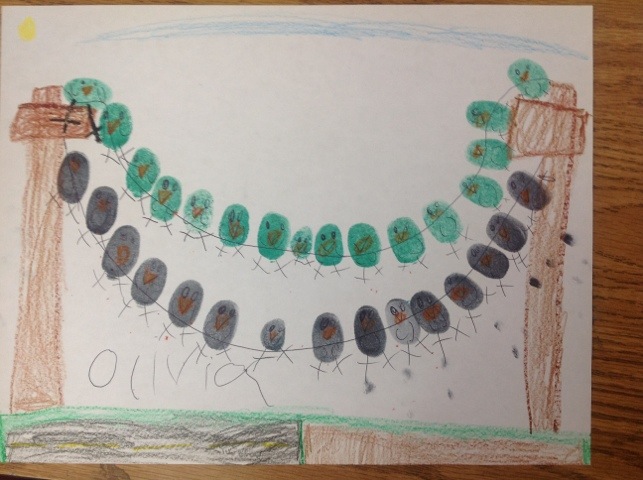
Looking for a quick 40-minute project? Get out your stamp pads. Kindergarteners used crayon, stamp pads and ballpoint pens to create these cute thumbprint birds on a wire.
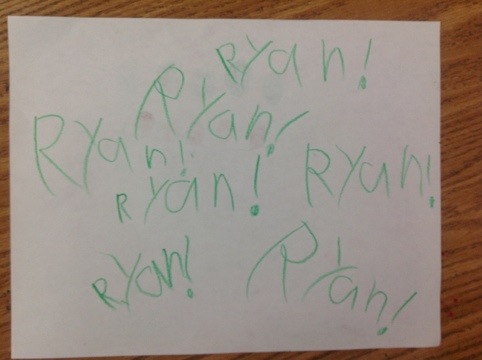
And just for fun….look how Ryan signed the back of his art! He must be very proud of his writing skills. These kids have come so far since the fall. What a joy!
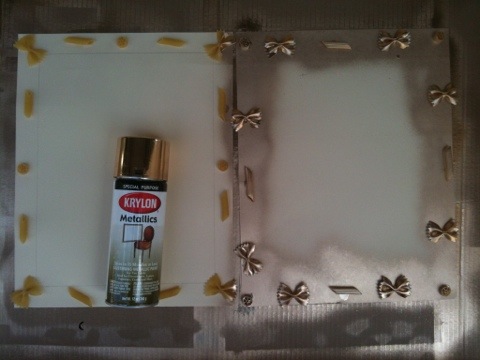
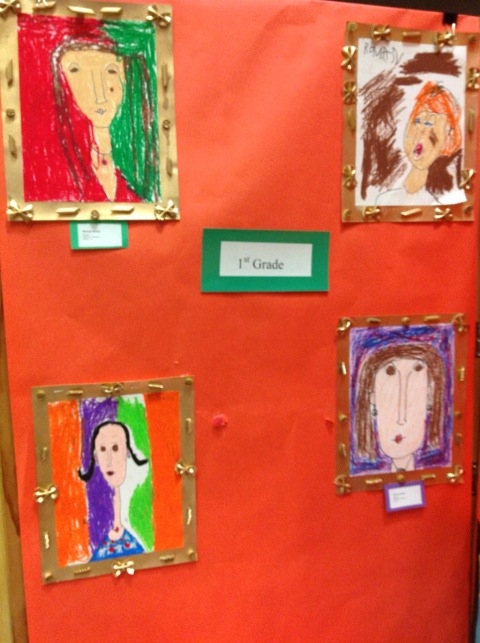
Looking for a fun and pretty Mother’s Day project for kindergarteners and first graders? First graders just put the finishing touches on their Mother’s Day project: a shiny gold frame made with pasta! Bonus for primary students: this project reinforces pattern lessons taught in the general ed. classroom. It’s two lessons in one.
First graders use tag board, pasta and glue to create a picture frame. Look carefully at the pasta: can you see the A-B-C-B-A pattern?
Materials:
Tag board
White glue (Elmer’s)
Template cut to size of art you wish to frame
Dry pasta (we used four different shapes)
Gold spray paint
Prep:
Cut tag board to desired dimension. Center template on tag board and trace with pencil.
Lesson:
Students glue pasta on the outside edge of their tag board. Explain to students we can’t put pasta in the center of the frame because that is where the art will go.
Dry on drying rack. Be sure to dry in horizontal position ( you may even tell the kids to hold the art ‘flat’ as they carry it to the drying rack).
Option 1: create pattern with pasta. We alternated pasta to create an A-B-C-B-A pattern.
Option 2: student’s choice! So fun and unique.
Finishing the project:
Spray the pasta with gold paint. No need to paint the center of the frame. Spray outside!
Insert art and wait for the oohs and aahs!
The pasta/glue bond is quite strong, especially if you encourage kids to use a big dot of glue. In fact, the inspiration for this project came from my son’s kindergarten teacher. I have been carrying around that pasta frame holiday gift for over 10 years, and it is still intact 🙂
I have admired the fabulous yarn-wrapped cardboard fish mobiles shown on a couple of elementary art blogs. I wanted to do the project with kindergarten as part of a whole-school ocean-themed art installation to be hung later this spring….
Kindergarteners created yarn-wrapped cardboard fish. Allow two 40-minute classes.
Materials:
Thin cardboard approx 8″x10″
black marker
scissors
crayons or markers
yarn cut in 6 foot lengths, one per student
large paper clips (for hanging)
hole punch (for hanging)
optional: bottlecaps and tacky glue/glue dots for eyes
Part one:
We started with thin cardboard rectangles about 8″x10″. We did a dot-to-dot directed draw of a simple fish shape.
Kinders started with a dot-to-dot directed draw. Don’t make base of tail too narrow or fish may rip.
Then the students cut out the fish shape. Because we used thin cardboard, 95% were able to cut the fish without help.
Now kinders add four dots to the top edge of the fish, and four dots to the bottom. A few kids made their dots too close together….so I’d say 90% did this task independently.
The kids use scissors to cut slits along the edges of the fish, stopping at the dots. 100% were able to do this task independently.
Now color both sides of the fish. We used regular crayons (I wish I had construction paper crayons to brighten the dull gray cardboard…next year!).
Part two:
Students finished coloring both sides of their fish. Each received a six-foot length of yarn (cut by me, lest you think I didn’t have ANY prep on this project…..) and wrapped the yarn around and around and up and down across their fish.
Wrapping the yarn was tricky for some students. I found out kids were more successful with the yarn wrap when I modeled it in front of the room (as opposed to on my document camera). I’d say about 70% could do this independently on their first attempt.
Optional: glue on eyes.
To hang the fish: use a hole punch to make one hole near the top edge and one at the bottom edge. Open a large paper clip to form a ‘S’ hook.
Open paper clip connects fish for mobile.
Connect your chain. I was able to make a hanging chain of five fish.
Inspiration for this projects comes from this post on the Fem Manuals blog and this post on the Deep Space Sparkle blog.
I believe that a lot of my lesson plans (at all grade levels) could be tweaked to increase student independence.
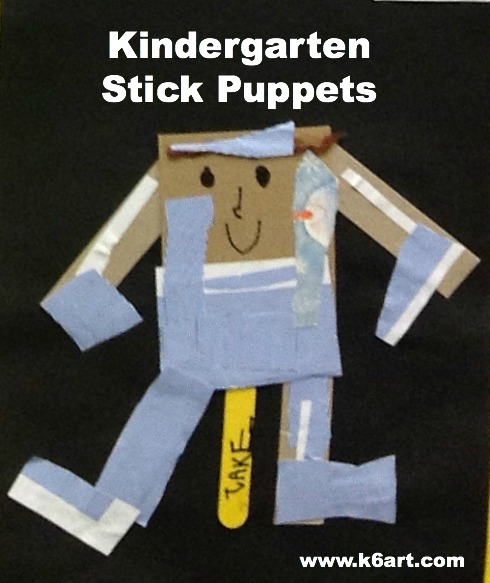
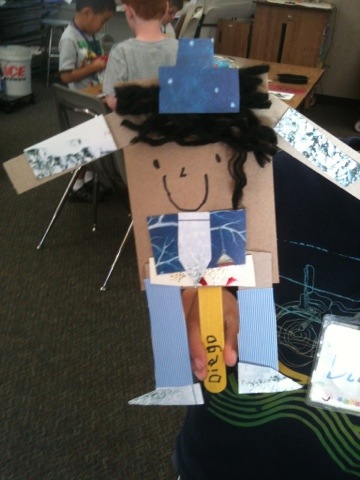
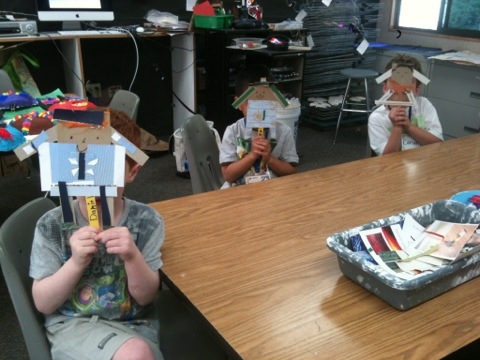
Kinders are making stick puppets. This is their first project using white (Elmer’s) glue, and the whole project is designed to teach gluing skills.
Students first practice opening and closing the (orange) tip of the glue bottle. They learn the bottle is closed when the hard white tip peeks up from the bottle. Then I pass out cardboard.
Day 1
Materials
White (Elmer’s) glue
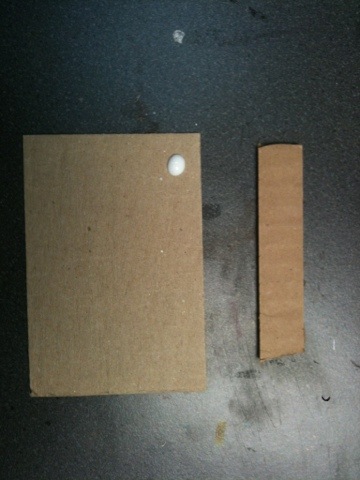
Cardboard : 1 (3″x5″) and 4 (1″x5″) per child
Sharpie
Yarn
Scissors
Take large cardboard and one small cardboard. Put a dot off glue on a corner of the large cardboard, top with the small piece. Press hard to stick pieces together.
We use the ’10 second gluing’ technique. Students press the pieces hard against the table while counting aloud to 10 (is there anything cuter than a class of 5 year olds earnestly counting together?).
We test our gluing by waving the glued pieces in the air while counting to three. Result: 95% hold together. The one or two that come apart provide the opportunity for more glue practice.
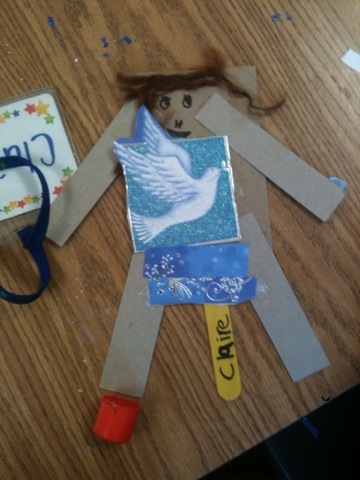
We glue on all four cardboard ‘limbs’. Next students write their names on a Popsicle stick and glue it on for a handle. Kids will need to use 2-3 dots of glue and count to 20 to get that stick stuck on.
Add a bit of cut yarn for hair and draw on a face with sharpie.
Day 2:
Materials
Stick puppets
Glue sticks
Scissors
Colored patterned papers (origami, scrapbook or wallpaper) cut into 4″x6″ pieces
Cut out paper and glue on to make clothes for puppets. Instruct kids to apply glue stick to both papers they are stick together. This might sound like a waste of glue, but there is a much stronger bond. Don’t want any puppet wardrobe malfunctions!

 Looking for a fun kindergarten project? Try this simple but engaging playground name art project based on the student’s first initial.