Clay Self-Portraits for First Grade

clay self portraits for first grade

Self-portraits are awesome. Clay is awesome. Put them together and you get a fun projects kids love and parents treasure forever.

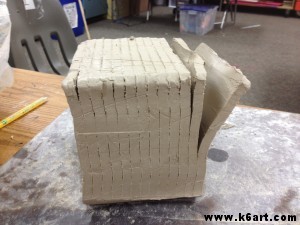
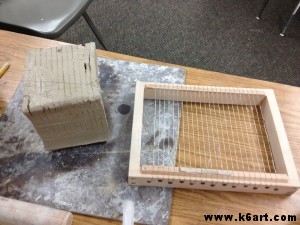
Multi-slab cutter easily slices clay into identical tiles.

Multi-slab cutter easily slices clay into identical tiles.

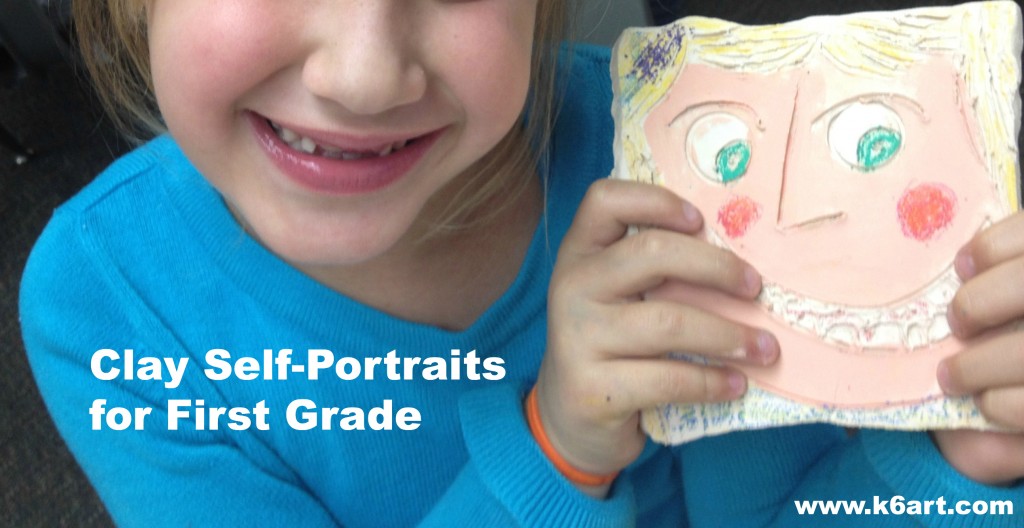
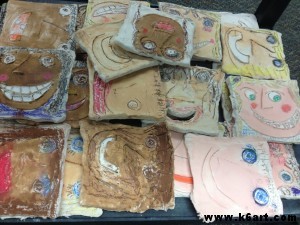
I used a multi-slab clay cutter to slice the clay into tiles. The first graders used bamboo skewers and old glue caps to draw faces on the slabs. Remind students to draw on the clay but not too deeply – don’t cut all the way through!
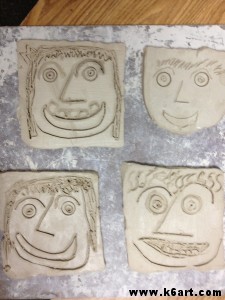
First graders created self-portraits using clay slabs. Allow two 40-minutes sessions plus drying time.

First graders created self-portraits using clay slabs. Allow two 40-minutes sessions plus drying time.

I let the clay dry for 12 days, then bisque fired.

Now for color!

I saw a fabulous post on no-fire glazing techniques on the Art Smudge blog. The authors used watercolor, chalk pastel, colored pencil and more to finish bisque-fired clay (note: if you work with clay, please check out this post – it is amazing!).

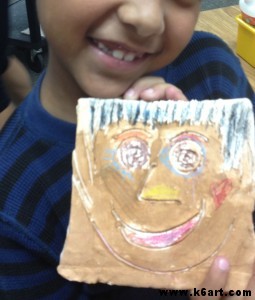
We used Crayola Washable Paint In Multicultural Colors for the skin, and colored pencil and construction paper crayon for other details. A few students used colored chalk for their hair (note: the chalk was messy and will have to sprayed with a fixative – I won’t use chalk next year).

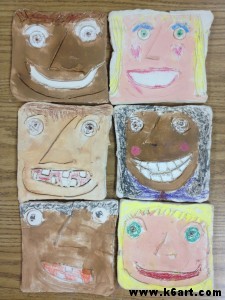
After bisque firing, clay was painted with tempera, then colored with crayons and colored pencil.

After bisque firing, clay was painted with tempera, then colored with crayons and colored pencil.

We had a range of skin tones to match – the Crayola eight bottle set of skin-tone paints matched pretty well. If anyone can recommend a set of multicultural glazes/underglazes please leave a comment!

clay portrait tiles painted with tempera

clay self portraits


Great job first graders!

Do you use glazes or cold finishes for clay?

******Thanks for visiting! Don’t forget to please vote for 2012 Art Ed Blog of the Year, which you can do by clicking this link and voting for K-6 Art! Voting open through December 14, 2012.******

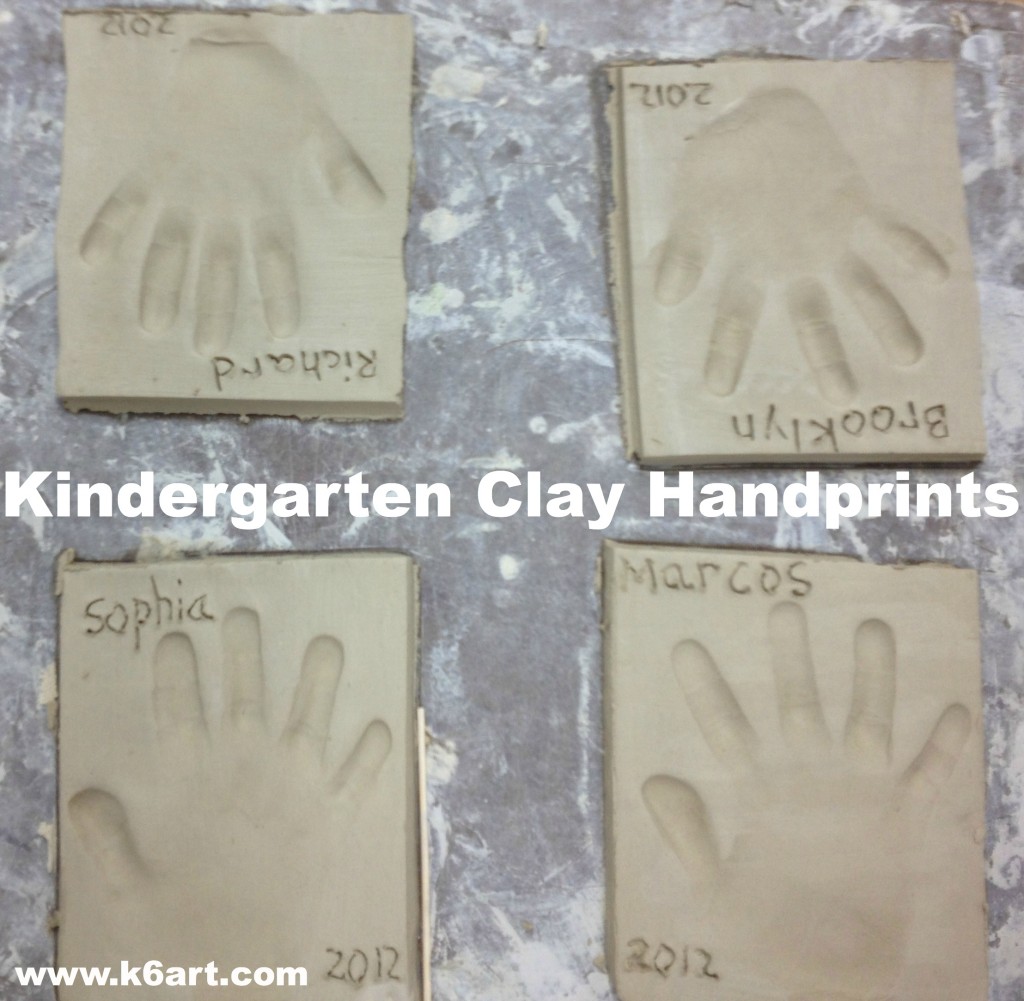
Kindergarten Clay Handprints

Want to make clay handprints for a crowd but don’t have a slab roller? Save yourself some time –  get a multi-slab cutter.

The multi-slab clay cutter.

Multi-slab cutter easily slices a 25-lb. bag of clay into identical tiles.

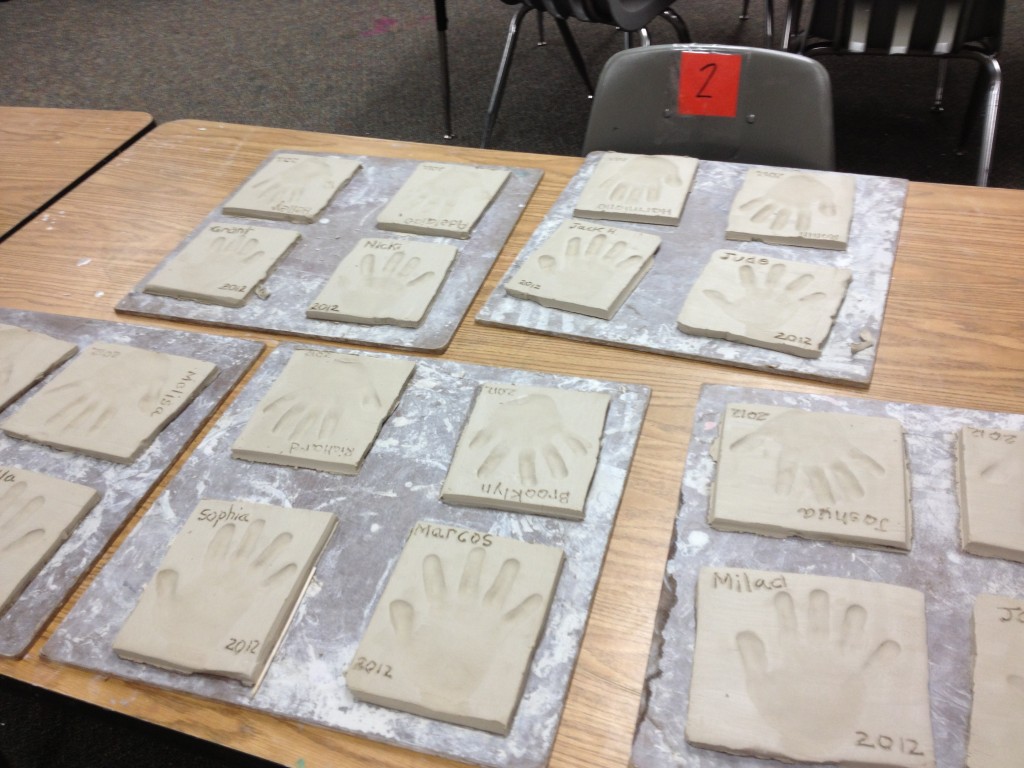
Prep for the handprints was a breeze: cut the clay, smooth with damp sponge and print!  I added name and date with a wooden skewer. The tiles are not perfectly square so I gave some a quick trim with a metal-edged ruler.

Kindergarten handprints

The multi-slab cutter makes 24 tiles at once and is a HUGE time saver compared to rolling and cutting out each tile individually. If you don’t have a slab roller this is the way to go.

I will let these dry 7-10 days, then bisque fire. They should be glazed and ready to go in time for the holidays. Parents love them as a holiday gift.

I read about the multi-slab roller on Deep Space Sparkle and Mini Matisse. Thanks so much for the tip!

Best of the Fair: Clay

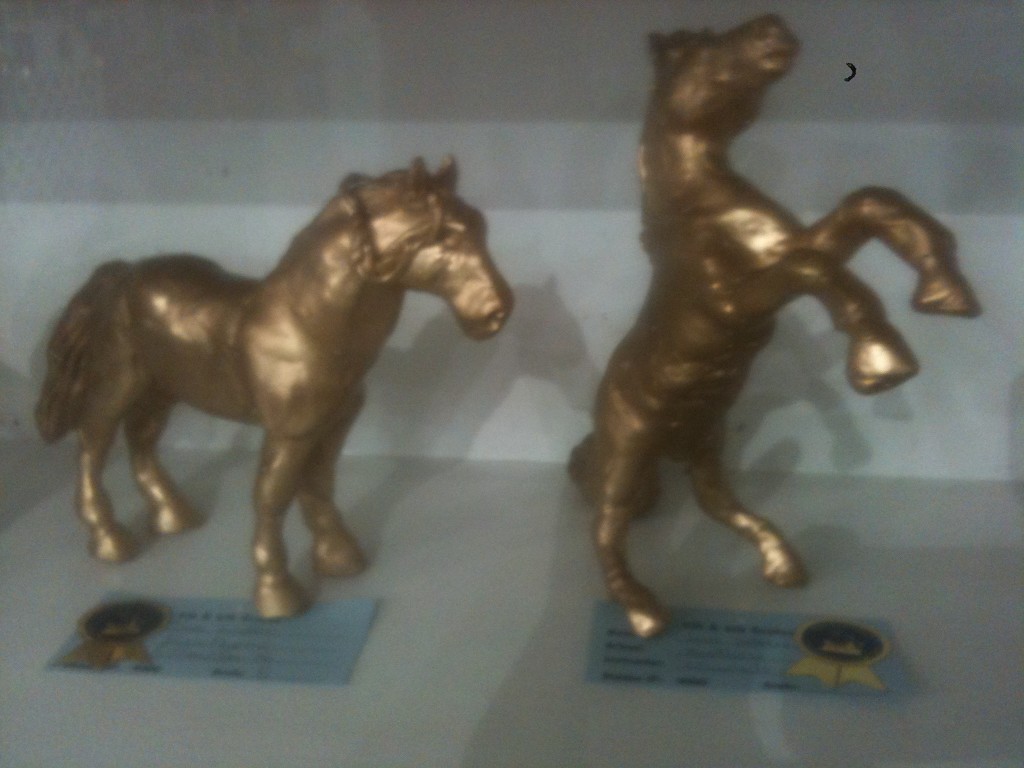
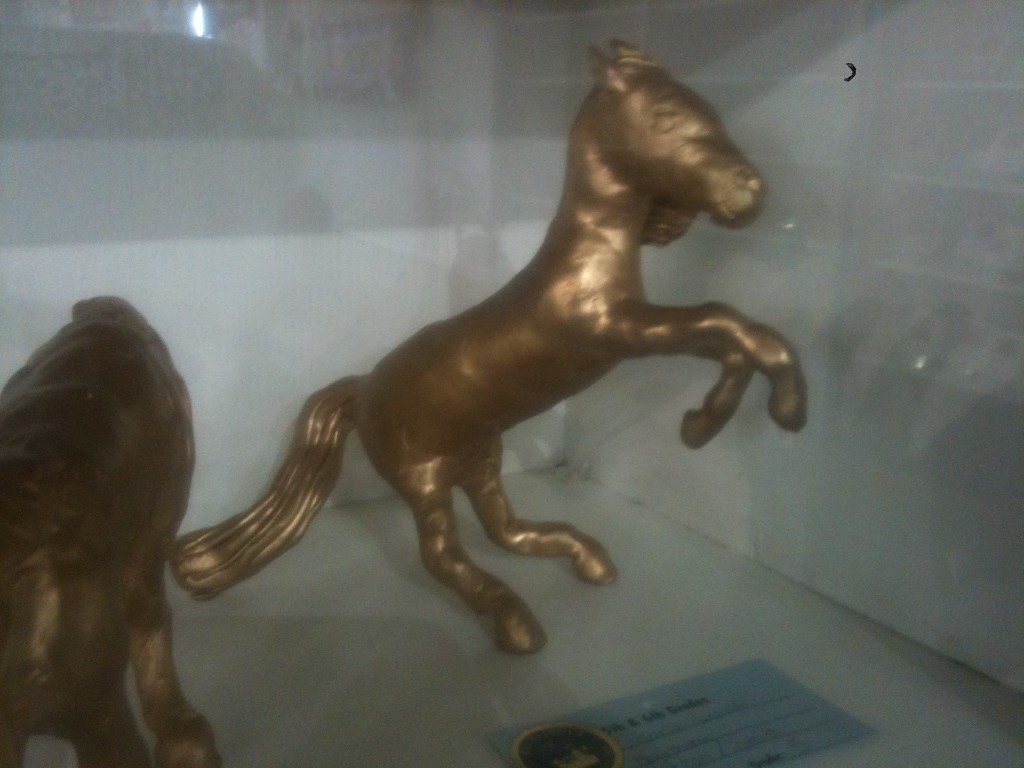
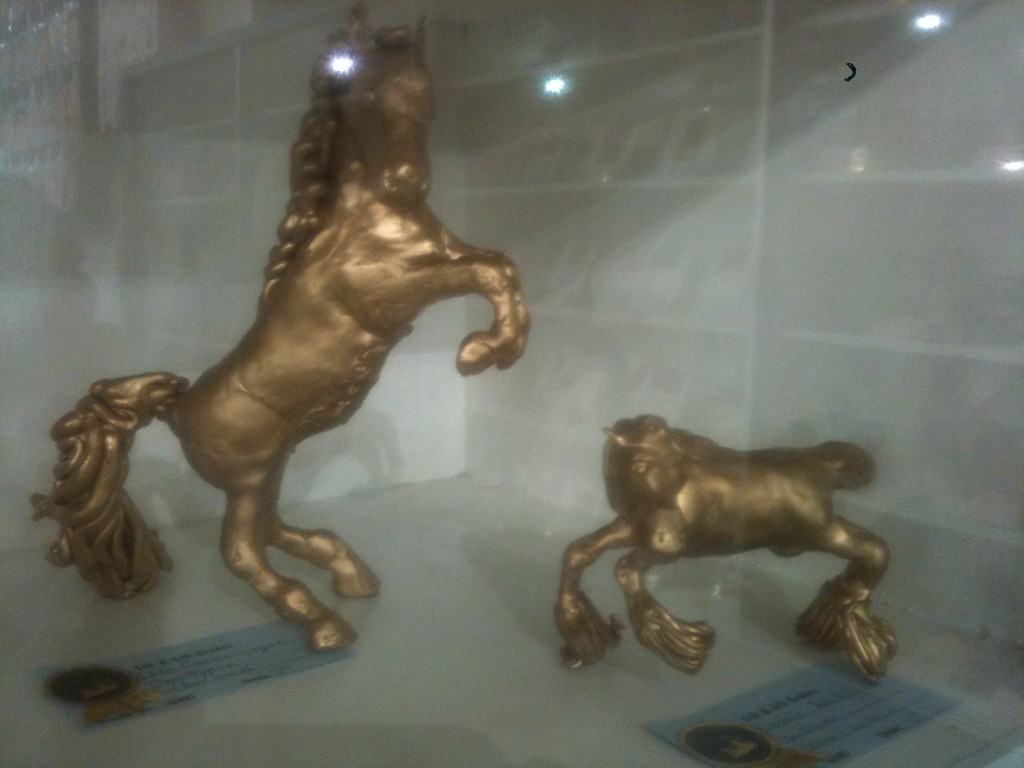
Everyone loves clay!  I went to the San Diego County Fair in June, and saw three fabulous clay projects in the youth art show.

1. The Golden Horses (Fifth grade and up)

Fifth graders made these horses. I love how the horse is balancing on tail and two legs.


These are made with some sort of clay on a wire armature.  I am not sure if it is air dry, polymer or regular ceramic clay. I think polymer clay on a floral wire and foil armature, oven baked and then sprayed gold would work. You could use all those horse calendars as reference photos, plus any model or toy horses if you have them (when I was growing up, some of my horse-crazy friends collected them).


Fabulous mane, tail and hooves.

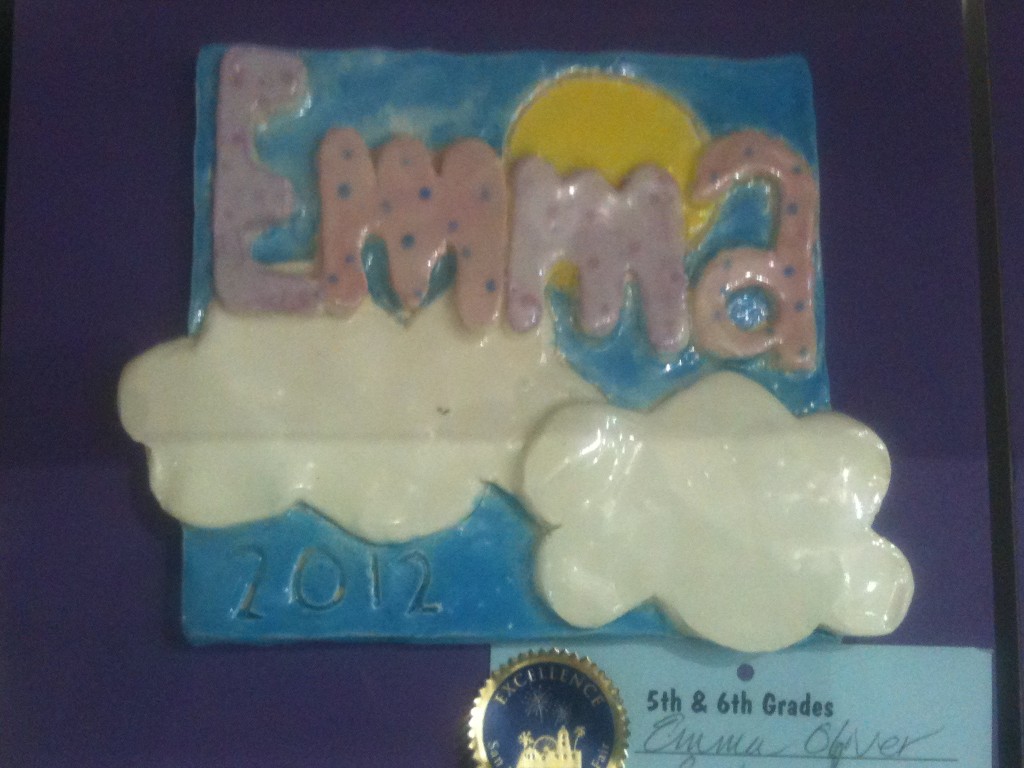
2. Name Art Tile (Fifth grade and up)

Name art tile


Do you have a multi-slab clay cutter? I do, and it looks like this was made using two slabs. Gorgeous! Love the combination of incised and overlapping shapes. This would be a project that parents and students would treasure for many years.

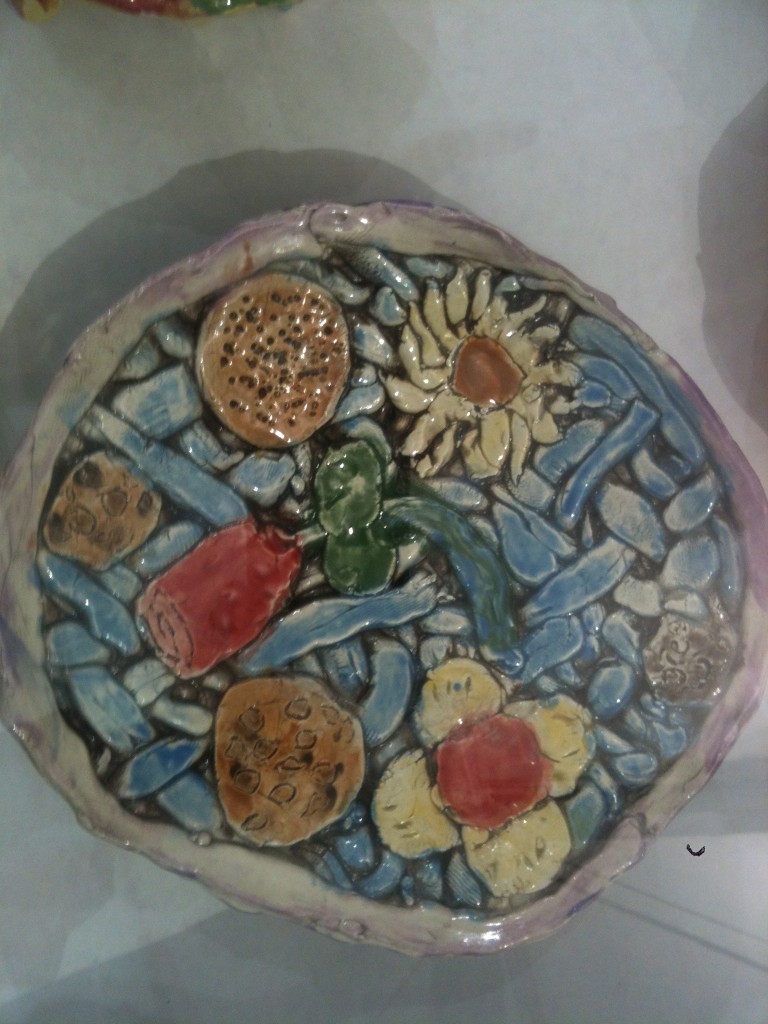
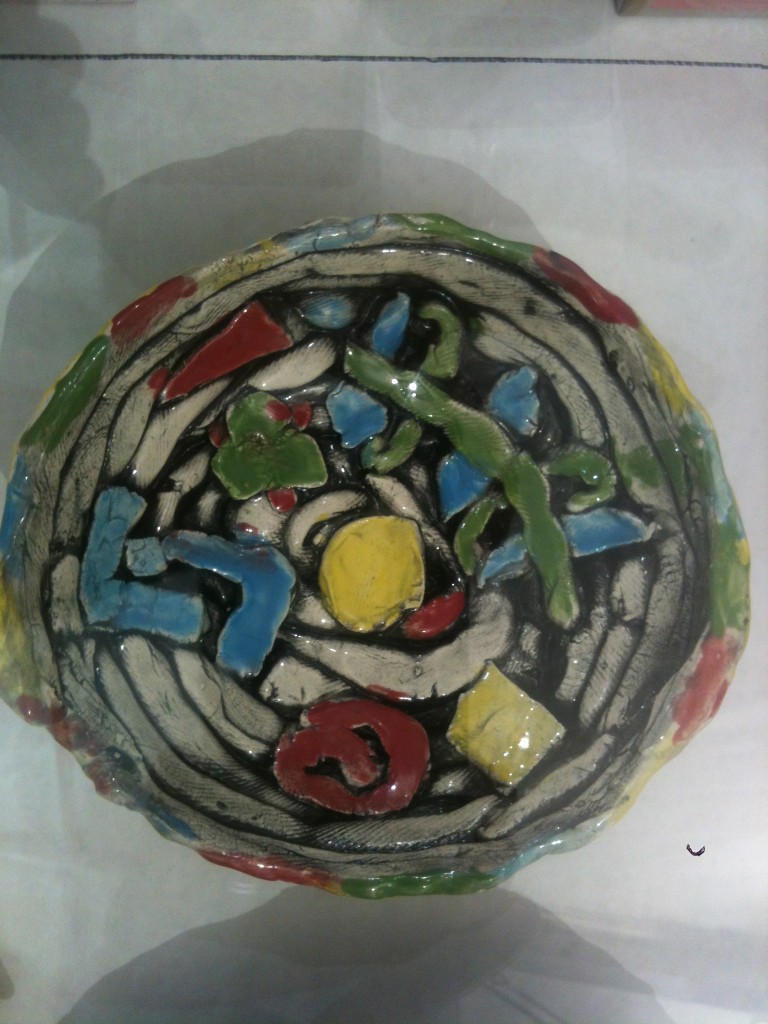
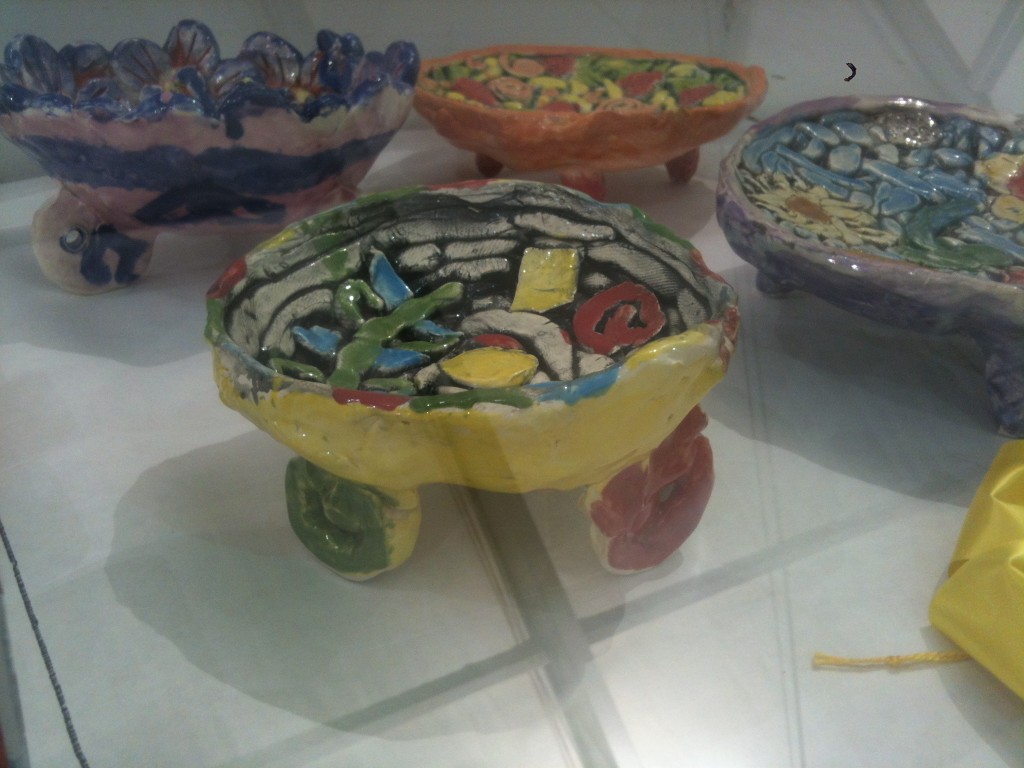
3. Multi-Color Coil Bowls

Top view of the bowl

Top view of another bowl

Love the coil feet!


I don’t think I can guess all the steps that went into making these bowls. I will add you will have to add and dry those coil feet when the bowl is inverted – otherwise the feet will collapse under the weight of the bowl.

Happy summer!

Want to see more fair projects? Check out this post.

Clay in a Day: Polymer Clay Projects For Art Camp

Summer is almost here!  Are you looking for fun, engaging art camp projects that can be completed in a session or two? Try polymer clay!

I taught my own small-group art camp for three summers. I use ceramic clay during the school year, but I don’t have a kiln of my own. I was able to do two of my most popular ceramic clay projects using polymer clay.

Polymer Clay Sculpture

Materials:

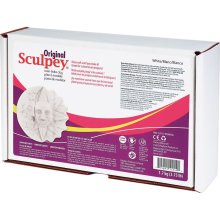
  • White polymer clay in bulk, such as Sculpey Original Polymer Clay 1.75 Pounds/(white)
  • Toaster oven or kitchen oven
  • Aluminum foil (I use my favorite pre-cut pop up foil sheets)
  • Toothpicks
  • Acrylic paint and small brushes
  • Pan or cookie sheet for baking

White Sculpey is available in boxes up to 24 lbs.


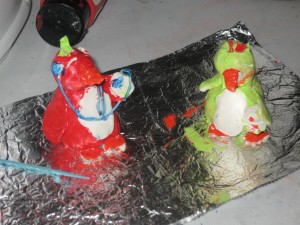
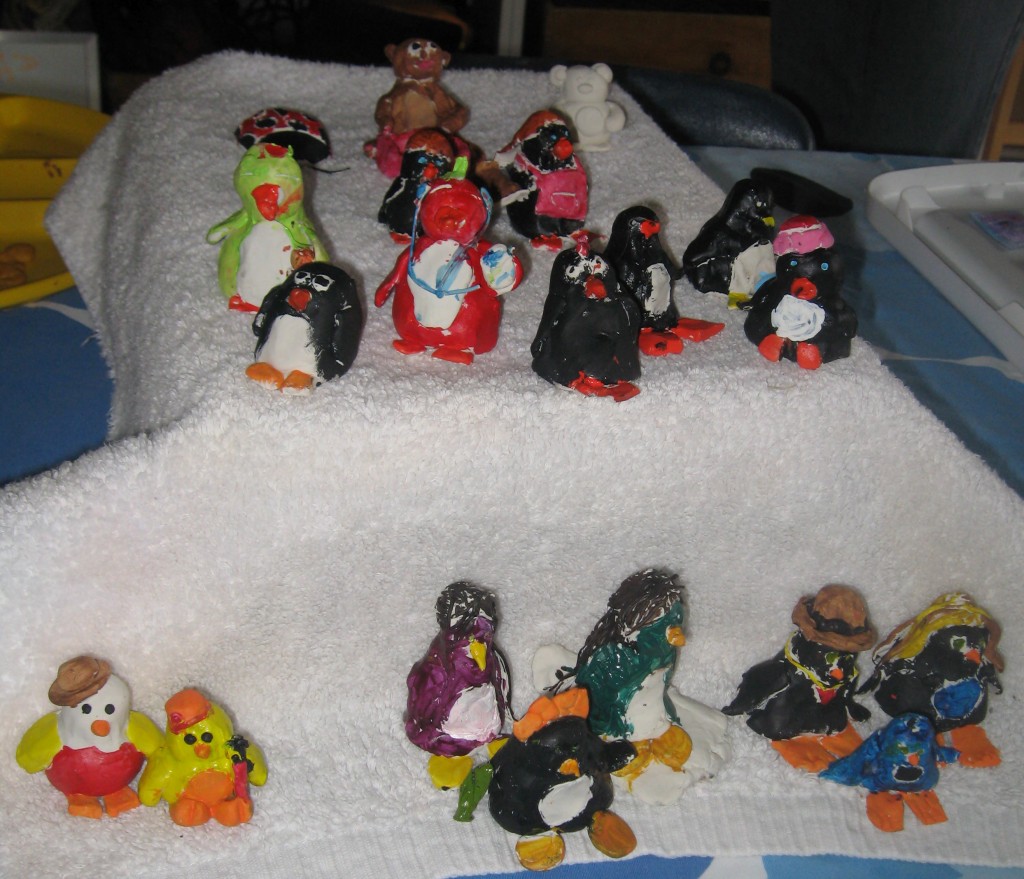
I adapted ceramic lesson plans for use with Sculpey. I started with this ceramic penguin lesson from Deep Space Sparkle (AKA “Patty’s Penguins”). Here is my version in polymer clay.

Protect work surface with foil for easy clean up.

Penguins made with white Sculpey, painted with acrylics.

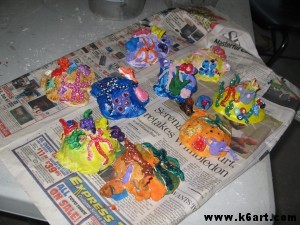
And here is my ceramic sea rocks project in polymer clay:

Polymer clay sea rocks painted with acrylic.

Tips:

  • Give each camper a sheet of foil to protect work surface. Polymer clay won’t stick to it, and you can throw it away at the end of camp
  • To condition Sculpey: give each camper a fresh piece and have them twist it over and over as if it were taffy. Ready in 2-3 minutes!
  • A toothpick is a super tool for Sculpey, both for adding detail in the soft sculpture, and for dotting on color in the baked piece.
  • Dedicate a baking sheet (and maybe a garlic press) just for polymer clay use. You don’t want to use it for food after this.
  • Cover baking sheet (or toaster oven pan) with foil before use.
  • Make small projects – design the project to fit your (toaster?) oven.
  • Michael’s crafts sells Sculpey in bulk here in the U.S. – check the internet, Sunday newspaper or mail for a coupon before you shop there.


In the U.S.: use coupon to get Sculpey in bulk.

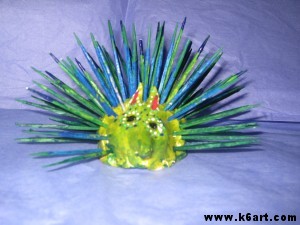
You can do cool things with Sculpey that you can’t do easily with ceramic clay.  For example, we made Oaxacan Alebrije porcupines by inserting painted toothpicks into Sculpey. I baked them in my kitchen oven. Success! Sculpture in a single afternoon.

Oaxacan Alebrije porcupine made from Sculpey and toothpicks, painted with acrylic.

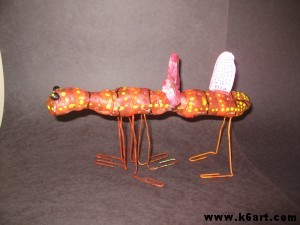
Oaxacan Alebrije insect made from Sculpey and paperclips.


These projects were hits with all campers from grades 1-6.

If you haven’t tried polymer clay, give it a try. No dry time, no slip required! Its ‘clay in a day’.

Want more ideas for art camp? Check out my art camp part 2 post. You also might want to check out art camp part 3: money, liability and safety.

Melted Marble Pinch Pots


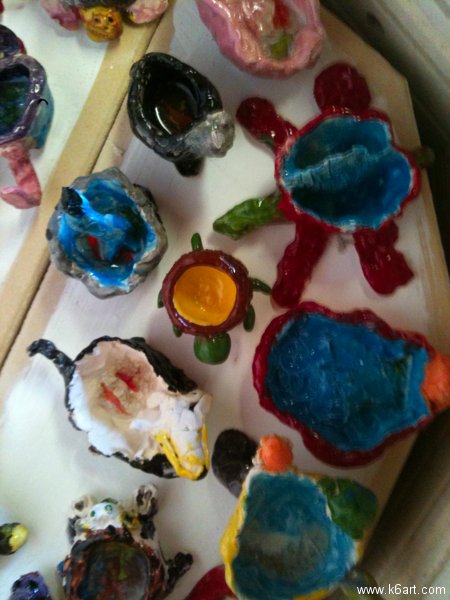
This is it!  The most beloved clay project of all. Second graders use clay, glaze and marbles to make glittering animal pinch pots. They visit a kiln and load it themselves. If you are looking for a truly memorable clay project, try this.

Day 1: Make an Animal Pinch Pot

Second graders use clay to make a pinch pot, then use the ‘scratch attach’ (score and slip) method to add head, legs, tail, etc. I let students make any animal they want, real, imaginary or extinct.

I let the clay dry and then bisque fire it.

Day 2: Glaze Day

On glaze day, students paint their pots inside and out with many colors.

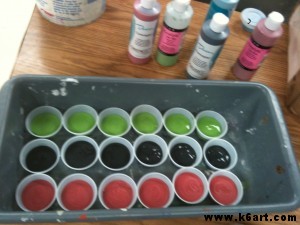
Glaze in 2 oz. ‘salsa cups’. I use one color per table and let students switch tables.

I put out one glaze color and several brushes on each of my tables. Students switch tables to get different colors. The brushes stay at the table and don’t travel (so I don’t need water on the tables). I use 2 oz. plastic portion cups and  lids (also available at Costco) for my glazes. At the end of class I spray the leftover glaze cups with a little water and cap them.

Day 3: Marbles and The Kiln Field Trip!!!

Oh boy! The kids come up to the marble tray and pick two marbles for their pots. There is much deliberation….which to pick? I tell them the marbles don’t have to match, and no matter which they pick, they will be very surprised at the result.

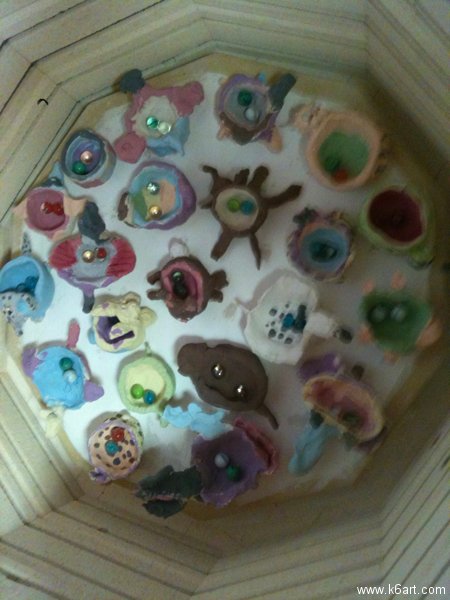
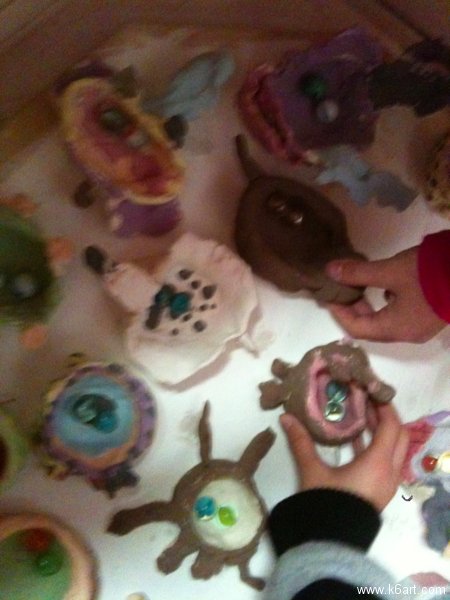
pots filled with marbles ready to fireSecond graders load their own pots into the kiln.

I tell the students we are going to the school kiln – a super-hot oven we use to fire their clay. We then load up the pots on my cart and walk as a group to our kiln (how fortunate we are to have a kiln on site!).  I always have a parent (or 6th grade) volunteer help with this step.

Each student puts his or her own pot into the kiln.

Ready for the second firing!

(Note: I use low-fire clay and underglazes. I fire the glazed clay/marbles to cone 06).

Day 4: Return the Pots

I pass back the fired pinch pots. Wow!

Finished melted marble pinch pots

Students are amazed at the melted marbles. Kids describe them as ‘pools of glass’ or ‘pools of ice’. We have to see them all! So we take a ‘museum tour’ and examine ALL the pots.

Tips:

  • skip the marbles and use  glass gems for flower arranging or  glass gems for aquariums, You will get a better range of colors.
  • You don’t have to pay a lot of money for marbles. Marbles are available at my local dollar store and in the toy section of my local drug store.
  • Caution: do not use this method on coil pots!  You do not want molten glass leaking out of the pot onto your kiln shelf.

Kids love this project!  I had some 7th graders visit the art room recently – they immediately smiled when they heard we were doing this project again.  They said it was their favorite and that they still have their pots.

I learned about this method (years ago!) through one of the art education list serves (I can’t remember if it was The Incredible Art Department or the Getty Museum Teacher Art Exchange).


Good luck!  If you end up trying this project and post it in your blog, please link back to this post. 🙂

Related Posts Plugin for WordPress, Blogger...