Observational Drawing with Sixth Grade

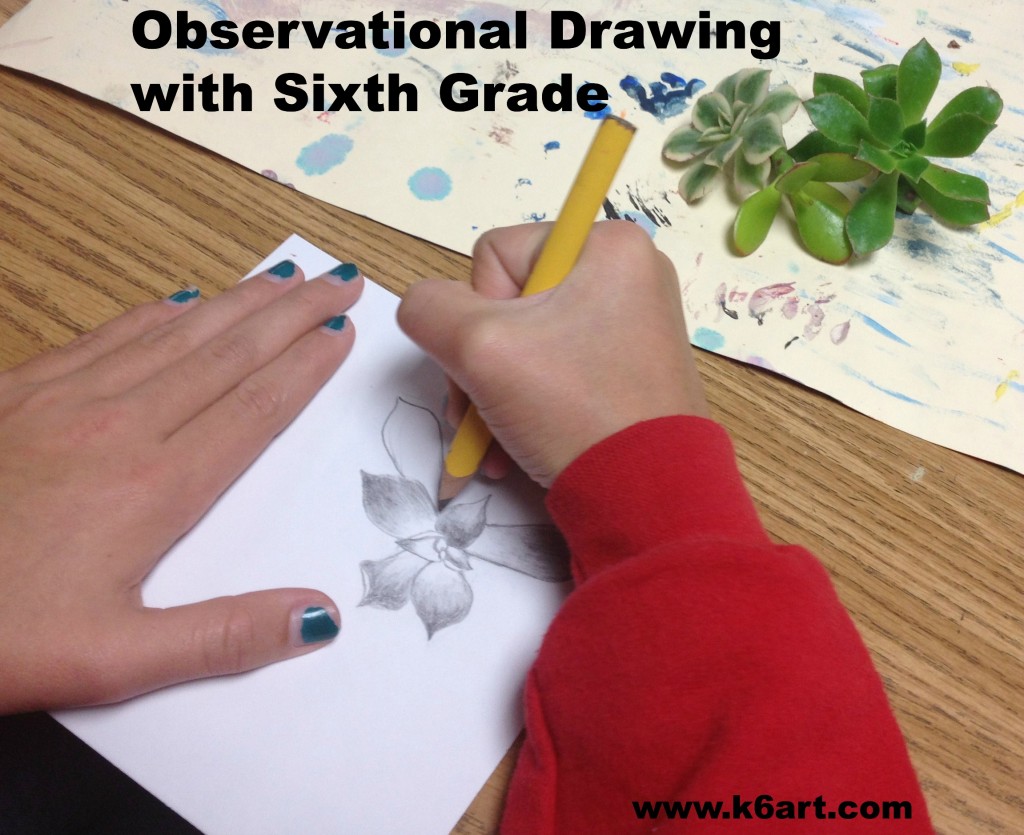
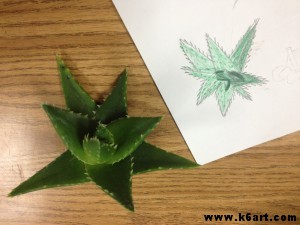
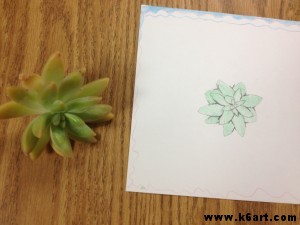
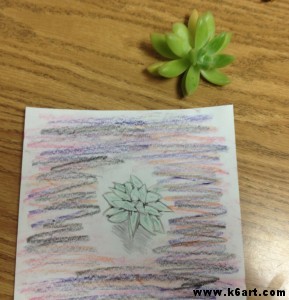
Sixth graders drew succulent plants from observation. I emphasized drawing what they observed, not drawing from imagination or what they think the plant should look like. They should focus on shape.

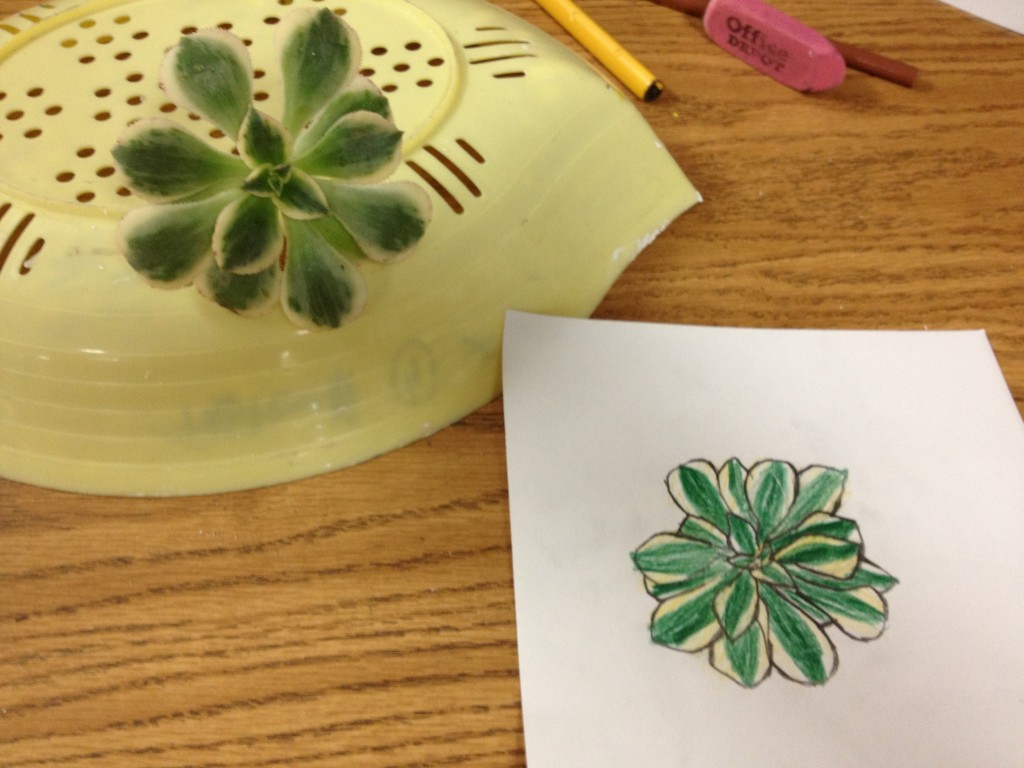
Sixth graders made observational drawings of fresh cut succulents.

They used pencil and colored pencil on 6″x6″ squares of white paper.

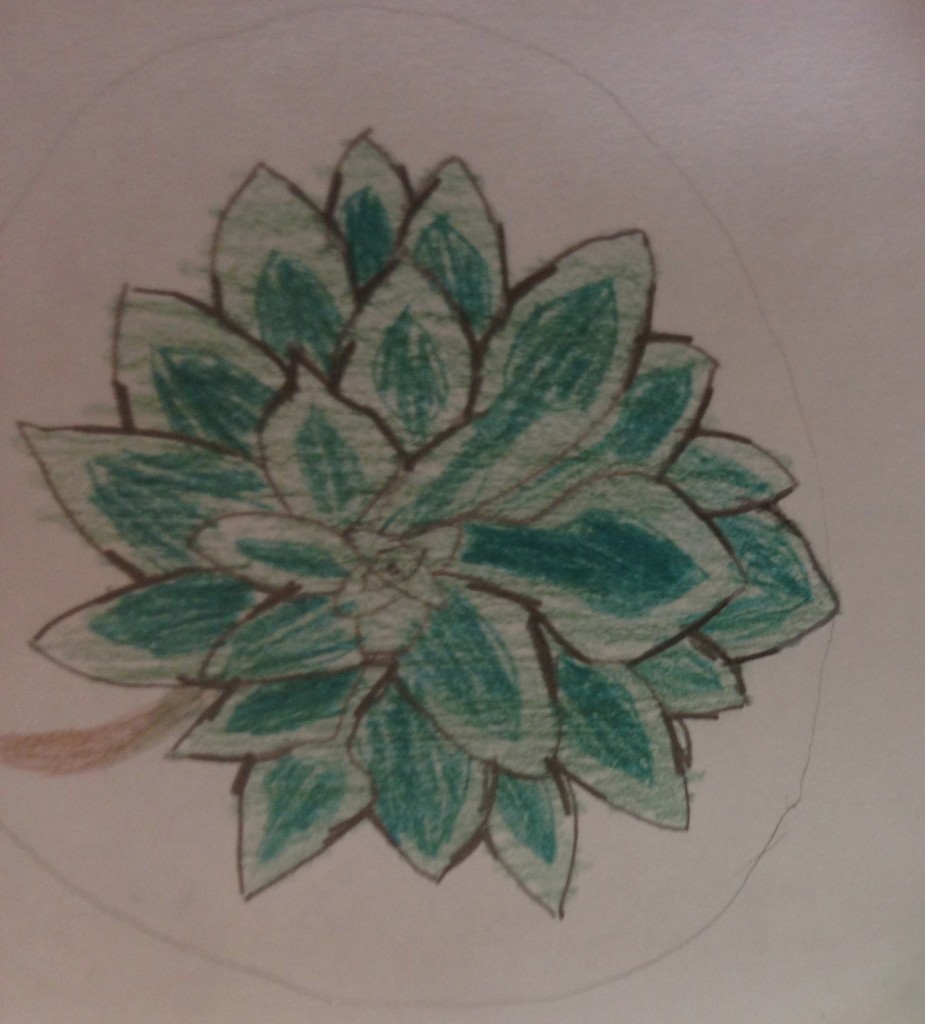
After the students had a basic drawing, I asked them to look at the areas where the leaves overlapped. Each overlap creates the letter ‘Y’. I asked them to darken all the ‘Ys’, and then taper the pencil lines.

Darken the ‘Ys’ formed where the leaves overlap.

It was quiet in the art room as the sixth graders concentrated on their drawings. Most students enjoyed this activity, some loved it, and no one complained.

Earlier this fall we studied value and drawing and shading forms (thank you Pinterest!)  and I am happy to say that these exercises have increased student confidence: several students who have stated they ‘can’t draw’ are now turning out drawings with pride.

This is one of those times I wish I had more than 40 minutes a week to teach each class. I would love to start every class with a quick observational draw.

Regarding our plant cuttings:

We have many varieties of fleshy-leaved succulents here in Southern California. Succulents are similar to cactus, but do not have needles. Succulent cuttings are great for observational drawing: the cuttings do not need water and do not wilt. In fact, if your students do not pull off the leaves they will look great in a week, without any water or soil!

Succulents are super-easy to grow from cuttings. After class, I poked all the cuttings into the ground. They root in about three weeks.

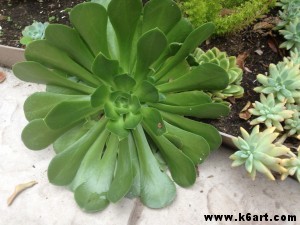
All the succulents were fresh cut the day of class from our school garden and my  San Diego backyard.

Succulents in my San Diego backyard.
 

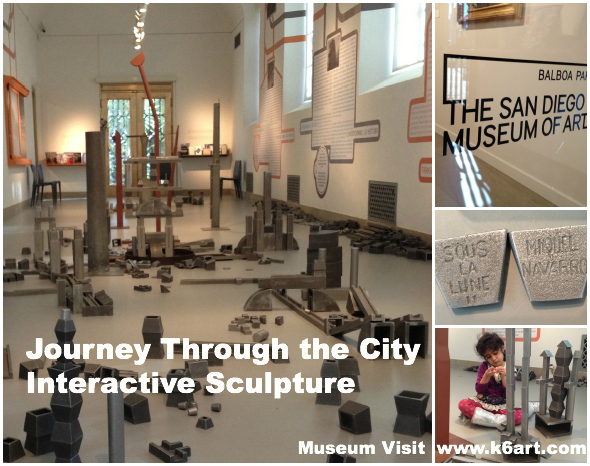
Journey Through the City: Interactive Sculpture

Journey Through the City Interactive Sculpture

It’s winter break here in San Diego, and I celebrated with a trip to the San Diego Museum of Art. I enjoyed a FABULOUS, fun, free exhibit that will definitely appeal to children: Beneath the Moon II: Journey through the City by Miquel Navarro. It is an interactive sculpture/game/artwork made of 1000+ pieces of cast metal, ready to be assembled by visitors of all ages.

Navarro created this artwork in 1994 for the Pompidou Centre in Paris. Since then, it has toured the world, delighting children in Europe, Asia and Mexico. Here is a video of French school children enjoying Beneath the Moon.


Discussion:

What can you do in the art room to tie into Beneath the Moon II: Journey Through the City? You may want to start with a discussion. What is a city? What do we see in the city? We might see houses, factories, roads, trains, freeways, rivers, bridges or skyscrapers. Swimming pools and skate parks! Do cities stay the same forever or do they change?

Lesson Ideas:

If you visit:

The exhibit is open during regular Museum hours through April 30, 2013. There is no charge for this special exhibition, located in the new Welcome Gallery on the first floor. For docent-led school tours and group visits, click here.

The San Diego Museum of Art is located in beautiful Balboa Park, home to 15 major museums, the world-famous San Diego Zoo, theaters, gardens and much more.

A final tip: allot some time….YOUR KID WON’T WANT TO LEAVE!!!


NOTE TO SAN DIEGO COUNTY TEACHERS/ART TEACHERS, K-12

Would you like to see your students’ artworks exhibited at the San Diego Museum of Art? Young Art, the Museum’s exhibition of local student art, opens April 13, 2013.  The theme is ‘The Story of Me’. This is a juried exhibition.  Click here for more information. The deadline for submission is February 9, 2013.

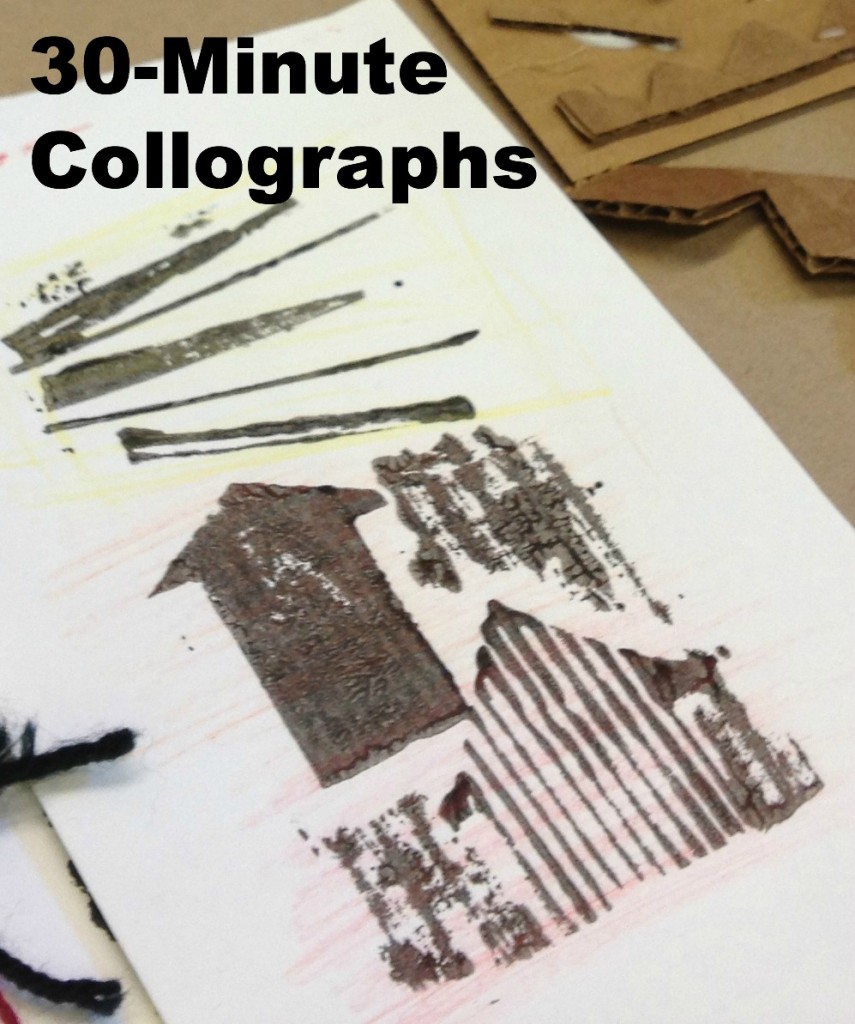
30-Minute Collograph Printmaking


Want to try a printmaking project that is quick, fun, versatile and inexpensive? Try collographs.


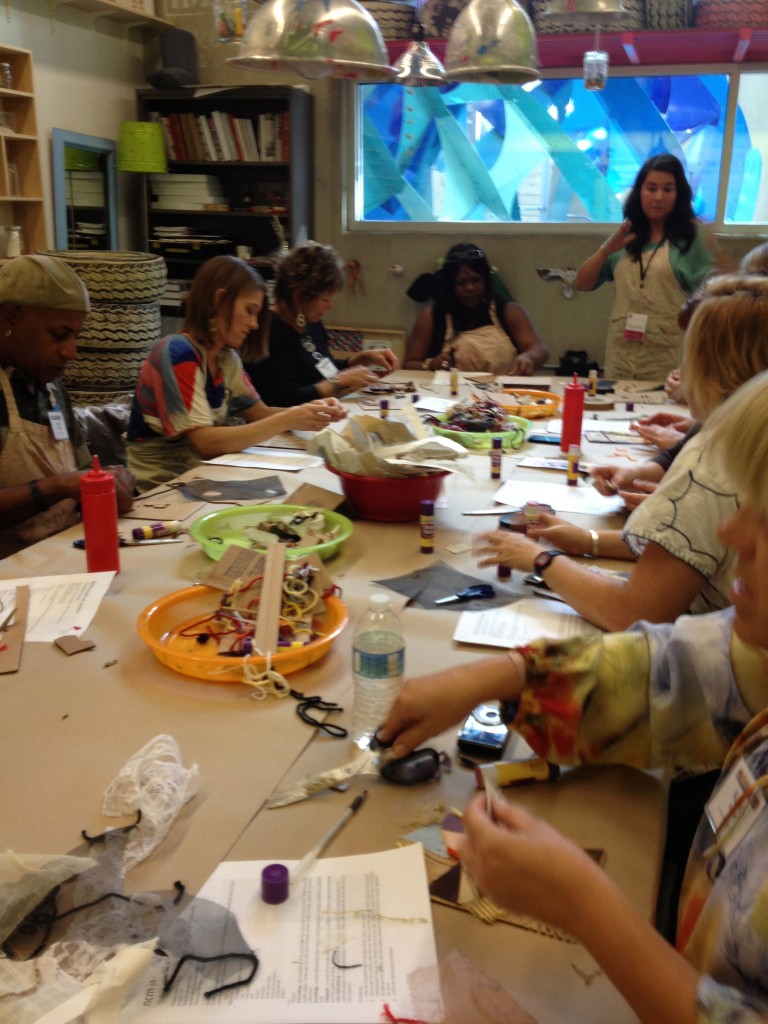
Maxi Moraga leads collograph workshop in NCM’s art education room.

I took Maxi Moraga’s fabulous collograph workshop last month at San Diego’s New Children’s Museum. This workshop tied in to the NCM’s current exhibition, TRASH, so we used lots of recycled/discarded items to create our printing plates.

Materials:

  • cardboard rectangles (we used corrugated)
  • bits of textured fabric, including mesh and screening
  • yarn
  • cardboard
  • masking tape
  • glue sticks
  • white glue
  • scissors
  • printer’s ink in assorted colors
  • brayers
  • trays for ink
  • paper for printing (cardstock is OK)
  • colored pencils

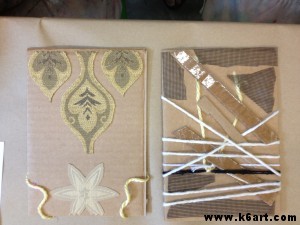
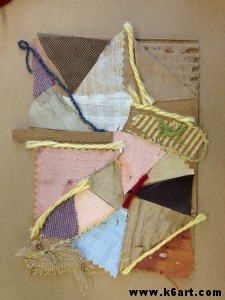
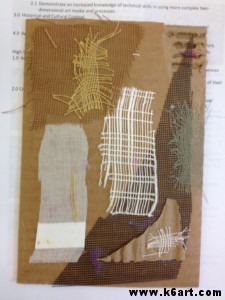
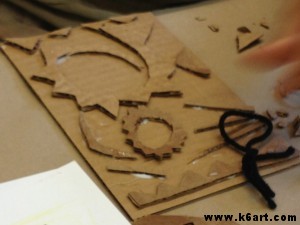
We began by creating printing plates. We collaged various items to our cardboard rectangles (note: Maxi strongly encouraged us to use glue stick).  Here are some of the plates:

Collograph plates. Yarn is simply wrapped around the plate.

Tip: after completing plate, ask students to flip plate upside down on their chairs and sit on them for 60 seconds! Now your plate is really glued down and ready to print.

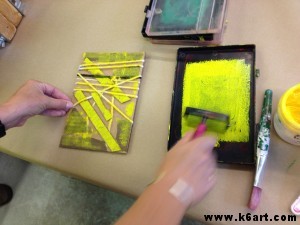
Next, we applied printer’s ink to our plates using these mini-brayers and recycled plastic trays. I love that the tray has a lip to keep the brayer constrained. Great when you are printing with young children!

Apply printer’s ink with a brayer.

We didn’t use a press. We simply put the paper over the inked plate and rubbed the paper carefully with our hands.

Options:

  • use a paper towel to selectively remove ink from the plate before printing.
  • create a print using two or more colors of ink
  • color the paper before and/or after printing.

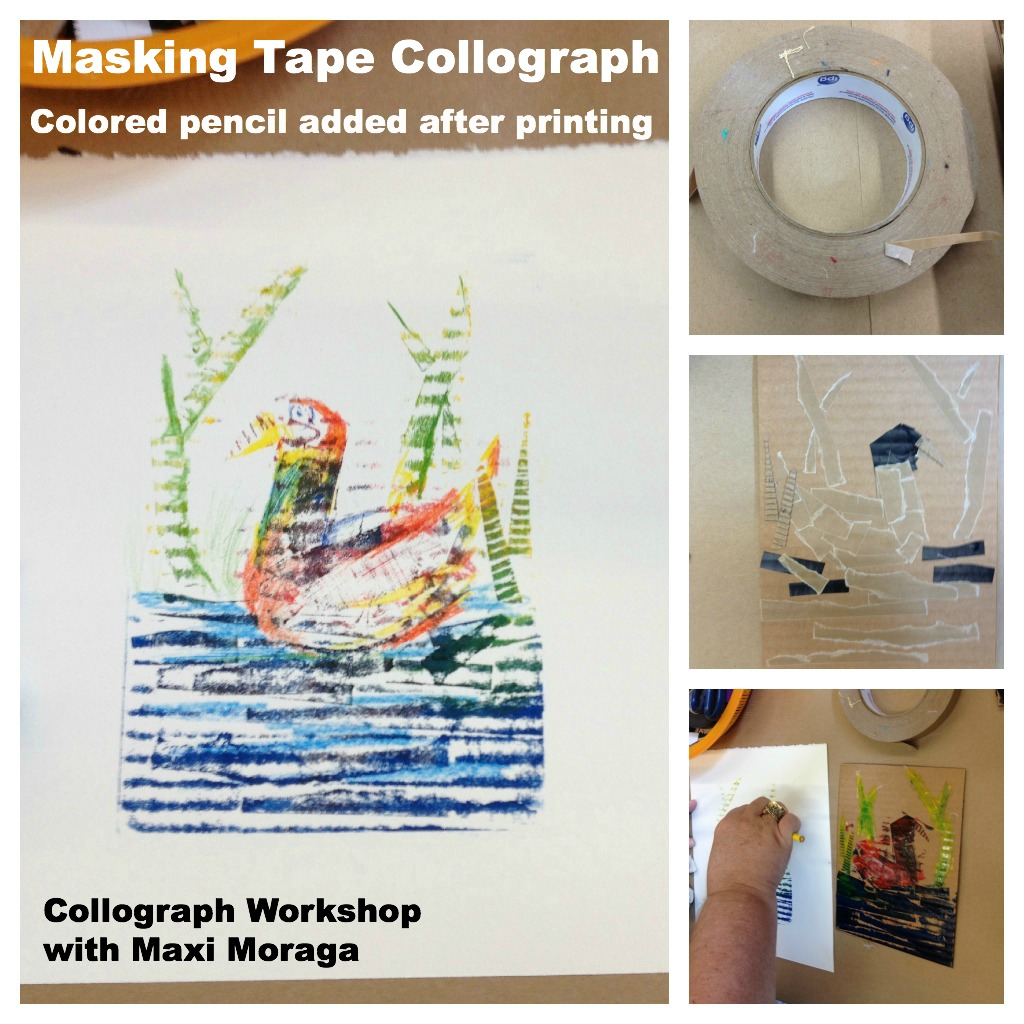
My favorite piece is the masking tape collograph made with corrugated cardboard.

Because of the emphasis on recycled materials, this would be a nice Earth Day project as well!

Whether you are a parent or a teacher, be sure to check out the New Children’s Museum when you visit San Diego. The museum offers art-making activities for children EVERY DAY. I wrote more about the museum in this post.

Do you have a favorite printmaking project?

UPDATE: 12/16/13: Check out my new post – ‘Holiday Collagraph Crayon Rubbings’

Enjoy!

Best. Conference. Ever.

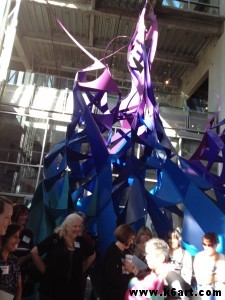
What makes a good conference? Great workshops and networking, of course. Hold it in a drop dead AMAZING setting like San Diego’s New Children’s Museum (NCM) and you have a home run hit! San Diego Art Education Association held its first annual Visual Arts Educators Conference this month at the museum. After introductions by energetic new SDAEA president Ron Jessee and a keynote address, Tomoko Kuta, NCM’s Director of Education & Exhibitions, took us on a tour.

The New Children’s Museum is one of the only children’s museum in the United States dedicated to commissioning artists to create site-specific works for a youth audience.

Staff held a kiddie yoga class under this Layer sculpture the day we visited.

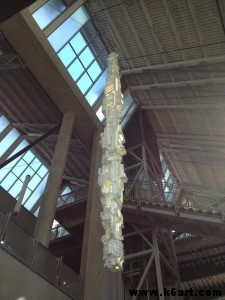
Jason Rogene’s sculpture/light fixture made of styrofoam packaging.

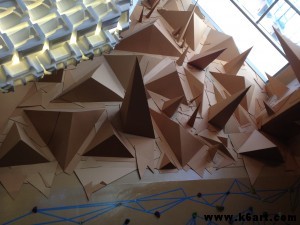
Jason Rogenes’ Megalitransponder includes kiddie climbing wall topped with cardboard installation.

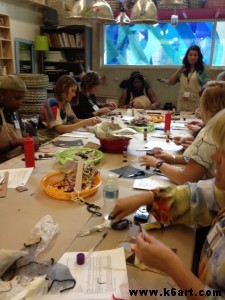
I got to attend three workshops, all tied in to NCM’s current exhibition, TRASH. They were held in the museum’s art education studios.

  • ’30-minute’ collograph printmaking with the museum’s art educator, Maxi Moraga
  • sculpture/drawing project based on the art of Peter Opheim by fellow San Diego elementary art teacher and blogger Don Masse of Zamorano Arts Academy
  • cardboard climbing squares group sculpture based on Charles and Ray Eames’ House of Cards, again by Maxi Moraga

Maxi Moraga leads collograph workshop.

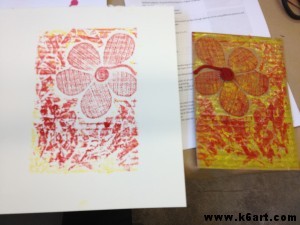
Collograph print. No press required!

Sculpt/draw with Don Masse. I really admired this project when I first read it on his blog. So thrilled to try it out myself!!

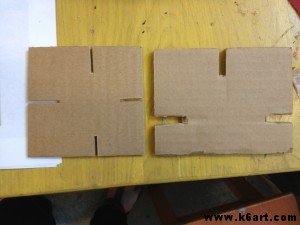
Starting point for the house of cards sculpture. We collaged/painted our pieces, then assembled. This would be a great whole class or whole grade project.

As if all this wasn’t enough, we had a fabulous lunch from Urbane Cafe, gift bags with goodies from Blick and Artists and Craftsmen and a raffle with prizes donated by Blick, A&C and area education and arts organizations.  I won tickets to the City Ballet! Thanks also to local arts advocacy group art pulse.

A lot of foks in SDAEA, SD County Office of Education and NCM put together this amazing event. Thanks so much for a perfect day.

Like I said:

BEST. CONFERENCE. EVER.

 UPDATE: San Diego County art educators: check out our new SDCAEA Facebook page!

Best of the Fair: Clay

Everyone loves clay!  I went to the San Diego County Fair in June, and saw three fabulous clay projects in the youth art show.

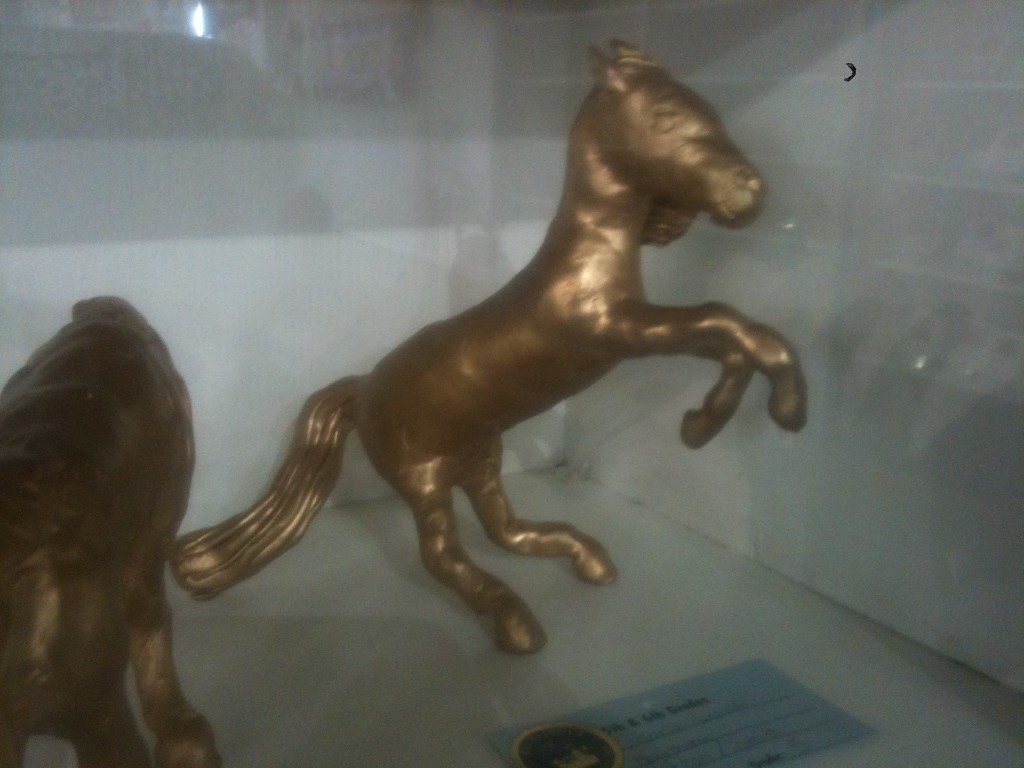
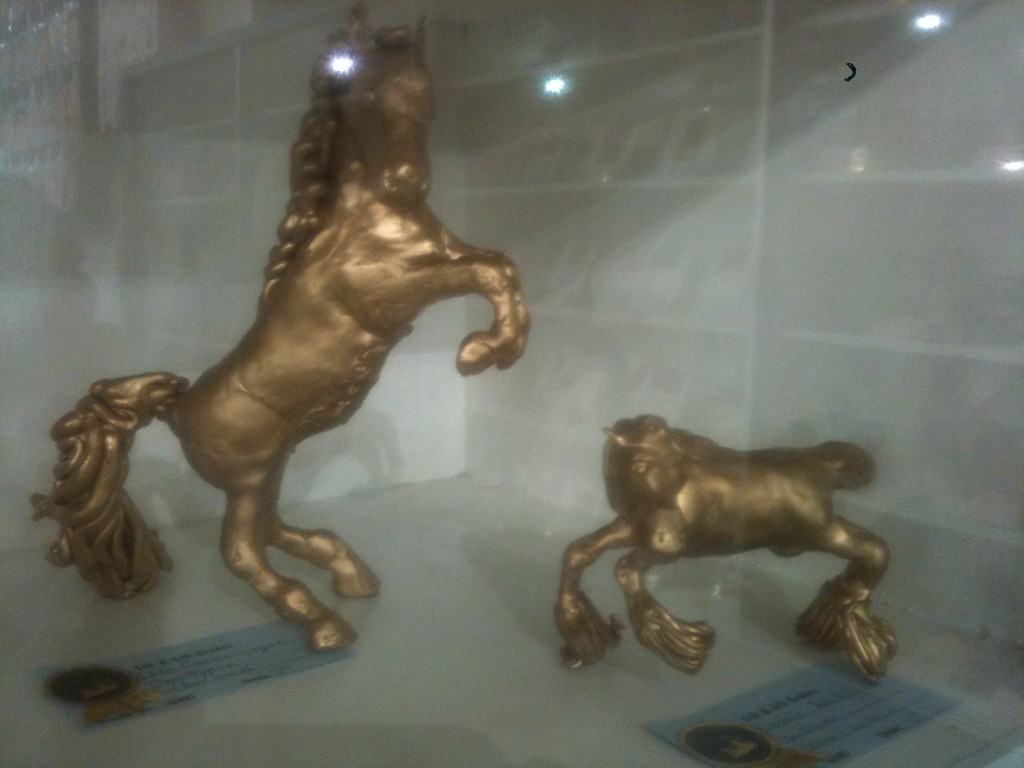
1. The Golden Horses (Fifth grade and up)

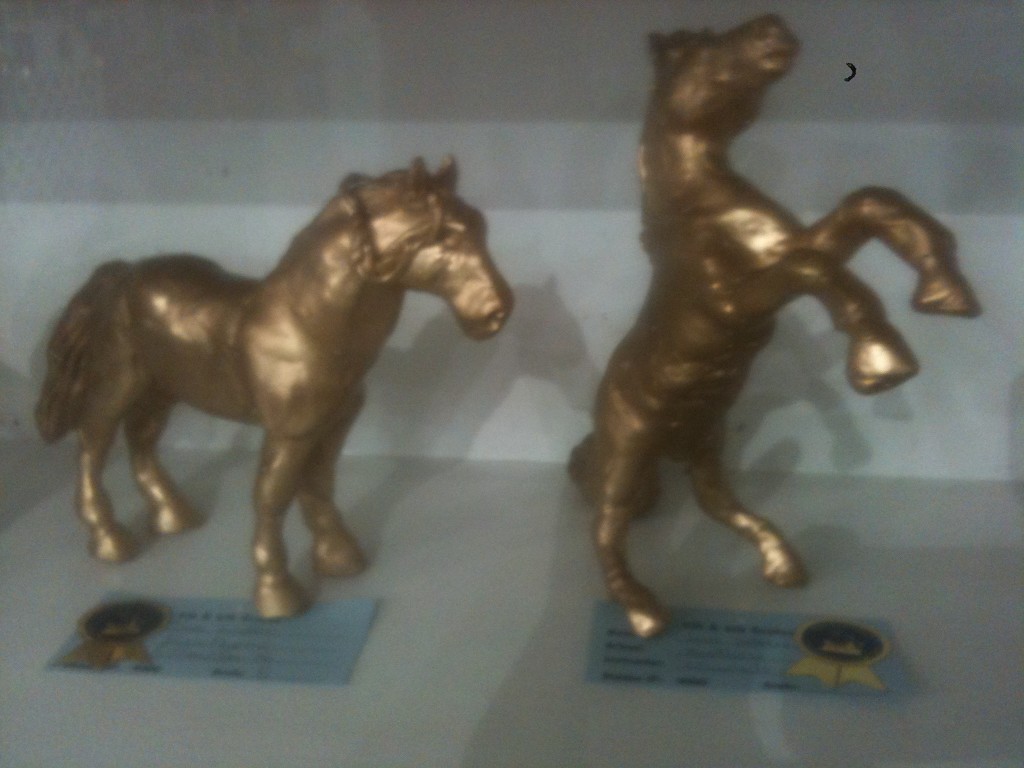
Fifth graders made these horses. I love how the horse is balancing on tail and two legs.


These are made with some sort of clay on a wire armature.  I am not sure if it is air dry, polymer or regular ceramic clay. I think polymer clay on a floral wire and foil armature, oven baked and then sprayed gold would work. You could use all those horse calendars as reference photos, plus any model or toy horses if you have them (when I was growing up, some of my horse-crazy friends collected them).


Fabulous mane, tail and hooves.

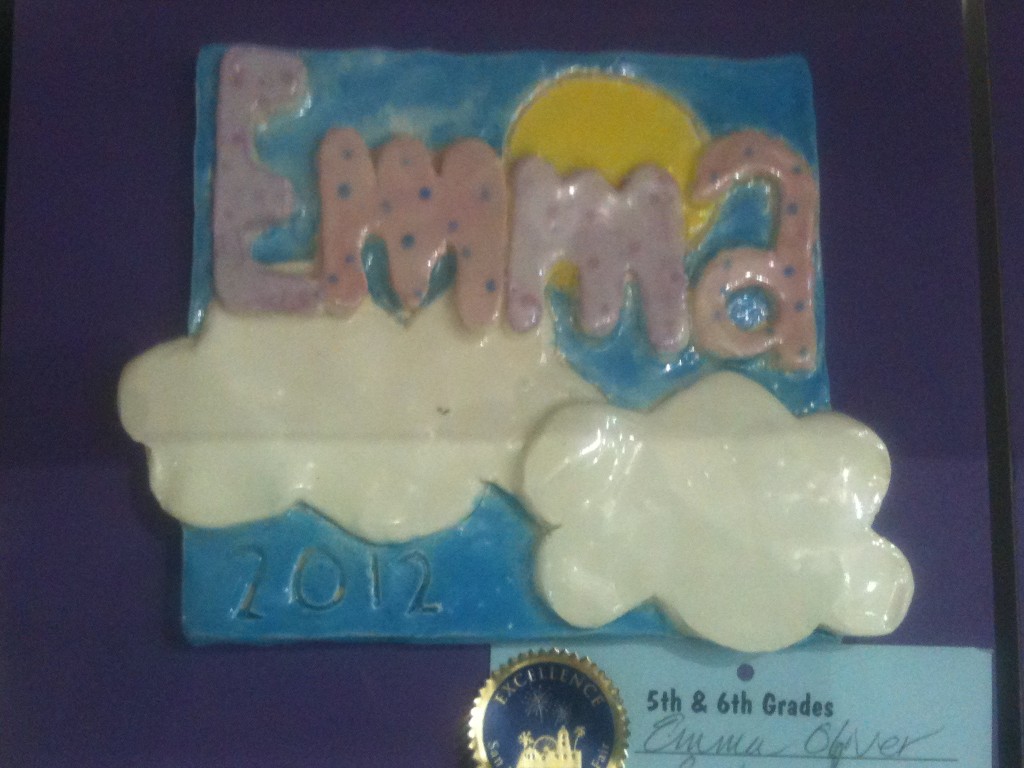
2. Name Art Tile (Fifth grade and up)

Name art tile


Do you have a multi-slab clay cutter? I do, and it looks like this was made using two slabs. Gorgeous! Love the combination of incised and overlapping shapes. This would be a project that parents and students would treasure for many years.

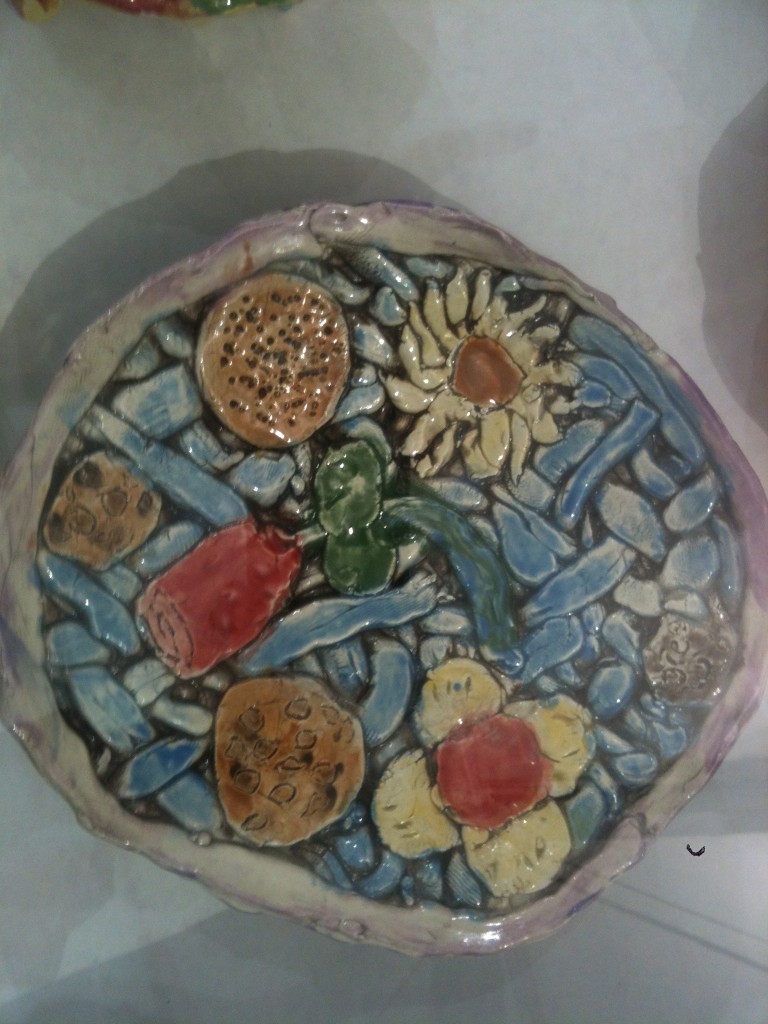
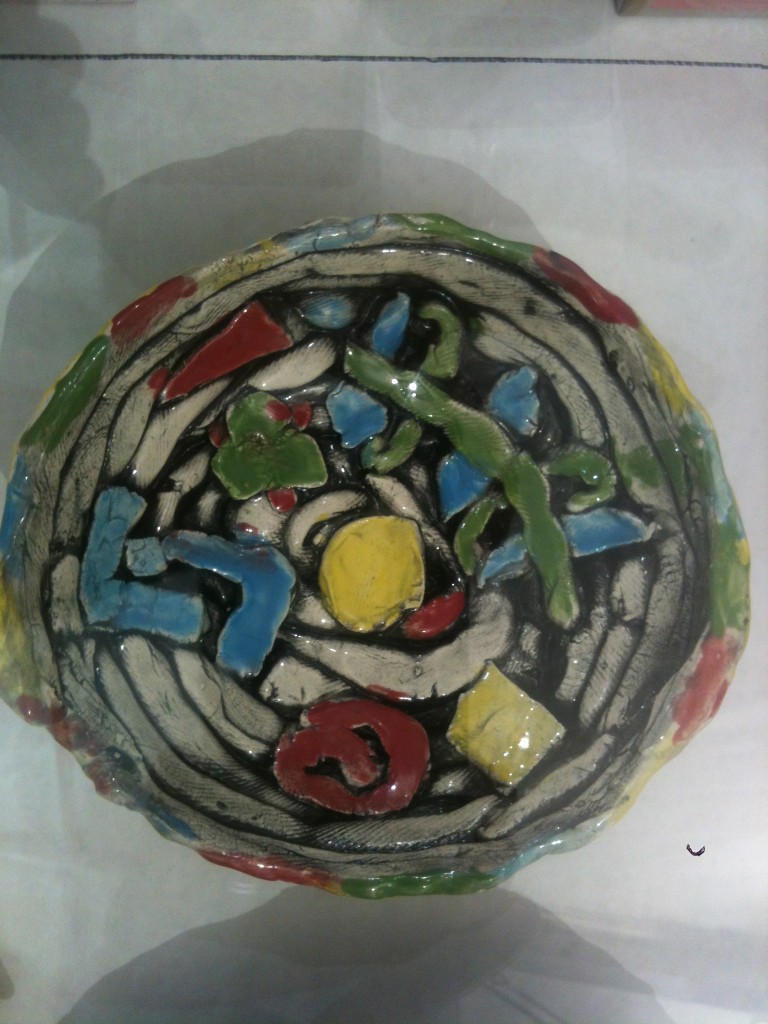
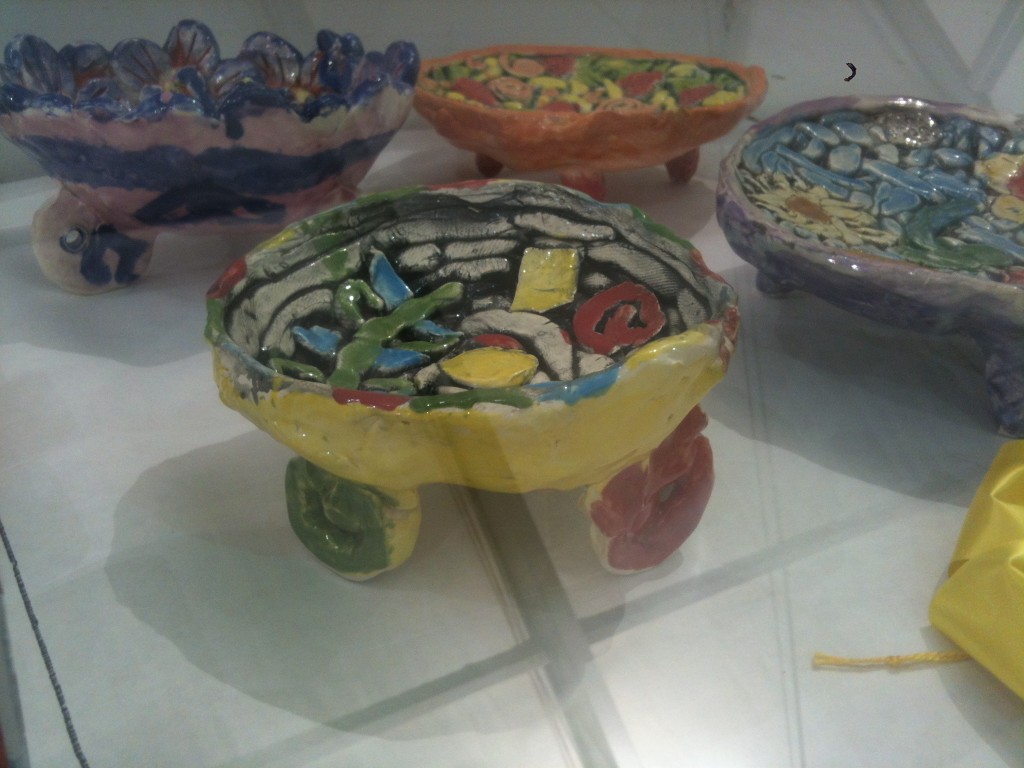
3. Multi-Color Coil Bowls

Top view of the bowl

Top view of another bowl

Love the coil feet!


I don’t think I can guess all the steps that went into making these bowls. I will add you will have to add and dry those coil feet when the bowl is inverted – otherwise the feet will collapse under the weight of the bowl.

Happy summer!

Want to see more fair projects? Check out this post.

Related Posts Plugin for WordPress, Blogger...