The Glue Sponge: Great for Paper Collage


the glue sponge 1

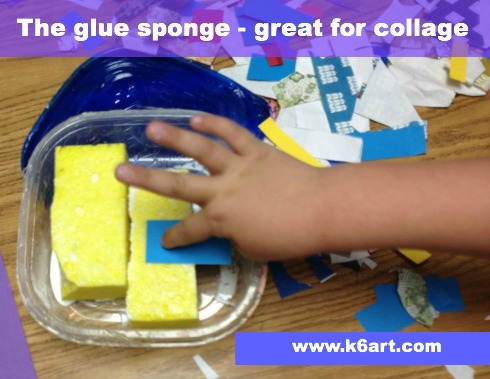
If you like to do collage projects with young students, this post is for you. I just discovered the glue sponge! It is perfect for gluing small pieces of paper. It is much easier and neater than glue bottles and glue sticks, especially for kindergarten and first grade.

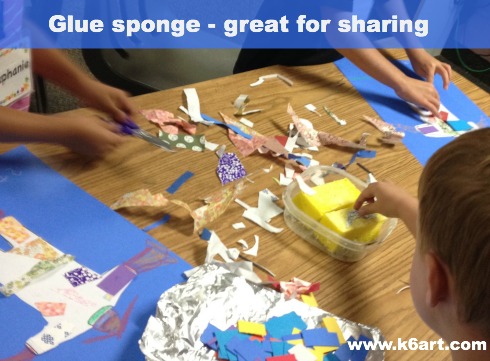
To make your own glue sponge, click here. You’ll need a lidded plastic container, sponge, white glue, and a spray bottle of water. It was a great way to use my half-empty glue bottles leftover from last year. We made one glue sponge per table, to be shared by four students.

glue sponge shared at a table

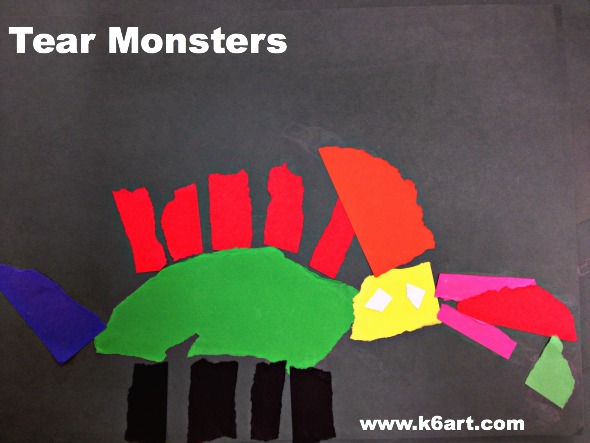
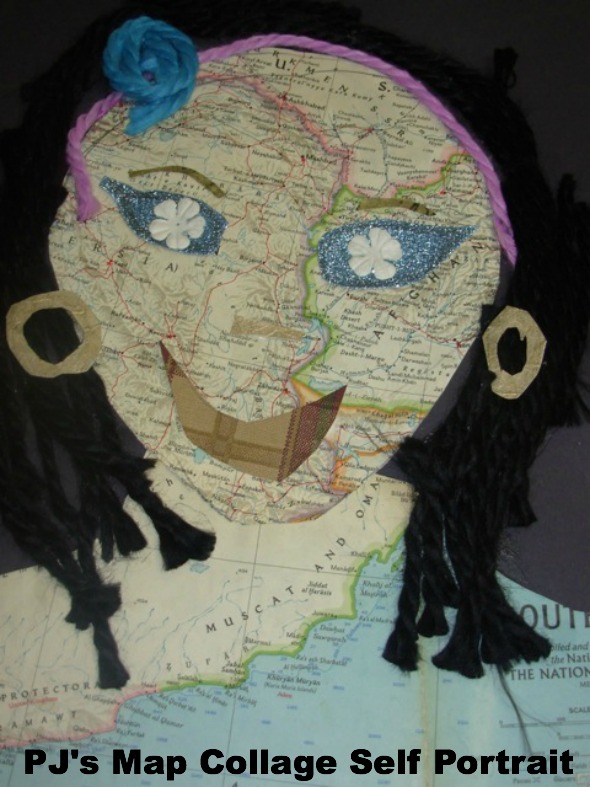
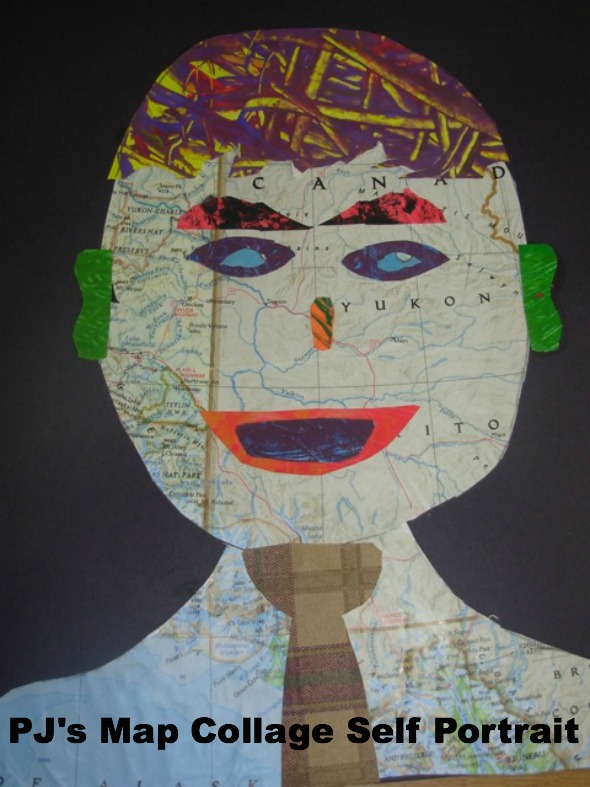
Kinders collaged origami paper, construction paper and copy paper. They loved it. The papers dried smooth and flat. Nothing fell off!

Benefits

  • much less messy than white glue in the bottle
  • easier than glue sticks
  • no waste
  • easy to share
  • easy to store

Just mist with water before closing, and turn sponge occasionally. Tip: don’t saturate with water – these work best when tacky.

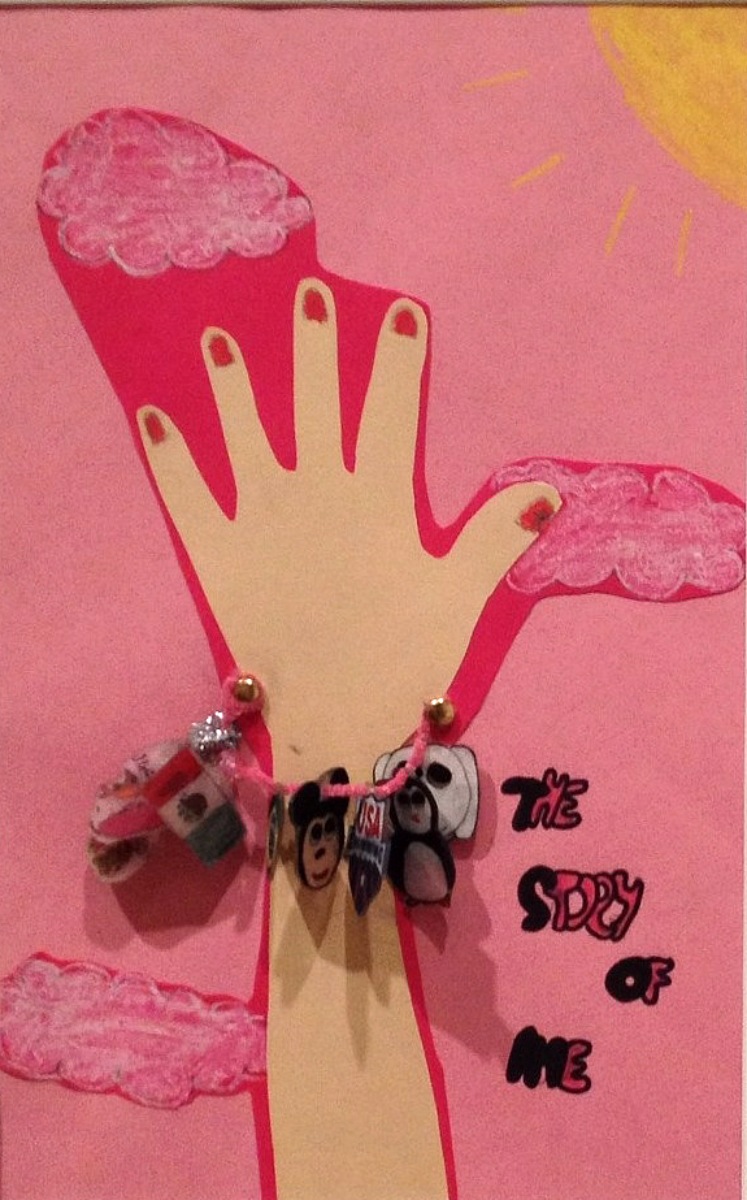
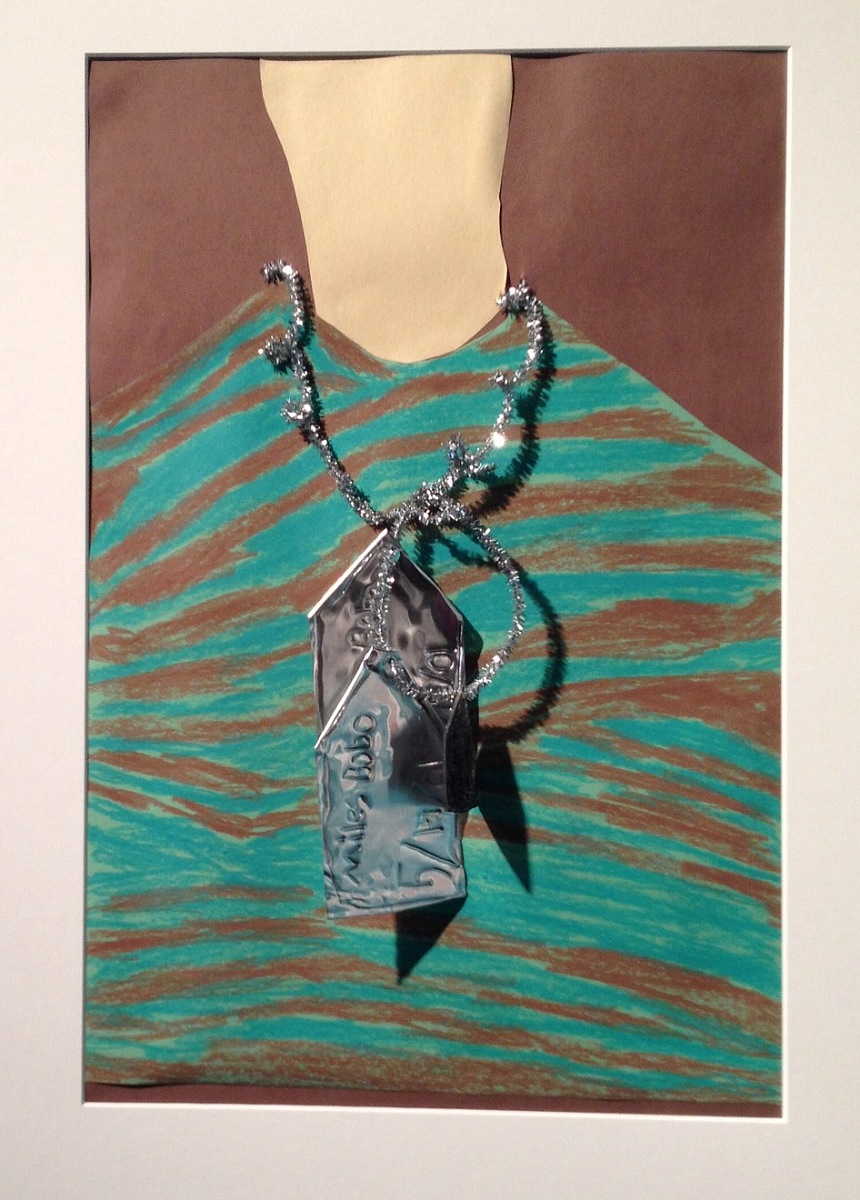
Take a look at the kindergarten paper sculpture in this post from Art for 1170. The glue sponge is good for paper sculpture too!

We’ll still use glue sticks for larger pieces of paper, and glue bottles for beads and such. For collage with small pieces of paper, I’m sticking with the glue sponge 🙂

Enjoy!

Tear Monsters for Kindergarten and First Grade


tear monsters for kindergarten and first grade

Here is a project I did in the late spring with the kindergarteners. It was a fun way to use up all my colored paper scraps. The kids loved it!

Materials

  • black construction paper, 12″x18″
  • colored scraps of construction paper
  • glue sticks

Art Project

Talk about monsters. What body parts do they have? Claws, fangs, wings?  What else?  Do monsters have to be scary? Or can they be friendly?

Model Tearing

Model the correct way to tear: ask students to hold up a small rectangle of paper, and pinch the paper with both hands. Now put the hands together. Make a short tear in the paper, then another and another, always keeping the hands together.

Tear, Arrange and Glue

Students can begin by tearing a larger shape for the monster’s body.  The ragged edges look like monster fur! Keep tearing the larger pieces such as neck and head. Arrange these pieces on the paper. Students can rearrange until they find a composition they like.

Glue down the large pieces. Now add the small details – stripes, claws, eyes, etc.

Encourage kids to share scraps. Don’t let them throw away anything! Others can use the scraps for their monsters.

tear monsters

I love how each monster is unique. Friendly, funny, scary, weird…each one has their own personality.

Enjoy!


P.S. Want to organize and manage all those paper scraps? Click here and here and here for helpful ideas via Pinterest.

Map Collage Self Portraits

Looking for a fresh self-portrait project? Check out these map collage self portraits shared by PJ, art teacher extraordinaire at Carmel Creek school.

Map Collage self portrait 2

PJ got free maps from the used book sale at her local library  – most were old National Geographic maps. Students just picked an interesting portion of the map to cut up. They did not use a template, so the whole thing took 5 or 6 40-minute classes.  PJ provided painted paper and wallpaper for facial features. Some students braided the yarn, used more sequins etc.

PJs Map Collage Self Portrait

A little more about PJ: she teaches art grades K-4, and is a veteran art teacher in our district. PJ’s school has unique challenges: she has the district’s largest school and has the most multi-cultural student mix. Over a dozen languages are spoken by the students at her school! In addition to teaching art classes and doing recess duty, she teaches reading in the morning. She is absolutely unflappable, a real jewel in our district. Her students ARE SO LUCKY to have her as an art teacher: she brings creativity and enthusiasm to school with her every day. I am SO lucky to have her as a colleague.

Enjoy!

Wayne Thiebaud Ice Cream Cones Roundup

wayne thiebaud ice cream cones


Summer is almost here. Why not try a warm-weather twist on Wayne Thiebaud with an ice cream art lesson? Check out these ice cream cone lessons using paint, collage, papier-mache and more.

thiebaud cones

cone collage

Directed Draw/Paint:

  • 1. I discovered an entire Wayne Thiebaud unit at the fabulous Danish Fru Billedkunst (“Mrs. Fine Art”) blog. Click here for her step-by-step ice cream cone drawing diagram.

Our second graders began by folding their paper into quarters. The horizontal fold became the table edge. Students drew two cones on each side of the vertical fold. We used crayons and tempera cakes. Students had the option of painting a background, or cutting out their art and gluing it to construction paper. They looked so beautiful at our school art show (see photo at top of post).

Here are some more interesting ideas for Thiebaud-inspired ice cream fun:

Collage:

  • 2. Miss Young’s Art Room has a simple ice cream collage for kindergarten
  • 3. ARTASTIC! has a torn paper collage that would be great for using up all those paper scraps at the end of the year

Templates:

Group project:

  • 5. Kids Artists has a whole-class painted paper ice cream cone collage.

Papier Mache Sculpture:

  • 6. Phyl’s There’s a Dragon in My Art Room blog has an awesome papier-mache ice cream cone sculpture project using a paper water cone, newspaper, masking tape and art paste.

More resources

My Wayne Thiebaud Powerpoint includes repetition of simple shapes, variety, use of thick paint, horizon line and shadow.

I always show my ancient (circa 2000!) Behind the Scenes with Wayne Thiebaud [VHS] – it includes Mr. Thiebaud drawing an ice cream cone. Oh, why can’t I find a DVD or digital version??

Wayne Thiebaud video from CBS

Whatever project you choose, your students are bound to have fun!


Enjoy!


Do you have a favorite ice cream cone project?

Creative Self-Portraits at Young Art Show


Young Art 2013 at San Diego Museum of Art

For over 80 years, the San Diego Museum of Art has held a juried exhibition of student art. This year’s show is all about identity. Young Art ‘The Story of Me’ is on display right now at the Museum at the Center for Community and Cultural Art. Learn more in this article.

Our school had a record 12 pieces in this year’s show. Congratulations to all our young artists! Here are all their fabulous projects, arranged by grade:

First Grade: Clay Self-Portraits

matt and grace

 First Grade: Royal Self Portrait

L. and her royal self-portrait

L. and her royal self-portrait


Second Grade: Super Hero Self Portraits

super hero collage young art

Dream Catcher Girl

Third Grade: Heritage Self Portrait

Gavin’s heritage self-portrait, ‘Flag Face’, incorporates the flags of France and Italy.

Fourth Grade: CD Case Double Portraits

cd case portrait collage


 Fifth Grade: Charm bracelets and dog tags

Mo and his charm necklace

Mo’s self-portrait is a T-shirt and neck chain, with charms for skiing and Spiderman.


Bella's charm bracelet has charms for Mexico, swimming, Disneyland and more.

Bella’s self-portrait charm bracelet includes charms for Mexico, swimming, and Disneyland.

Jacob's salute to his family's military background includes a camouflage shirt and individual dog tags for family members in the service.

Jacob’s salute to his family’s military background includes a camouflage shirt and individual dog tags for family members in the service.


Well done artists!!!! The show is up until May 26, 2013. Hope you can visit!

Thanks to the fabulous art education team at SDMART for making Young Art happen. Our community truly appreciates all your hard work.

Enjoy!


Related Posts Plugin for WordPress, Blogger...