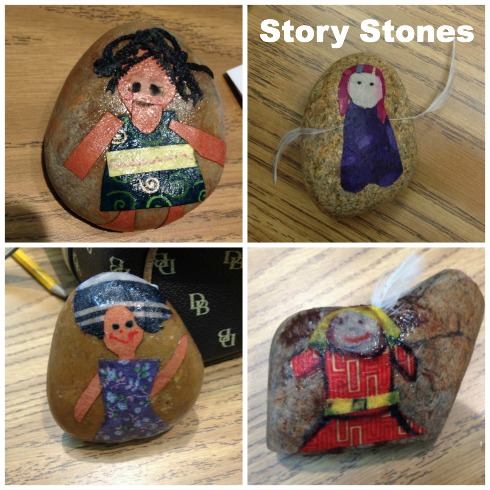
What are story stones? Story stones are smooth rocks decorated with an image of a person, animal or thing. They are used with children for play, therapy, and just to spark imaginative conversation and story telling.
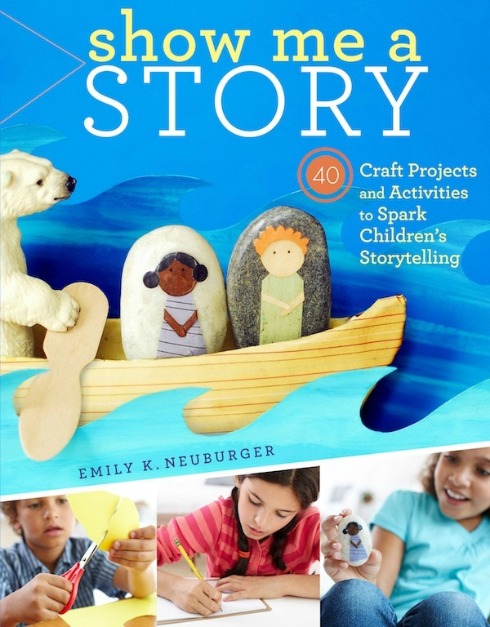
I recently attended a professional development workshop on the expressive arts. We learned how to make collage story stones, and then to use them in creative writing. The project was inspired by a project in ‘Show Me a Story: 40 Craft Projects and Activities to Spark Children’s Storytelling by Emily Neuburger. If you are being ‘encouraged’ to incorporate literacy activities in the art room (or vice versa, want to do arts integration in the general ed classroom), story stones may be right for you.
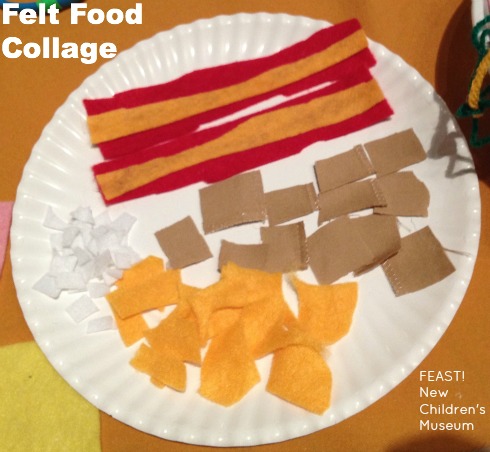
 Materials:
- river rocks, or other smooth stones with flat surfaces, large enough for collage
- scissors
- colored paper scraps
- fabric scraps
- embellishments such as ribbons and lace
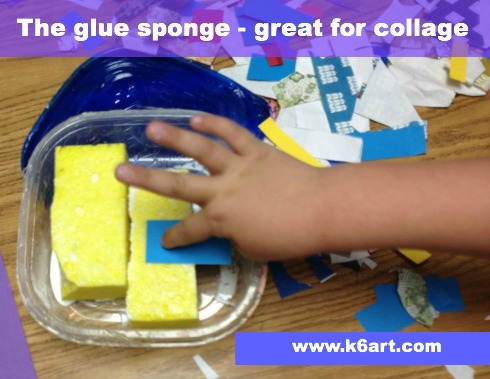
- Mod Podge (we used gloss finish)
- brushes
- Sharpies
Teacher-created story stones. Allow one hour to create stones.
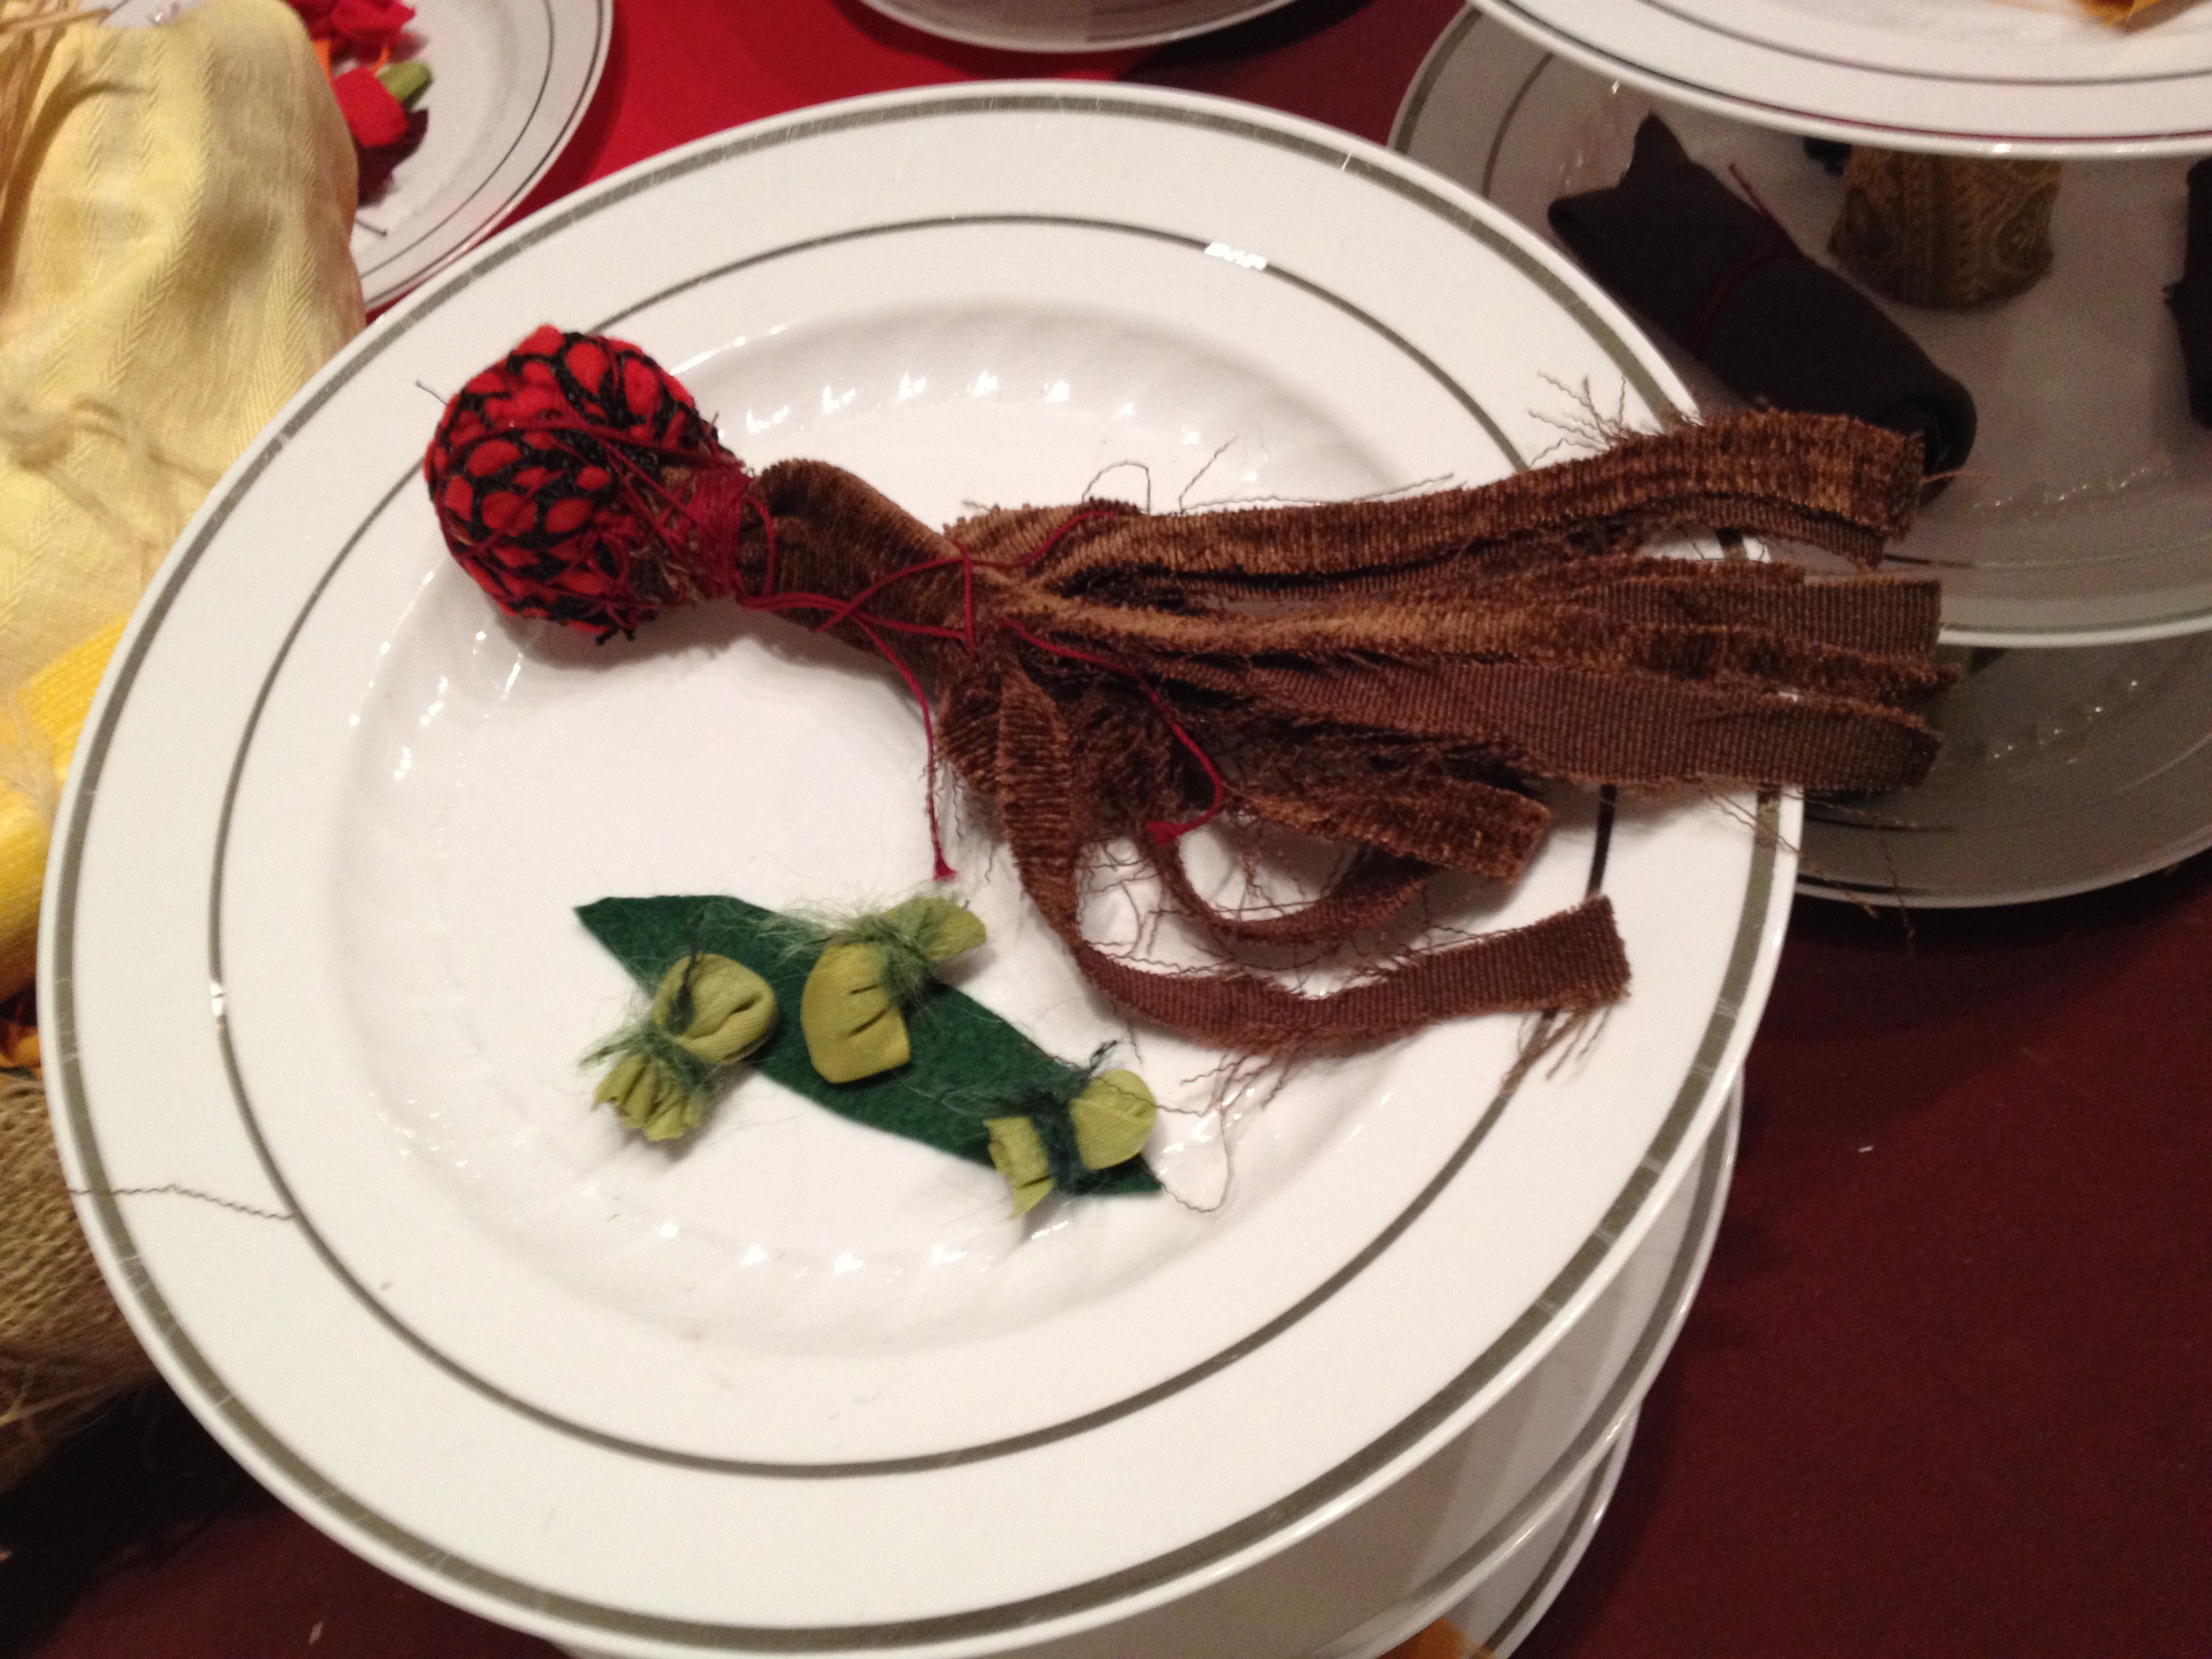
Create the story stone:
Wash and dry the stones. Let each child select a stone. Create a collage of a person or animal, real or imagined, on the stone. Use brushed Mod Podge as glue. When the collage is glued down, brush on another coat of Mod Podge as sealer.
After the story stone as dried, add eyes and other facial features with Sharpie.
Optional: after the collage has dried, flip over the rock and create another character on the back.
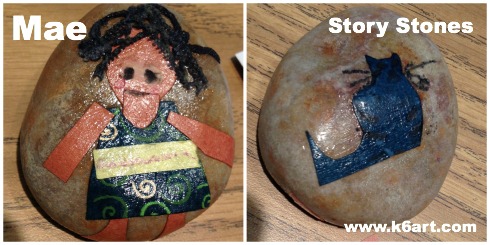
I created a story stone with main character Mae on the front and her cat on the back.
Activities: Art and Writing
Discuss elements of art in your story stone. For example, here are the elements in the Mae/cat stone:
- Line: Spirals in the dress, belt is a horizontal line
- Shape: body is made of geometric shapes
- Color: neutral skin and rocks ; warm color belt pops out from cool color dress
- Texture: hair is made of lace, stone is smooth
- Form: rock is organic form, figure wraps around rock; art on both sides
Writing:
Exercise #1: Stone Story Starters. Look at your story stone and answer the following:
- Who am I?
- Where do I come from?
- What do I like to do?
- What do I like to eat?
- How did I get here?
- What is my name?
- If I could speak, what would I say?
Here is my story, based on my stone:
I am an old lady from New York City. I like to sit on the steps, in the sun, with my cat in my lap. I don’t like to shovel snow from my steps. I walk slowly. My favorite things to eat are eggs and toast (my cat likes turkey cat food). I was born in the city and have lived here my whole life. My children moved away. I live in a brownstone in Brooklyn. My name is Mae. I like to be alone. I am not lonely.
Exercise #2: circle (or bold) words in your story that suggest feelings or appeal to the senses. Use them to create a poem. Add extra words if necessary.
I created a super-simple haiku:
Mae sits in the sun
Her cat purring in her lap
Snow long forgotten
Common Core Standard: CCSS.ELA – Literacy RL 1.7 Use illustrations and details in a story to describe its characters, setting or events.
There are so many ways to create story stones. A little research turned up hand painted stones on Etsy and stones made with paint, marker or stickers on Pinterest. You can collage illustrations or photos cut from a magazine or catalog.
I would love to create story stones with art club or at summer camp. For those art teachers pressed for time (like me!) it would be interesting to create the story stones in the art room and let the students do the storytelling in the classroom.
Thanks to Amy Andrews and Talia Morales from Coast Music Therapy for presenting our professional development workshop, Expressive Arts in Special Education.
Enjoy!

")