Kindergarten Stick Puppets

kindergarten stick puppets
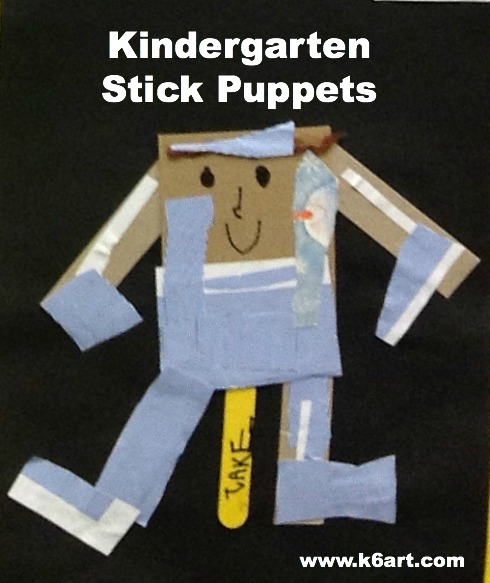
Kinders are making stick puppets. This is their first project using white (Elmer’s) glue, and the whole project is designed to teach gluing skills.

Students first practice opening and closing the (orange) tip of the glue bottle. They learn the bottle is closed when the hard white tip peeks up from the bottle. Then I pass out cardboard.

Day 1

Materials

  • White (Elmer’s) glue
  • Cardboard :  1 (3″x5″)  and 4 (1″x5″) per child
  • Sharpie
  • Yarn
  • Scissors

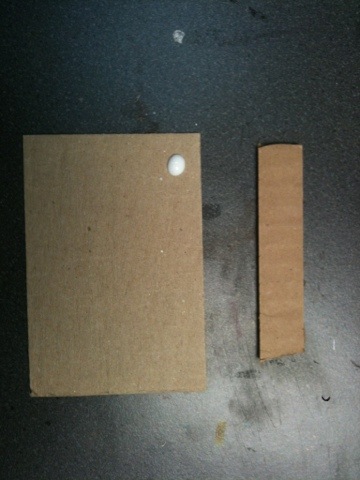
Take large cardboard and one small cardboard. Put a dot off glue on a corner of the large cardboard, top with the small piece. Press hard to stick pieces together.

We use the ’10 second gluing’ technique. Students press the pieces hard against the table while counting aloud to 10 (is there anything cuter than a class of 5 year olds earnestly counting together?).

We test our gluing by waving the glued pieces in the air while counting to three. Result: 95% hold together. The one or two that come apart provide the opportunity for more glue practice.


20111231-142336.jpg

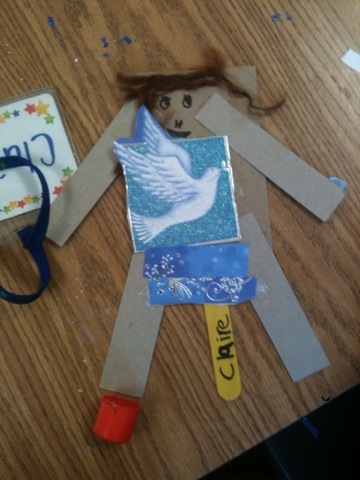
We glue on all four cardboard ‘limbs’. Next students write their names on a Popsicle stick and glue it on for a handle. Kids will need to use 2-3 dots of glue and count to 20 to get that stick stuck on.

Add a bit of cut yarn for hair and draw on a face with sharpie.

Day 2:

Materials

  • Stick puppets
  • Glue sticks
  • Scissors
  • Colored patterned papers (origami, scrapbook or wallpaper) cut into 4″x6″ pieces

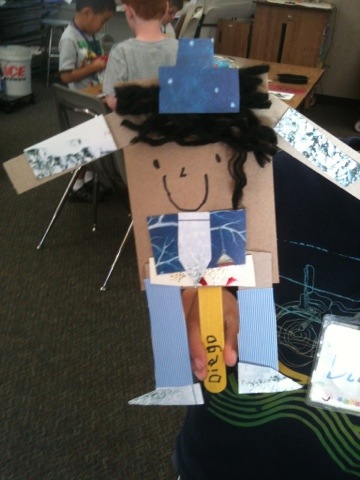
Cut out paper and glue on to make clothes for puppets. Instruct kids to apply glue stick to both papers they are stick together. This might sound like a waste of glue, but there is a much stronger bond. Don’t want any puppet wardrobe malfunctions!

 20120105-182650.jpg


20120105-182740.jpg

20120105-182826.jpg

Cool Color Monet Water Lilies

cool color monet waterlilies

Second grade is studying the cool colors.  After watching the excellent elementary color theory DVD Getting to Know Color in Art  we looked at photos of Monet’s beautiful garden and pond in Giverny, France. Students could imagine themselves at the pond on a summer day, feeling the willows sway, listening to frogs as they rested on the lily pads, resting in the cool shade, even floating in Monsieur Monet’s ‘art boat’ as it passed under the Japanese bridge.

“Le Bassin aux nymphéas” 1899. One Monet’s many water-lily paintings.

We looked at several of Monet’s waterlily paintings, focusing on his use of cool colors and short, quick strokes of paint. You can download my Powerpoint of Monet’s garden here.

We then created an oil pastel and watercolor art work.

Allow three 40-minute sessions for this project.

Materials:

  • 12×18 construction green construction paper
  • 9×12 watercolor paper
  • glue sticks
  • oil pastels in blues, greens, and purples plus white, yellow and pink
  • watercolors in blue, green and purple
  • kosher salt (optional)

Discuss Monet’s art, his pond and garden. Review cool colors. View powerpoint or photos of Monet’s garden.

Fold green construction paper ‘hamburger’ (the short way). Glue watercolor paper to lower half of green paper.

Students use oil pastel to draw bridge, water lilies and foliage.

Review painting of pond and Japanese bridge.

Oil Pastel:

Using oil purple and blue oil pastels, draw three arcs (‘rainbows’) for the Japanese bridge. Add some vertical lines to the bridge to finish. Blend and highlight with white oil pastels.

Review photos of water lilies.

Using various green and yellow oil pastels, draw clusters of lily pads on the watercolor paper. The lily pads don’t have to be perfect – just ovals or quick strokes of pastel. They should overlap a bit. Add a few pink lily flowers, highlight with white.

Fill the entire top half of the green paper with foliage in greens and yellow. Use short strokes. Add a downward cascade of short lines for the weeping willow.  Tell kids to ‘go behind’ the Japanese bridge.

Use short strokes of oil pastel to completely fill the green paper with foliage.

Painting:

Using the cool colors (blue, green and purple), paint the watercolor paper using long horizontal strokes.  Colors can overlap and blend.  Go right over the oil pastel lily pads.

Use purple, blue and green watercolors on the lower half of artwork

Students may add a small pinch of Kosher salt to the wet watercolor. The salt absorbs a bit of color and an additional dimension to the pond. Brush off salt when dry.

Wow!!! This project was a hit! We learned about a famous artist, reinforced color theory, experienced the joy of painting on watercolor paper and blending pastels. All kids were very proud of their artwork. Success!


Enjoy!


(Note: post updated 12/22/13)

Art on the Beach – The Cardiff Kook

Happy New Year from San Diego!

I spent New Year’s Day walking on the beach at Cardiff-by-the-Sea. Cardiff is home to ‘Magic Carpet Ride’, a statue installed in 2007.

The Cardiff Kook (formally 'Magic Carpet Ride')

The surf-savvy locals initially derided the sculpture.  Many felt the surfer depicted had the wrong stance. But as time has gone by, public opinion has changed.

What was intended as an homage to local surf culture has turned into a fabulous piece of community art. Under cover of night, people alter the kook in ways large and small. Here are some notable installations:


Eaten by a shark.

Caught in a spider web.

Celebrating Van Gogh's birthday. Note fake crow and bandaged head....

Van Gogh's ear....

Snatched by dinosaurs.


Kook proposes marriage.

Remembering 9-11.

The Kook is changed dozens of times each year and is a constant source of surprise and joy. Locals and tourists love the kook. You can follow the kook on the Cardiff kook blog. The kook can also be found on this Google map.

I always wonder what would happen if two stealth art groups coincidentally met up at the kook late at night.  Who would get first dibs?

Related Posts Plugin for WordPress, Blogger...