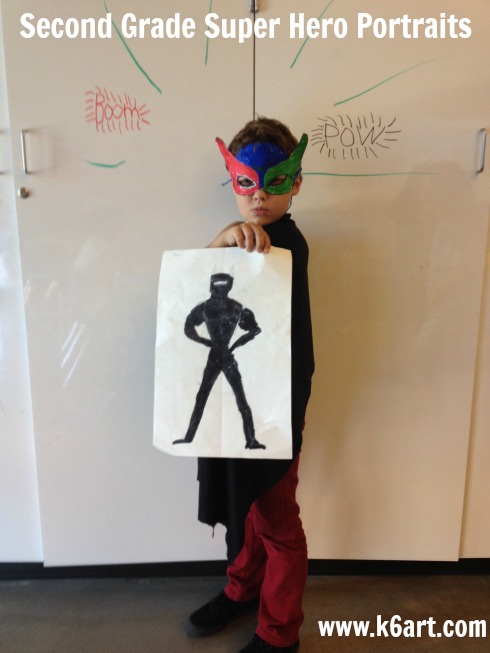
What child doesn’t want to have super powers? Our second graders just completed a two-part super hero self portrait project. First, they drew themselves as a superhero. Next, they created a super hero mask and photographed each other in super poses.
Students added boots, gloves, belts, masks, capes, tights, and more to their self portraits.
Draw yourself as a superhero
Materials
- Crayola Color Sticks or colored pencils
- extra fine Sharpie
- pencils/erasers
- copy paper (for initial sketches)
- 12″x18″ drawing paper
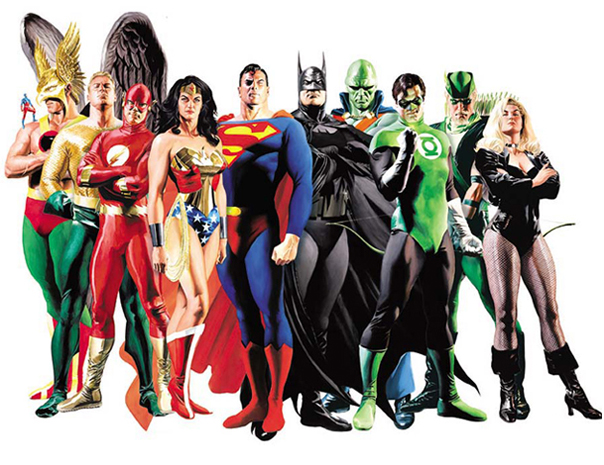
- reference photos of superheroes
I used a paper folding technique to encourage students to fill the entire page. We first folded the papers the long way (‘hot dog’) to create a line of symmetry. Then we folded them the short way (‘hamburger’) to create a waist line. We opened the papers, the made another fold from the short edge to the waist line. We used copy paper for initial sketches and drawing paper for the final.
Students drew themselves in a strong stance. They added boots, gloves, masks, capes, and belts. Each student added a special logo on the chest. Some added special tools. They colored with color sticks and colored pencils, then outlined in Sharpie.
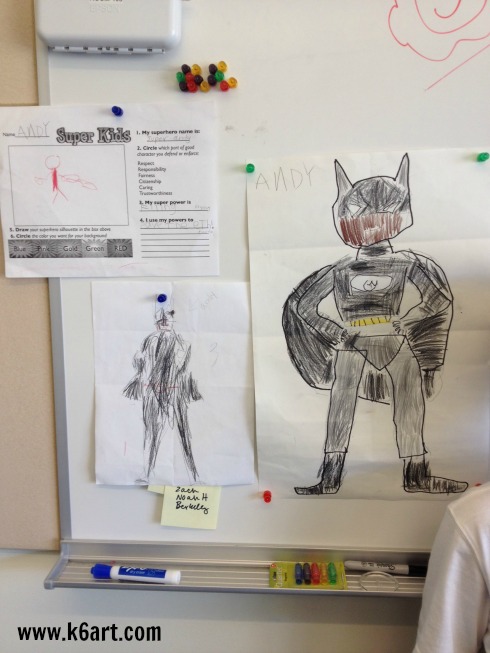
Andy created three drafts of his super hero.
Paper masks
We used the free downloadable mask templates from partysimplicity.com. Students colored them with marker. We cut them out and backed them with black construction paper so they would be strong enough to wear. Kids had the option of punching the masks and attaching yarn ties, or just taping on a bamboo skewer as a holder.
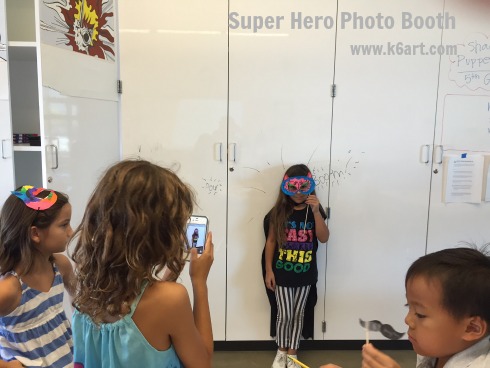
Students photograph each other as super heroes.
Photo booth
Students worked collaboratively to create photo booths. Each had a sign-up list and a waiting area. One student was the photographer, another dressed kids in the cape, others made sure everything ran smoothly. We used an iPod and an iPhone, but you could use any digital camera.
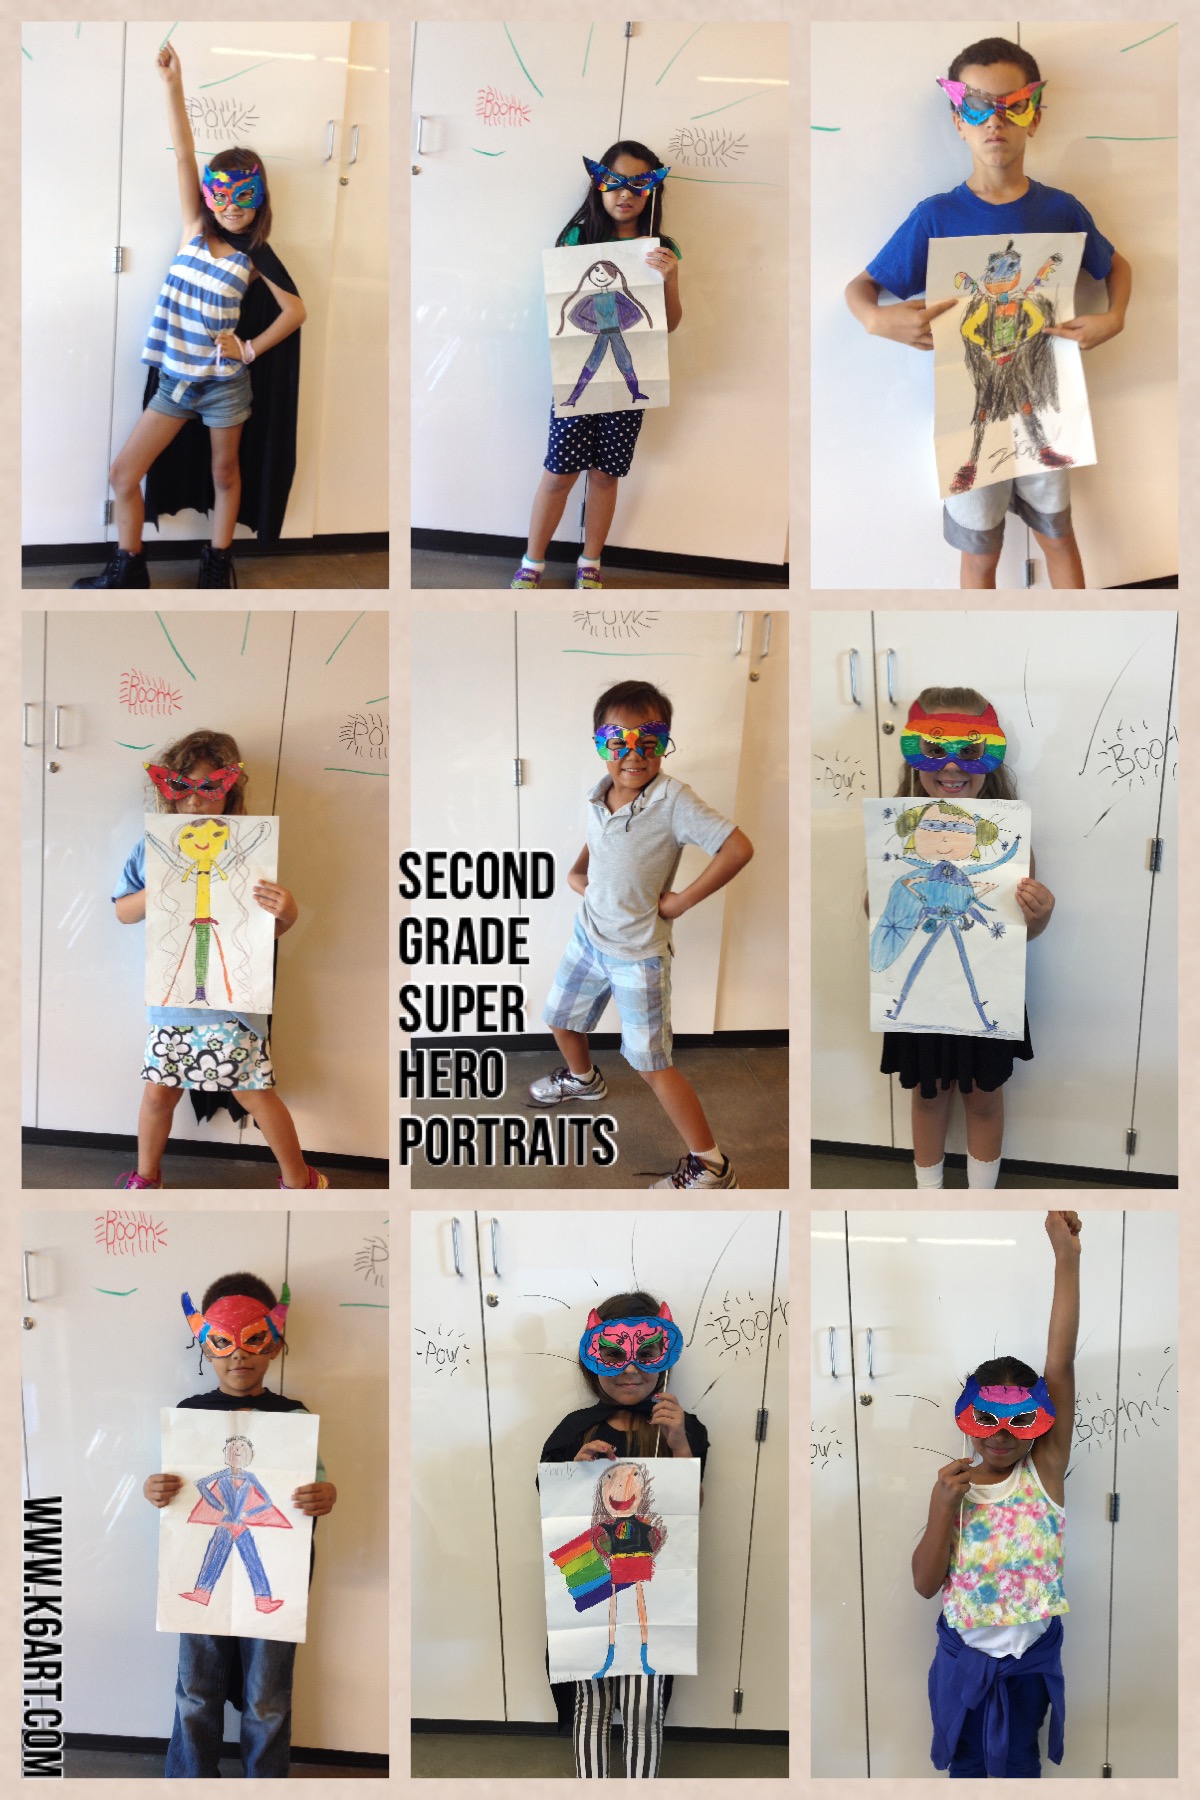
Second grade results (by student photographers)
Click here and here to see more examples from prior years.
We did this project in conjunction with the second grade classroom teachers as part of a unit on being courageous and taking risks.
Enjoy!

What’s your favorite self-portrait project?