 Who do children love? Ask them – they will tell you they love their family and their pets. Why not make a valentine for your pet? Our second graders did just that – they created colorful pet valentine collages.
Materials:
- red construction paper or watercolor paper, 12″x18″
- oil pastels
- construction paper or painted paper, assorted colors, 6″x6″
- pencils and erasers
- scissors
- glue sticks
- black construction paper, 12″x18″, for mounting
Day 1:
Talk about pets. Tally up how many students have dogs, cats, snakes, hamsters, etc. Some students have a lot of pets and want to put them all on the valentine! Some students don’t have any pets. I told them to make a valentine for a ‘dream’ pet, or for a pet that belongs to a friend, neighbor or relative.
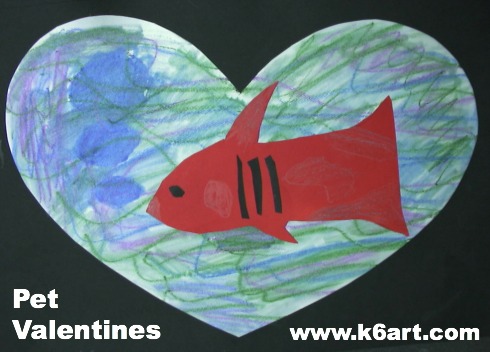
I passed out large hearts cut from red construction paper and and watercolor paper. Students colored the hearts with oil pastels, then used glue sticks to attach the hearts to black construction paper.
Day 2:
Students drew their animals on 6″x6″ colored construction paper or on the back of painted paper. I encouraged them to use large simple shapes. They cut out their animals and glued them to their hearts. They added details with scraps of colored paper and/or with oil pastel.

One student didn’t have a pet. He created a pet valentine for the bird in his backyard.
Second grade results:
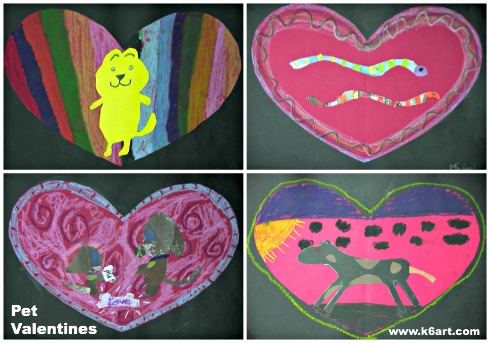
Second grader pet valentine collages. Allow two 40-minute classes.
Our second graders had a great time and were very proud of their artworks.
p.s. This can be a nice Eric Carle-inspired project if you use painted papers for the collage.
Enjoy!

Do you have a favorite Valentine’s Day art project?