Colorful Chameleons

colorful watercolor chameleons


Kids love chameleons! They change color almost like magic. Our second graders just finished a very successful watercolor chameleon project.

Materials:

Day 1: Draw your chameleon

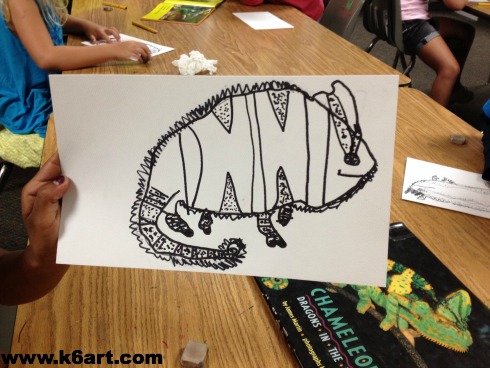
We watched the ‘Super Chameleon’ video on YouTube. The kids were amazed to see the chameleon change colors over and over. Then we took a close look at the chameleon books from our school’s media center. Next it was on to a directed draw. I modeled the basic contour of the chameleon’s head, body, tail and legs. Kids started in pencil, then outlined in Sharpie. They were free to use Sharpie to add their own details (stripes, patterns, dots, spikes) based on their reference photos.

chameleon drawing


Day 2: Color your chameleon

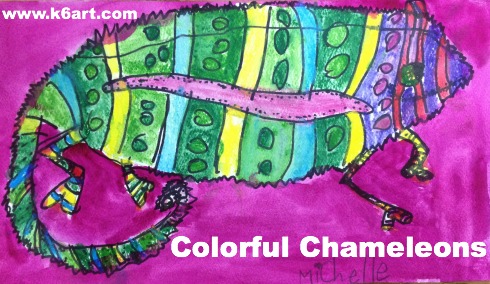
Kids used watercolor pencils dipped in water to color in the chameleons. The watercolor pencils were great for coloring in all the stripes and little spaces. The colors turned out really vibrant! The final step was to paint the background a single color using pan watercolors.

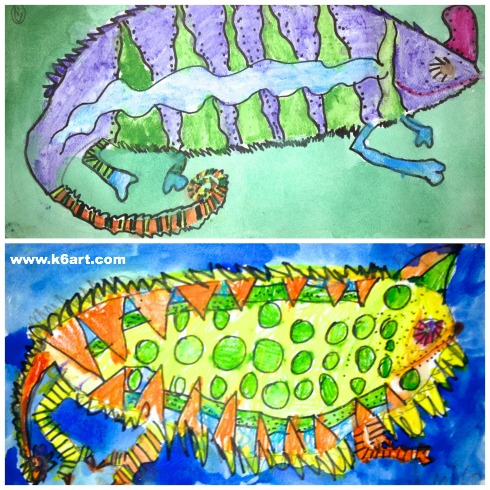
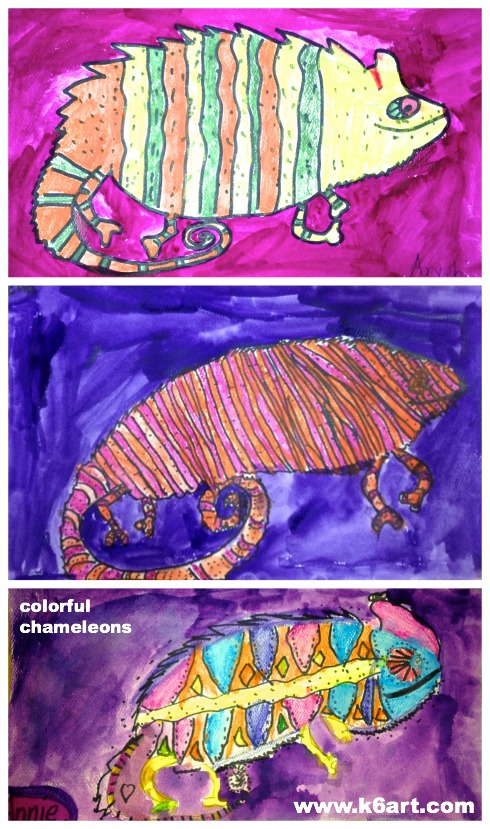
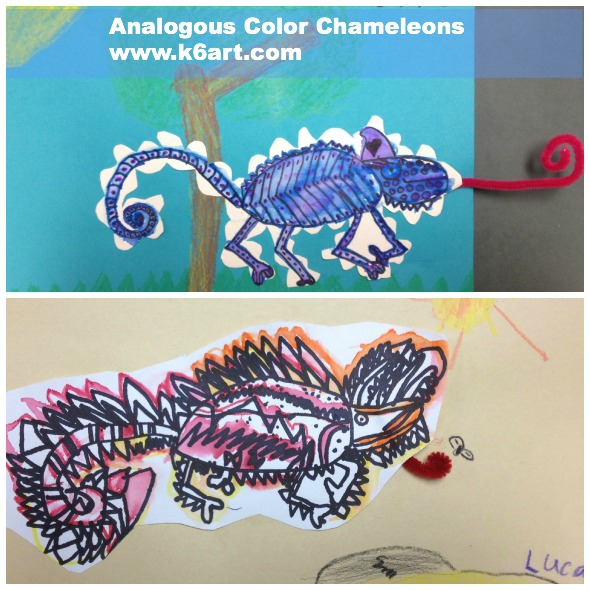
I encouraged everyone to stick to an analogous color scheme for their chameleons. Some kids did, some didn’t, but they all turned out beautiful.  After all, a chameleon can be any color.

blue and green chameleons

three watercolor chameleons

We tried a similar chameleon project last year using Crayola markers: click here to see more results.

Overall this was a popular, super successful project with minimal prep and clean up. It was my first watercolor pencil project, but it won’t be my last.

Enjoy!

Here are two of the books we used for our lesson 

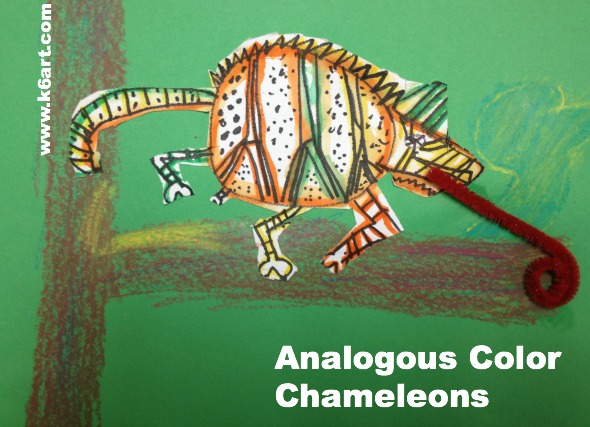
Analogous Color Chameleons

Analogous Color Chameleons


Are you looking for an engaging, NEAT color project? Try these analogous color chameleons, made with watercolor paper scraps and Crayola markers.

Materials

  • Color wheels
  • Watercolor (or drawing paper) scraps
  • Sharpies (or other black permanent markers)
  • Crayola markers (or other fine tip watercolor marker)
  • Brush
  • Water
  • Construction paper
  • Construction paper crayons
  • Pipe cleaners
  • White glue

We began by watching this FUN chameleon video

We did a directed draw of the chameleon using Sharpie on watercolor paper. Second graders then added their own details – stripes, patterns, dots, horns, and spikes.

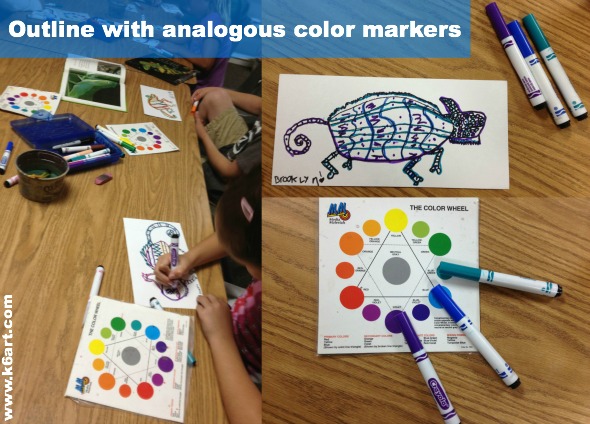
Next I passed out the color wheels and Crayola markers. We talked about analogous colors as ‘next door neighbors’ on the color wheel. I asked the students to select three analogous color markers and lay them out on their color wheels.

Students checked their neighbor’s work to make sure all the markers were analogous colors.

We used the ‘marker painting’ technique I learned on the fabulous Artisan Des Artes blog. Students outlined the interior of their their chameleons with the markers, then went over the lines with plain water and a small paintbrush. The kids LOVED it when their markers turned to ‘paint’ and spread through the watercolor paper.

analogous color collage

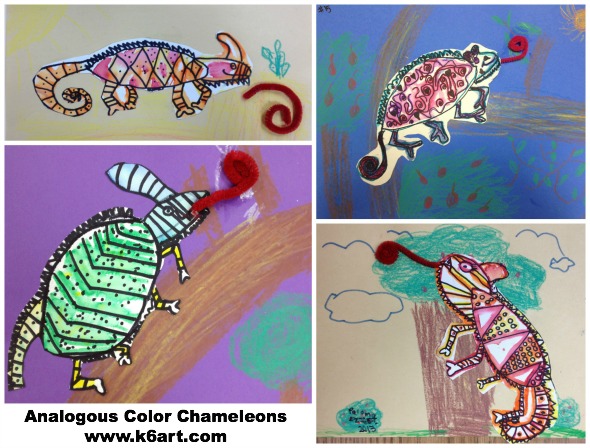
To finish the project, we cut out the chameleons and glued them to simple habitats drawn with crayon on construction paper. For a final touch, some student glued on a curled pipe cleaner for a tongue (I will skip that step next year!).

Second grade results:

analogous color chameleon collage 1

analogous chameleons


Guess what…….this project will work even if your markers are a bit dry! It’s a great project for end-of-year or anytime.

Enjoy!

p.s. Here are two books my students LOVED!


(note: this post contains compensated affiliate links).


Related Posts Plugin for WordPress, Blogger...