Oil Pastel and Baby Oil ‘Paintings’

Want to amaze and engage your students? Try oil pastel ‘painting’. The colors are vibrant, set up and clean are a breeze and students love the process.

Materials
Oil pastels
Q-tips
Baby oil
Small cups for oil
Watercolor paper

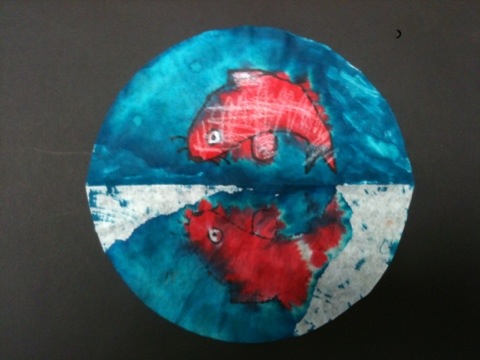
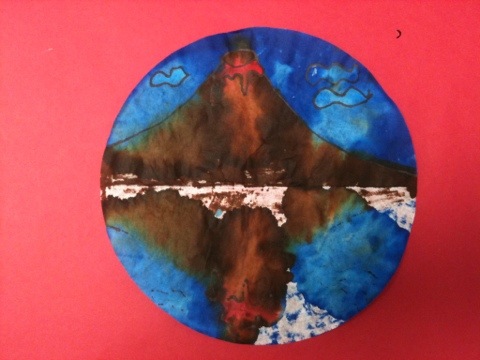
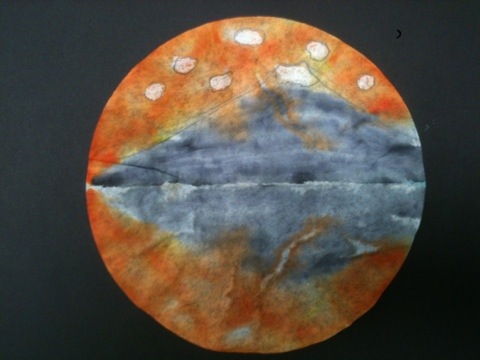
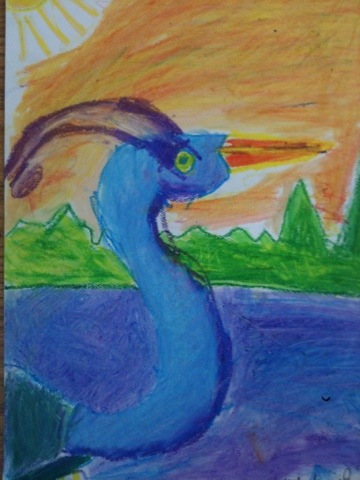
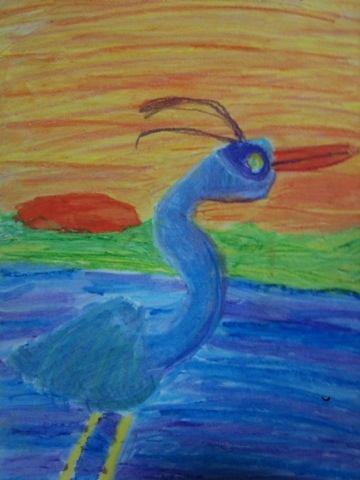
We did a directed draw of a great blue heron. We grouped our oil pastels so that they would blend nicely. This was a good opportunity to review warm and cool colors and analogous colors.

Heron: cool colors (purple, blue, green)
Water: purples and blues (analogous colors)
Sunset sky: warm colors ( red, orange, yellow) and pink
Hills: green and yellows (analogous colors)

20120605-220805.jpg

20120605-220935.jpg

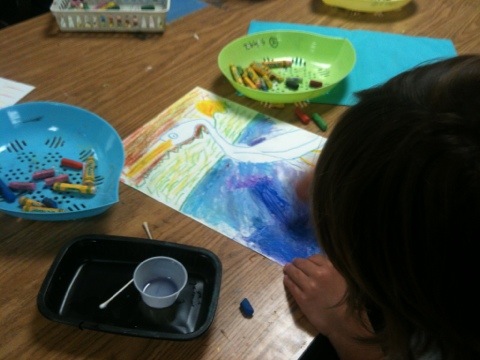
Students make short strokes of oil pastel. Use two or three colors side by side. Then dip a q-tip in baby oil and blend the colors. A little oil goes a long way!

20120605-221320.jpg

20120605-221343.jpg
Dry on a drying rack.

Tips:
Use watercolor paper. Construction paper is too thin and oil will soak the paper.
Blot excess oil with tissue.

Have fun!

I learned this process from art teacher Nicole Nelson at The San Diego Museum of Art.


Sand Art for Second Grade

Summer is almost here. For our last project of the year, second graders made sea creature sand art. Allow two 40-minute sessions.

Materials:

  • white glue in squeeze bottles
  • colored sand (I used four different colors) in shallow trays
  • bamboo skewers
  • black construction paper, 9″x12″
  • pencils and sketch paper
  • reference photos of sea creatures for sketching

Day 1:

Students sketch various sea creatures using pencil and paper.

Day 2:

Each student picks a favorite sketch and draws it on black construction paper. Encourage kids to make simpler, larger designs.

Trace pencil lines with glue.

If kids make a glue mistake, they can try moving the glue around with a skewer.

Sprinkle on one color of sand at a time.

Then tap excess sand back into the tray.

When kids spill sand on the table….a house paint brush makes clean up easy.

Kids love to clean up sand with a large paintbrush.

Completed work:


Clean up:

I store leftover sand in old apple juice jugs. At the end of class, I put a funnel in each jug and let the kids pour in their sand.

Seriously fun! This would also be a fun summer camp or vacation art project.

‘Tie-Dye’ Butterfly

It’s spring! Time for a butterfly art project. How about a lesson that delivers perfect symmetry, color and fun in only one 40-minute session?

Materials:

  • round (basket) coffee filter paper, white (available at the dollar store)
  • Sharpies
  • watercolor markers (we used Crayolas)
  • pencils
  • spray bottle of water

Instructions:

  1. flatten coffee filter
  2. fold filter in half.
  3. use sharpie to draw 1/2 a butterfly on the folded paper.
  4. Trace over all the Sharpie lines again (this helps transfer ink to the other half of the filter paper).
  5. Open the paper. 
  6. Retrace all the faint lines with Sharpie.
  7. Re-fold the paper into its original position.
  8. Color the folded paper using watercolor markers. We used warm and neutral colors for the butterfly, and cool colors for a band around the edge of the paper.
  9. Place folded filter paper on drying rack, colored side facing up.
  10. Spray with water. I try to saturate the paper (note: put some newspaper on the floor under your drying rack to catch the colored drips).
  11. Let dry before removing from rack.

I love the faux tie-dye effect created by the diffused color. I also love the round format. Bonus: coffee filters are available at the dollar store! So this project costs a couple of cents.

Second graders use Sharpie and crayola marker to make symmetric butterflies. Allow one 40 minute session.

Inspiration for the Sharpie/coffee filter/watercolor marker method goes to Kati Oetken at ARTASTIC!

More coffee filter art experiments on this post.

Japanese Design Surprise

Don’t you just love a beautiful surprise? The third grade made Japanese fans from this post on ARTASTIC! . So much fun! After they dried, I opened the folded paper and discovered these:

20120412-164051.jpg

20120412-164232.jpg

20120412-164248.jpg

20120412-164302.jpg

20120412-164331.jpg

This happy accident occurred because the students
1) completely colored 1/2 the round with watercolor marker
2) probably sprayed a lot of water on the folded filter paper (I let the kids spray their own papers. Not only that – I had a 3rd grader supervise the spraying process!)
3) used white crayon selectively as a resist for clouds, snow and fish scales
4) used new (wet!) sharpies for the black lines

I’m thinking symmetry or reflection project for next year.

Check out all the instructions on Kati Oetken’s ARTASTIC! Blog.

Have you had a beautiful surprise result? Do tell!

Related Posts Plugin for WordPress, Blogger...