Hi there! I'm Rina. I teach K-6 art to 400 students at a public school near San Diego, California. I love teaching art and sharing with other art teachers. Thanks for visiting!
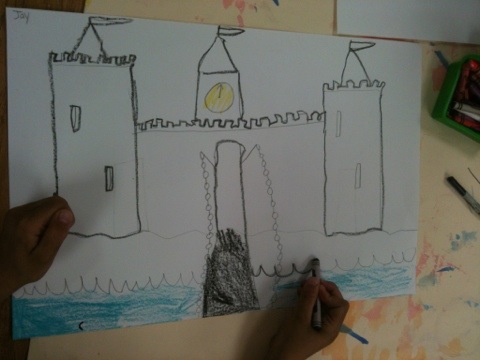
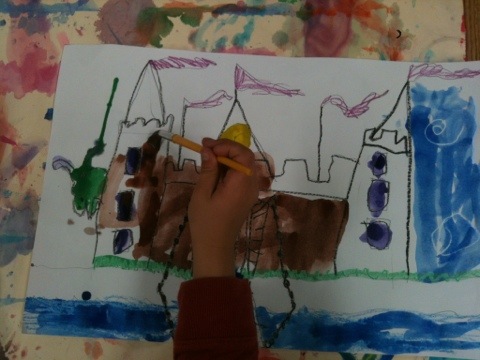
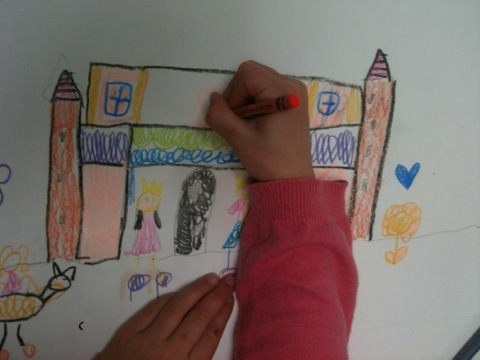
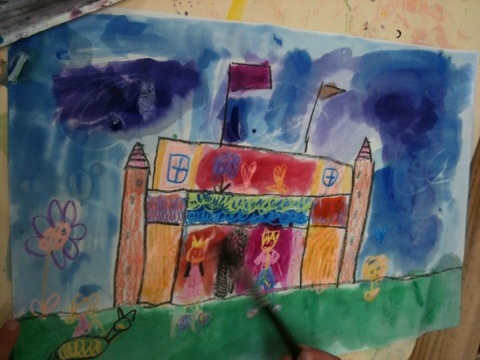
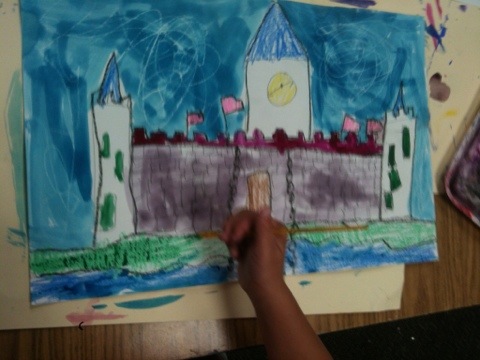
First graders completed their watercolor resist castles. We started out by looking at photos of real castles, focusing on the roofline, moat, towers, and drawbridge. I modeled a castle drawing. Students were free to draw along with me or create their own castles. We started with pencil, then outlined in black crayon. Kids colored the castle with crayons. They had the option of using white crayons to make swirls or stars in the sky above their castles. We then painted using watercolors. Here are the results:
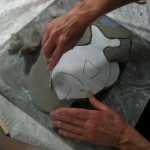
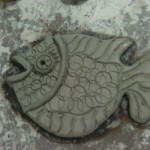
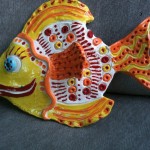
Today my fabulous colleagues stayed after school for a clay session. We made clay fish using slabs and templates. The sixth grade does this project in the spring. Allow three 40+ minute sessions for this lesson.
Day 1: Select template. Roll slab and cut fish. Wrap in wet paper towels and store in gallon Ziploc bag
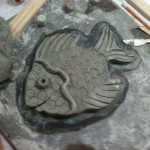
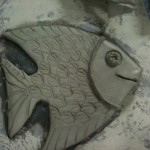
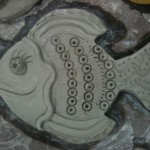
Day 2: Add details and texture.
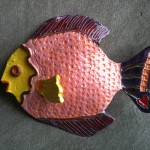
Allow to dry. Bisque fire…..then
Day 3: Glaze.
Texture tools include pencils, marker caps, glue caps and tips, and carved rubber stamps
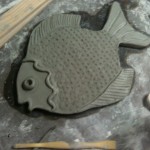
Done! Artist added fin, and stamped name in tail using letter stamps.
Fish were allowed to dry 10 days, then bisque fired, glazed and fired again.
Oh boy! One of the most anticipated projects of the year is under way. And one of my biggest logistical challenges is under way as well.
The 5th graders are making plaster wrap masks.
We are using Pacon plaster wrap in the 20 lb. box. We started with a dollar store bowl as the armature, and wrapped it in foil. Next, we applied four layers of wet plaster wrap. Now we are adding the facial features.
I used to make papier-mache masks on a balloon armature, but this year a student has a latex allergy so balloons are out. A blessing in disguise! Plaster wrap dries quickly. It is only week 3 and most students have a good start on their faces.
We have 75 students in three 5th grade classes. We are using up every free inch of my horizontal drying space to accommodate the masks week to week!
Here are some logistical tips:
*Use pre-cut foil to cover the armature. Don’t waste your time cutting foil! I get mine at Costco.
*Cut the plaster strips on the paper cutter. Double up the thickness and go twice as fast.
*Use a dedicated set of ‘plaster scissors’. Don’t bother scraping off the plaster. Use same set every year.
*Use a different color armature for each class.
*Tape off a dedicated drying area for each class.
*Use a big pitcher or watering can to refill the dipping bowls (we use old Cool Whip tubs for dipping bowls).
*Don’t you dare let the kids dump the dipping bowls down the sink at the end of class! Use a 5 gallon bucket and let the sediment settle before pouring off water.
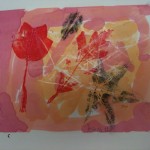
Second graders use watercolor markers to make colorful leaf prints. Allow two sessions.
The second graders just completed their annual fall leaf project. This year I used fall leaves to introduce second graders to the warm colors and printmaking in a two-part lesson.
Day 1: rub and paint
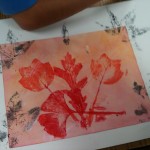
We discussed the warm colors and looked at some real fall leaves. Kids did leaf rubbings with real leaves and white crayons on white paper, and then painted over the paper with red, orange and yellow watercolors.
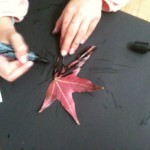
Day 2: watercolor marker printing
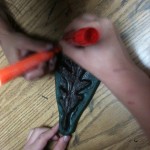
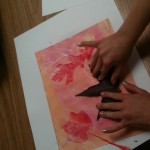
Today kids inked the backs of freshly fallen fall leaves with black watercolor markers and printed them on the colored paper. We used red and orange markers on rubber leaf stamps (similar to those used for gyotaku).
Allow time for extra time at the sink for hand washing.
What a hit! All the kids loved the printing process. The second grade teachers LOVE the completed art as well and are trying to nab it for Thanksgiving place mats.
If you’ve never tried printmaking with watercolor markers, give it a try. There is almost no prep time and minimal clean up. You’ll be thankful!