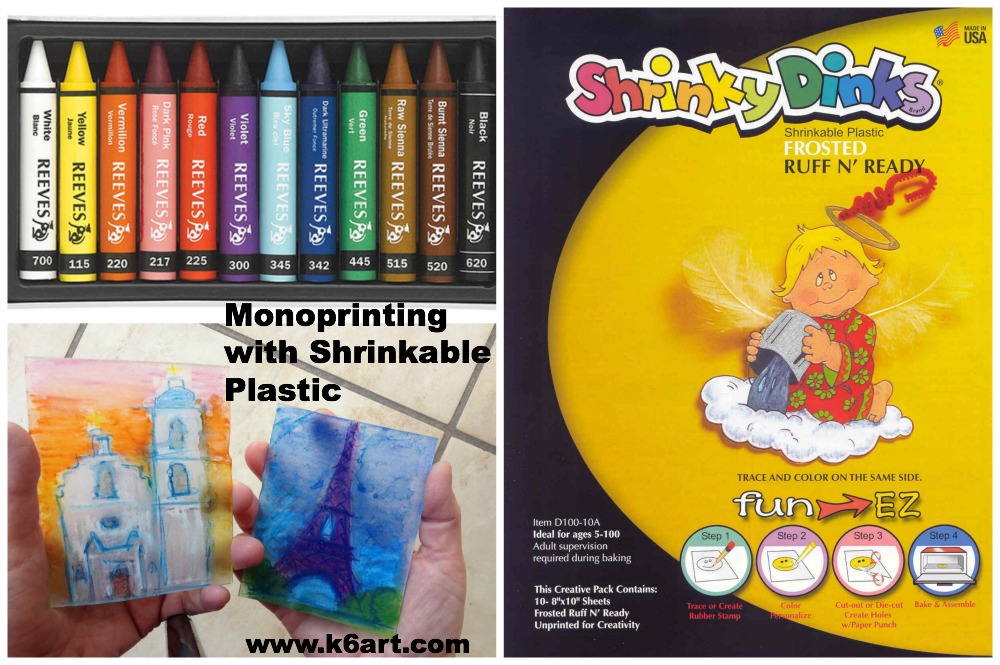
GIVEAWAY! I have six sets Reeves Wax Pastels to give away, courtesy of the nice people at ColArt. If you are going to NAEA ’14 in San Diego, please be sure to stop by booth 537 and check out all of their wonderful art supplies.
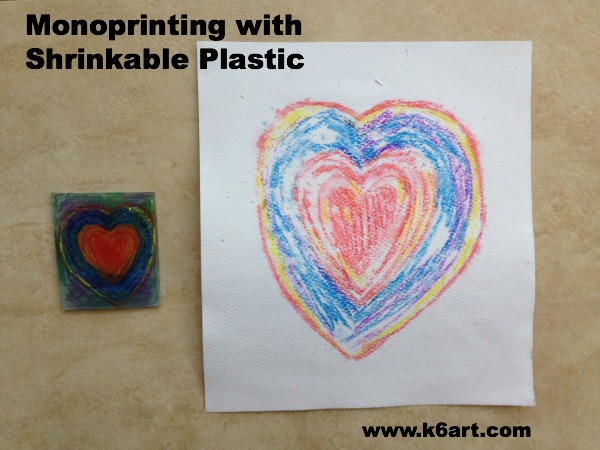
Isn’t it wonderful when you have time to make your own art? I experimented with mono printing this week as part of my homework for the Artsy Book Club. I used Shrinky Dink shrinkable plastic for my printing plate. It worked beautifully as a plate, plus I got to shrink it in the oven after I was done!
You’ll need wax pastels, frosted Shrinky Dinks, watercolor paper, and an oven.
Directions:
Make a sketch on copy paper
Place the shrinkable plastic (AKA the printing plate) on top of the sketch
Trace sketch with wax pastel, then color background/negative space
Brush plastic with wet paintbrush to blend colors
Dampen paper in dish pan of water, blot in towel
Place dampened watercolor paper on plastic
Rub
Pull the print
Add more wax pastel (in select areas) to the wet print.
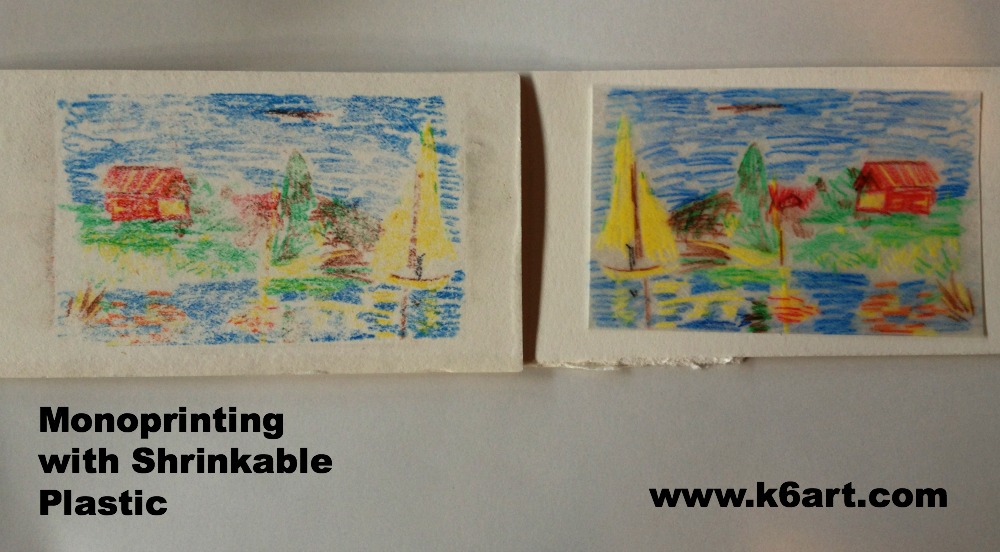
You can re-use the full size shrinkable plastic plate over and over; just re-color for every new mono print.
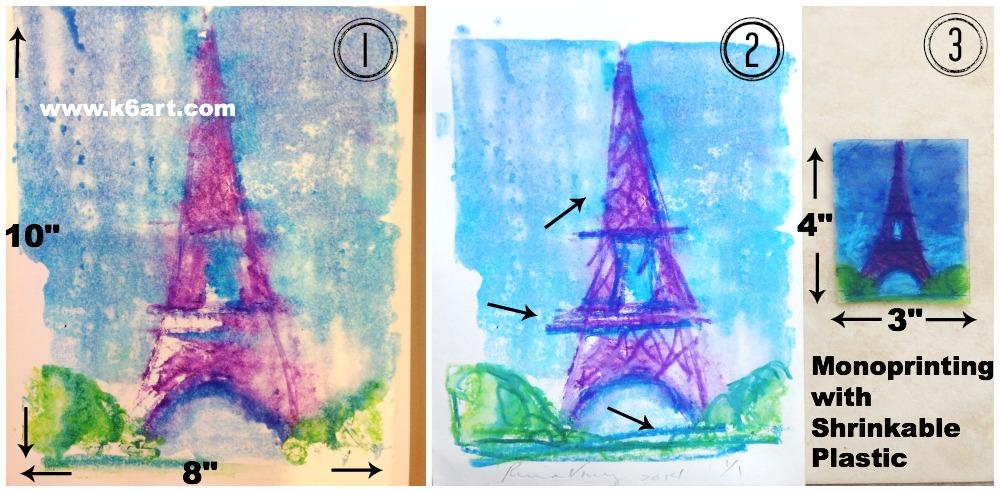
1. Monoprint onto watercolor paper. 2. Rework wet print with wax pastels 3. Rework plastic plate and shrink in oven.
Shrink the printing plate
Ready for even more fun? When you are done printing, re-color the Shrinky Dink printing plate and shrunk it in the oven.
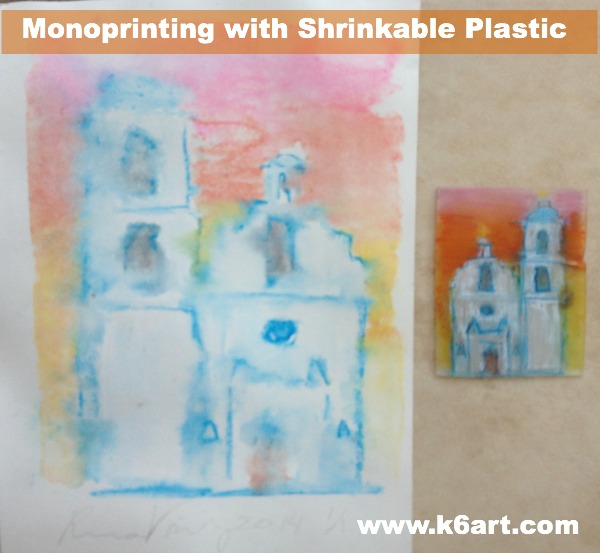
Yes, that’s right: I shrunk my printing plate in the oven. It’s beautiful! The colors are concentrated and rich. Just follow the directions on the Shrinky Dink package.
This mono print was made with watercolor pencils onto a scrap of dampened mat board. Time to shrink the printing plate!
Monoprinting with watercolor pencils
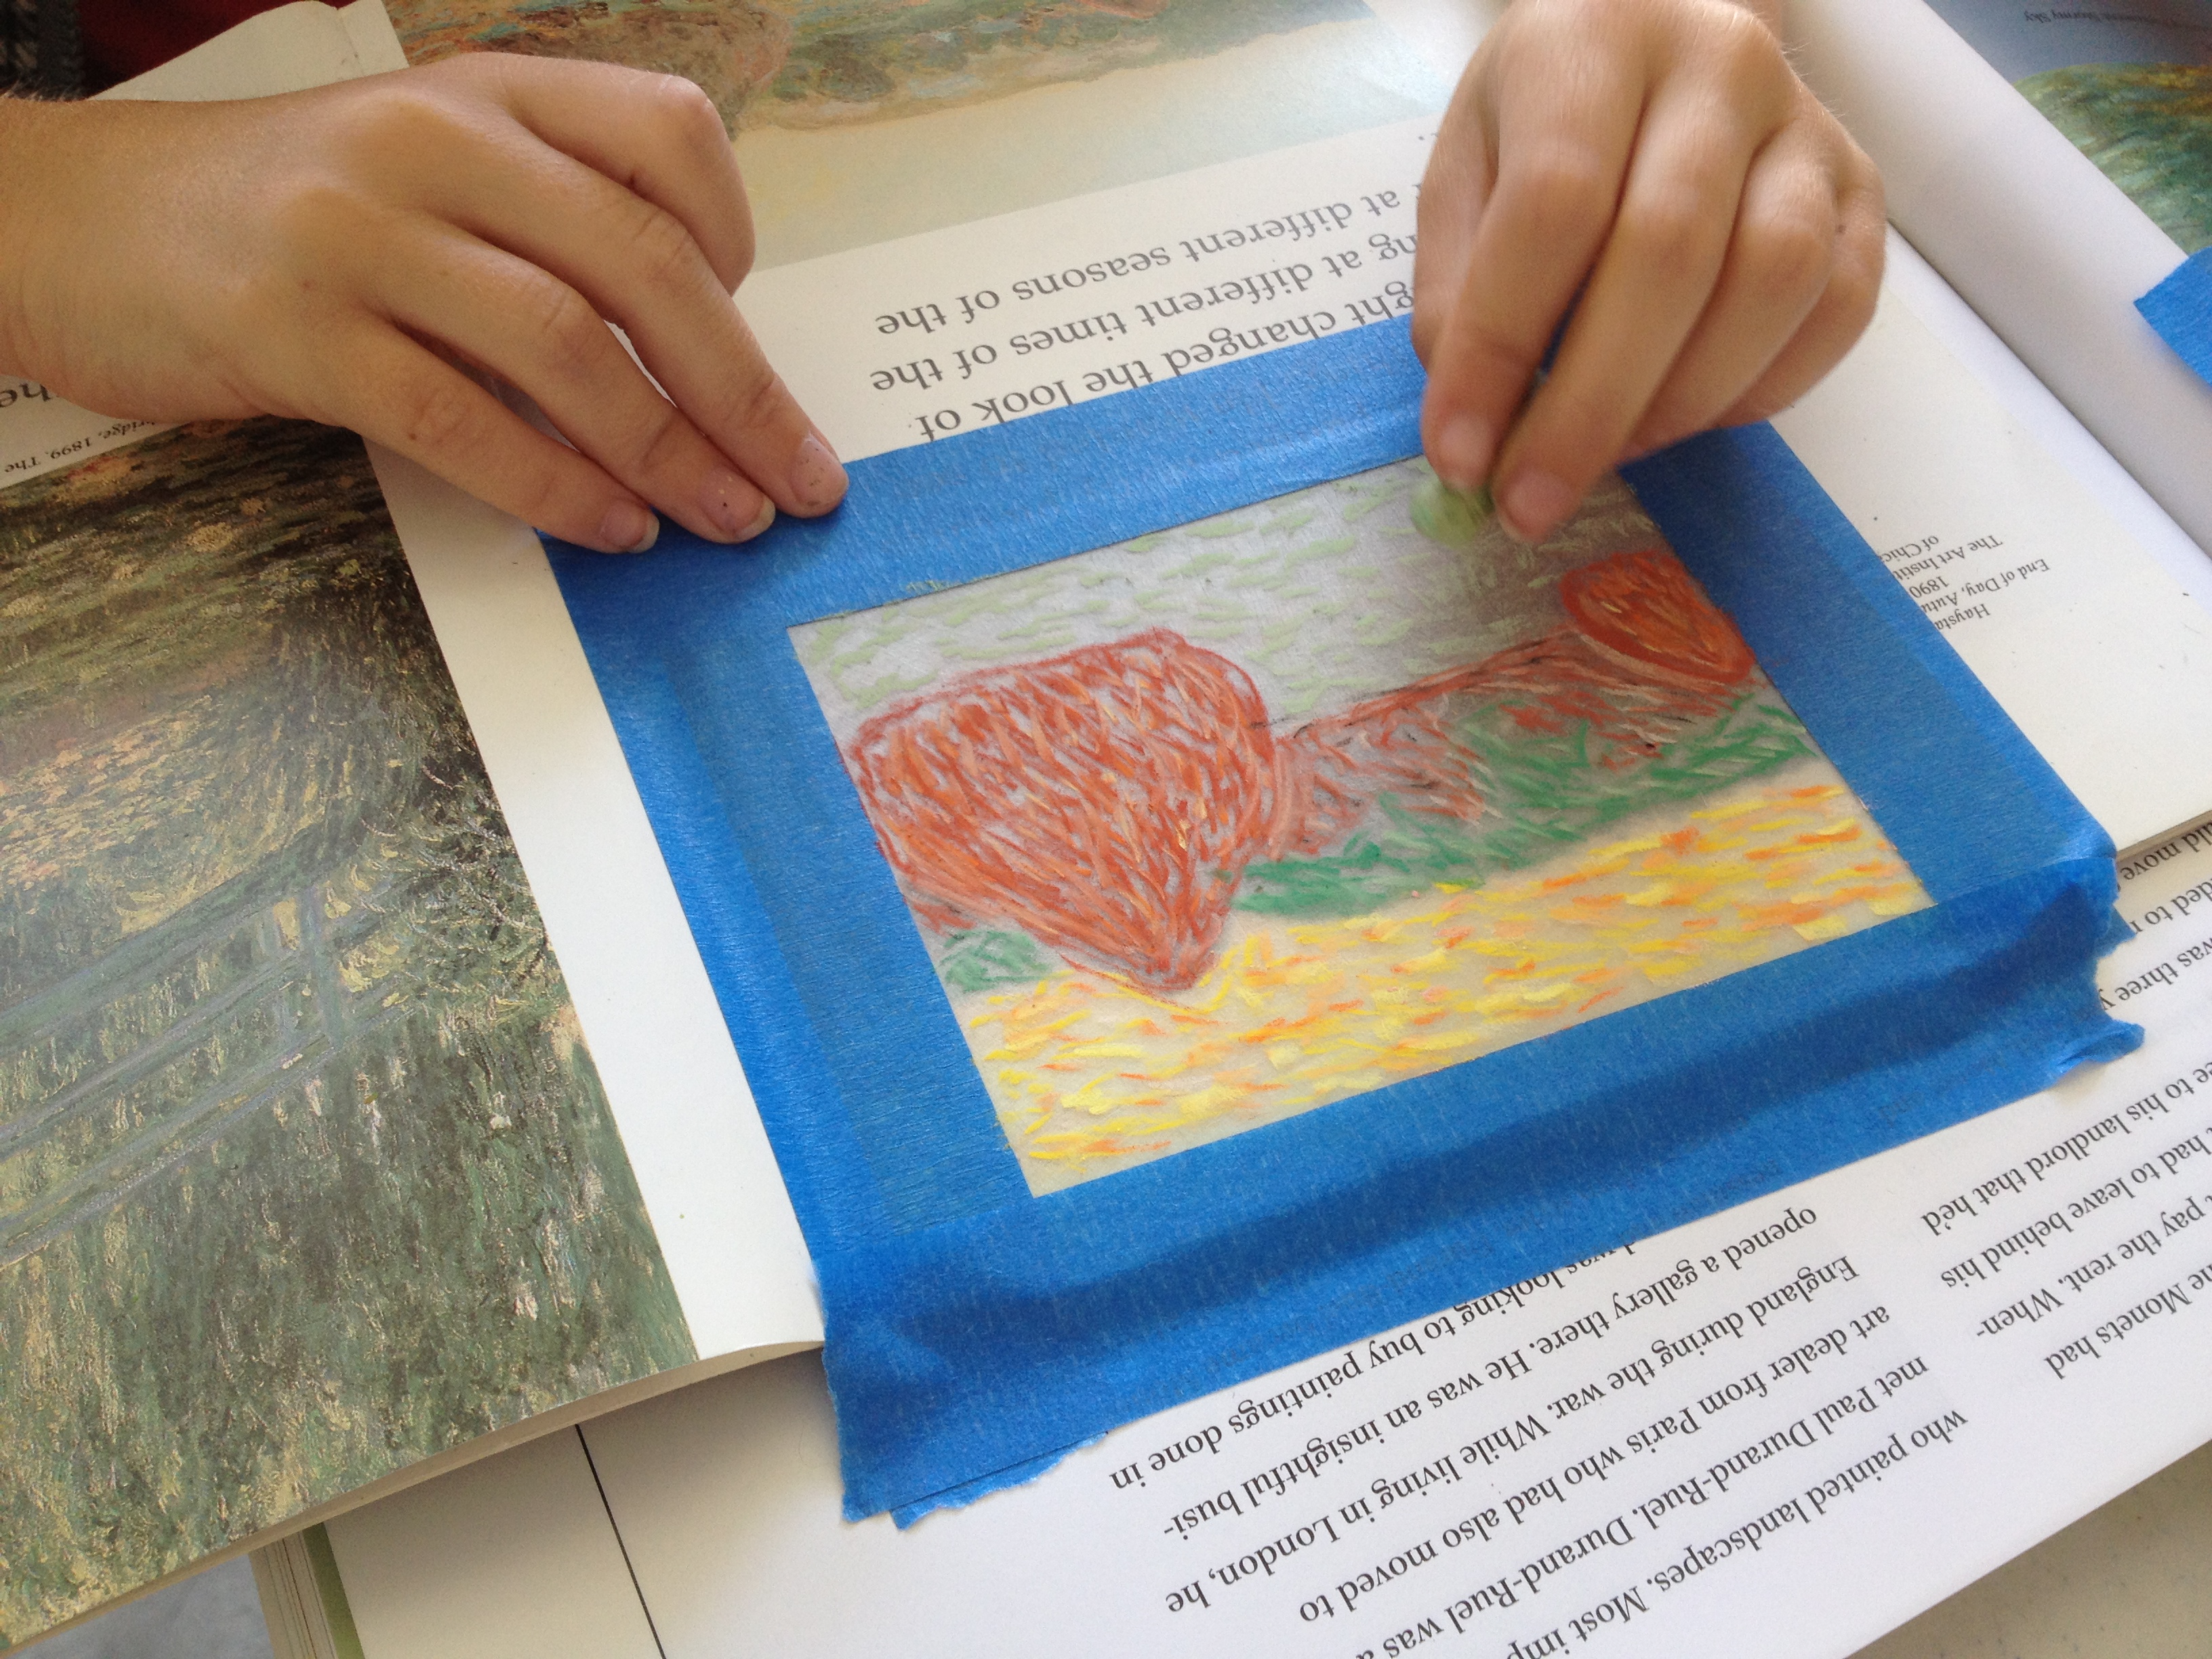
I used Reeves Watercolor Pencils to trace an impressionist painting onto my frosted Shrinky Dink plate. Then I printed onto a scrap of dampened mat board.
The printing plate started as a 1/4 sheet (4″x5″) of Shrinky Dink plastic. After printing, the plate shrunk to 1.5″x2″ Student work.
Try a mini monoprint with the kids
I used a full 8″x10″ sheet of Shrinky Dink plastic for my architectural mono prints, and I had to shrink each plate individually. This is not practical at school. Instead, try a 1/4 sheet of shrinkable plastic for the printing plate. I can shrink about 7 at a time on a full size cookie sheet. This is also a great way to use up scraps of watercolor paper.
Relax and enjoy the process…
These mono prints are somewhat experimental. You never know exactly what you’ll get. Try not to get caught up in perfectionism. If a print is less than perfect, rework it.
Thanks to Col Art for the samples of Reeves Watercolor Pencils and Reeves Wax Pastels. Thanks to awesome art teacher/blogger Cassie Stevens for creating our Artsy Book Club!
Enjoy!
What is the weirdest printing project you’ve ever tried?
If you want a fun, colorful Valentines day craft project, try Shrinky Dinks!
What? You’ve never tried Shrinky Dinks? They are sheets of thin plastic. You color, cut and bake them. When baked, they shrink to 1/3 the size! They have been popular since the 1970s and kids LOVE them. Watch this brief video to see how they work.
Option 1) Cut each sheet of plastic into quarters (I do this on the paper cutter) and distribute. Students draw a heart, color it on the frosted side with colored pencils, and cut it out themselves. The heart necklace above was made this way.
Option 2) Adult pre-cuts the hearts and distributes. Students color with colored pencils. All the heart pins in the photo above were made this way (with the help of a parent volunteer).
Bake at 325F
Then bake in a toaster oven or regular oven at 325 degrees F for about three minutes. Tip: watch the shrinky dinks through the oven window. They need to curl up and then flatten. Don’t take them out before they’ve flattened! We let them flatten, count to 30 and then remove from the oven.
For this project, one of our teachers brought her toaster oven to school and called her students two by two to watch their valentines shrink. THEY LOVED IT!
Necklace, Pin or Magnet
For a necklace, punch with a hole punch BEFORE baking. For a pin, hot glue on a pin back after baking. You can use magnetic tape or hot glue on a magnet.
Happy Valentines Day!
Enjoy!
Happy Throwback Thursday! Stop by on Thursdays to see ‘old school’ art projects!
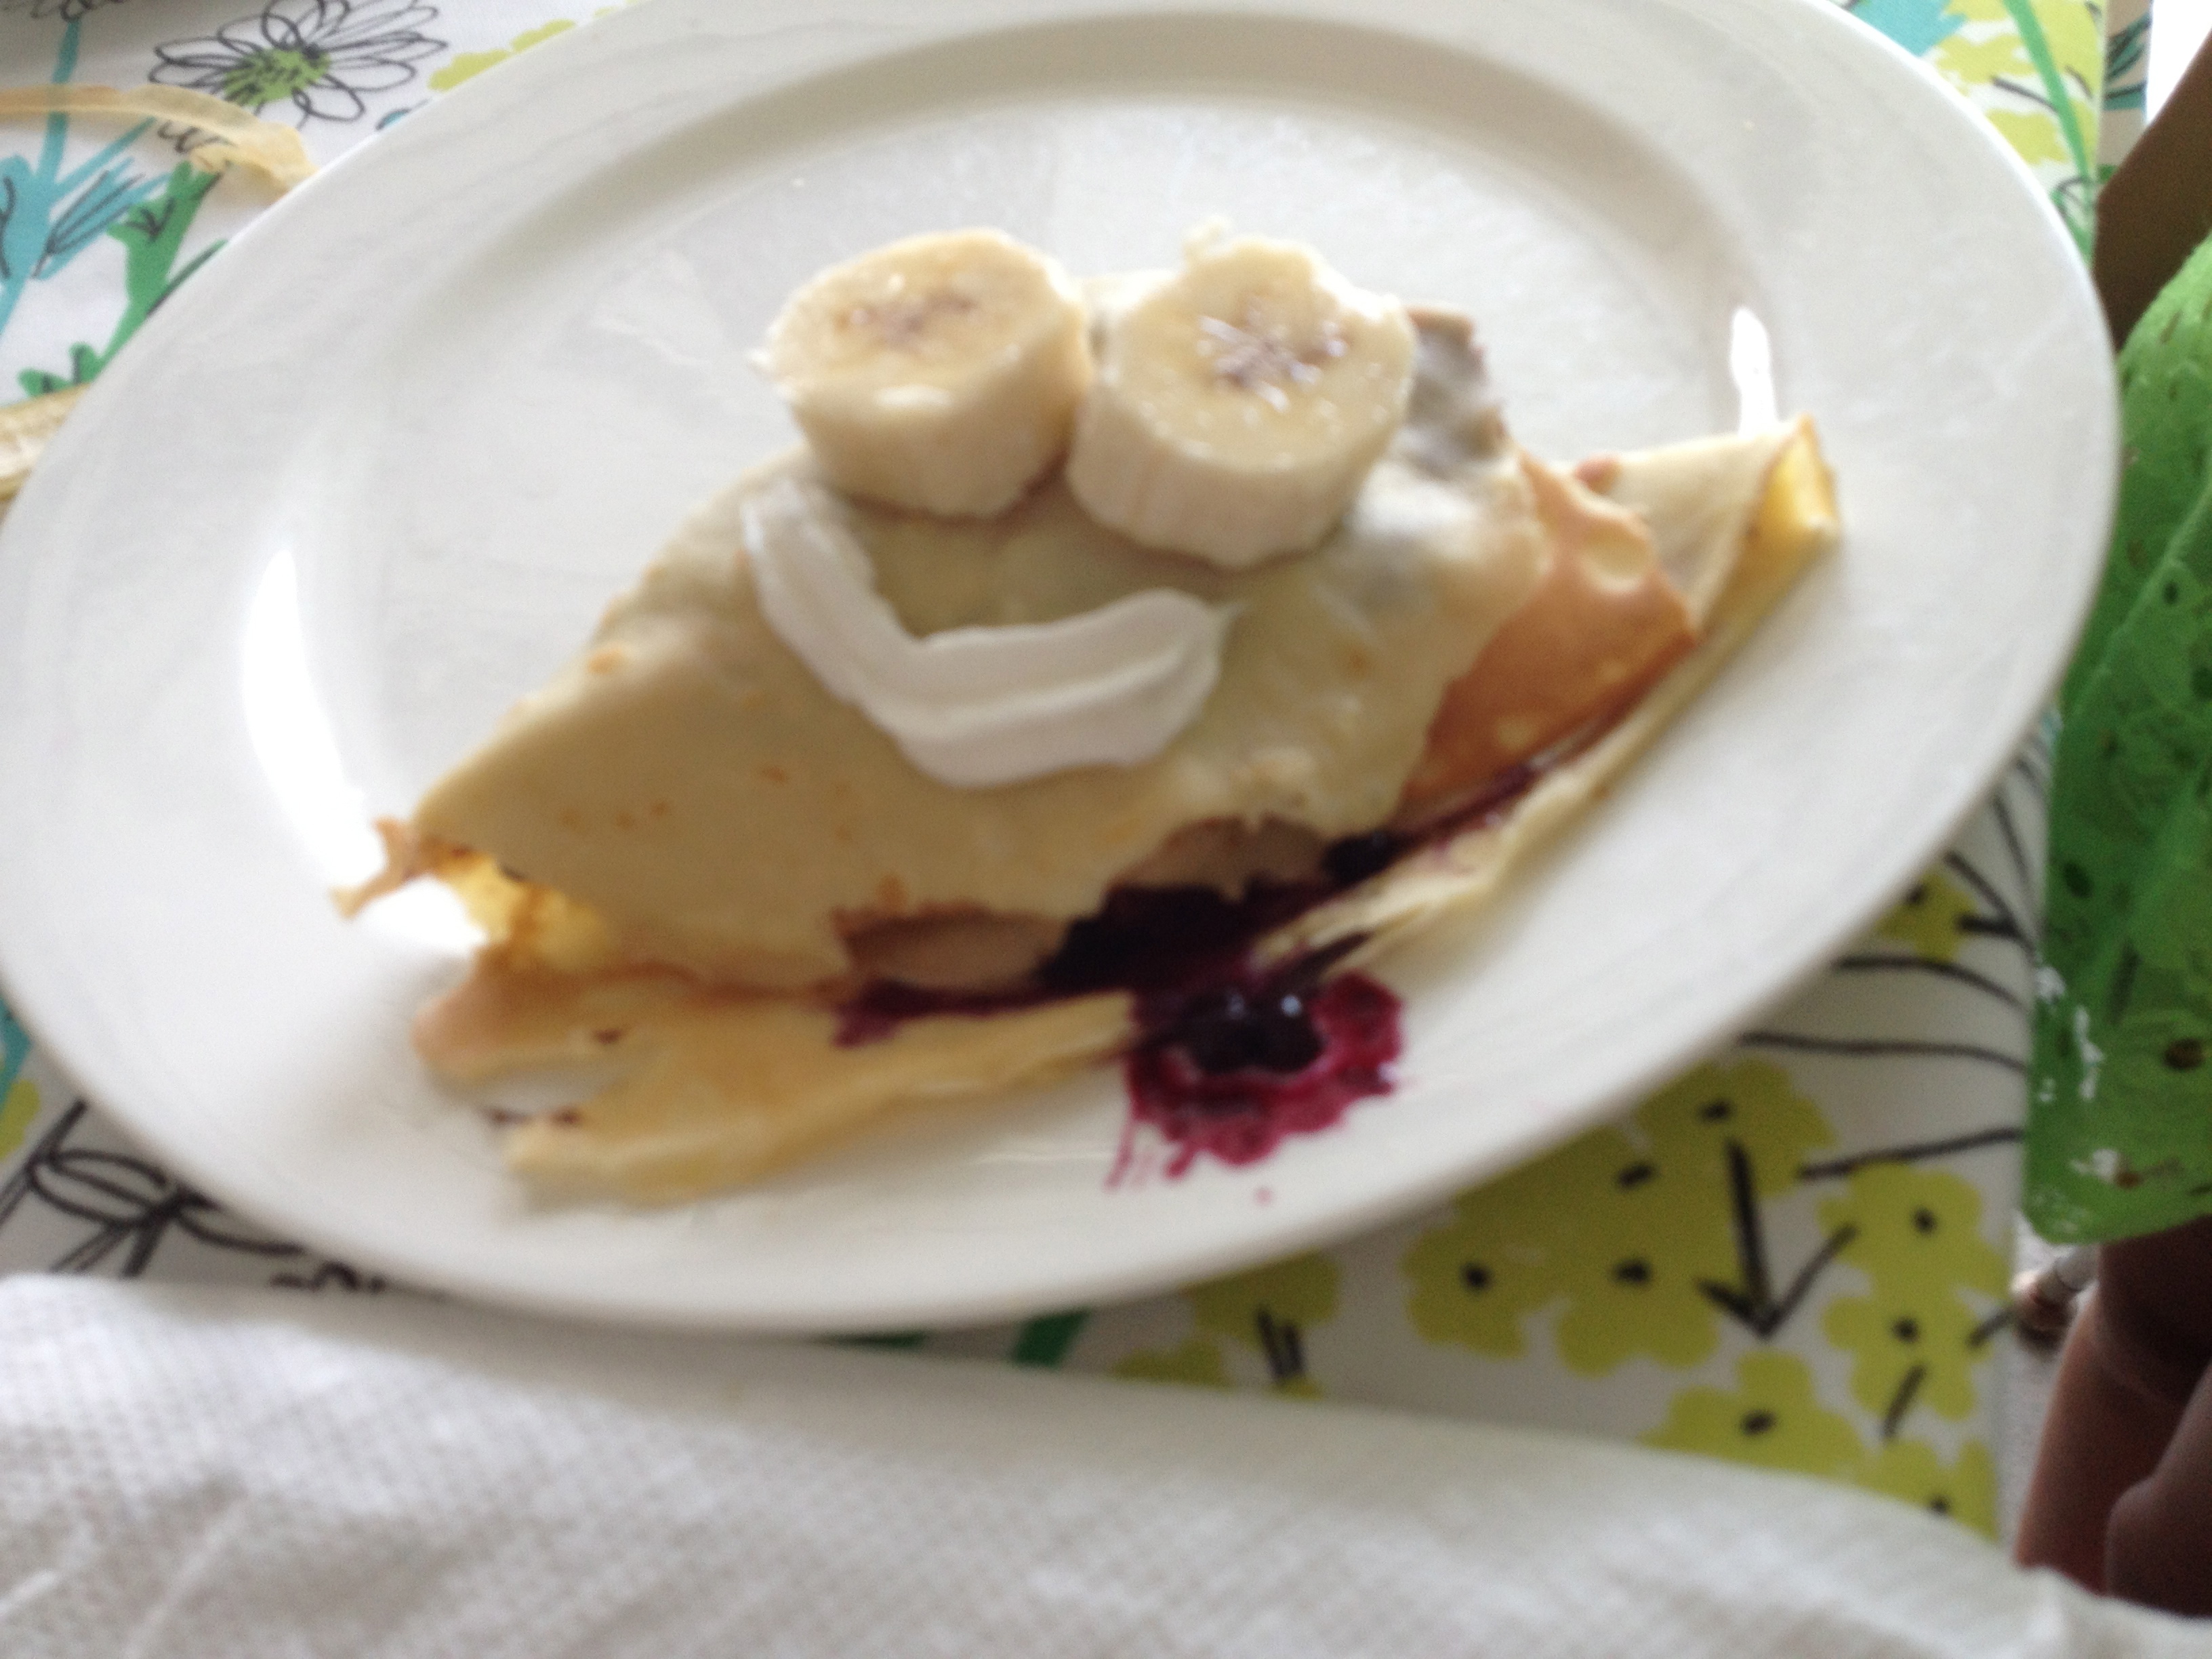
What fun! I just finished Day One of my Paris-themed art and cooking camp. Today we made Banana-Nutella crepes on a real Parisian crepe griddle. We ended the morning with Impressionistic ‘mini-Monets’, created with chalk pastels and Shrinky Dinks shrinkable plastic.
The ‘mini-Monet’ lesson from Blick is really fun and successful. You tape frosted Shrinky Dinks over an Impressionistic artwork, then trace over the brushwork using short strokes of chalk pastel. Shrink in a toaster oven and Voila!. We had 45 minutes for art – some kids made two pieces during that short time. Click here to see more examples.
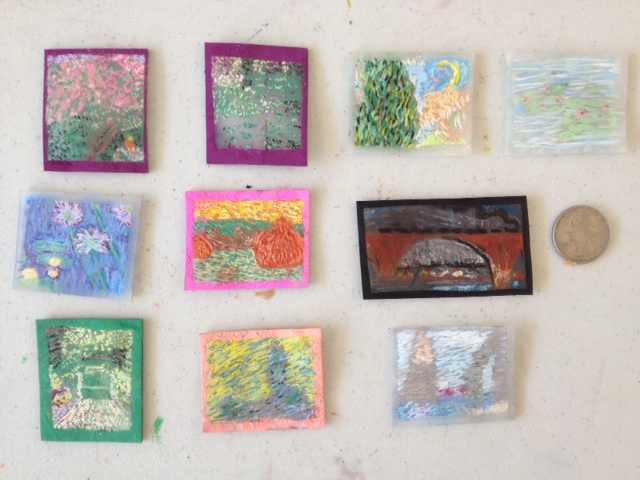
P. recreates Monet’s haystacks in chalk pastel.
Completed ‘mini-Monets’. Not much taller than a quarter!
Tomorrow is Eiffel Tower day. Stay tuned for more photos later this week.
Enjoy!
(Note: this post contains compensated affiliate links)
Do you love impressionism? Want to create memorable artworks? Try this Mini-Monet lesson plan from the Blick website. It even has an instructional video!
I adjusted the materials list from the Blick website. Here is what I used:
Shrinky Dinks shrink plastic, Frosted Ruff ‘n’ Ready, size 8″x10″, cut into quarters (tip: cut it on the paper cutter)
chalk pastels and spray fixative OR
colored pencils
easily removable masking tape, such as artists tape
color photos of impressionist art from books, notecards and calendars
Tape the Shrinky Dink, rough side up, over a section of the impressionist book or note card. Trace image onto Shrinky Dink. Use short strokes to mimic Monet’s and other impressionists’ style.
Students tape shrink film over impressionist art, then trace with pastel or colored pencil.
Bake in the oven according to directions on the Shrinky Dink package. Shrinky Dinks shrink when baked, starting at 4″x5″ before baking and about 2″x1.5″ after. When baking Shrinky Dinks, do not remove from oven until the plastic ‘comes up’ (folds and shrinks) and ‘comes down’ (flattens). Count to 30, then remove.
After tracing, remove tape and bake plastic in oven. Here is one after shrinking.
Kids are going to want to watch this! If you are doing this in a small group setting, let them watch the shrinking process through the oven window.
Completed Mini Monets
If you use chalk pastels, you will need to spray them with a fixative AFTER BAKING (hair spray is fine). If you don’t, they more likely to smear. You do not need to spray if you used colored pencil.
As a finishing touch, color the thickened edges of the shrunken artwork with gold marker.
Add a magnet, pin back, display as a group or on mini-easels.
This project would look great with Van Gogh’s artwork. Students will like tracing his short brushstrokes with pastel or colored pencil.
Do you have a favorite impressionism project? Leave a comment!