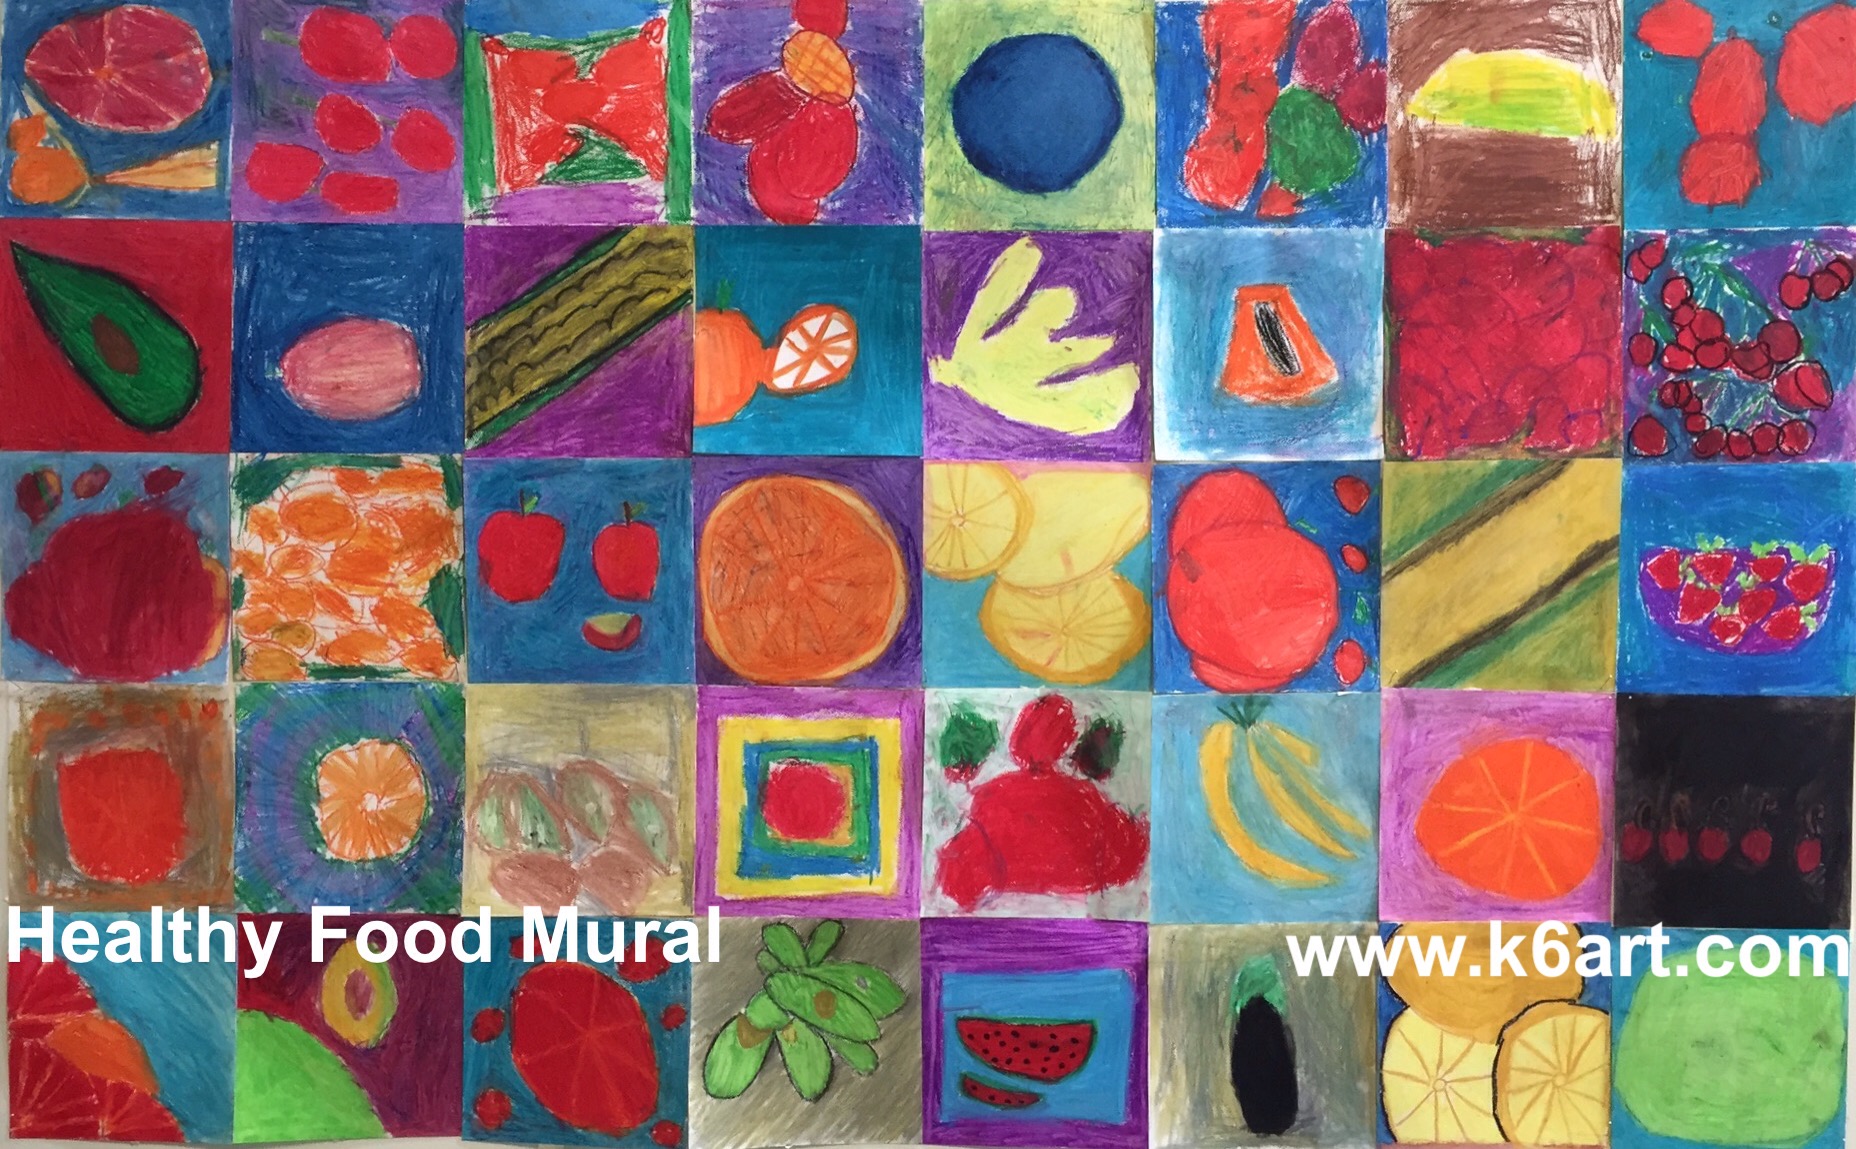
Our second graders are studying healthy foods. We created this mural as part of the project. It was also an extension of our warm and cool color lesson.
Materials:
watercolor paper, 7″x7″
oil pastels
baby oil
q-tips
reference photos of fruits and vegetables (we used the weekly grocery store ads from the newspaper)
Directions
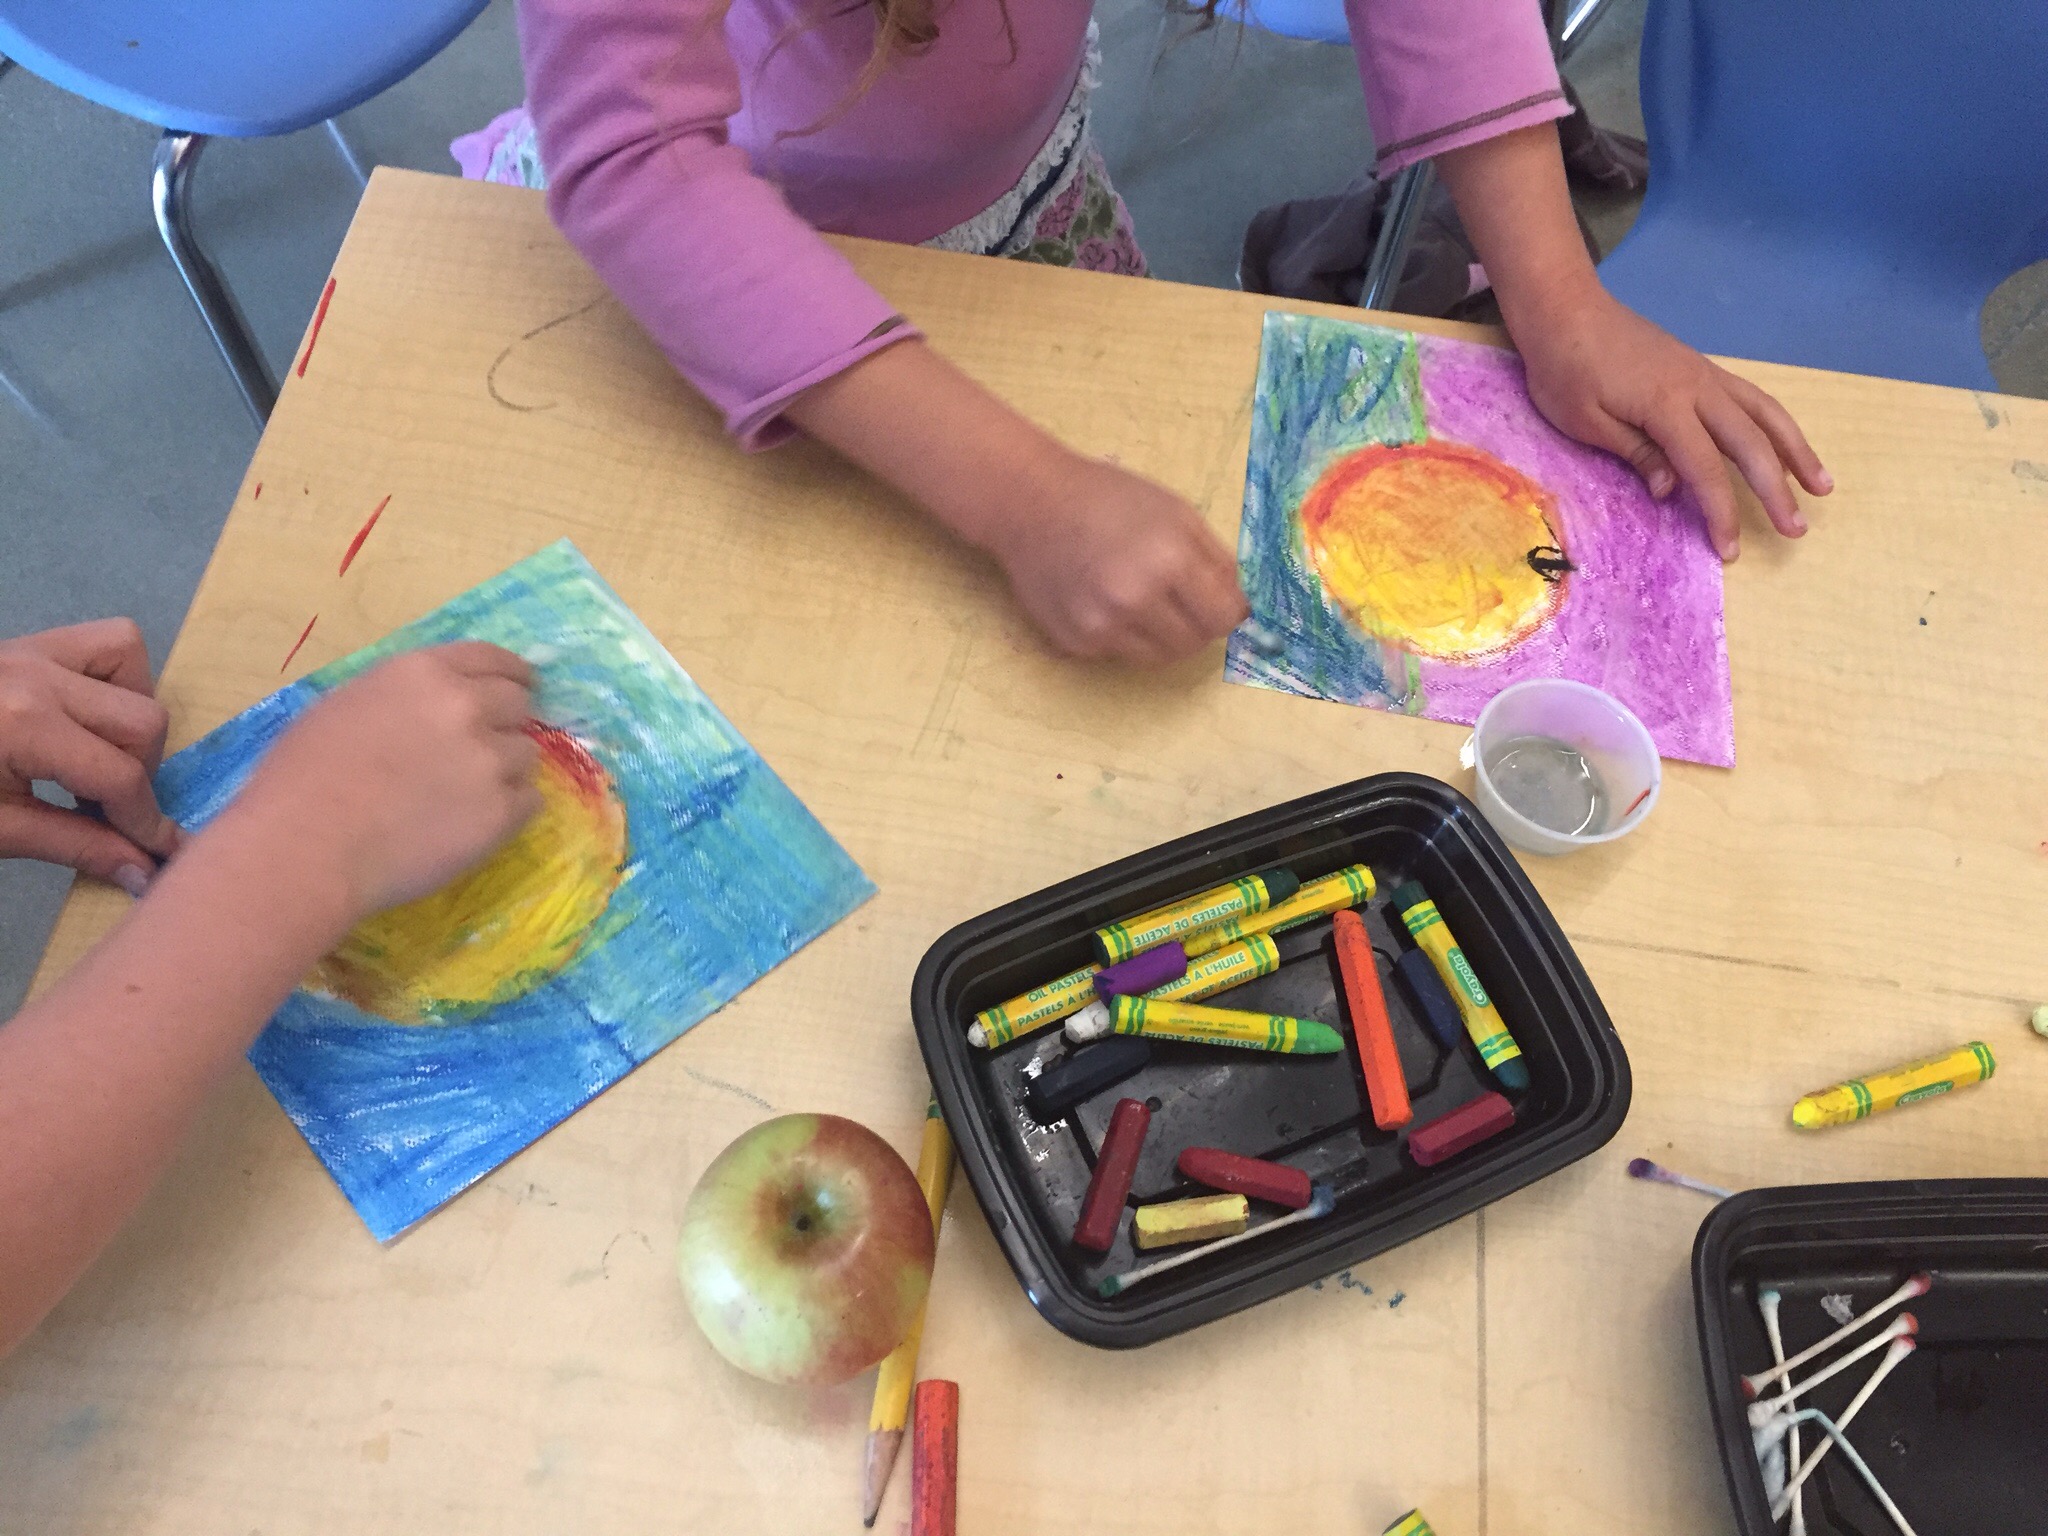
Draw one type of fruit or vegetable on the paper using oil pastel. Fill the square. Use and warm and cool color scheme – if you draw a warm color fruit, use a cool color background, and vice versa.
After drawing, blend the oil pastels with a q-tip dipped in a BIT of baby oil. Be sure to use two q-tips – one for blending warms, and one for blending cools.
Place completed artworks on a drying rack for a day or two so excess oil can absorb into the paper.
Mounting:
I laid out the artwork face down in a grid, and taped all the seams together with masking tape. If you use enough tape on the back you can hang it as a single piece.
If you ever decide to take down your masterpiece, you have the option of cutting on the seams and returning individual artworks to students.
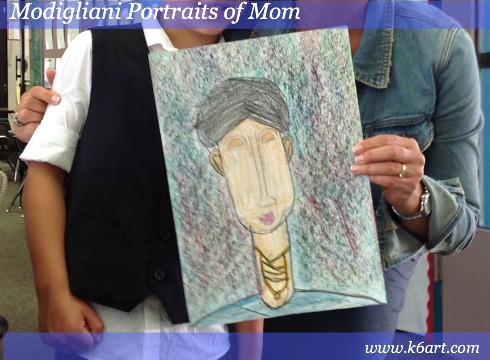
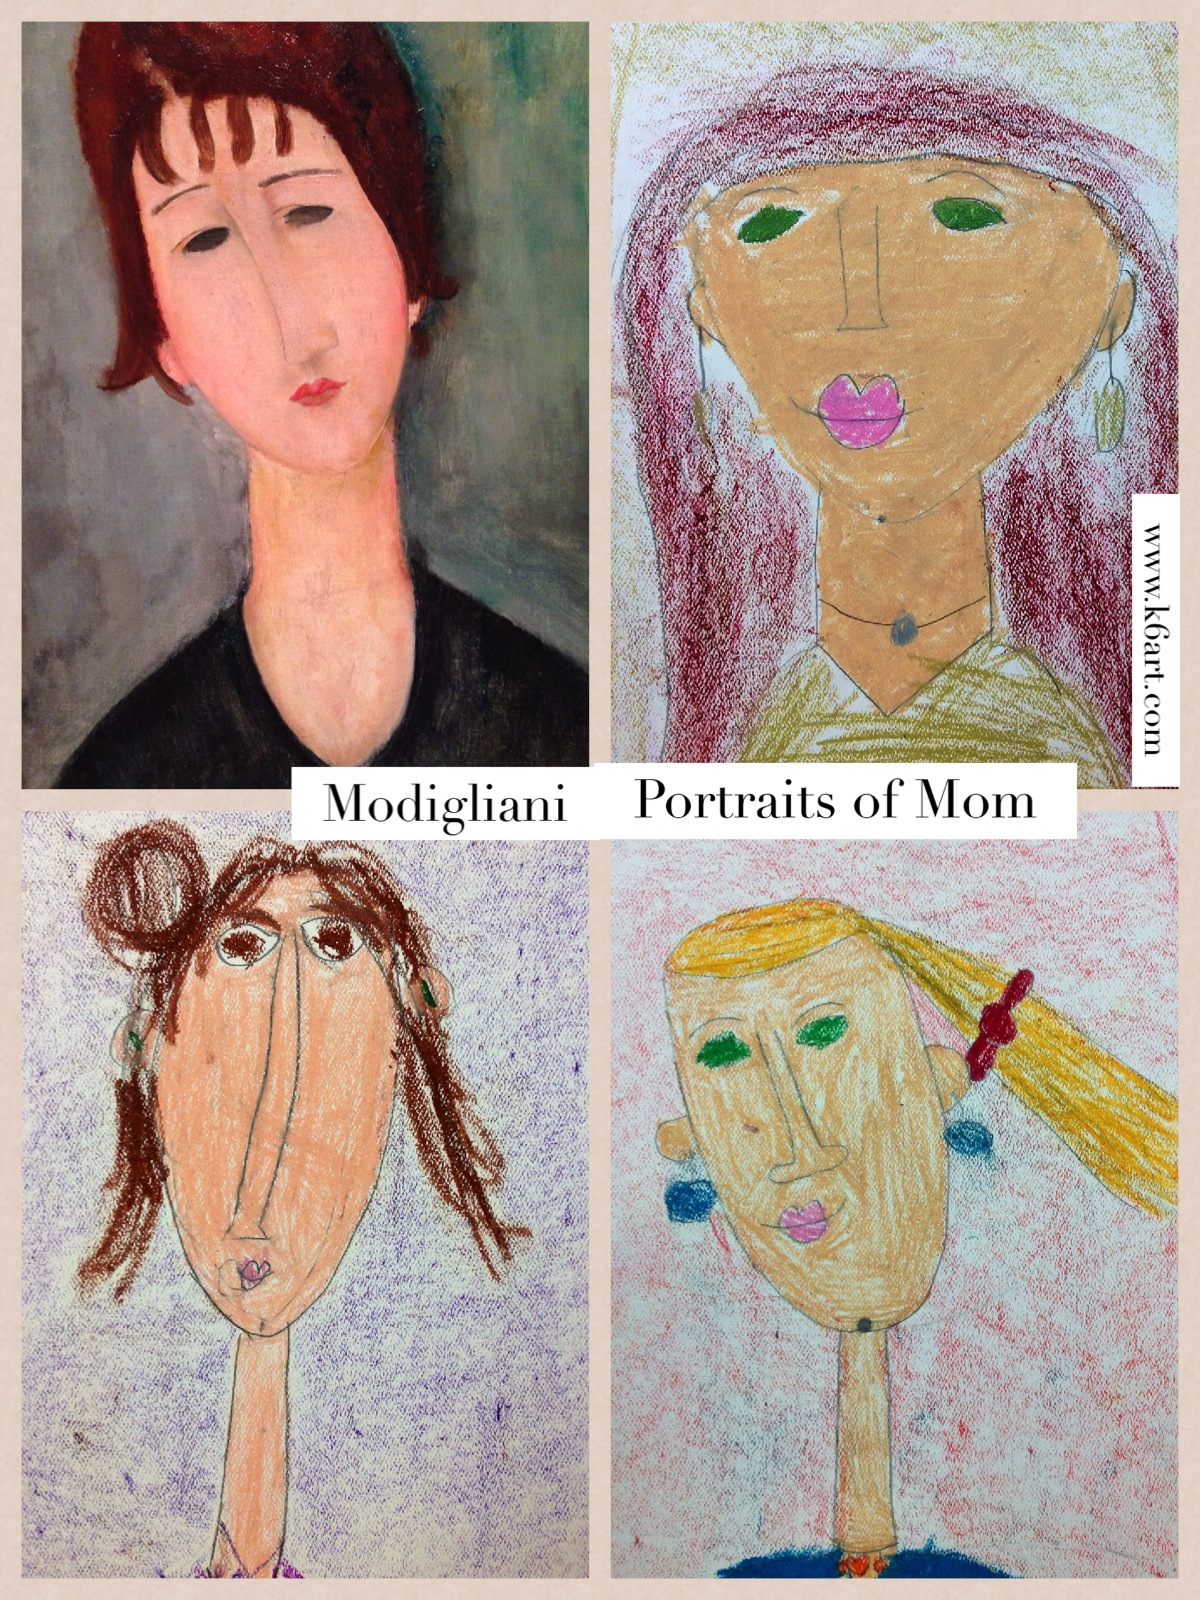
Our first graders just completed their Mother’s Day project – portraits of their Moms in the style of Amadeo Modigliani.
Day 1: Learn about Modigliani’s style; practice drawing.
We talked about how the artist’s style included almond-shaped eyes, long skinny noses, tiny lips, and long thin necks. Click here for my Modigliani powerpoint. Students did a practice drawing of Mom on copy paper.
We drew our portraits on watercolor paper using pencil. We colored with oil pastels. I offered several skin color options. Students were encouraged to rub two colors of oil pastel in the background.
This year I sent the classroom teachers an explanatory email with images of Modigliani’s work and a link to his biography. The email will go home in the weekly classroom newsletter. (Why? Last year a mother commented she didn’t understand her gift – when I explained she said she had never heard of Modigliani).
Here is a 2-minute video of Modigliani’s portraits of women.
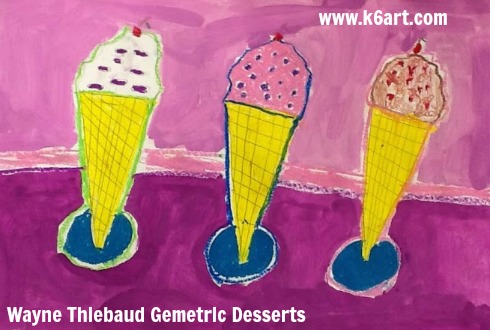
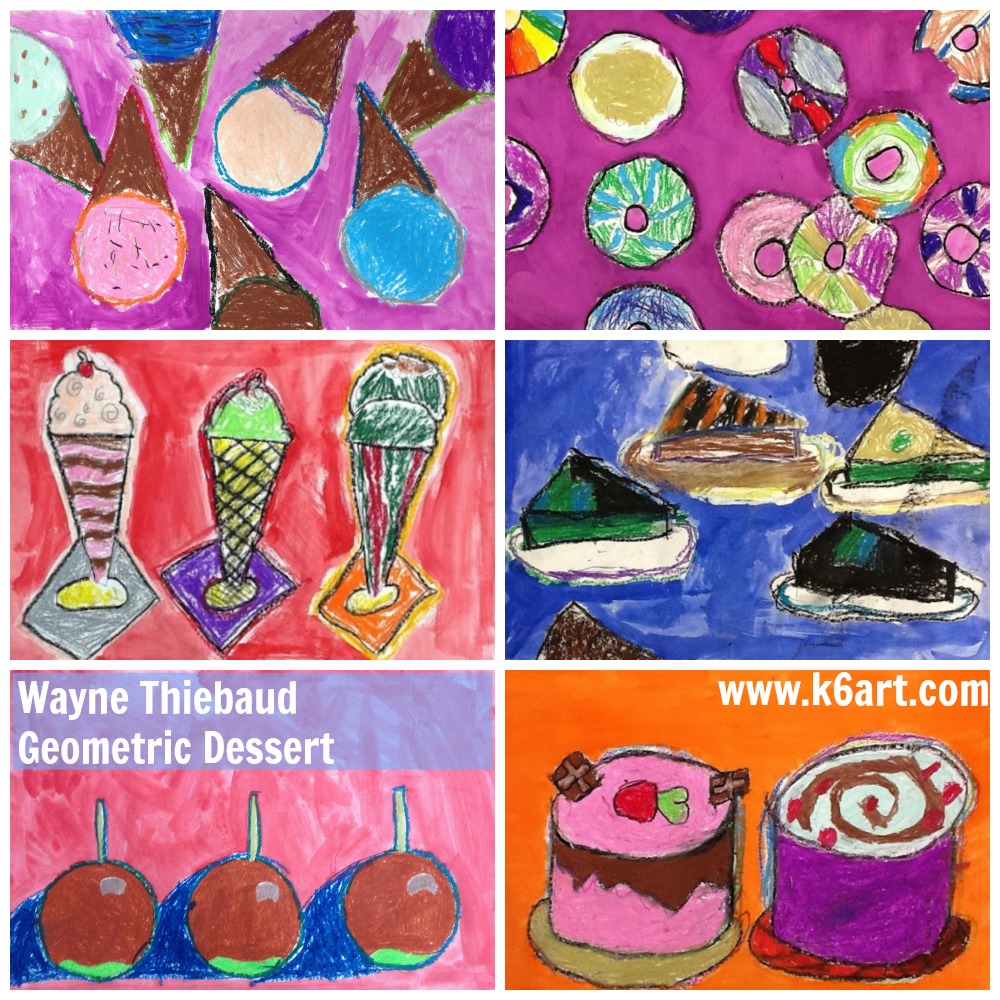
Who loves dessert? Everyone, including second graders. Each year I teach a Wayne Thiebaud-inspired dessert lesson. This year we created compositions focusing on repetition of geometric forms.
Dessert Geometry (and Common Core connections)
Studying Thiebaud’s art is an opportunity to incorporate geometry into your lessons. Try and time your lessons to tie into to the math lesson in the general ed. classroom.
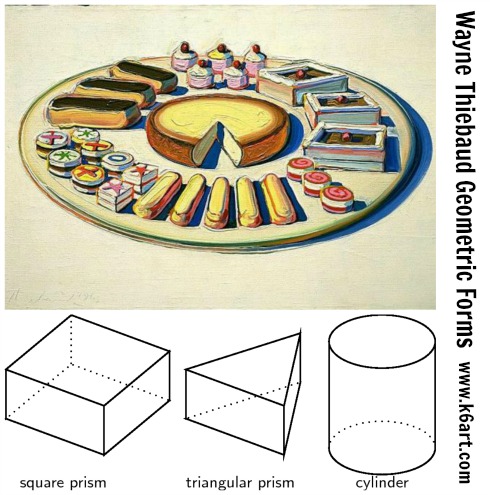
We looked at images of Wayne Thiebaud’s dessert art, and identified shapes and forms. Here are some of the forms we identified:
Sphere: gum balls, scoops of ice cream
Right Triangular Prism: pie wedges, cake wedges
Square Prism: petit four (see above image)
Cylinder: layer cake
Rectangular Prism: Jolly Ranchers candy!!! (OK, Thiebaud didn’t paint Jolly Ranchers. A student came up with that one) 🙂
Use teacher-made or student-made tracers (we used both). Students traced their templates with a pencil onto the paper. The composition were encouraged to fill the paper with a single type of dessert in a variety of flavors. It was OK to have the dessert coming off the page, and it was also OK to overlap.
(Note: I know some art teachers disapprove of tracers; I think the use of them in this project reinforces the tie-in to geometry and repetition).
Students then colored their desserts with oil pastels, adding details such as sprinkles, cherries, and chocolate swirls. They outlined the desserts with oil pastels. Finally, they painted the background with a single color of tempera cake.
Second Grade results:
Second graders used circle, triangle, and ellipse tracers as a starting point for these artworks.
If your administration asks if you incorporate math (or STEM/STEAM) in your lesson plans, teach this one and happily reply ‘yes’. After all, shape and form are elements of art. This art project reinforces geometry in a fun way.
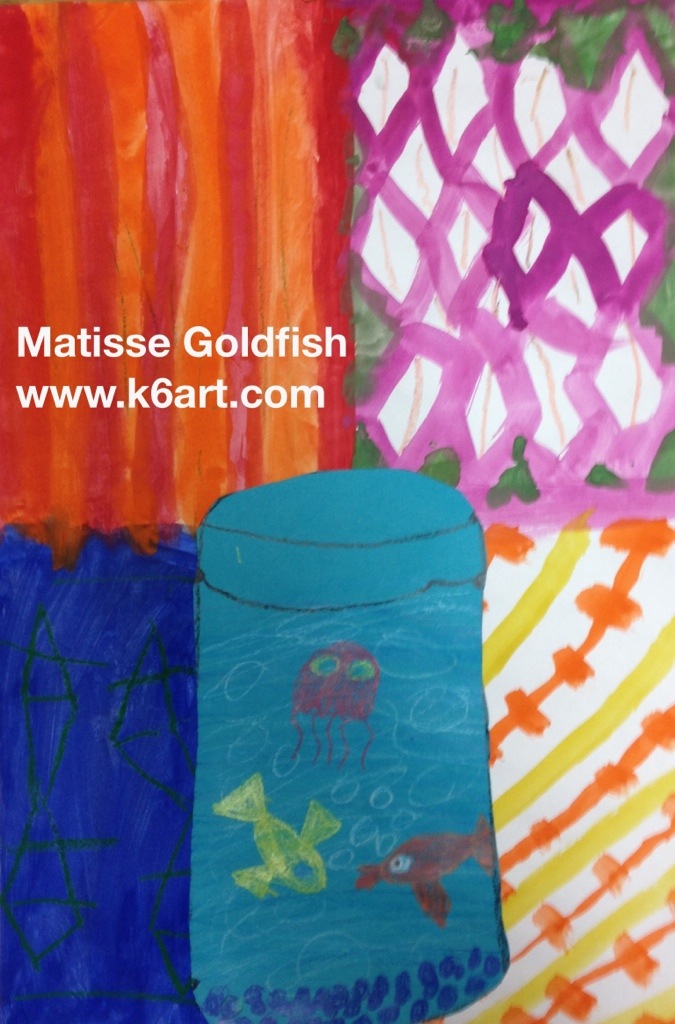
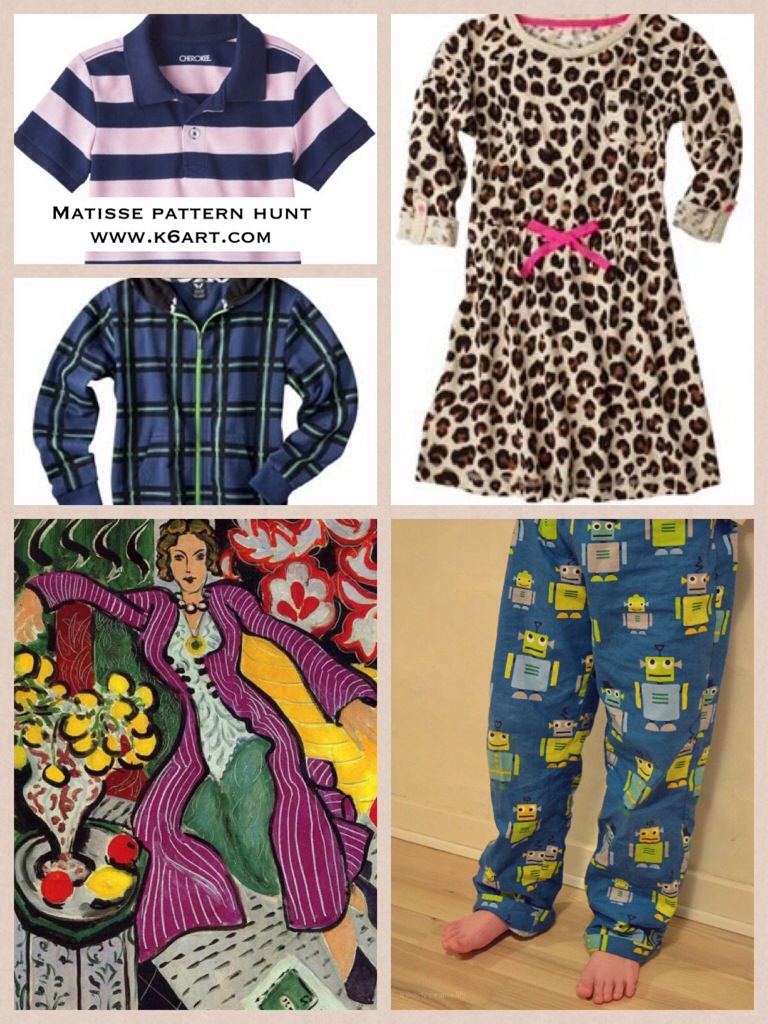
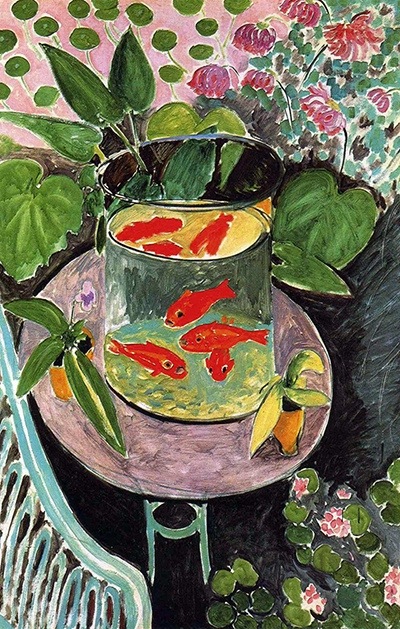
I love to create Matisse-inspired art projects with kids. Matisse’s paintings are full of color, pattern and energy. Here is a project that combines features of two of his famous paintings, Woman in a Purple Coat and Goldfish. Day 1: pattern hunt
We begin with a ‘pattern hunt.’ I look around the room and find kids wearing patterned clothing. They stand up and we discuss their patterns. Then we take a very close look at Matisse’s Woman in a Purple a Coat, and tally up all the patterns one by one. I can’t tell you how excited those first graders became when they identified the patterned curtains and wallpaper in the painting. They tallied up 13 patterns, including the fruit on the table.
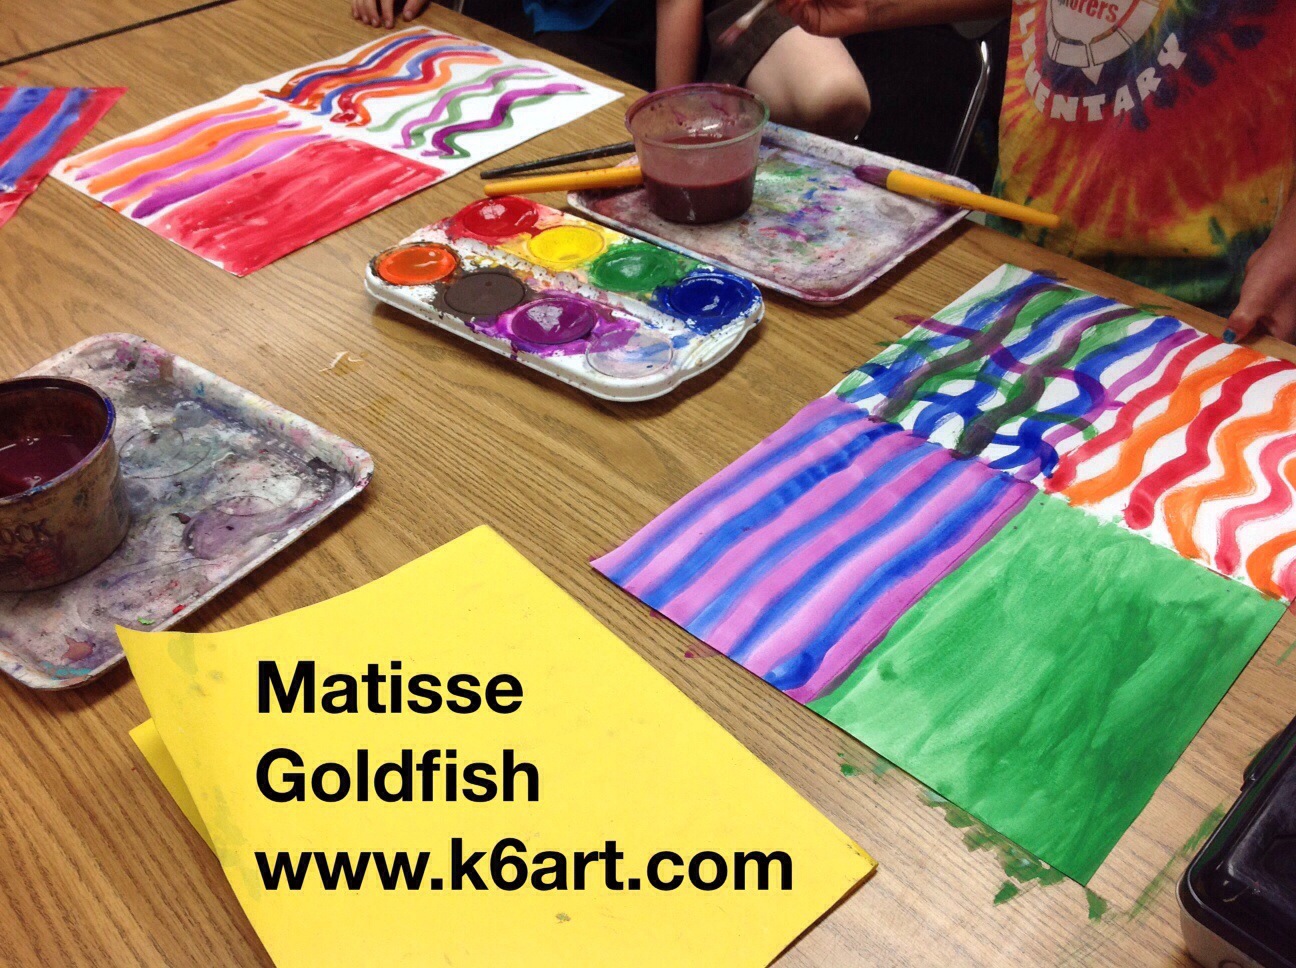
Day 2: create patterned paper Materials:
White paper 12″x18″
Tempera cakes
Water cups, brushes
Oil pastels or construction paper
Here is a fast way to create four patterns. Fold the white paper into quarters and open. Using tempera cakes, paint one quarter a solid color. Paint the remaining quarters with patterned lines (wavy, zig zag, etc.). Now take oil pastels and create a pattern on the solid quarter. The tempera cake dries so quickly you can draw on it in just a few minutes. Add oil pastel patterns to the remaining quarters. Place on drying rack.
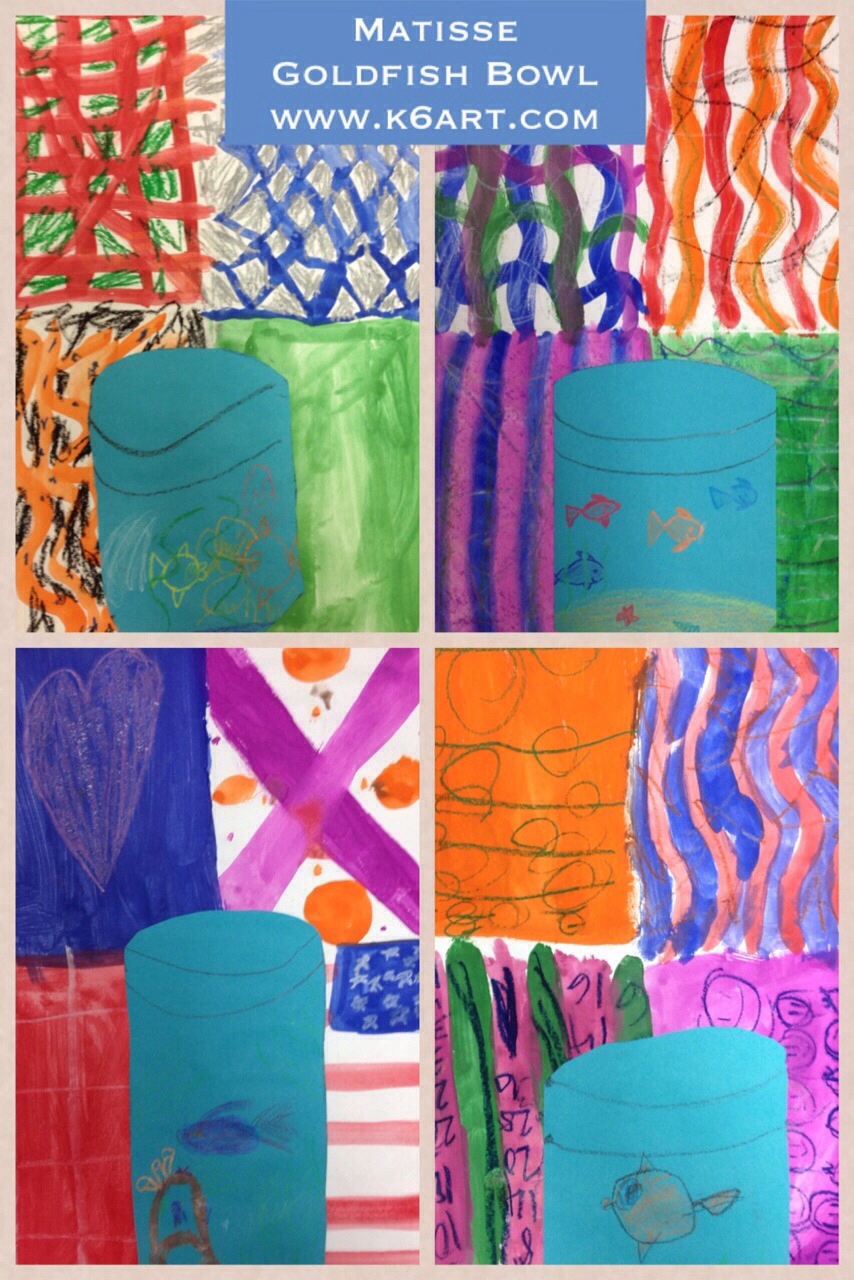
Day 3: create a goldfish bowl
>
Materials
Blue paper, 6″x10″
Oil pastels (or construction paper crayons)
Scissors
Glue sticks
Turn blue paper vertically and draw a ‘rainbow’ at the top using a black oil pastel. Draw a ‘smile’ under the rainbow. Cut along the top line to remove the corners and create the look of a round vase edge.
Add goldfish or other aquarium creatures. Glue to patterned background paper with glue stick.
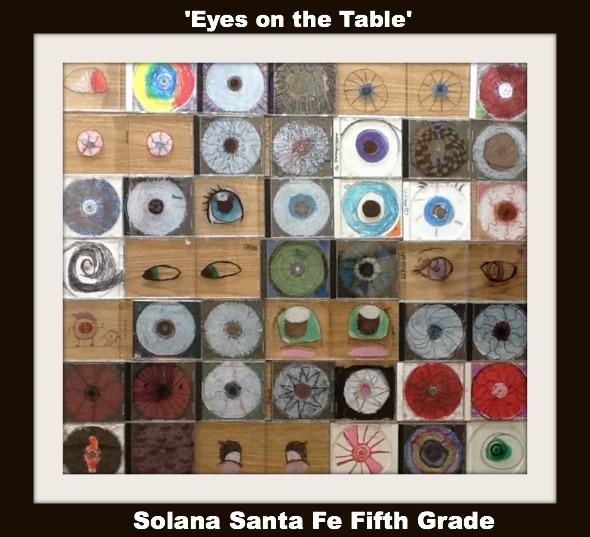
Happy Earth Day! Our fifth graders created this whole class artwork using recycled CD cases colored with Sharpie and oil pastel. For more art projects using CD cases, click here and here.