30-Minute Collograph Printmaking


Want to try a printmaking project that is quick, fun, versatile and inexpensive? Try collographs.


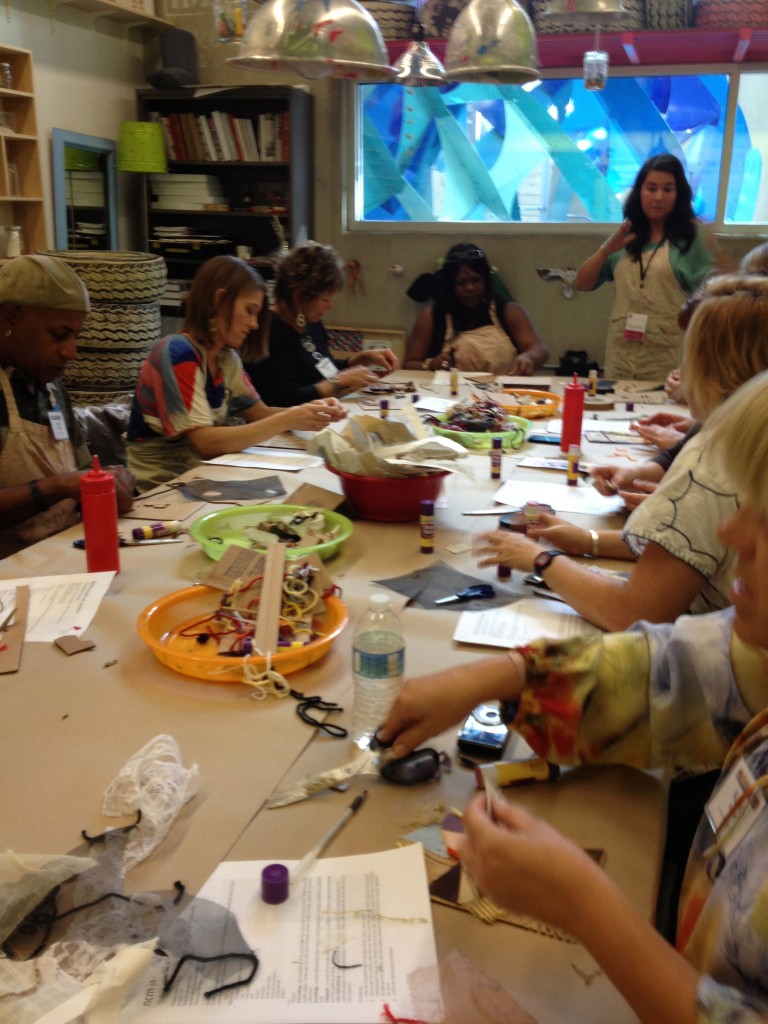
Maxi Moraga leads collograph workshop in NCM’s art education room.

I took Maxi Moraga’s fabulous collograph workshop last month at San Diego’s New Children’s Museum. This workshop tied in to the NCM’s current exhibition, TRASH, so we used lots of recycled/discarded items to create our printing plates.

Materials:

  • cardboard rectangles (we used corrugated)
  • bits of textured fabric, including mesh and screening
  • yarn
  • cardboard
  • masking tape
  • glue sticks
  • white glue
  • scissors
  • printer’s ink in assorted colors
  • brayers
  • trays for ink
  • paper for printing (cardstock is OK)
  • colored pencils

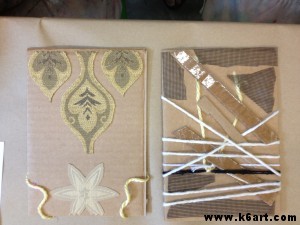
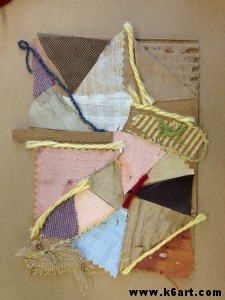
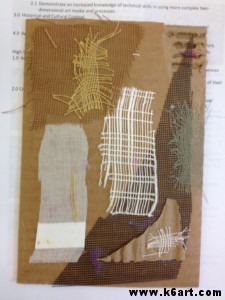
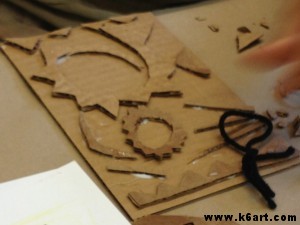
We began by creating printing plates. We collaged various items to our cardboard rectangles (note: Maxi strongly encouraged us to use glue stick).  Here are some of the plates:

Collograph plates. Yarn is simply wrapped around the plate.

Tip: after completing plate, ask students to flip plate upside down on their chairs and sit on them for 60 seconds! Now your plate is really glued down and ready to print.

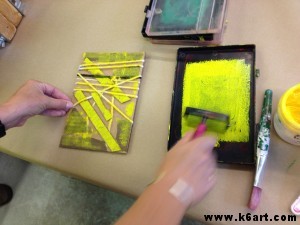
Next, we applied printer’s ink to our plates using these mini-brayers and recycled plastic trays. I love that the tray has a lip to keep the brayer constrained. Great when you are printing with young children!

Apply printer’s ink with a brayer.

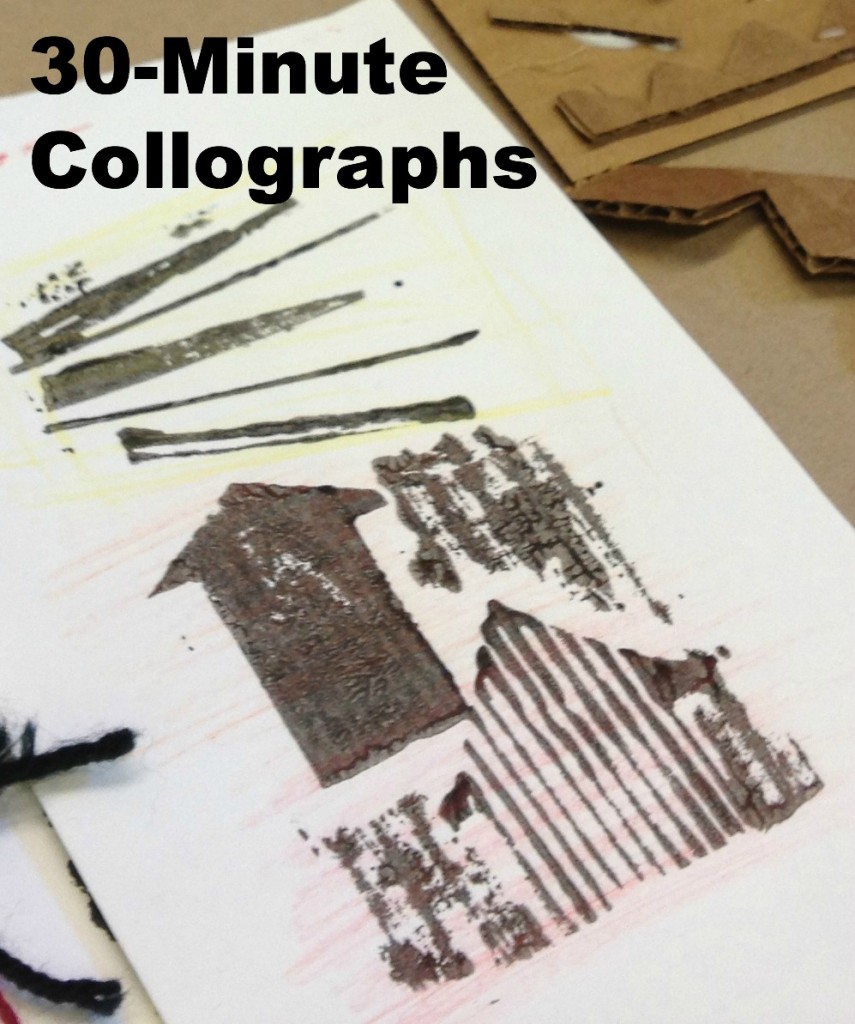
We didn’t use a press. We simply put the paper over the inked plate and rubbed the paper carefully with our hands.

Options:

  • use a paper towel to selectively remove ink from the plate before printing.
  • create a print using two or more colors of ink
  • color the paper before and/or after printing.

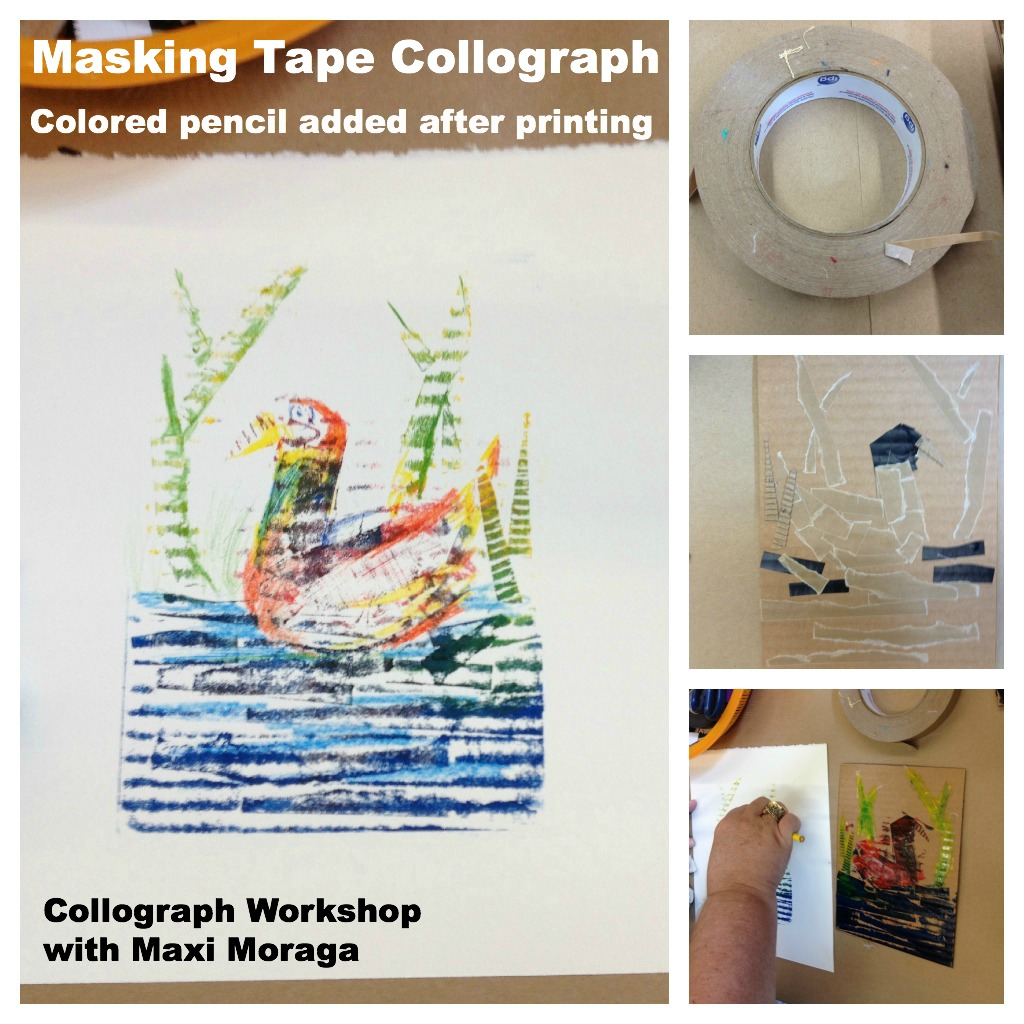
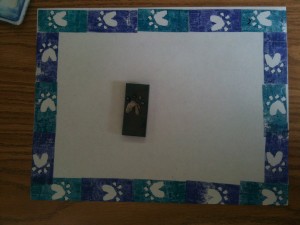
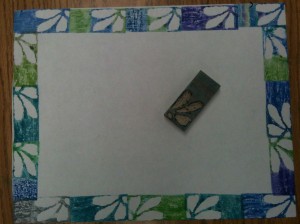
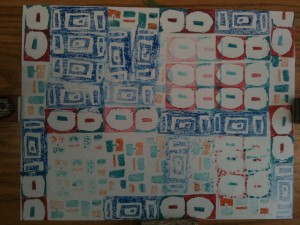
My favorite piece is the masking tape collograph made with corrugated cardboard.

Because of the emphasis on recycled materials, this would be a nice Earth Day project as well!

Whether you are a parent or a teacher, be sure to check out the New Children’s Museum when you visit San Diego. The museum offers art-making activities for children EVERY DAY. I wrote more about the museum in this post.

Do you have a favorite printmaking project?

UPDATE: 12/16/13: Check out my new post – ‘Holiday Collagraph Crayon Rubbings’

Enjoy!

Birds on a Wire: Thumbprint Art for Kindergarten

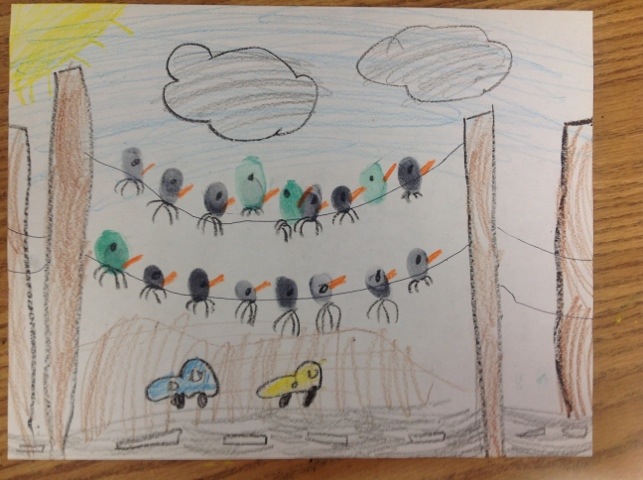
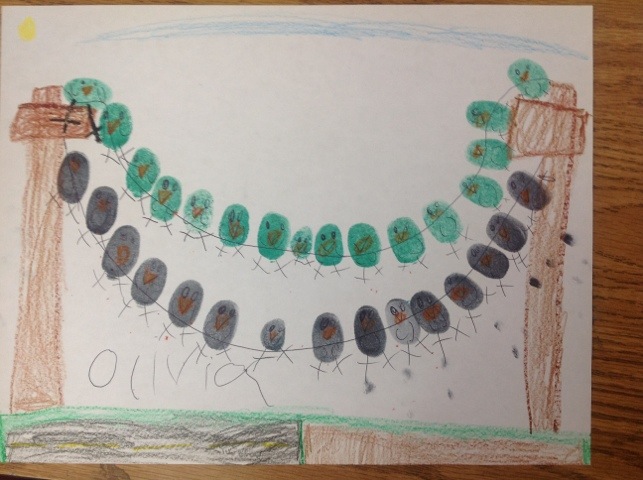
Looking for a quick 40-minute project? Get out your stamp pads. Kindergarteners used crayon, stamp pads and ballpoint pens to create these cute thumbprint birds on a wire.

20120517-071335.jpg

20120517-071421.jpg

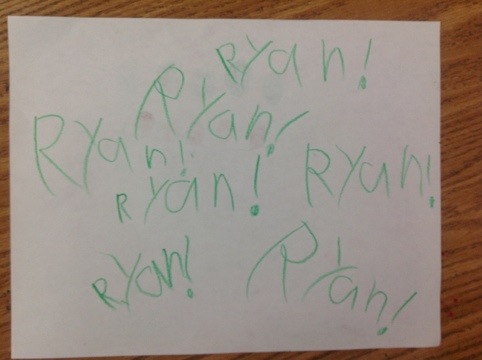
And just for fun….look how Ryan signed the back of his art! He must be very proud of his writing skills. These kids have come so far since the fall. What a joy!

20120517-071619.jpg

Inspiration came from Mrs. Weber’s Art Class blog via Pinterest.

Eraser Stamps for Sixth Grade: Abstract Design

Sixth graders carve erasers with their own abstract design and use them to print individual and group artworks.

Sixth grade is making eraser stamps.

I learned the method from Geninne’s Art Blog. Geninne has a fabulous tutorial on stamp-making including an instructional video. This assignment has two parts….1) create an abstract design stamp and 2) create a stamp based on your initials.

Part 1: Abstract Design

Materials:

  • Magic Rub vinyl erasers
  • Pencils
  • Paper (copy paper is fine)
  • Tracing paper
  • Popsicle stick or ruler
  • Lino cutter (student grade – we used the ones from this Soft Kut class pack)
  • Stamp pads
  • Watercolor markers (we used Crayola)

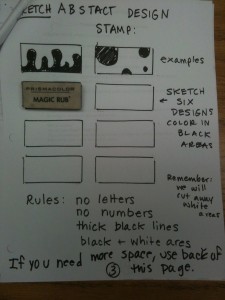
I teach this assignment with a packet of handouts…

Explain to students we will be cutting away the white portions of their design…..since they are beginners, the design should be fairly simple. No letters, no words, no numbers!!!!

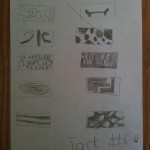
Here are some sketches…I have to approve their final designs before they cut.

After approval, students transfer design to eraser. Placed traced design ‘dirty side down’ on the eraser and rub with edge of Popsicle stick to transfer.

Carve eraser:

Rules:

  • Stay seated.
  • Keep eraser flat on the table.
  • Grip cutter as if it was a pencil.
  • Make shallow cuts, not deep.
  • Your cutting hand should stay low, close to the table. Your wrist can go up about an inch above the table.
  • Direct cuts away from your body.
  • Rotate eraser so that cuts are directed away from your hand.
  • Cut away white portions of design.

Printing:

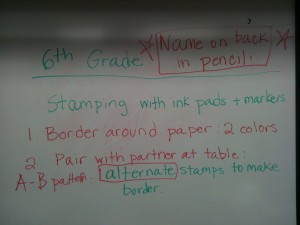
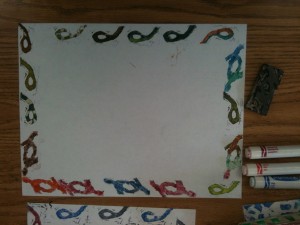
Time to print! Students could use a stamp pad or color their erasers with watercolor markers (we used Crayola markers). The stamp pad method is quick, but the marker method allows more variety.

Instructions on the board.....

Student Results:

Carved eraser stamps inked with watercolor marker.

6th grade artist thought overlapping colors 'looked 3D'

This student hand-colored her stamp with markers.

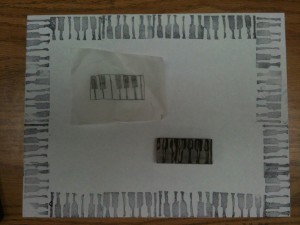
Group project with three stamps (hand-colored with markers).

Student hand-inked design inspired by Nike logo and colored negative space with marker.

Many students said this was their favorite project ever!!!! They are clamoring to go on to part 2, a design based on their initials. To be continued!

It is also a special joy for me to see the 6th graders complete the project – I have had about 25% of these kids since they were 5 years old and learning how to write their names.

This printmaking project is also great opportunity to discuss art principles and elements: repetition, unity, and variety. It is appropriate for grades 6-12.

Related Posts Plugin for WordPress, Blogger...