Shrinky Dink Valentines


shrinky dink valentines

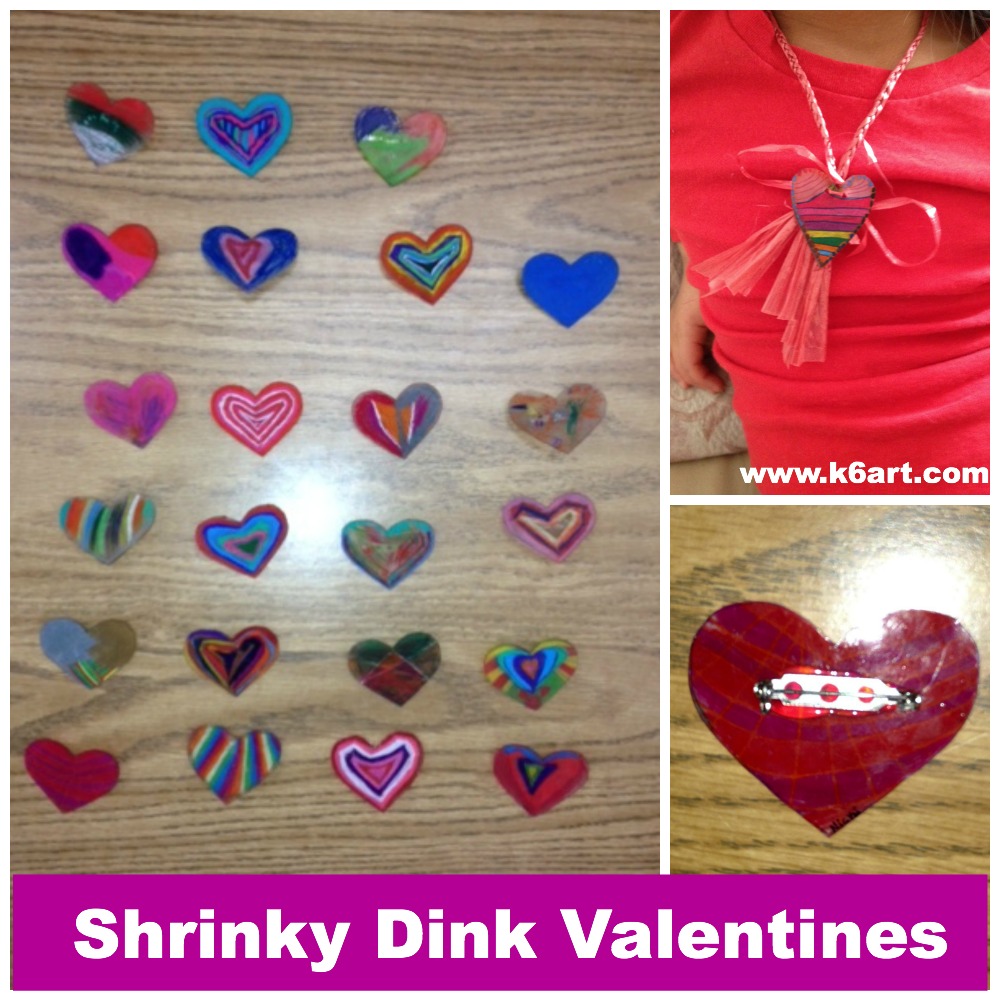
If you want a fun, colorful Valentines day craft project, try Shrinky Dinks!

What? You’ve never tried Shrinky Dinks? They are sheets of thin plastic. You color, cut and bake them. When baked, they shrink to 1/3 the size! They have been popular since the 1970s and kids LOVE them. Watch this brief video to see how they work.

Materials:

Cut and Color

Option 1) Cut each sheet of plastic into quarters (I do this on the paper cutter) and distribute. Students draw a heart, color it on the frosted side with colored pencils, and cut it out themselves. The heart necklace above was made this way.

Option 2) Adult pre-cuts the hearts and distributes. Students color with colored pencils. All the heart pins in the photo above were made this way (with the help of a parent volunteer).

Bake at 325F

Then bake in a toaster oven or regular oven at 325 degrees F for about three minutes. Tip: watch the shrinky dinks through the oven window. They need to curl up and then flatten.  Don’t take them out before they’ve flattened! We let them flatten, count to 30 and then remove from the oven.

For this project, one of our teachers brought her toaster oven to school and called her students two by two to watch their valentines shrink. THEY LOVED IT!

Necklace, Pin or Magnet

For a necklace, punch with a hole punch BEFORE baking. For a pin, hot glue on a pin back after baking. You can use magnetic tape or hot glue on a magnet.

Happy Valentines Day!

Enjoy!

Happy Throwback Thursday! Stop by on Thursdays to see ‘old school’ art projects!


CD Case Greeting Cards

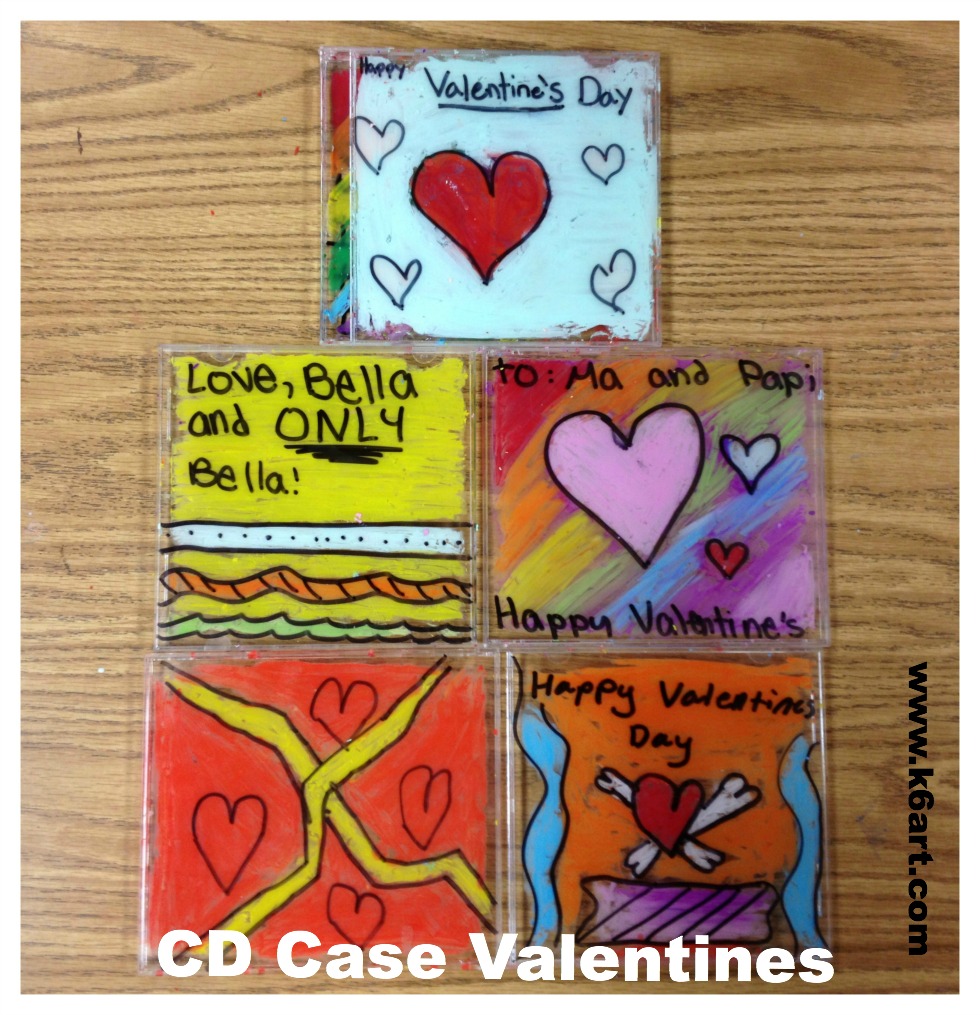
CD case valentines

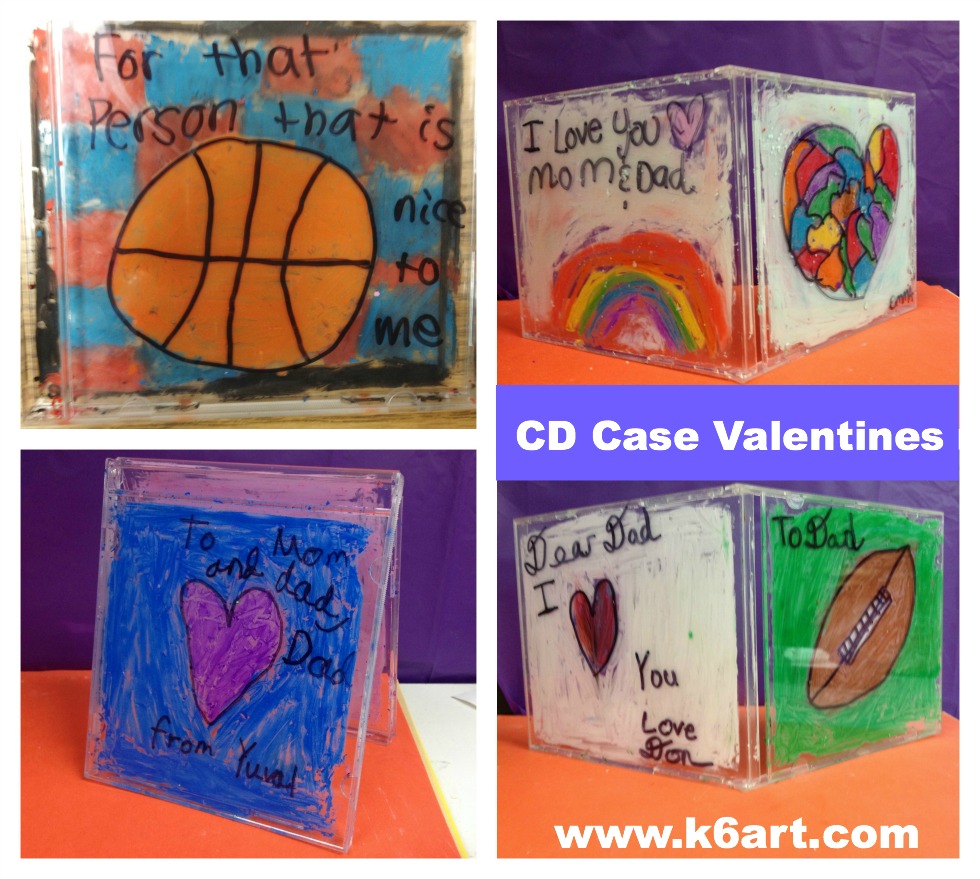
Got old CD cases? Here’s a great way to use them: create greeting cards using oil pastels and Sharpie. Our 5th and 6th graders made Valentines, birthday cards and more during a single 40-minute class.

Materials:

  • CD jewel cases (trays removed)
  • oil pastels
  • Sharpies
  • rubbing alcohol
  • baby oil
  • baby wipes for clean up
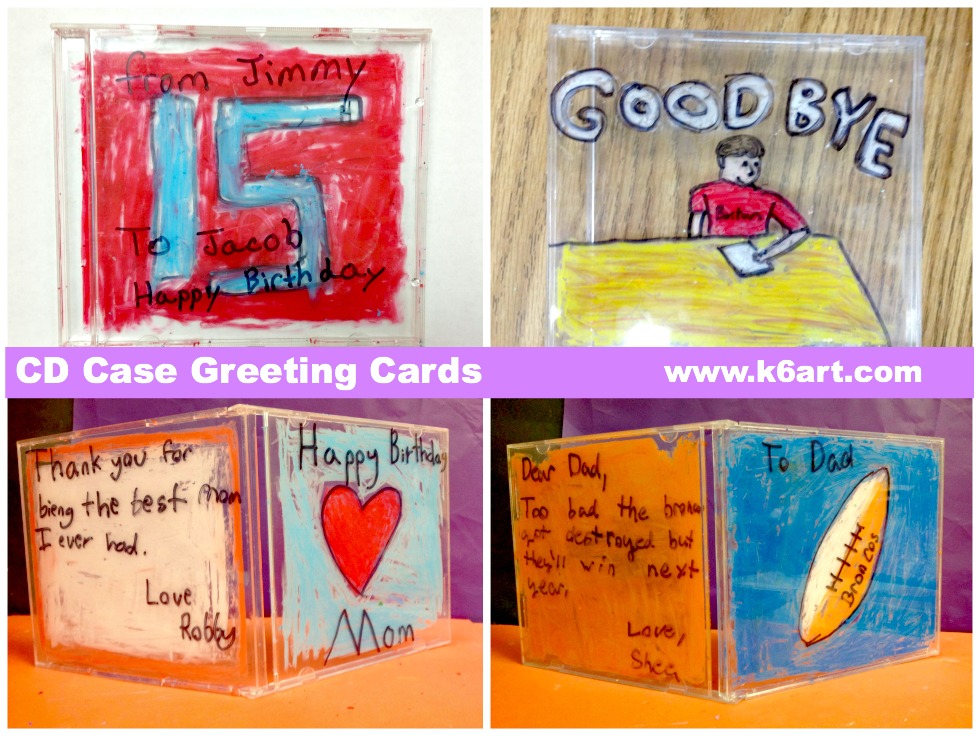
CD case greeting cards

Several students made birthday cards. One made a farewell card. Another made a card consoling his father on the Bronco’s loss in the Superbowl.

Sharpie on the Outside, Oil Pastel on the inside

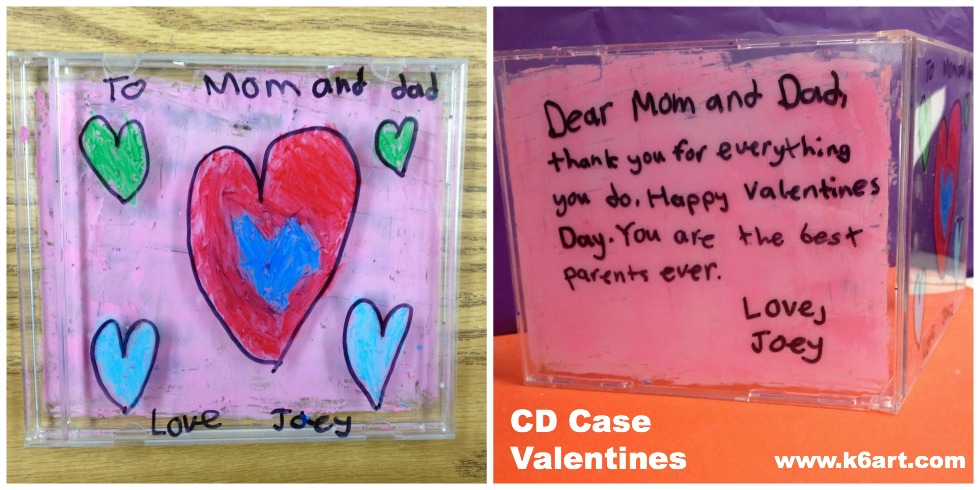
Students start by drawing a design on the front of the CD case using a black Sharpie. Then they open up the case and color the inside with oil pastel. The process is repeated on the back of the case. A lot of students wrote personal messages on the back of the case.

CD case valentine Joey

CD case valentines open

 Correcting Mistakes:

It’s easy to fix mistakes. Rubbing alcohol will remove Sharpie. Baby oil will remove oil pastel. Our 5th and 6th graders fixed their own mistakes.

Keep it neat:

CD cases trap the oil pastel-mess on the inside of the case. These greeting cards can travel home without making a mess in the backpack.

At clean up time, wipe down the tables with baby wipes.

EASY! Plus you are keeping those old CD cases out of the dump!

Enjoy!


Texture Collage

Want to introduce your students to texture? Try a texture collage project.

20140120-102329.jpg

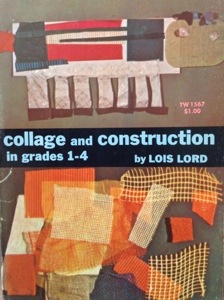
Collage and Construction in Grades 1-4 by Lois Lord, 1970 edition.

I found great instructions in the book Collage and Construction in Grades 1-4 by master art teacher/author Lois Lord. You’ll need large paper for the background format, glue, stapler and scissors, plus ‘materials of contrasting texture’:

Rough textured materials include corrugated cardboard, burlap…used sandpaper, wood shavings, egg-crate dividers, excelsior, and orange, onion and potato sacks.

Contrasting soft -textured material include pieces of fabric such as velvet; scraps of fur; cotton; bits of sponge; and feathers…

Materials with smooth textures include shiny metallic papers bought or salvaged from Christmas wrappings, chewing gum, and other packets. 

Collage and Construction in Grades 1-4, p.10.

Lucky you – you get to actually watch Ms. Lord teach this collage lesson. Please enjoy ‘Collage: Exploring Texture’, filmed back in 1961.

http://vimeo.com/33304500

Not only to I love Ms. Lord’s teaching style, I love how she organized her collage supplies by texture and how she distributed the supplies. I wish she had been my teacher! Although this film was produced back in 1961, it is still inspiring.

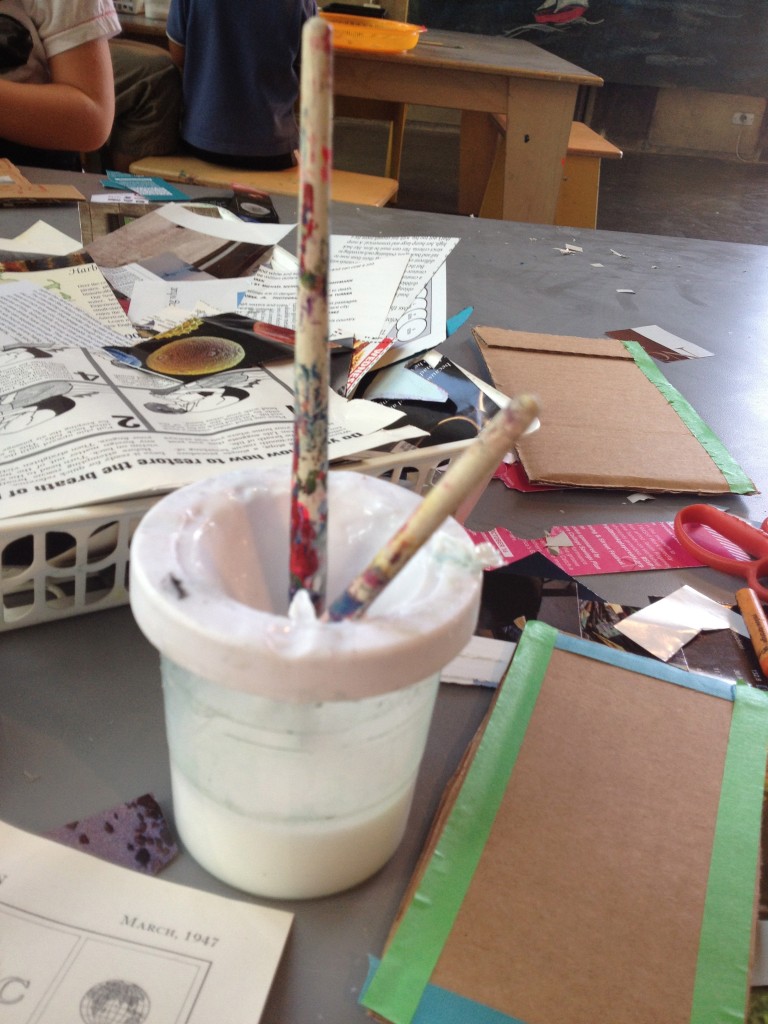
You may have noticed Ms. Lord’s students used jars of liquid paste applied with a brush. It reminded me of this no-spill paint cup filled with glue at the collage station at San Diego’s New Children’s Museum.  The cups come with lids so you can cap them up at night. You will need to soak the brushes in water after use. (note: this may be a good use for the brushes that come with your pan watercolor sets). Want more glue options? Click here and here to see other glue cups in the classroom.

White glue in spill-proof paint cup at San Diego's New Children's Museum

White glue in spill-proof paint cup at San Diego’s New Children’s Museum.

Thanks to Wendy Apfel for sharing this excellent video on Vimeo.

Enjoy!


Happy Throwback Thursday! Stop by next Thursday to see what I’ve discovered in my vintage art education collection.

Kindergarten Cookie Collage

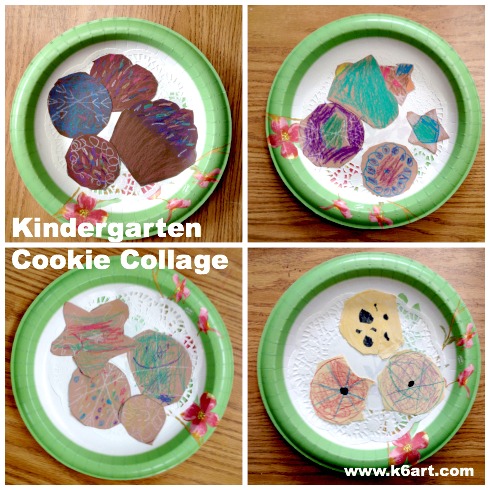
kindergarten cookie collage

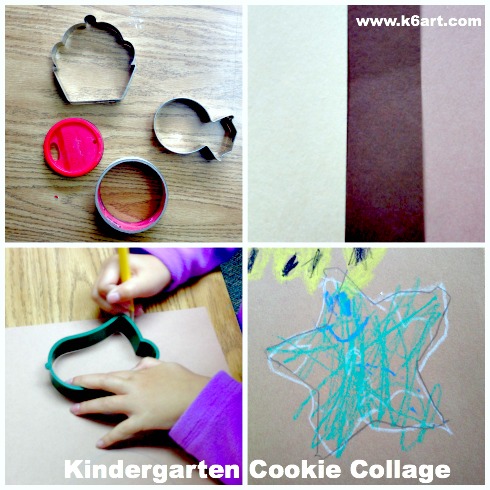
Our kindergarteners just finished a fun paper cookie collage project. We used real cookie cutters as tracers to create our own paper cookies. Here’s one ‘cookie cutter art project’ you and your students will really enjoy.

Materials:

  • large colorful paper plates, one per person
  • paper doilies, one per person
  • manila paper, 9″x12″
  • construction paper, light brown and dark brown, 9″x12″
  • cookie cutters in simple shapes (star, heart, bell, gingerbread men)
  • circle tracers (old lids)
  • pencil
  • construction paper crayons
  • optional: metallic crayons
  • glue stick
  • scissors

Kindergarteners trace real cookie cutters onto brown paper, decorate with construction paper crayons, and glue onto a paper plate. Allow 60 minutes.

The Art Project

Pass out brown papers and a variety of cutters for each table. Students trace a cutter, then swap cutters with their neighbors. We were able to fit about five large ‘cookies’ on each sheet of paper.

Decorate with ‘frosting’ (color with construction paper crayons).

Now get the paper plate ready. Rub glue stick all over the front of the plate, place doily on glue and pat down. Cut out the cookies and use glue sick to attach them to the doily. Overlapping is fine.

We added a few final decorations with metallic crayons.

The project was inspired by this post from ARTASTIC!

Connections to literature:

Mr. Cookie Baker by Monica Wellington is a nice book to read as an intro to the project.

What’ll I do differently next time:

  • Use embellishments (glitter, beads, yarn, etc.)
  • Have a ‘cookie exchange’ so kids can swap with a friend
  • Use a variety of colored paper plates and doilies
  • Adjust the project for Valentine’s Day (heart cutters, red plate) or Mother’s Day.

Enjoy!

P.S. Want to see more food-related projects for kindergarten? Check out these Common Core-aligned lesson plans from San Diego’s New Children’s Museum.

40-Minute Poinsettia Tear Art Collage

40-minute poinsettia tear art collage

Do you want to create a poinsettia art project with little prep or clean up, in less than one hour? Try this fun tear art collage project.

Materials:

  • colored construction paper, 9″x12″, one per student
  • red paper,  6″x9″, one per student
  • green paper, 6″x9″, one per student
  • yellow paper, 6″x9″, one per table
  • glue sticks

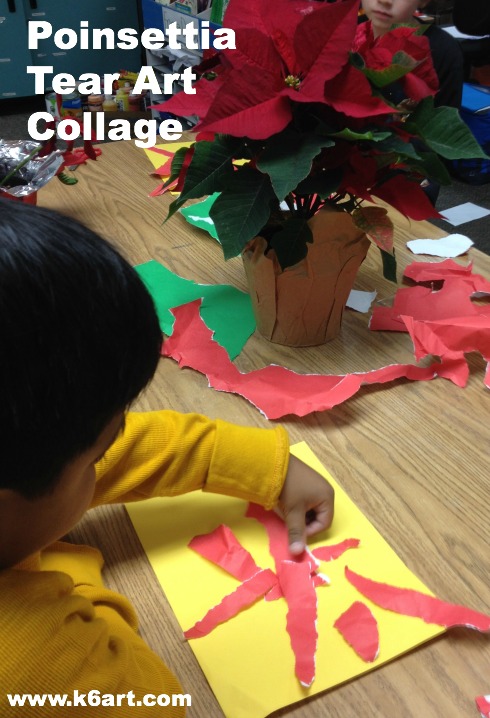
If possible, get some live poinsettias. I borrowed some from my colleagues and returned them at the end of the day.

Discussion:

We started off with a few poinsettia facts: the red ‘flower’ is called a bract. The bract is made of red leaves, NOT petals. Poinsettias are native to Mexico, where they are known as Noche Buena (‘Christmas Eve’).

Next students looked carefully at the poinsettias. We noticed the shape of the leaves, and had a quick review of organic vs. geometric shapes. We also noticed the red leaves were centered around a cluster of yellow dots. The red bract overlapped the green leaves. I pointed out that green and red are complementary colors.

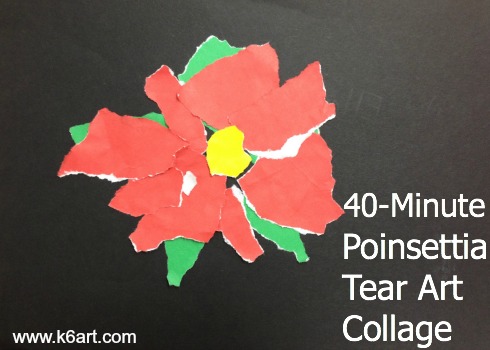
Students observe poinsettias and create a collage using red and green paper.  Allow one 40-minute class.

Students observe poinsettias and create a collage using red and green paper. Allow one 40-minute class.

Creating the collage:

I modeled tearing. Students created odd numbers of red and green leaves, arranged them, then glued them to the 9″x12″ construction paper using a glue stick. We found out it was easier to glue the green leaves first. Students could place the red leaves over or in-between the green leaves. As a final touch, students could tear a few dots of yellow paper and glue them to the center of their paper poinsettias.

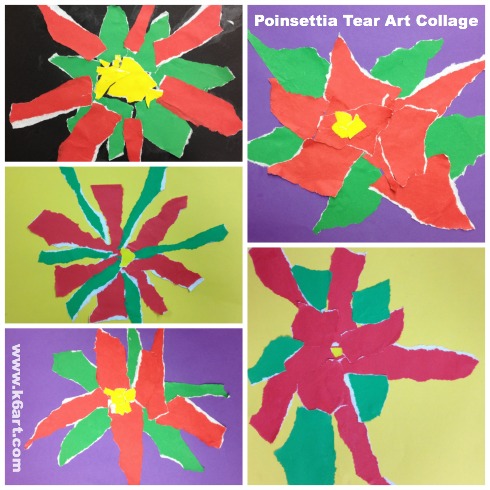
Second grade results:

Poinsettia tear art gallery - 2nd grade

Because we had live poinsettias on the tables, I encouraged students to hold up their torn shapes to the real leaves for comparison. They really enjoyed observing real plants, much more than working from a picture or from my example.

If you look carefully at our collages, you will see a white torn edge on the red and green papers. We used Fadeless Art Paper– it is colored on one side and white on the other.

I would love to use this technique to create a Van Gogh-inspired vase of sunflowers!

Enjoy!

Do you have a favorite tear art project?

Related Posts Plugin for WordPress, Blogger...