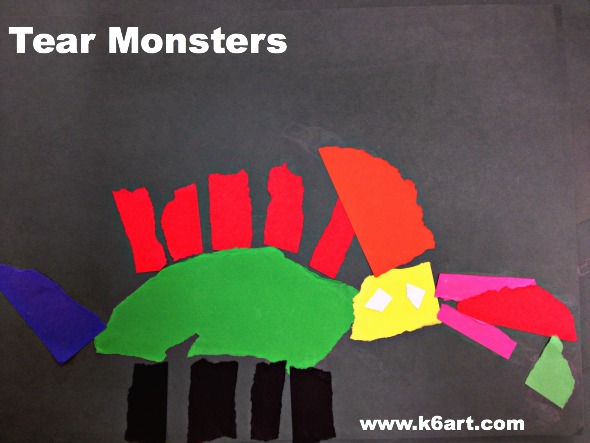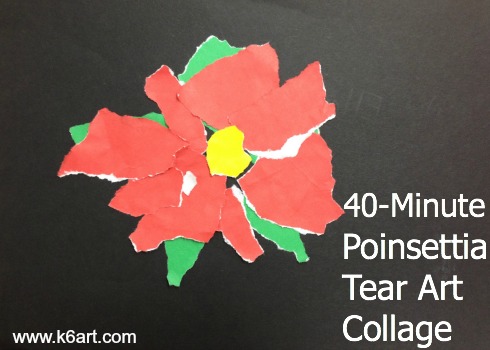
Do you want to create a poinsettia art project with little prep or clean up, in less than one hour? Try this fun tear art collage project.
Materials:
- colored construction paper, 9″x12″, one per student
- red paper, 6″x9″, one per student
- green paper, 6″x9″, one per student
- yellow paper, 6″x9″, one per table
- glue sticks
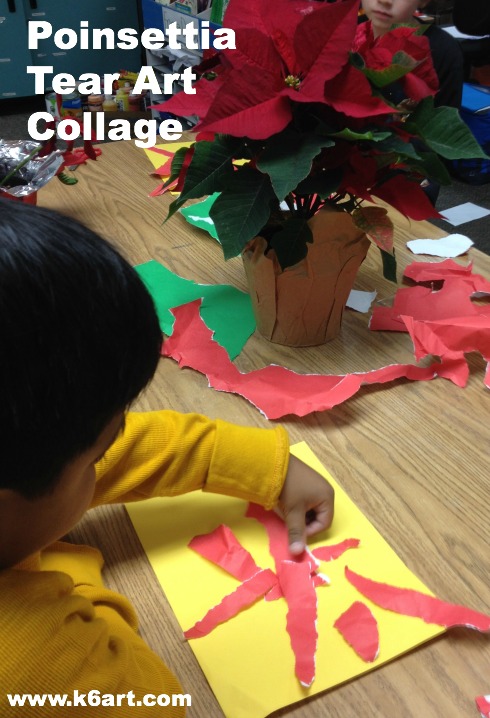
If possible, get some live poinsettias. I borrowed some from my colleagues and returned them at the end of the day.
Discussion:
We started off with a few poinsettia facts: the red ‘flower’ is called a bract. The bract is made of red leaves, NOT petals. Poinsettias are native to Mexico, where they are known as Noche Buena (‘Christmas Eve’).
Next students looked carefully at the poinsettias. We noticed the shape of the leaves, and had a quick review of organic vs. geometric shapes. We also noticed the red leaves were centered around a cluster of yellow dots. The red bract overlapped the green leaves. I pointed out that green and red are complementary colors.
Students observe poinsettias and create a collage using red and green paper. Allow one 40-minute class.
Creating the collage:
I modeled tearing. Students created odd numbers of red and green leaves, arranged them, then glued them to the 9″x12″ construction paper using a glue stick. We found out it was easier to glue the green leaves first. Students could place the red leaves over or in-between the green leaves. As a final touch, students could tear a few dots of yellow paper and glue them to the center of their paper poinsettias.
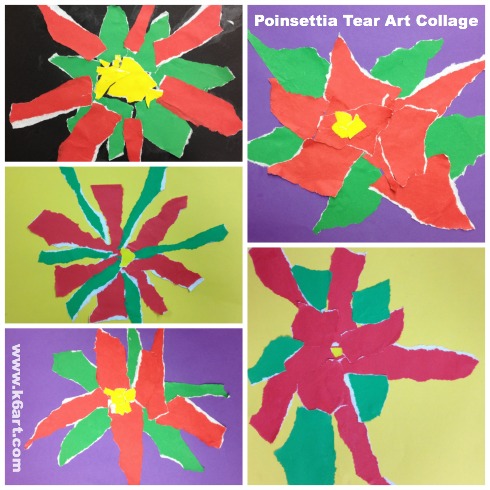
Second grade results:
Because we had live poinsettias on the tables, I encouraged students to hold up their torn shapes to the real leaves for comparison. They really enjoyed observing real plants, much more than working from a picture or from my example.
If you look carefully at our collages, you will see a white torn edge on the red and green papers. We used Fadeless Art Paper– it is colored on one side and white on the other.
I would love to use this technique to create a Van Gogh-inspired vase of sunflowers!
Enjoy!

Do you have a favorite tear art project?