iPad Blended Self-Portrait


iPad blended self portrait

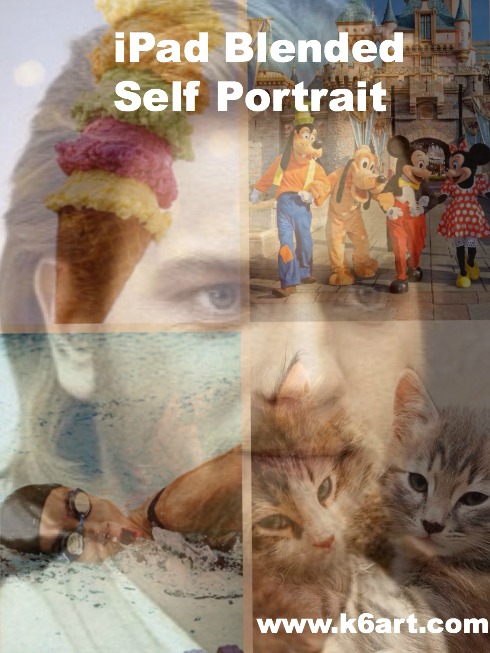
Our 6th grade did some quick blended self portraits using their iPads and two free apps: Pic Collage and Sketchbook X. The goal of the lesson was to learn the layers, free transform and opacity tools in Sketchbook X.

Obi-wan's favorite pet, vacation, activity and food are combined into a layered self portrait.

Obi-wan’s favorite pet, vacation, activity and food are combined into a blended self portrait. Allow one 40-minute class.

Step 1: Pic Collage App: create a photo collage of your favorite things

Students had to find four images representing

  • a pet (or dream pet)
  • favorite vacation (or dream vacation)
  • favorite food and
  • favorite activity or sport

The Pic Collage app allows students to add photos directly from the web without a Google image search. The students arranged them in a grid template, then saved to the iPad camera roll.

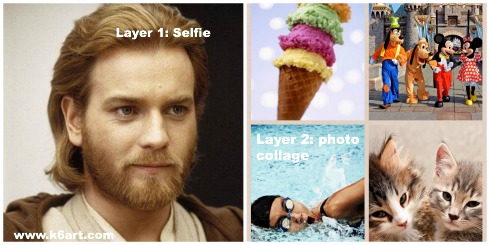
Step 2: Sketchbook X App: working with layers and free transform

In Sketchbook X, students created two layers. Layer one was used to shoot a selfie, and layer two was used to import the photo collage from the camera roll. For many students it was necessary to use the free transform tool to resize the photos to fill the screen. .

Step 3: Sketchbook X app: Adjust the opacity to reveal the blended self portrait

Students used the opacity slider in the first layer to reduce opacity and reveal the photo collage layer underneath.

I create a 10 minute video tutorial of the process.

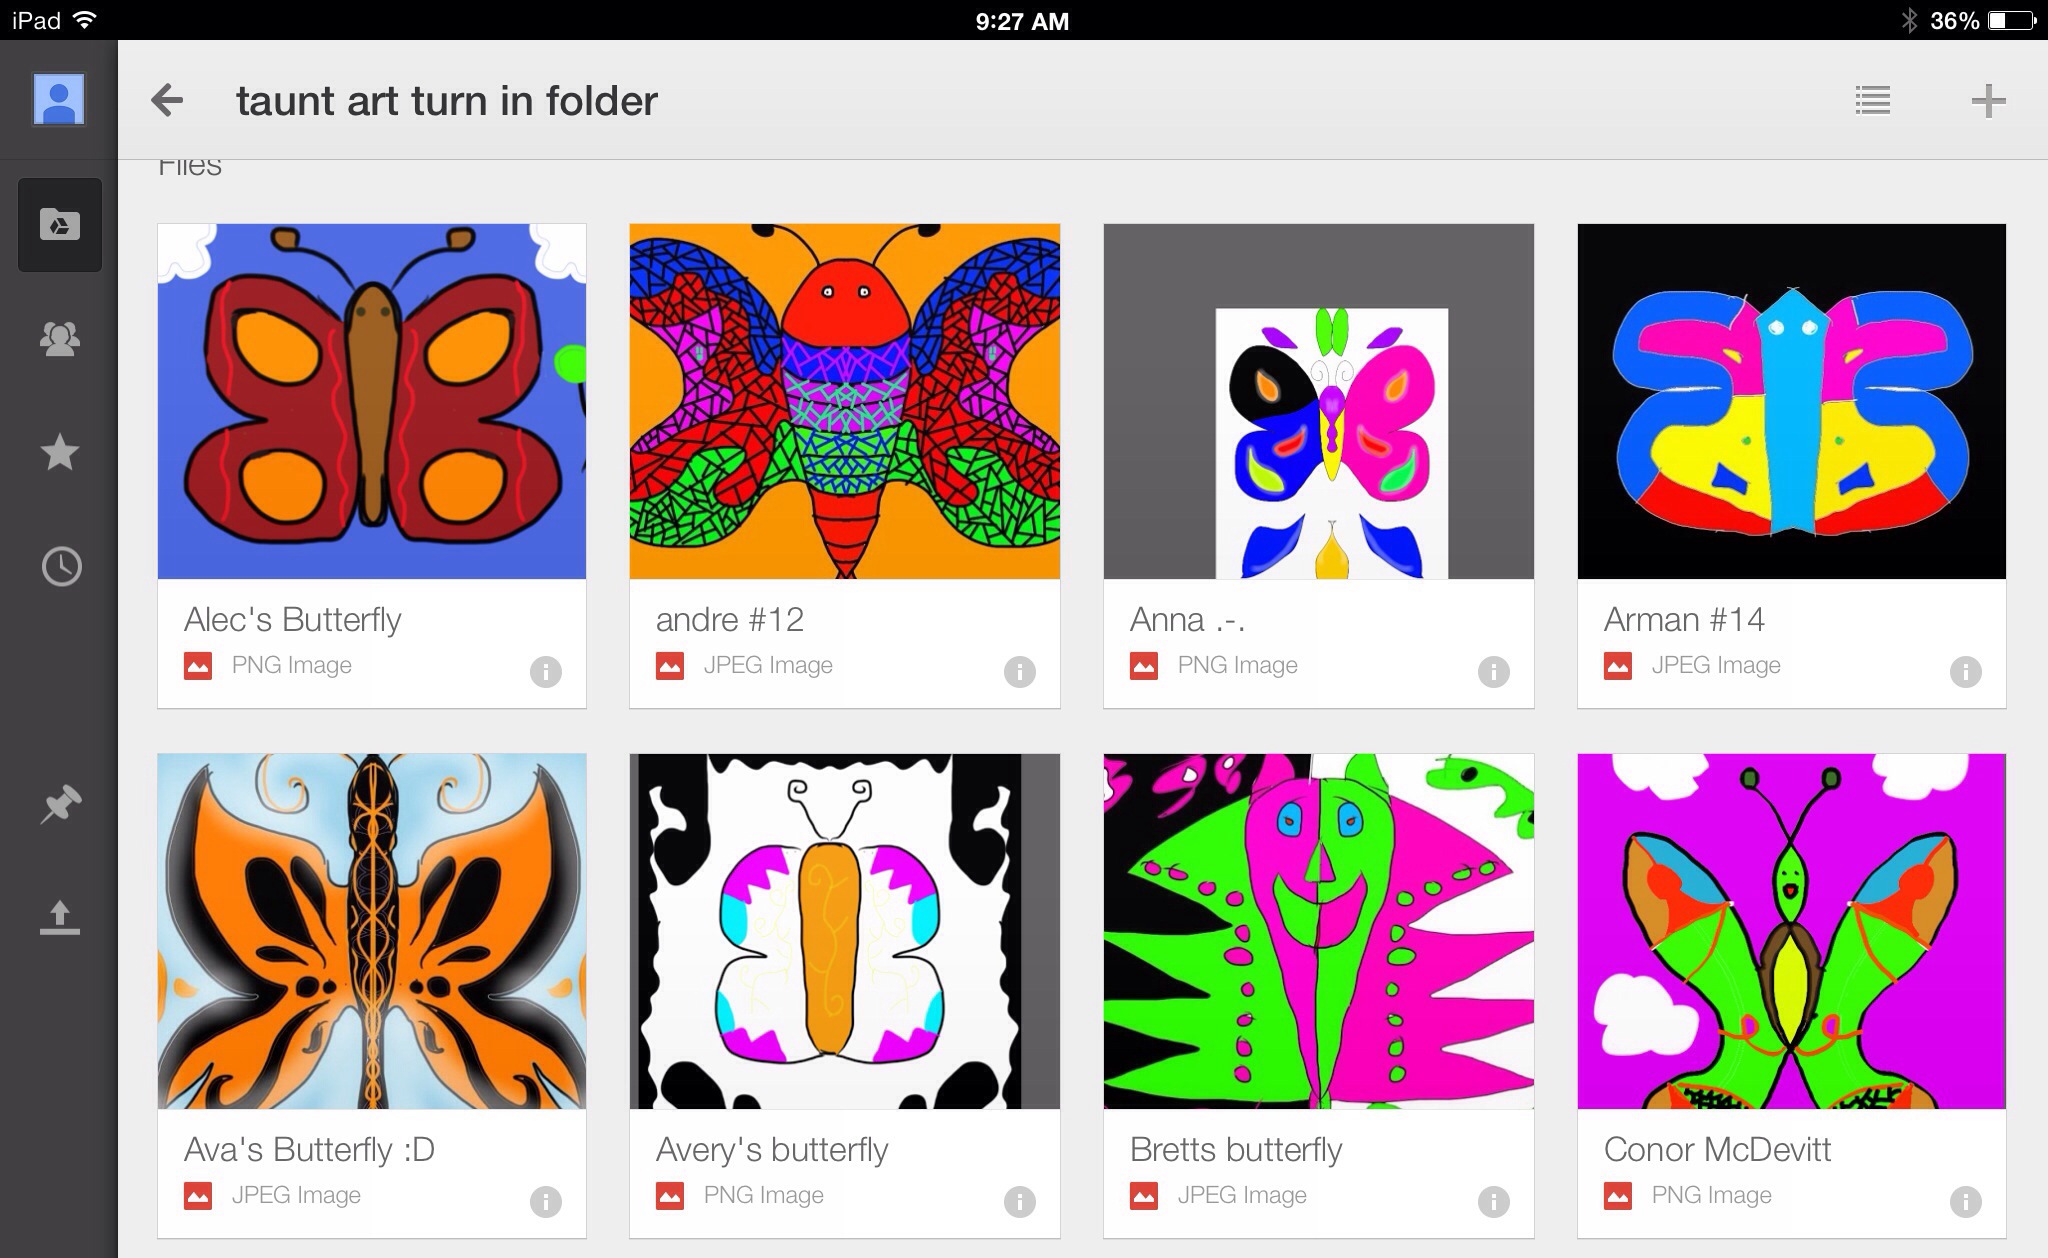
Students saved their completed portraits to their camera roll, then turned them in to me electronically via Google drive.  Click here to read about how students turn in digital art.

Notes:

  •  Instead of finding photos on Google image, use students’ personal pet and vacation photos. Students could bring them to class as printed photos, or digitally via Google drive.
  • Want to skip Sketchbook X? Combine your photos with free photo blending apps, such as  iBlendy2 or Photoblend.
  • Video tutorial recorded with the AirServer app for Mac.

Enjoy!

iPad Symmetric Butterflies

20140318-083501.jpg

Spring arrives this month. It’s time for a butterfly art project. This year our 6th graders created symmetric butterflies using iPads and the free app Sketchbook X. We are a 1:1 iPad school; students created a butterfly on their own iPad during a single 40 minute class.

We used two basic tools: the symmetric drawing feature and flood fill.

20140318-084455.jpg

Background design

Students had the option of using a colorful background, or of filling the negative space with a design. I love how this student created a background design that echoes the wing design.

Flood Fill to Color Individual Sections

20140318-085636.jpg

Notice how the lines are symmetric but the colors aren’t?

20140318-085119.jpg

Love it!

20140318-090152.jpg

Using Layers For Complex Designs

Finally, here is the butterfly from our most advanced student. This design incorporates the layer tool on Sketchbook X. I’m going to ask this student to guide the class through a layer tool lesson at our next iPad art session.

Use Shared ‘Turn in’ Folder on Google Drive to Collect Student Work

Our sixth graders use Google drive in their general Ed classrooms and are familiar with it. Here are the steps we used to turn in digital art:

1. I set up a ‘turn in art’ folder for each sixth grade class.
2. I shared it with each student in the class. To do this, I had to individually enter each student’s school email address. I walked around the class with my iPad and had each student type in their own address. This took less than a minute per student, and I did it while they worked.
3. The students saved their butterflies to their camera rolls.
4. The students opened google drive and uploaded their butterflies to the shared folder. They had to rename the photo with their first names.

Here’s what the turn in folder looked like at the end of class

20140318-092913.jpg

Don’t be Afraid

Check out Sketchbook X tutorials on YouTube. Ask students for help ahead of time – I did! My students are ‘digital natives’ – they mastered the whole process better than I did. In fact, our school has a ‘genius bar’ staffed by tech savvy sixth graders.

Here is a basic Sketchbook X tutorial for the art room from Tricia Fuglestad.
http://vimeo.com/74661099

Enjoy!

Related Posts Plugin for WordPress, Blogger...