I have always wanted to teach students how to draw and shade spheres, cubes and other forms, but I lacked confidence. Then I found two great worksheets via Pinterest that made the lesson really successful.
Any shading lesson has to begin with a discussion of value. We looked at some black and white photographs and noticed the variety of grays, from very light to almost black.
I gave each student a photocopy of a completed value scale and this handy value worksheet at About.com
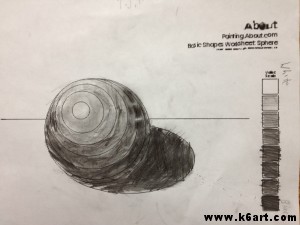

The sixth graders did part one – filling in the value scale on the right of the worksheet.
Next, we took a close look at a real sphere (in our case, a red rubber playground ball). I turned off the overhead lights and focused a single light source on our red rubber ball. We identified highlights and cast shadows, and saw how shadows gradually got lighter further out from the object.
Now the students did part two of the worksheet – roughly shading the sphere to match their new value scales.
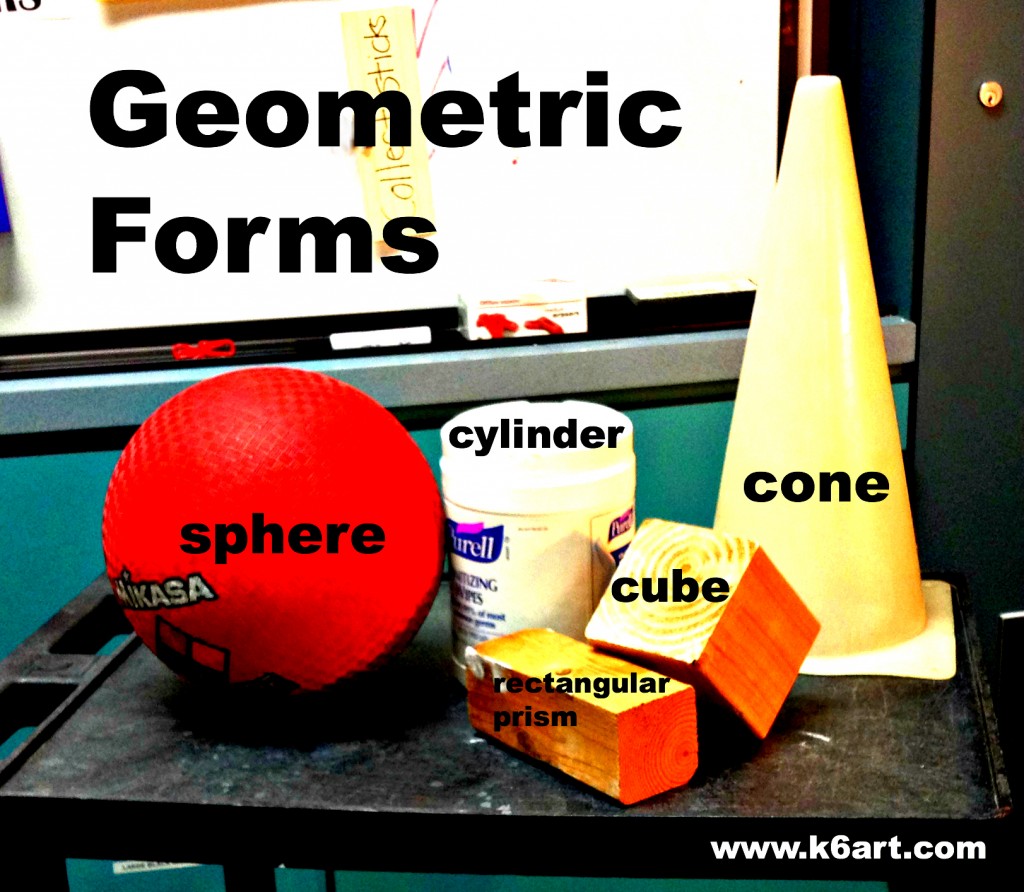
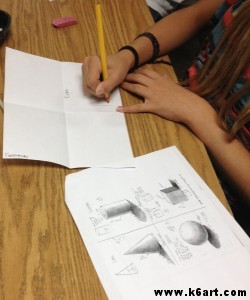
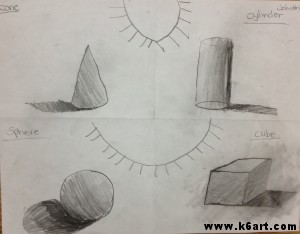
Next class, we looked at a variety of geometric forms.
The best thing I ever found on Pinterest may be this tutorial from Shawna Tenney at Imagine Art! I made a copy for each student.
One by one, I lit each form with a desk lamp. We looked at highlights, cast shadows, and other light and dark areas. Then we drew the forms according to the tutorial.
This drawing tutorial worksheet really helped!
Students used paper stumps to blend the graphite into a smooth gradient. They loved the stumps!
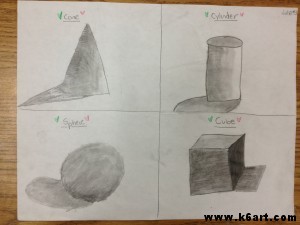
Early finishers had the option of drawing one or more of the forms using colored pencil.
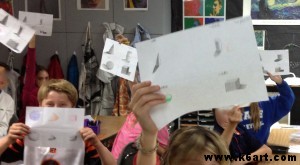
Very successful! Great job sixth graders! And thanks again, Pinterest!
How do you teach value and shading?