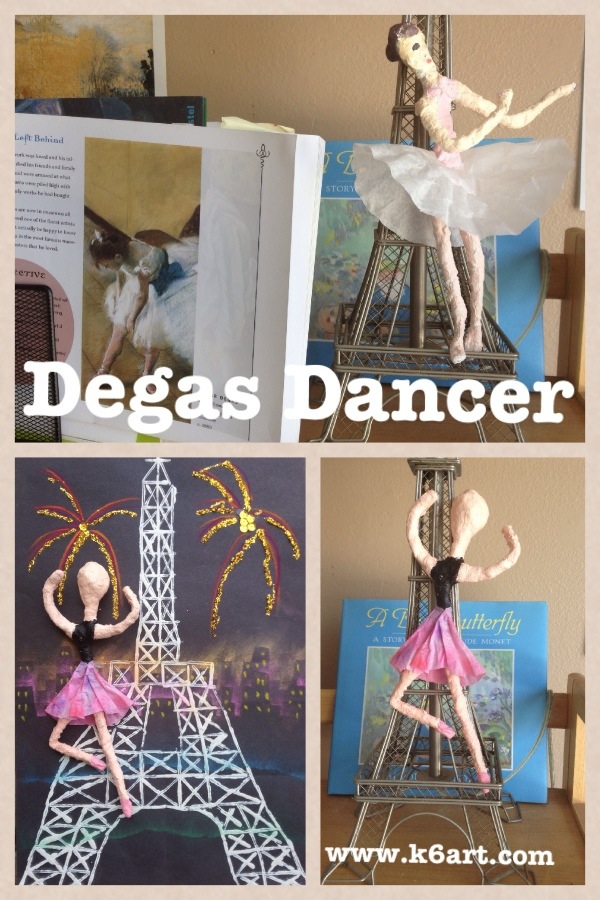
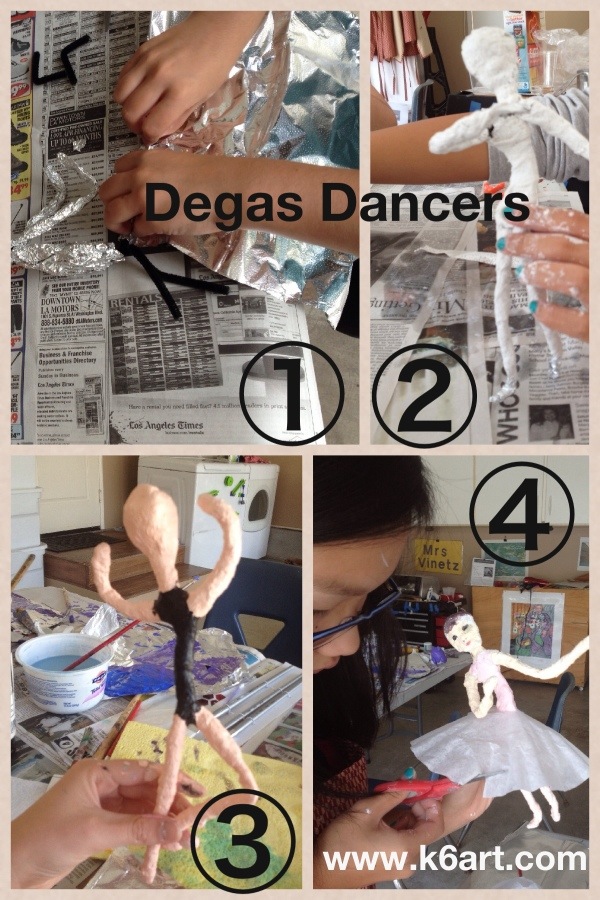
We had a fabulous time all week at my Paris-themed art and cooking camp. On the last day, we wrapped up our sculpture project and made yummy chocolate fondue.
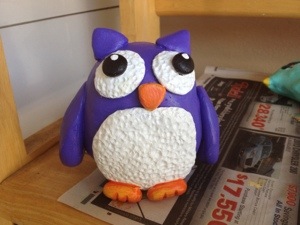
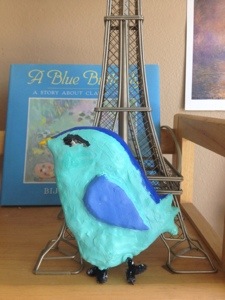
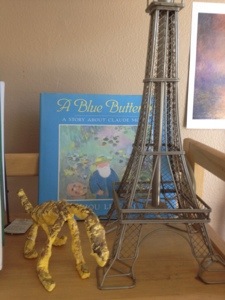
A couple of campers wanted to make animal sculptures. They used foil and plaster or white Sculpey polymer clay to create their creatures. Not so Parisian, but I love how they turned out.
The recipe for chocolate fondue was the easiest of all our recipes this week: 8 oz. of chopped semi-sweet chocolate heated with 1/3 cup of half-and-half. Pound cake cubes, whole strawberries and sliced banana tasted delicious dipped in the warm chocolate.
So much fun!
Summer is almost here! Are you looking for fun, engaging art camp projects that can be completed in a session or two? Try polymer clay!
I taught my own small-group art camp for three summers. I use ceramic clay during the school year, but I don’t have a kiln of my own. I was able to do two of my most popular ceramic clay projects using polymer clay.
Give each camper a sheet of foil to protect work surface. Polymer clay won’t stick to it, and you can throw it away at the end of camp
To condition Sculpey: give each camper a fresh piece and have them twist it over and over as if it were taffy. Ready in 2-3 minutes!
A toothpick is a super tool for Sculpey, both for adding detail in the soft sculpture, and for dotting on color in the baked piece.
Dedicate a baking sheet (and maybe a garlic press) just for polymer clay use. You don’t want to use it for food after this.
Cover baking sheet (or toaster oven pan) with foil before use.
Make small projects – design the project to fit your (toaster?) oven.
Michael’s crafts sells Sculpey in bulk here in the U.S. – check the internet, Sunday newspaper or mail for a coupon before you shop there.
In the U.S.: use coupon to get Sculpey in bulk.
You can do cool things with Sculpey that you can’t do easily with ceramic clay. For example, we made Oaxacan Alebrije porcupines by inserting painted toothpicks into Sculpey. I baked them in my kitchen oven. Success! Sculpture in a single afternoon.
Oaxacan Alebrije porcupine made from Sculpey and toothpicks, painted with acrylic.
Oaxacan Alebrije insect made from Sculpey and paperclips.
These projects were hits with all campers from grades 1-6.
If you haven’t tried polymer clay, give it a try. No dry time, no slip required! Its ‘clay in a day’.