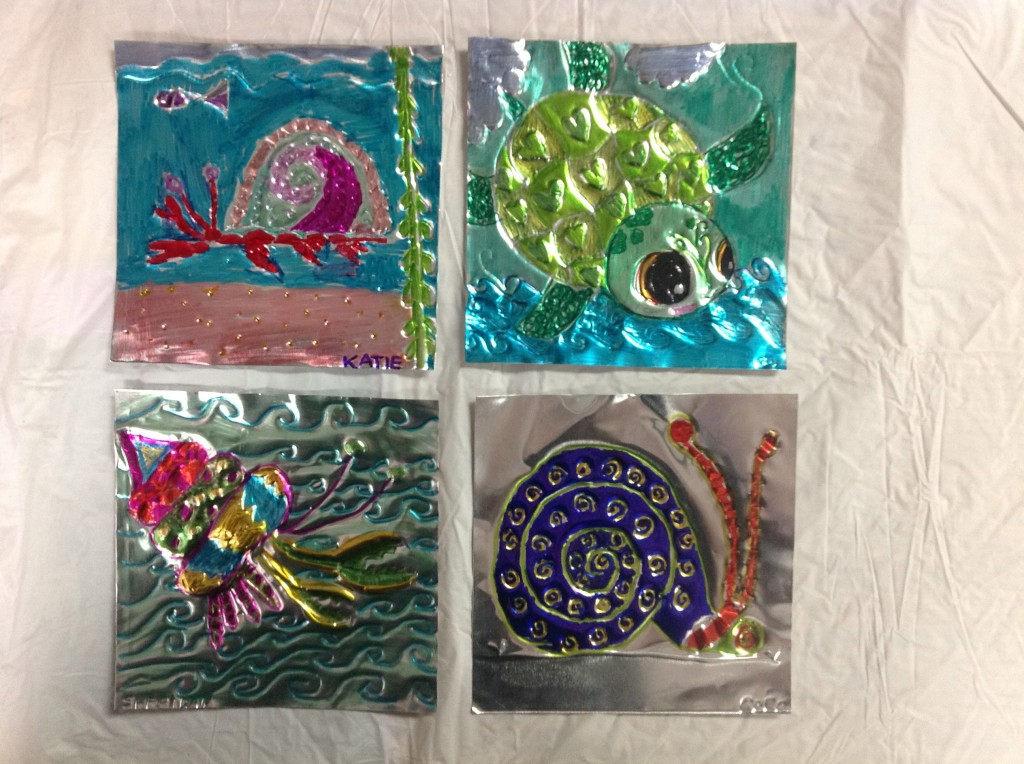
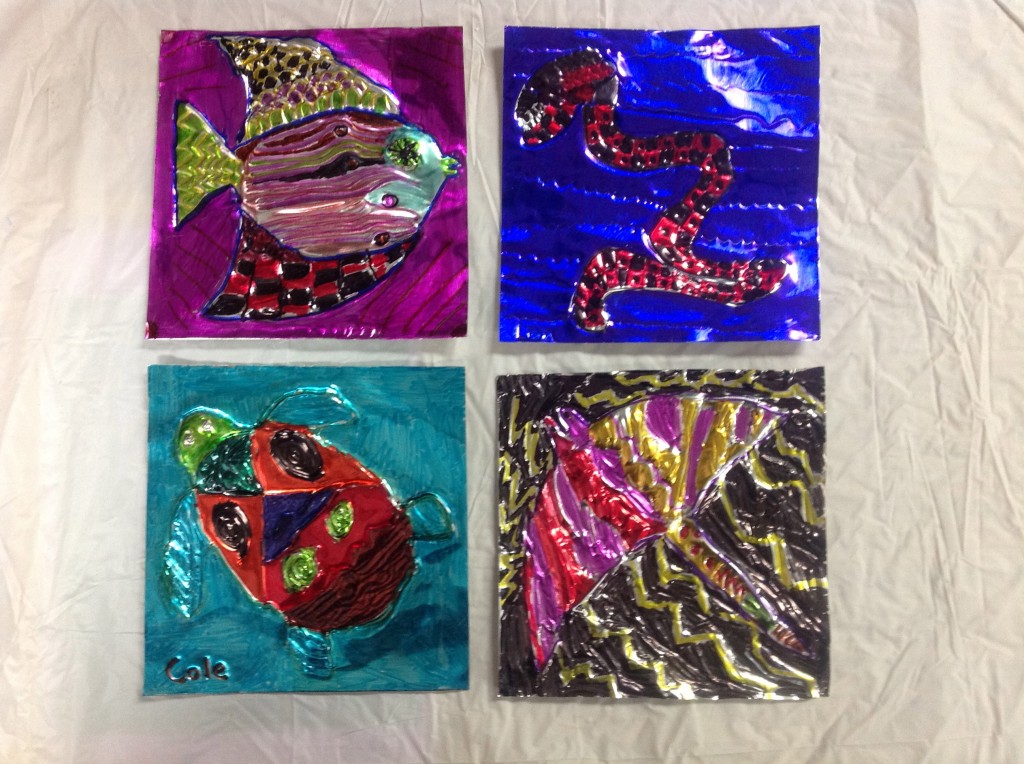
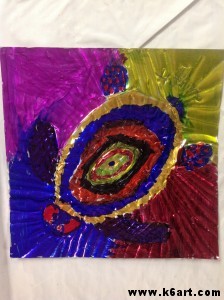
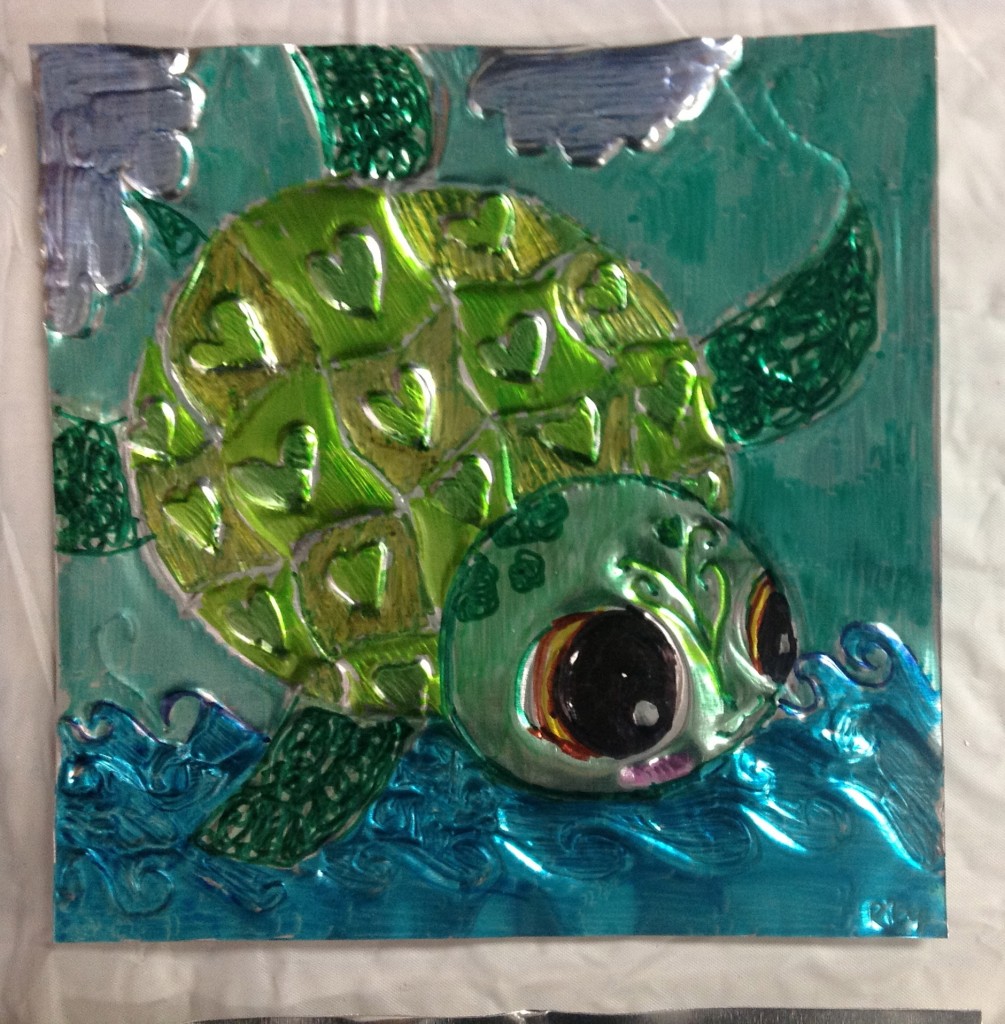
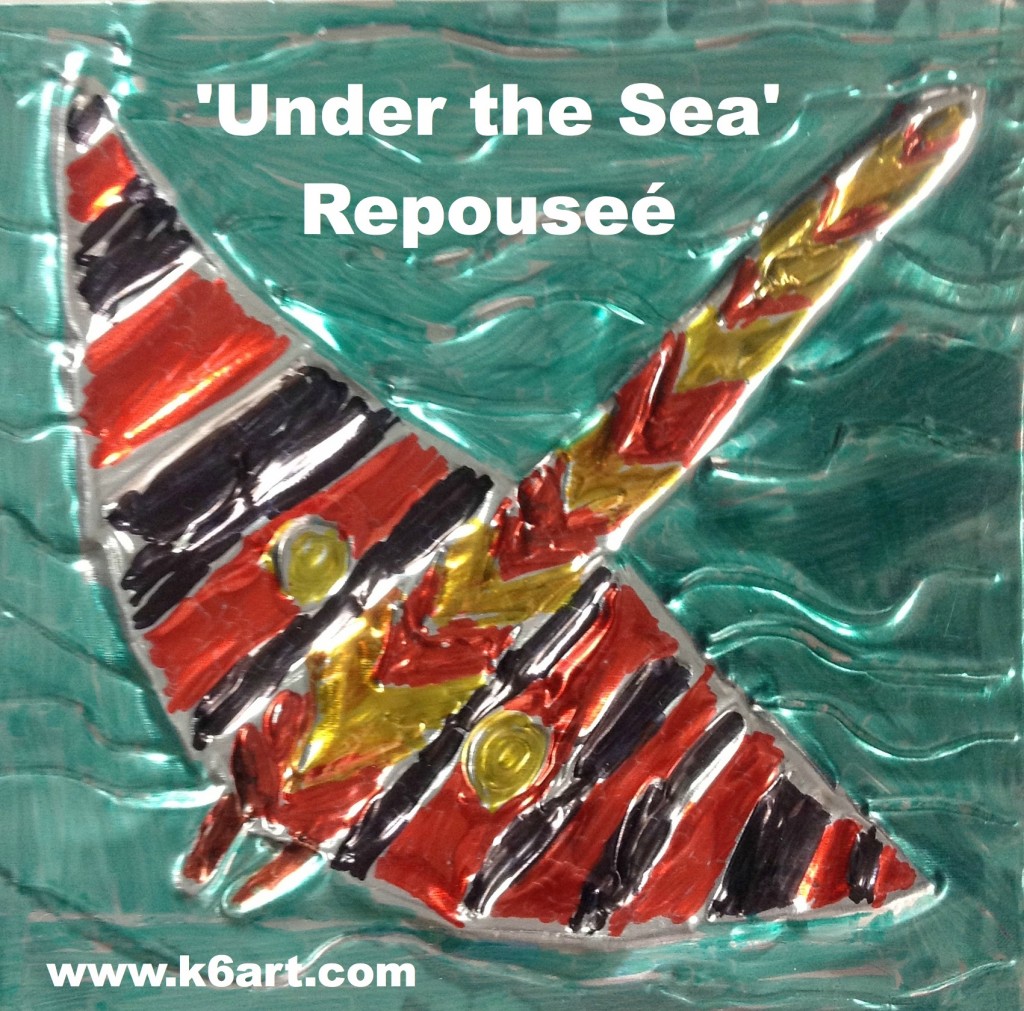
 This week fourth grade finished their foil sea creatures. If you have never tried tooling foil repouseé, you simply must! It is so much fun. If you are unfamiliar with repouseé, check out this excellent post at A Faithful Attempt blog.
Materials:
- 36-gauge 5″ aluminum foil squares
- heavy-duty foil (for practice)
- dull pencil
- newspaper or felt (folded to form a pad)
- colored Sharpies Permanent Markers
- scratch paper
- tape
- sea creature templates (optional)
Day 1
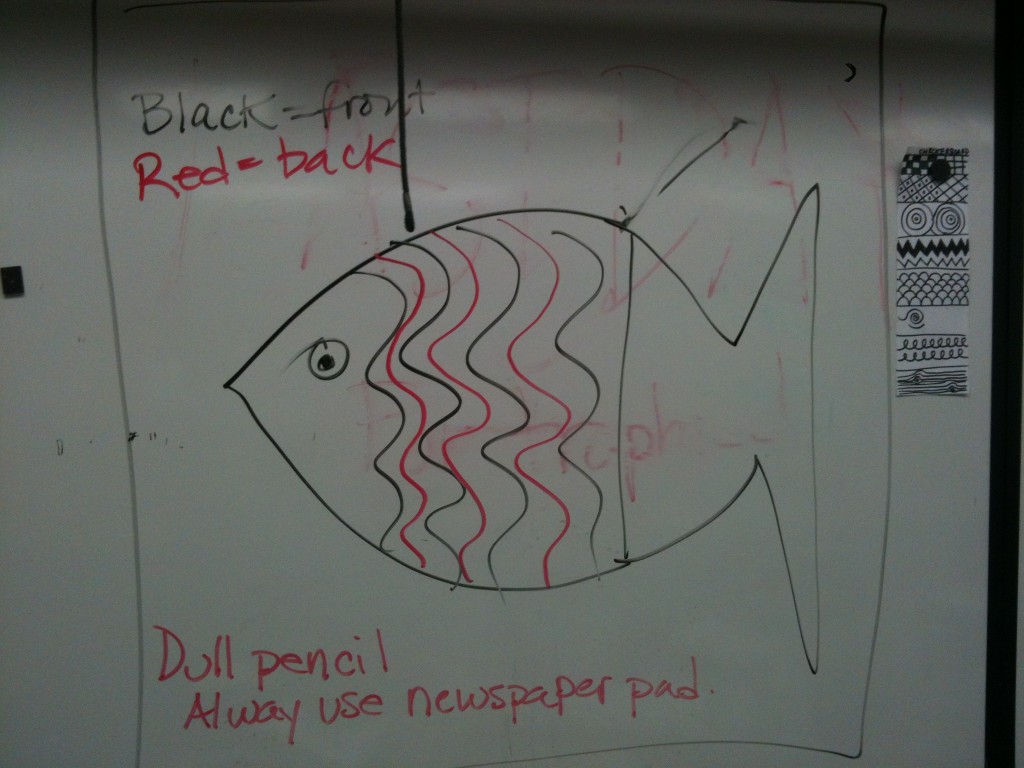
We talked about the repouseé process. We are going to use a pencil to shape and press lines and patterns into our foil. We will make texture. For practice, I gave kids a piece of heavy aluminum foil and we folded it four times. The number one rule: always keep the foil on the newspaper pad. The pencil will bend the metal down into the pad.
We practiced drawing different lines (wavy, straight, zig zag) and patterns on our test foil. I showed kids how to flip the foil to the back and press lines into the back of the foil. Once kids got used to working the foil front and back, they really enjoyed the process.
Day 2
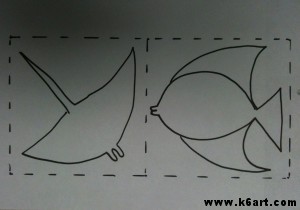
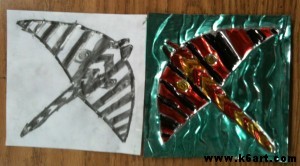
I passed out square paper sketch sheets and templates (optional – I encouraged kids to make their own design so long as it filled the square). Goal: create a sea creature with a textured body and textured background. When the sketch was approved, I gave them a square of foil. They taped the sketch to the foil and retraced their lines. then they turned over the foil and pressed more lines into the back.
Day 3:
Color with colored Sharpies. The color makes our repouseé art looks like jewels of the sea!
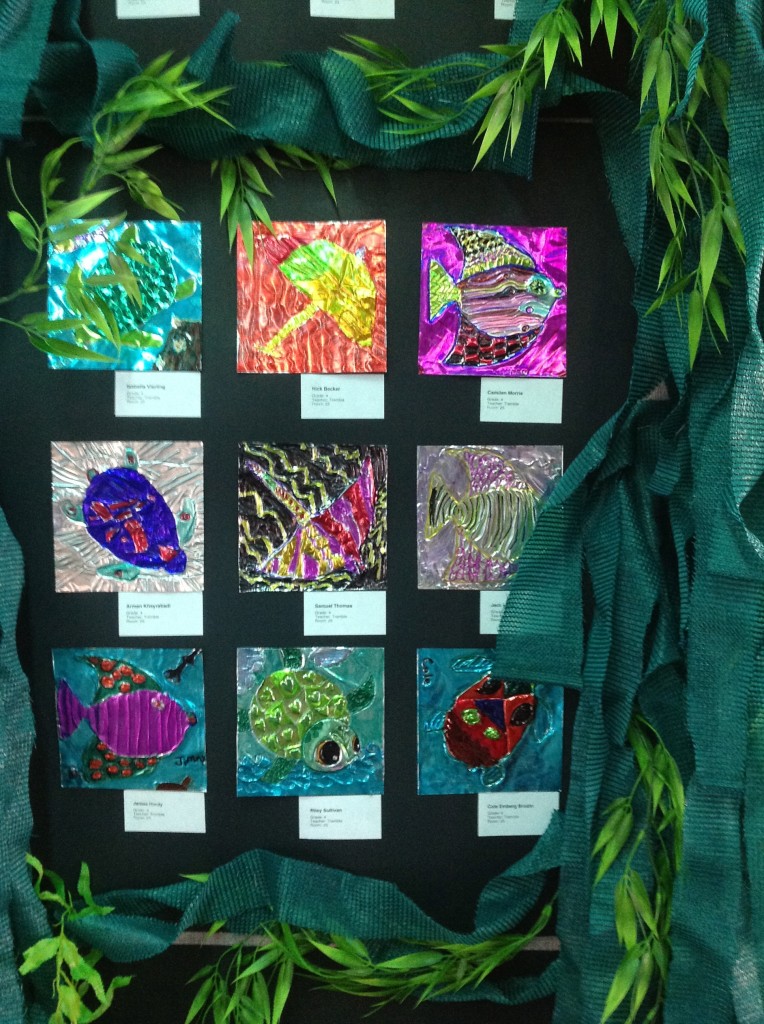
Here they are on display in the school lobby for our annual Ocean Week
Skip the background. Cut out the textured sea creature. Color on both sides and hang as a mobile.
Skip the pre-cut squares and do the project on folded heavy foil.
Have fun!
Affiliate of:

