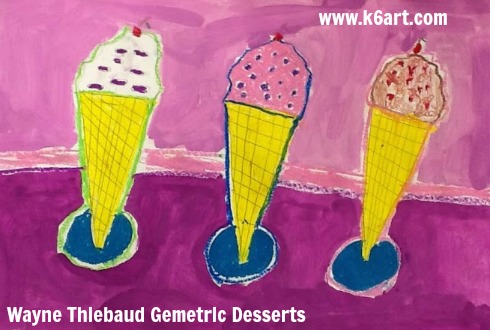
Who loves dessert? Everyone, including second graders. Each year I teach a Wayne Thiebaud-inspired dessert lesson. This year we created compositions focusing on repetition of geometric forms.
Dessert Geometry (and Common Core connections)
Studying Thiebaud’s art is an opportunity to incorporate geometry into your lessons. Try and time your lessons to tie into to the math lesson in the general ed. classroom.
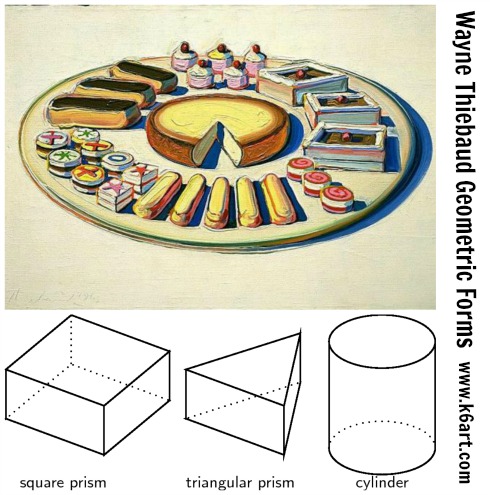
We looked at images of Wayne Thiebaud’s dessert art, and identified shapes and forms. Here are some of the forms we identified:
- Sphere: gum balls, scoops of ice cream
- Right Triangular Prism: pie wedges, cake wedges
- Square Prism: petit four (see above image)
- Cylinder: layer cake
- Rectangular Prism: Jolly Ranchers candy!!! (OK, Thiebaud didn’t paint Jolly Ranchers. A student came up with that one) 🙂
The second grade was studying 3D forms, so I timed the art lesson just after this concept was introduced in the general ed classroom. Click here for the second grade common core geometry standards. You can also review the first grade common core geometry standards.
Here is a one-minute video I made featuring the geometric forms in Thiebaud’s art:
The Art Project
Materials:
- light cardboard tracers: triangle, ellipse, circle, rectangle
- pencils/erasers
- white paper, 12″x18″
- oil pastels
- tempera cakes/water/brushes
Use teacher-made or student-made tracers (we used both). Students traced their templates with a pencil onto the paper. The composition were encouraged to fill the paper with a single type of dessert in a variety of flavors. It was OK to have the dessert coming off the page, and it was also OK to overlap.
(Note: I know some art teachers disapprove of tracers; I think the use of them in this project reinforces the tie-in to geometry and repetition).
Students then colored their desserts with oil pastels, adding details such as sprinkles, cherries, and chocolate swirls. They outlined the desserts with oil pastels. Finally, they painted the background with a single color of tempera cake.
Second Grade results:
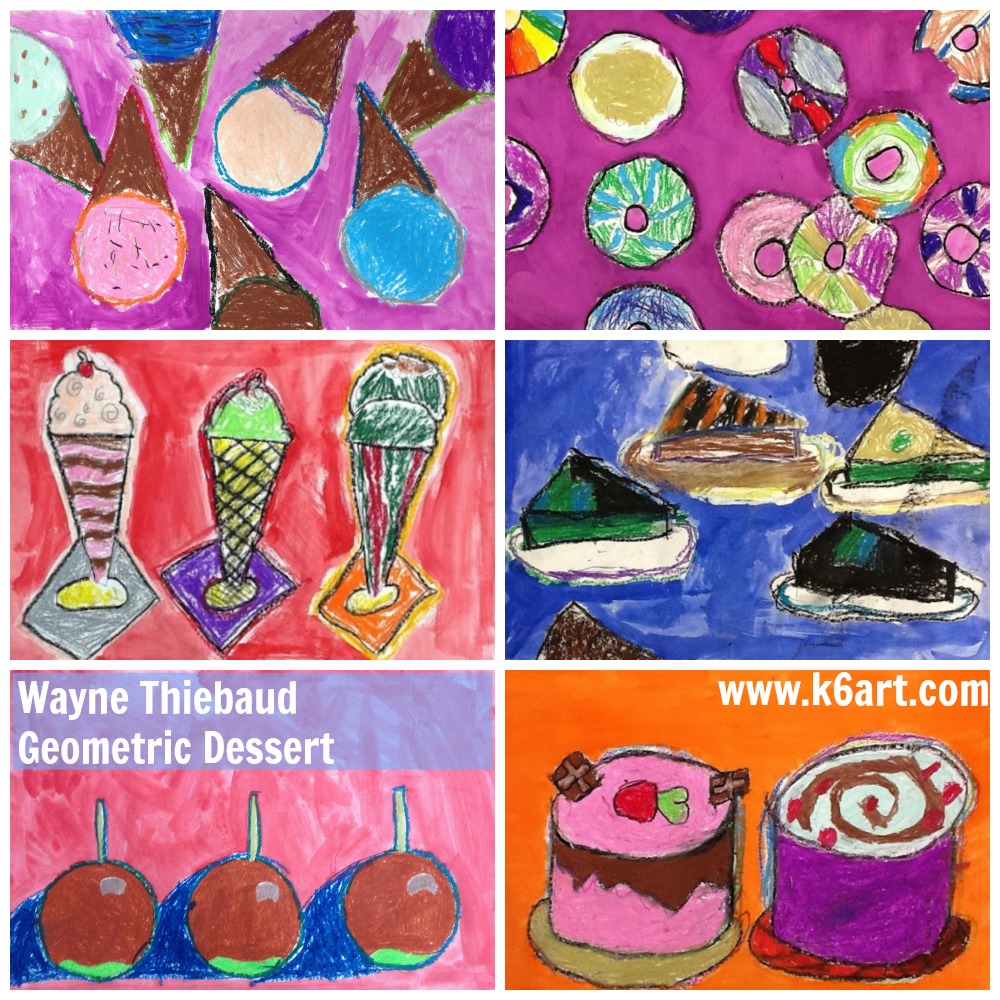
Second graders used circle, triangle, and ellipse tracers as a starting point for these artworks.
If your administration asks if you incorporate math (or STEM/STEAM) in your lesson plans, teach this one and happily reply ‘yes’. After all, shape and form are elements of art. This art project reinforces geometry in a fun way.
Additional Resources:
- National Gallery Art’s virtual cake maker
- Thiebaud video from CBS Sunday Morning
- quick video intro to Thiebaud from Susan Bivona
I wrote about these other Thiebaud projects on the blog:
The lesson was inspired by this lesson from the Parent Art Docents website.
Enjoy!

Have you ever incorporated math into an art lesson?