How to Make a Calder Mobile

I love Alexander Calder! I teach a Calder wire project each year, but I have never successfully made a Calder-inspired mobile. Until now!

I recently received this 1975 edition of Making Things: Book 2. The Handbook of Creative Discovery by Ann Wiseman. Inside this gloriously illustrated book I found these  instructions for making Calder mobiles:

Making Things Book 2 – Handbook of Creative Discovery by Ann Wiseman. ISBN-10: 0316948519


Easy to follow step by step illustrations for a variety of mobiles


I decided to test it out with items I had on hand in the art room.

Materials for first mobile:

  • 18-inch pre-cut Stem Wire (AKA floral wire) 20 gauge
  • construction paper
  • scissors
  • hole punch
  • pliers (note: I didn’t have any pliers so I just did this with my hands)
  • AND A BALANCING FINGER 🙂


Materials for making a simple Calder-inspired mobile


Ms. Wiseman tells us mobiles are built from the bottom up. Aha!

Success! A 4-tier mobile!

Now for my second mobile. I made this mobile using Ann Wiseman’s illustrations and Peel & Stick Foam Sheets.

Calder-inspired mobile made with wire and self-adhesive craft foam.

To add interesting organic shapes, sandwich wires between matching pieces of self-adhesive craft foam.

If you choose to make these multiple tier wire mobiles, try it yourself first, be patient, and expect a lot trial and error. Balancing those wires is tricky and takes practice. I think these projects would be great for middle and high school students.

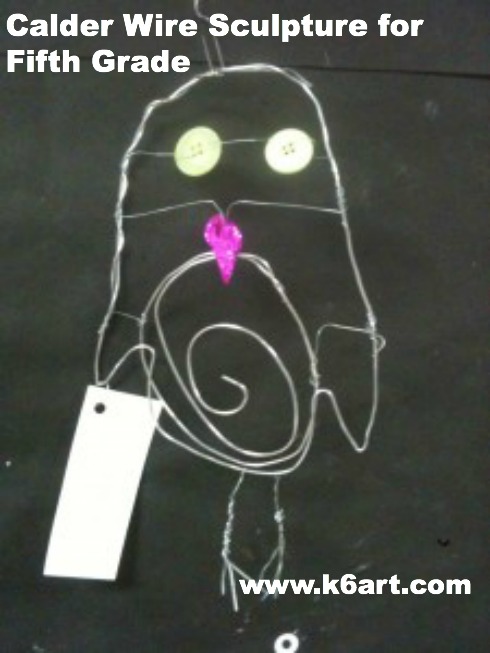
If you want to try this with a whole class of upper elementary students, I would keep it simple. Stick with one or two wires. Check out this project from Meet the Masters. I like how they have three degrees of difficulty and incorporate a stabile as a base.

Illustration from Meet the Masters website.


Here are some more ideas for Calder mobiles for kids:

If you love Calder, you might like my previous Calder posts:

Enjoy!

Have you ever made a mobile with your students? 

———————————————————————————-

Note: This post contains affiliate links.

Note: post updated 12/30/13

Calder Wire Sculpture for Fifth Grade

calder wire sculpture pinable

Of all the famous artists we study, students think Alexander Calder is the most fun.  Fifth graders made Calder-inspired wire animal sculptures.

Alexander Calder’s Fish (1944).


5th graders made wire sculptures focusing on contour. Allow 2-3 40 minute sessions.

 Materials:

Notes: When buying wire, the higher the gauge, the thinner and more flexible the wire. The wires below are soft enough for students to cut with our blunt-tip school scissors! Simplify your life and buy pre-cut 18″ floral wire (available at floral suppliers, Wal-Mart and Michaels).


  • spool of  Dick Blick 14-gauge Armature and Sculpture Wire , (cut one 3 ft. piece per student) (note: compensated affiliate link)
  • pre-cut 18″ floral wire, 20 or 22 gauge, ‘bright’ (silver-colored aluminum)
  • pre-cut 18″ floral wire, 26 gauge. I call this super-fine and flexible wire ‘sewing wire’ because it is fine enough to pass through sequins, beads and window screen.
  • embellishments: buttons, beads, sequins, aluminum pot scrubbers, pipe cleaners, aluminum window screen.
  • sketch paper (we use 8.5″x11″ copy paper)
  • markers for sketching
  • optional: Ziploc gallon-size storage bags for storing unfinished work between sessions

We begin by looking at this Calder wire sculpture Powerpoint. Next students sketch a contour drawing of an animal on copy paper. The sketch should touch all four edges of the paper and should be simple. Then students trace the contour with 14 gauge sculpture wire, overlap the ends and twist to secure.

Trace marker sketch with wire.

They can string shorter wires or pipe cleaners with beads, sequins and buttons across the center. Encourage kids to experiment.


We link up the sculptures in a chain (using my favorite paper-clip ‘S’ hooks) and suspend from the ceiling.  Instant group Calder mobile!

Calder’s art is so varied and interesting, you could do an entire unit: a mobile lesson, stabile lesson, a wire sculpture lesson, a circus lesson, even a jewelry lesson.

Do you love Calder’s art? Check out my posts on Calder’s jewelry , Calder wire portraits, and best wire sculptures of 2012.

UPDATE: Calder books to read online for free! Click here

NEW: click here: How to make a Calder mobile!


Note: I am an affiliate of Blick Art Supplies. I have been using Blick Armature and Sculpture Wire for nine years and LOVE it!

UPDATED: 11/23/13

Kindergarten Fish Mobiles

I have admired the fabulous yarn-wrapped cardboard fish mobiles shown on a couple of elementary art blogs. I wanted to do the project with kindergarten as part of a whole-school ocean-themed art installation to be hung later this spring….

Kindergarteners created yarn-wrapped cardboard fish. Allow two 40-minute classes.

Materials:

  • Thin cardboard approx 8″x10″
  • black marker
  • scissors
  • crayons or markers
  • yarn cut in 6 foot lengths, one per student
  • large paper clips (for hanging)
  • hole punch (for hanging)
  • optional: bottlecaps and tacky glue/glue dots for eyes

Part one:

We started with thin cardboard rectangles about 8″x10″. We did a dot-to-dot directed draw of a simple fish shape.

Kinders started with a dot-to-dot directed draw. Don’t make base of tail too narrow or fish may rip.

Then the students cut out the fish shape. Because we used thin cardboard, 95% were able to cut the fish without help.

Now kinders add four dots to the top edge of the fish, and four dots to the bottom. A few kids made their dots too close together….so I’d say 90% did this task independently.

The kids use scissors to cut slits along the edges of the fish, stopping at the dots. 100% were able to do this task independently.

Now color both sides of the fish. We used regular crayons (I wish I had construction paper crayons to brighten the dull gray cardboard…next year!).

Part two:

Students finished coloring both sides of their fish. Each received a six-foot length of yarn (cut by me, lest you think I didn’t have ANY prep on this project…..) and wrapped the yarn around and around and up and down across their fish.

Wrapping the yarn was tricky for some students. I found out kids were more successful with the yarn wrap when I modeled it in front of the room (as opposed to on my document camera). I’d say about 70% could do this independently on their first attempt.

Optional: glue on eyes.

To hang the fish: use a hole punch to make one hole near the top edge and one at the bottom edge.  Open a large paper clip to form a ‘S’ hook.

Open paper clip connects fish for mobile.

Connect your chain. I was able to make a hanging chain of five fish.

Inspiration for this projects comes from this post on the Fem Manuals blog and this post on the Deep Space Sparkle blog.

I believe that a lot of my lesson plans (at all grade levels) could be tweaked to increase student independence.

What do you think of ‘kinderpendence’? 

Related Posts Plugin for WordPress, Blogger...