Block Printing with Art Club

This is the first year I offered art club. It was so much fun! Small group. Motivated kids – sixth grade only. Friday afternoon. Ahh…

We did block printing and the kids who learned this skill were enthralled. They kept popping by the art room every day, hoping to carve a little more. They skipped recess to carve. They hung around Friday after the bell rang.

eraser carving materials


Materials:

  • Magic Rub Erasers
  • Soft-Kut Starter Kit (includes Speedball cutters, handles, carving blocks and printer’s ink)
  • copy paper and tracing paper
  • pencils
  • Crayola markers
  • Ink pads
  • Brayer and flat surface for rolling ink

Eraser carving:

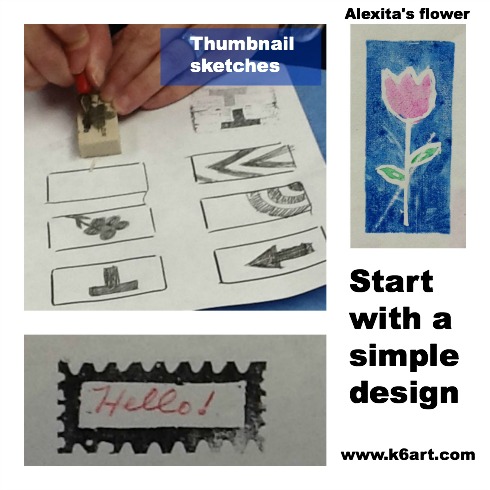
Students started by sketching a variety of simple designs using pencil and copy paper. They traced their favorite design onto tracing paper, then transferred the design to the eraser. Then they carved out the white parts of the design using a lino cutter. CLICK HERE to see an excellent carving video. I did this project with sixth grade last year – read more in this post.

carving erasers

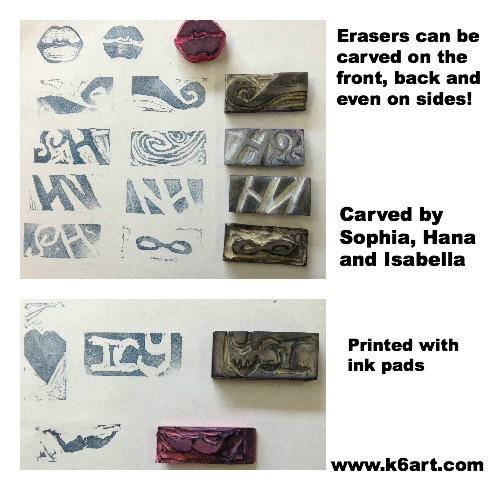
Once students had a little carving experience, they moved on to more complex designs on the back of their erasers.
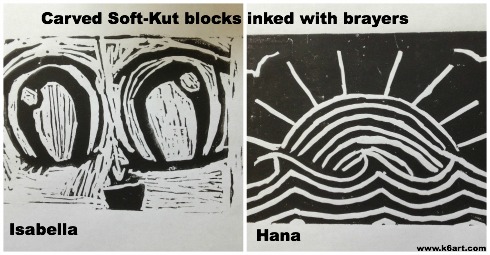
all the eraser collage

Soft-Kut Blocks

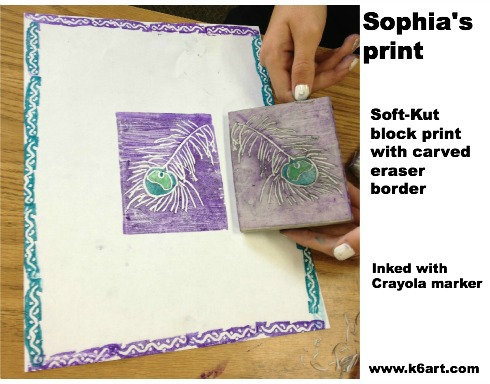
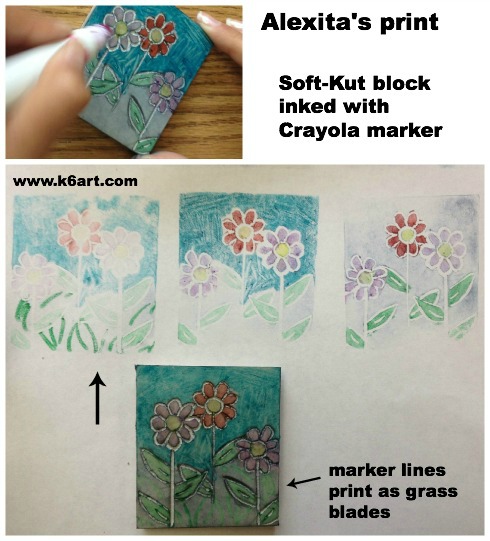
Students used the same techniques to transfer their designs onto the larger blocks. Some students used Crayola markers to ink their blocks (I think the inked blocks are beautiful on their own!).

sophia's block


alexita's block

Others used block print ink applied with a brayer.

big blocks

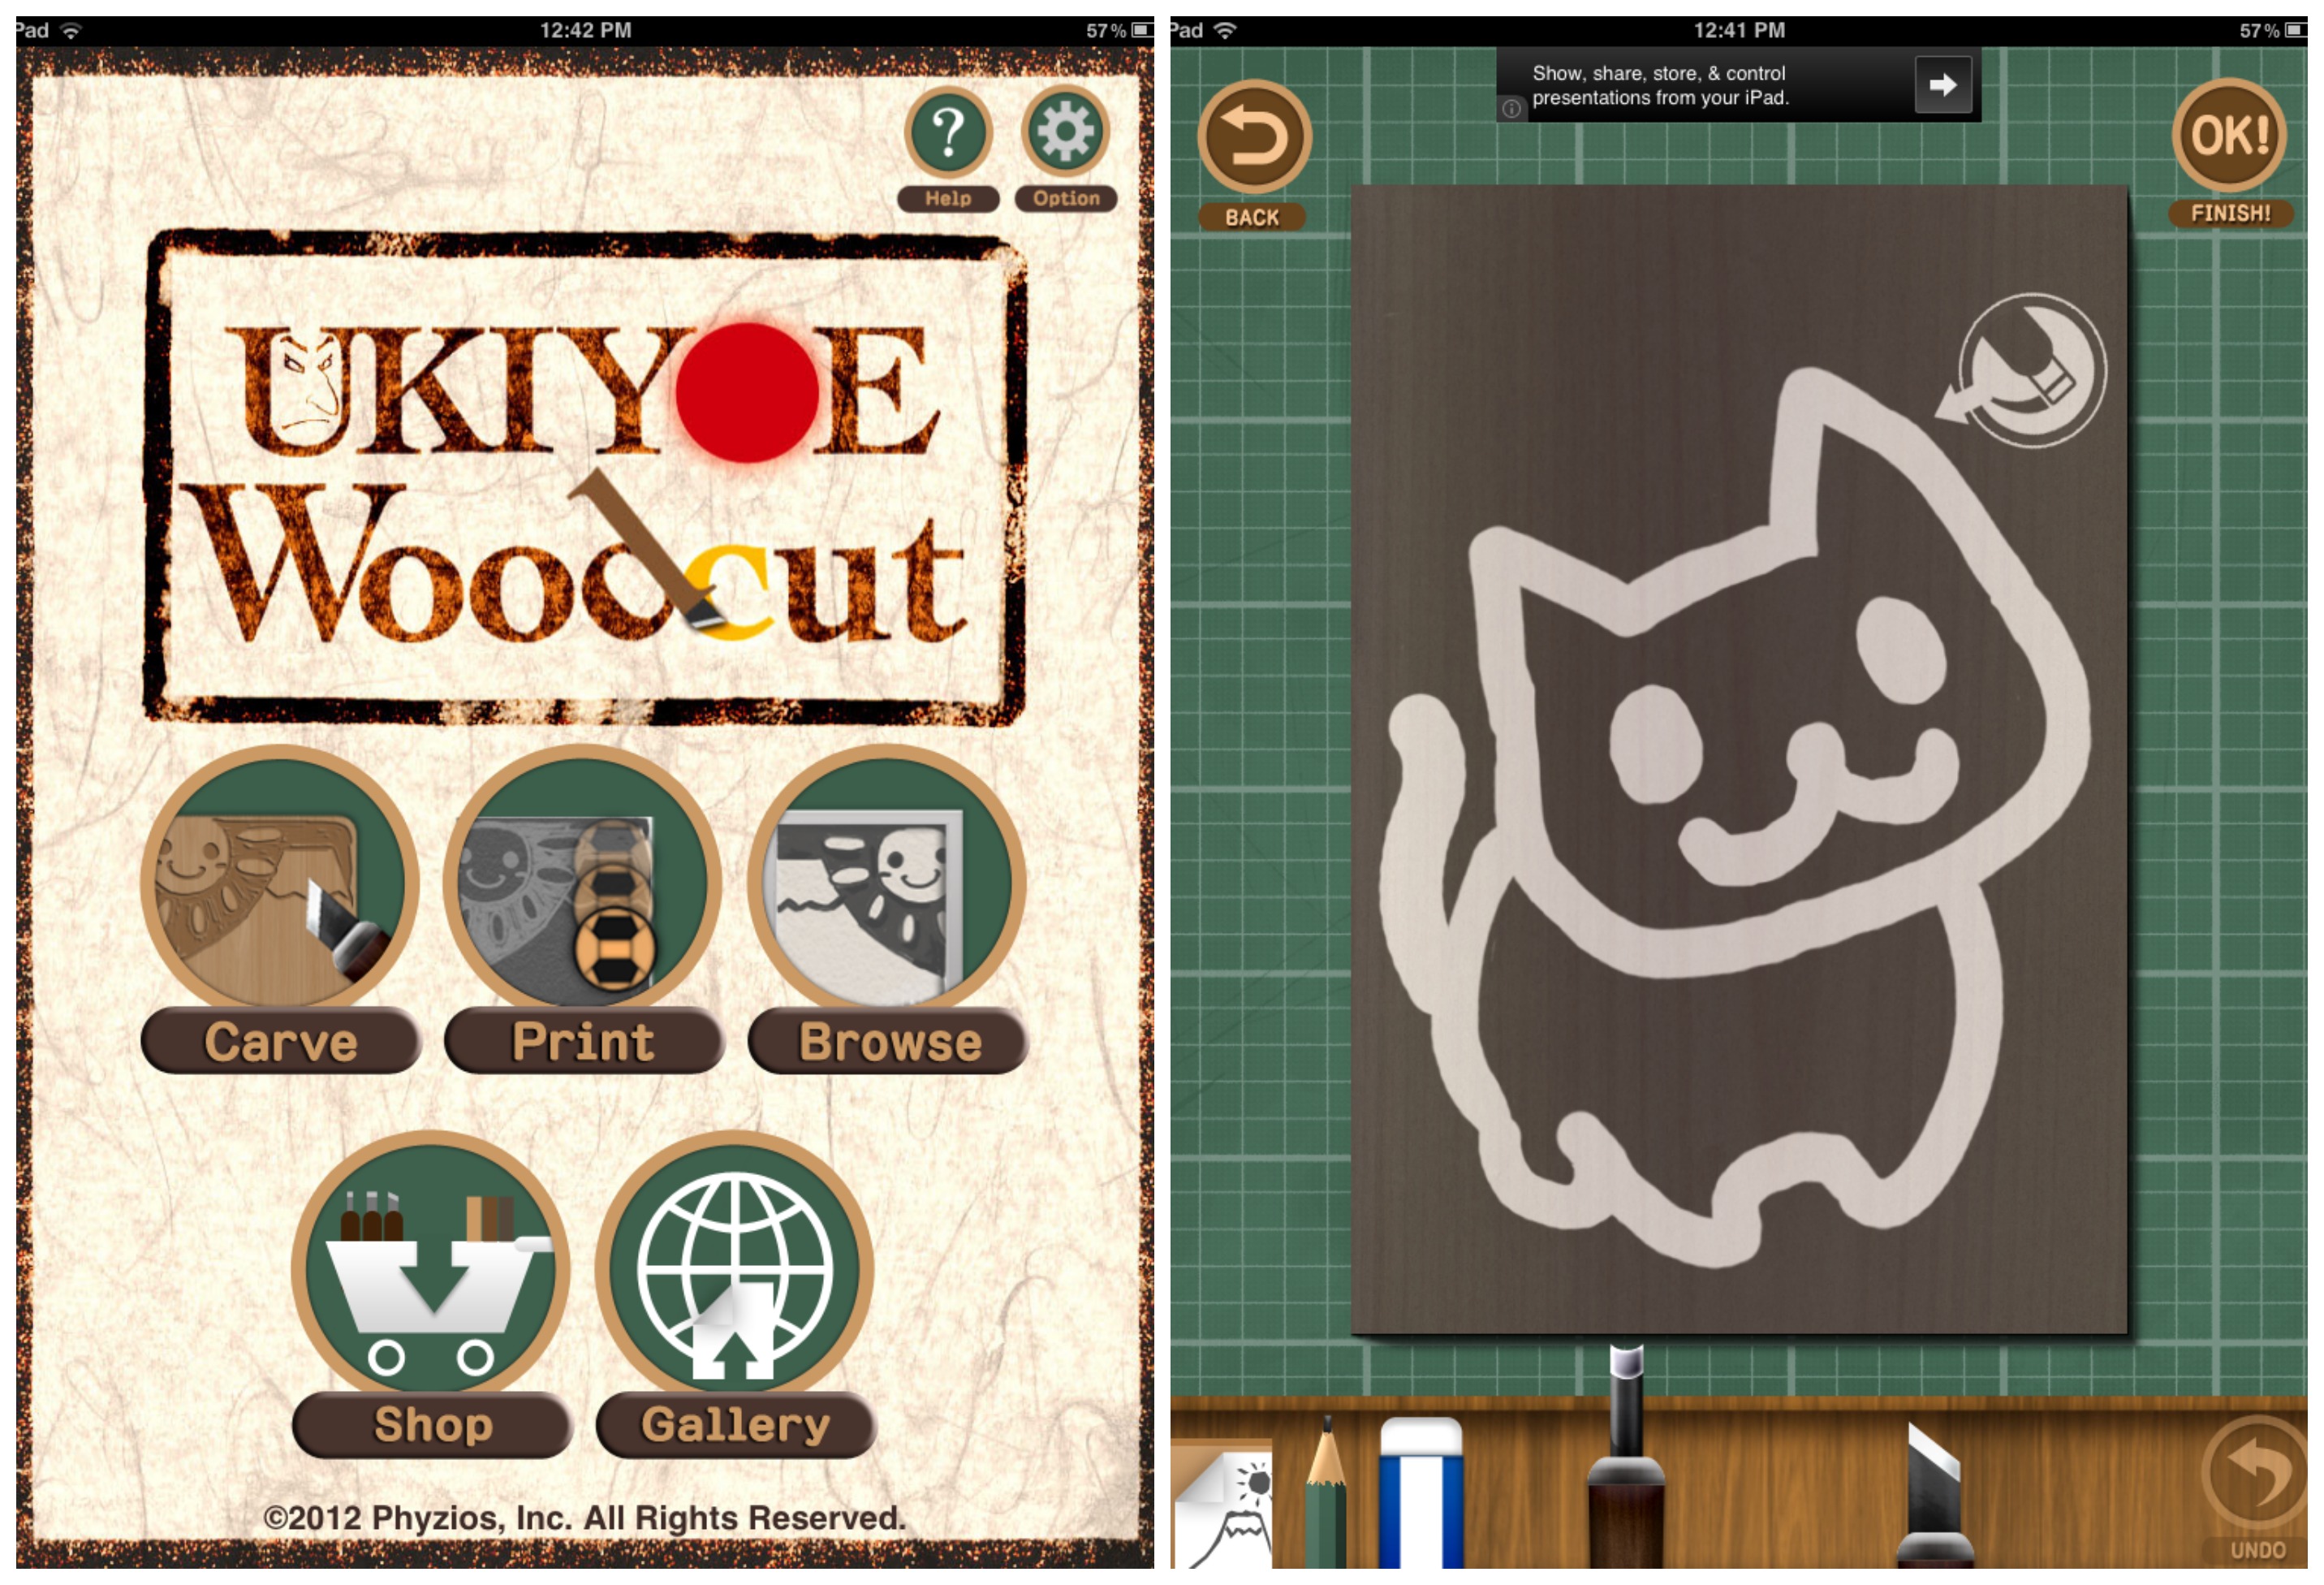
iPad in the art room:

We used iPads two different ways for this project.

  1. Looked at images of linoleum carvings on Google images
  2. Had fun testing out the carving process using the free Ukiyoe app (available on the app store).

ukiyoe app


Art club was a hit. Carving was a hit. I will definitely offer it to my sixth graders next year.

Do you offer art club at your school? What sort of projects do you do?

Eraser Stamps for Sixth Grade: Abstract Design

Sixth graders carve erasers with their own abstract design and use them to print individual and group artworks.

Sixth grade is making eraser stamps.

I learned the method from Geninne’s Art Blog. Geninne has a fabulous tutorial on stamp-making including an instructional video. This assignment has two parts….1) create an abstract design stamp and 2) create a stamp based on your initials.

Part 1: Abstract Design

Materials:

  • Magic Rub vinyl erasers
  • Pencils
  • Paper (copy paper is fine)
  • Tracing paper
  • Popsicle stick or ruler
  • Lino cutter (student grade – we used the ones from this Soft Kut class pack)
  • Stamp pads
  • Watercolor markers (we used Crayola)

I teach this assignment with a packet of handouts…

Explain to students we will be cutting away the white portions of their design…..since they are beginners, the design should be fairly simple. No letters, no words, no numbers!!!!

Here are some sketches…I have to approve their final designs before they cut.

After approval, students transfer design to eraser. Placed traced design ‘dirty side down’ on the eraser and rub with edge of Popsicle stick to transfer.

Carve eraser:

Rules:

  • Stay seated.
  • Keep eraser flat on the table.
  • Grip cutter as if it was a pencil.
  • Make shallow cuts, not deep.
  • Your cutting hand should stay low, close to the table. Your wrist can go up about an inch above the table.
  • Direct cuts away from your body.
  • Rotate eraser so that cuts are directed away from your hand.
  • Cut away white portions of design.

Printing:

Time to print! Students could use a stamp pad or color their erasers with watercolor markers (we used Crayola markers). The stamp pad method is quick, but the marker method allows more variety.

Instructions on the board.....

Student Results:

Carved eraser stamps inked with watercolor marker.

6th grade artist thought overlapping colors 'looked 3D'

This student hand-colored her stamp with markers.

Group project with three stamps (hand-colored with markers).

Student hand-inked design inspired by Nike logo and colored negative space with marker.

Many students said this was their favorite project ever!!!! They are clamoring to go on to part 2, a design based on their initials. To be continued!

It is also a special joy for me to see the 6th graders complete the project – I have had about 25% of these kids since they were 5 years old and learning how to write their names.

This printmaking project is also great opportunity to discuss art principles and elements: repetition, unity, and variety. It is appropriate for grades 6-12.

Related Posts Plugin for WordPress, Blogger...