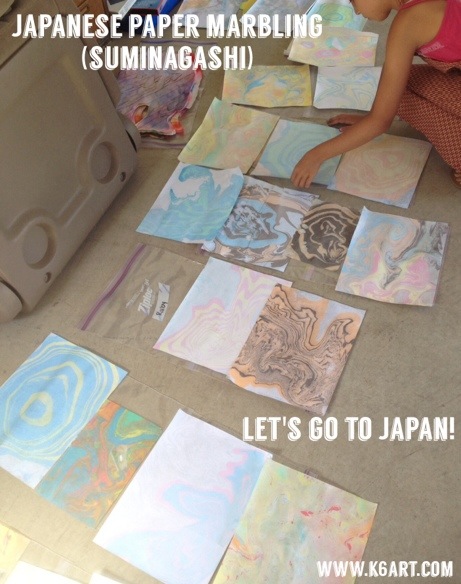
Looking for a fun printing project? Want to try a Japanese technique? We made suminagashi marbled paper mono prints at my Japan-themed art camp this summer. The project was easy and very successful. No two prints were alike, and my campers loved the process.
Please see the Blick video tutorial at the end of the post – it shows the entire process.
You will need a special marbling kit for this project. It costs about $15. You can use it to marble paper or fabric.
Aitoh Boku-Undo Suminagashi Marbling Kit – $14.98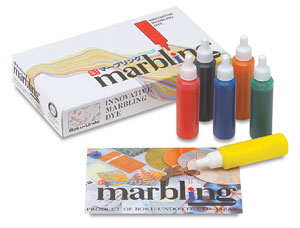
from: Blick Art Materials (note: this post contains affiliate links)
Materials
- Basins for water
- Suminagashi Marble Print kit (available at Amazon
and Blick)
- paper** to fit basins
- small brushes
- palette with wells
- thread
- newspaper to project tables and skim surface of water after printing
- horizontal drying space
- smocks or aprons
(**Note: The best paper has little sizing. I didn’t want to buy expensive paper for art camp. We experimented printing with different types of paper. We tried copy paper, recycled drawing paper, and thin Japanese calligraphy paper (ugh – too thin. It ripped).
We tried two types of printing: alternating concentric colors (I call them ‘tree rings’) prints, and float paper prints (intense colors).
Concentric ‘tree rings’ prints
I was inspired by this EXCELLENT post from Julie Voight’s Art for Small Hands blog. Julie has ALL the instructions and lovely student examples for creating the beautiful concentric prints. You will need the palette and tiny, thin paintbrushes for this. Dip the brush in dye, and barely touch the water with the brush tips. Alternate colors. (NOTE: SEE THE BLICK VIDEO AT THE END OF THE POST). This is a very neat process, and you only use a little bit of color (your $15 kit will last a very long time).
We created single and double prints.
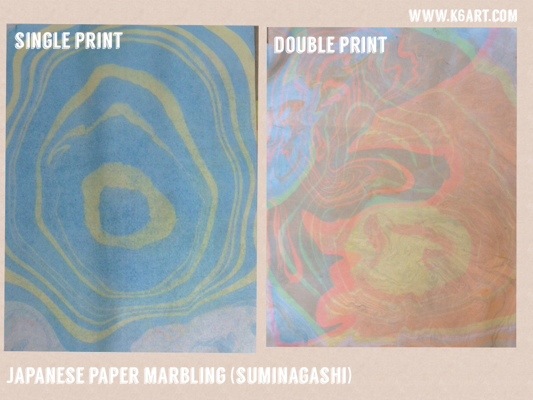
‘Float paper’ prints.
Bold! You need the reusable coated paper circles that come with the kit. You float the circles on the water, then aim drops of color at them straight out of the bottle.
To swirl and marble the ink, we experimented with blowing the floating ink, and dragging a single thread through it. We also tried second ‘ghost prints’ after our initial prints.

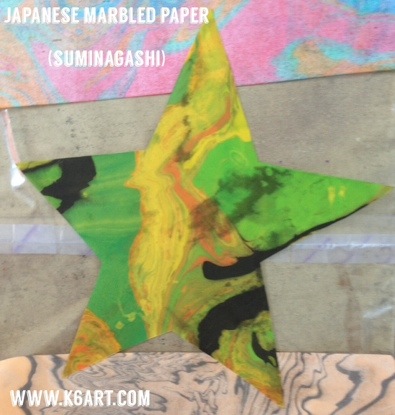
We also printed onto some yellow paper stars I had left over from another project. The colored background looks great!
This used more dye than the concentric ring project. It can be a messier option. The kids had to squeeze the dye straight from the bottle, then recap the colors and put them down. Soon there was bright color on the outside of the tubes. Next time I will arrange some sort of stand so the tubes can stay upright (and uncapped) for the printing process.
Video tutorial
Here is a great 10 minute tutorial from Blick.
Give suminagashi a try. It truly is a no-fail project.
Enjoy!

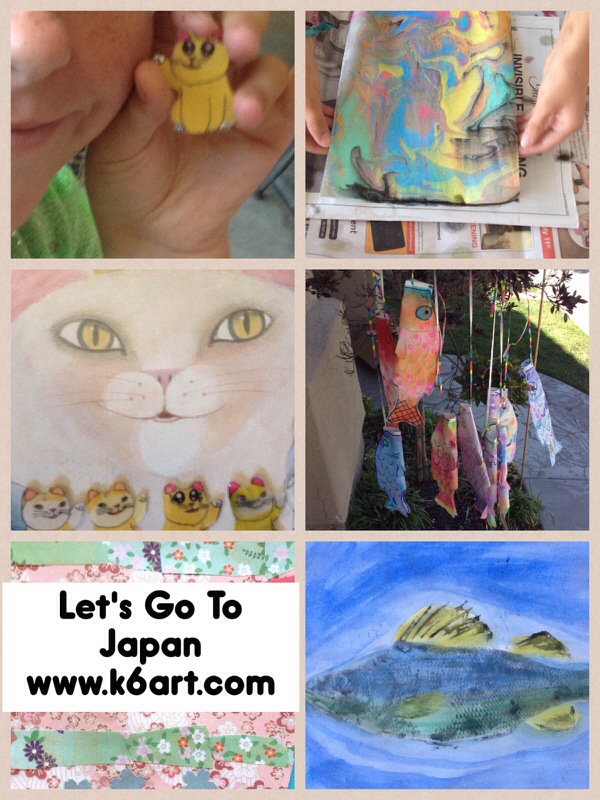
This project was part of my ‘Let’s Go To Japan’ art + cooking camp. Here are our other art and cooking projects:
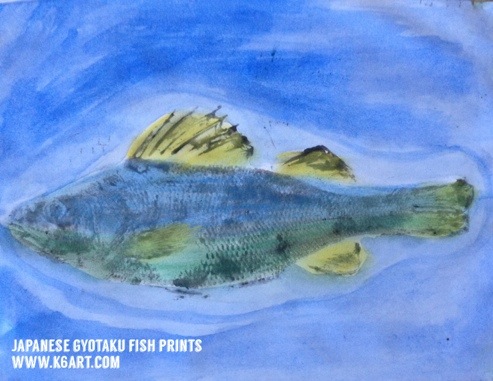
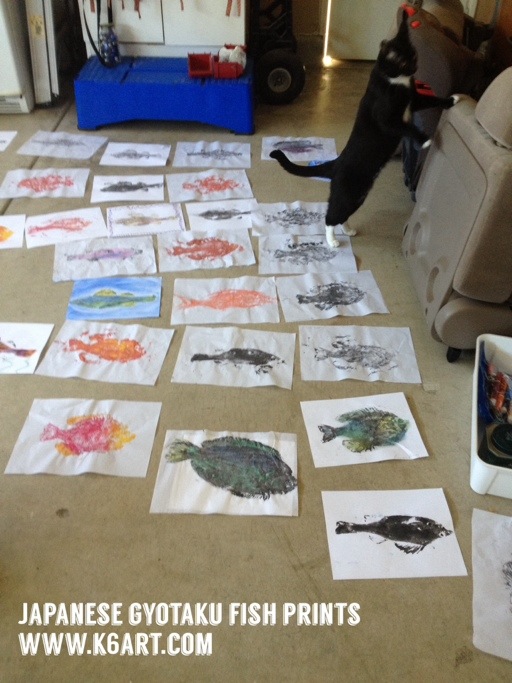
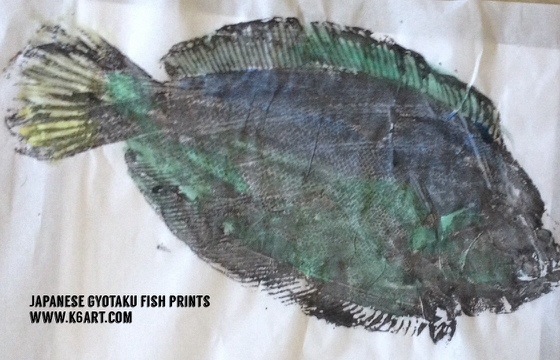
- Hand-tinted Gyotaku fish prints
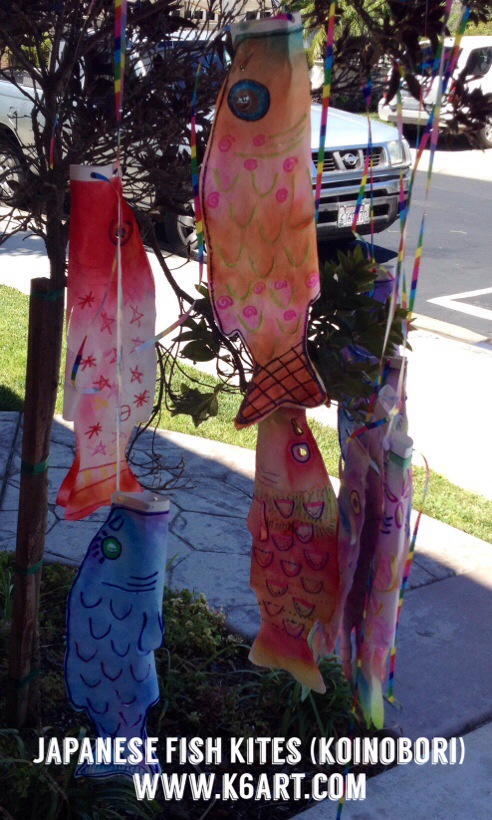
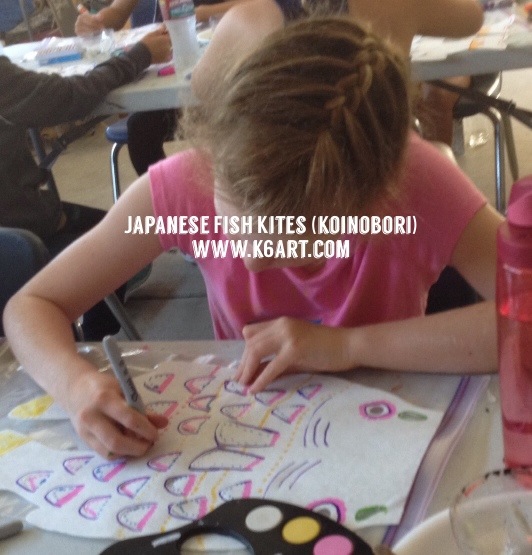
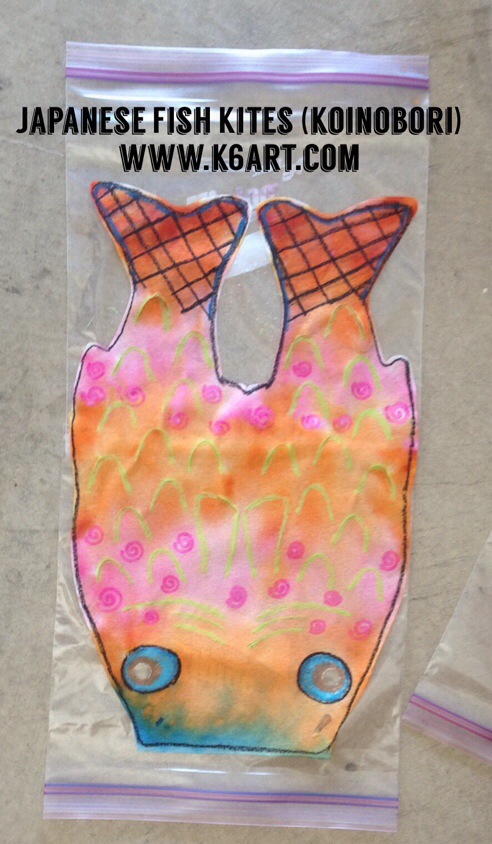
- Koinobori fish kites
- Origami Cloisonné Collage
- Koinobori charms
- Beckoning Cat (Maneki-Neko) charms
- Mushi-pan steamed cupcakes
- Japanese banana/strawberry/vanilla crepes
- Decoben decorated bento box lunches
Plus tons of kids books about Japan!
Thanks to Dahra and Ilana, our fabulous teenage helpers for all their assistance at camp.