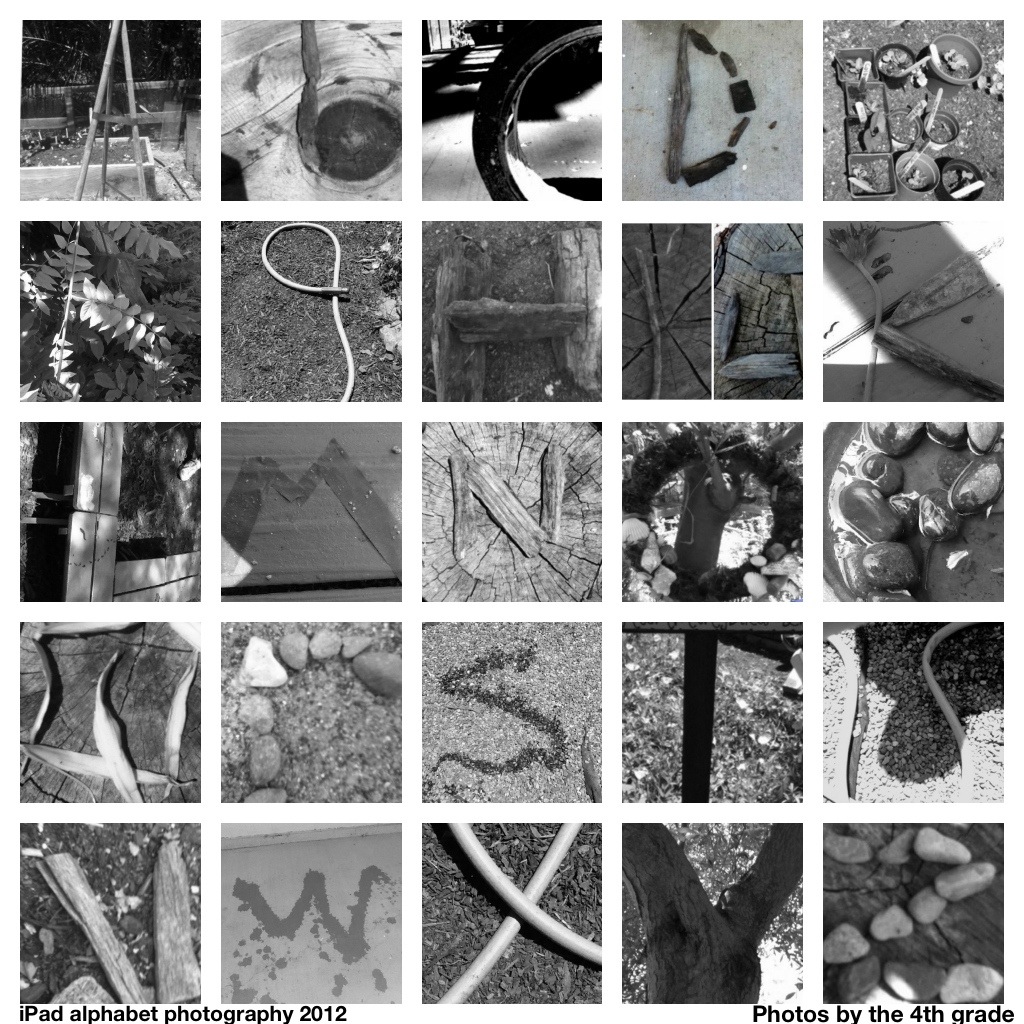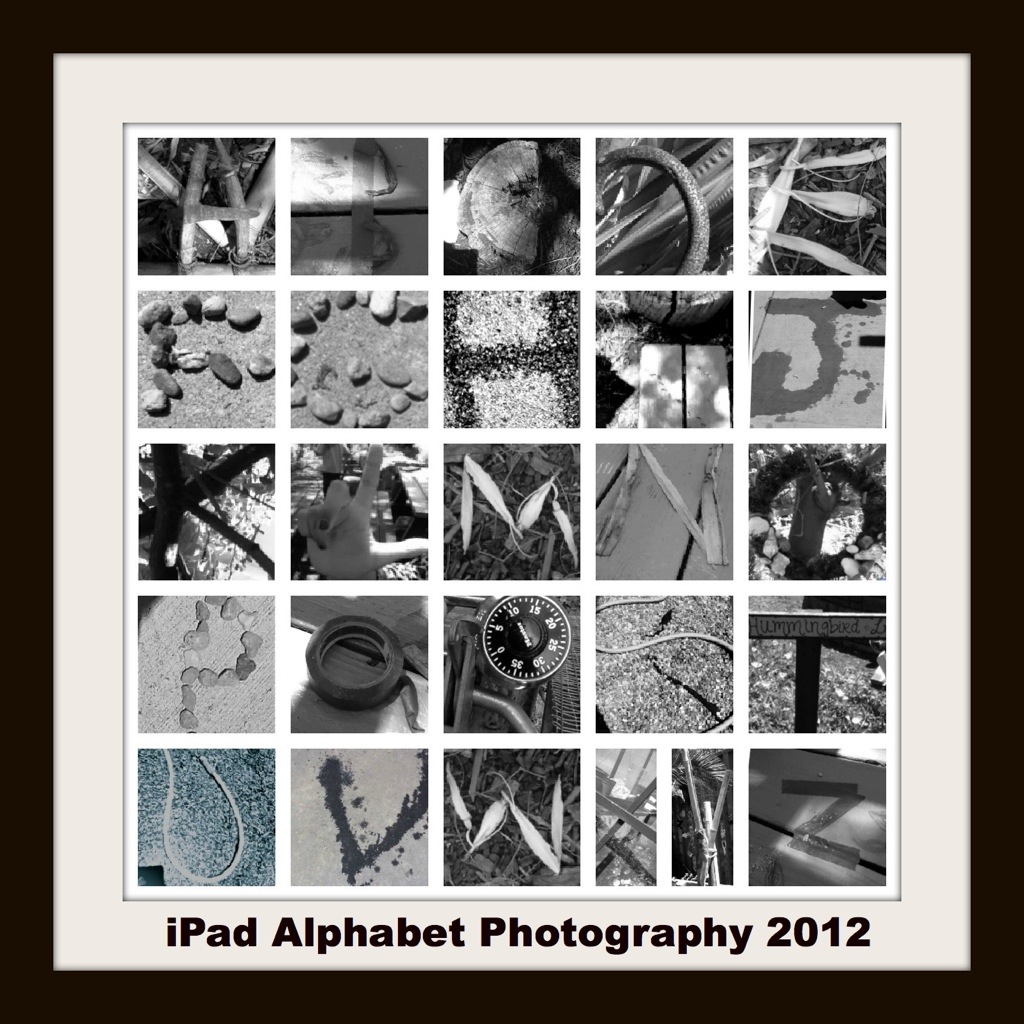
It’s winter! Time for a snowflake project. Our sixth graders just finished their cut paper snowflake projects, with a special twist: all the snowflakes were designed on iPads.
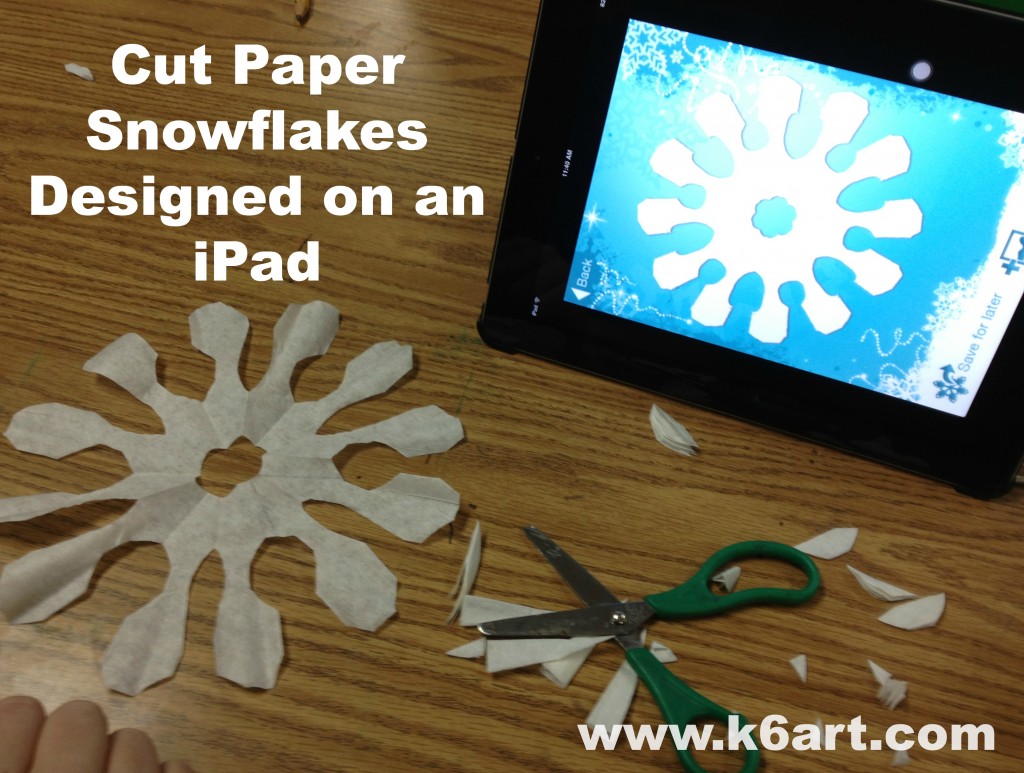
Students designed snowflakes on iPads using the My Flake app, then cut paper snowflakes to match. Allow one 40-minute class.
Materials:
- round coffee filters (I got a pack of 150 at my local dollar store)
- protractor (optional)
- scissors
- pencil
- iPad, iPod Touch or iPhone with FREE My Flake app
- Optional: construction paper and glue stick or spray glue for mounting
Snowflakes and Symmetry:
We began class by viewing this excellent slideshow of magnified snowflakes from the book The Art of the Snowflake: A Photographic Album by Kenneth Libbrecht.
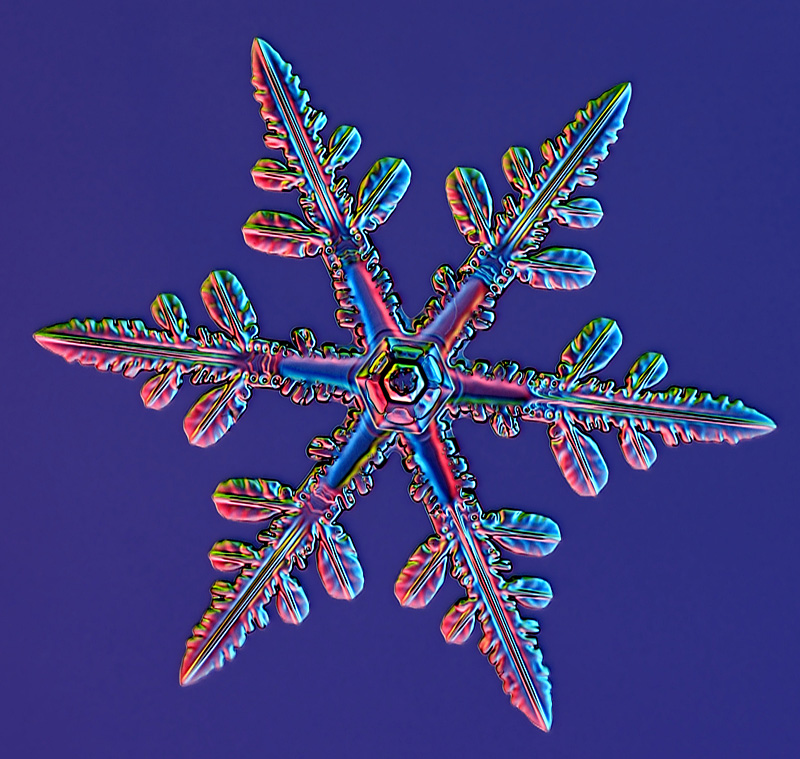
Magnified snowflake photo by Kenneth Libbrecht.
Source: scientificamerican.com
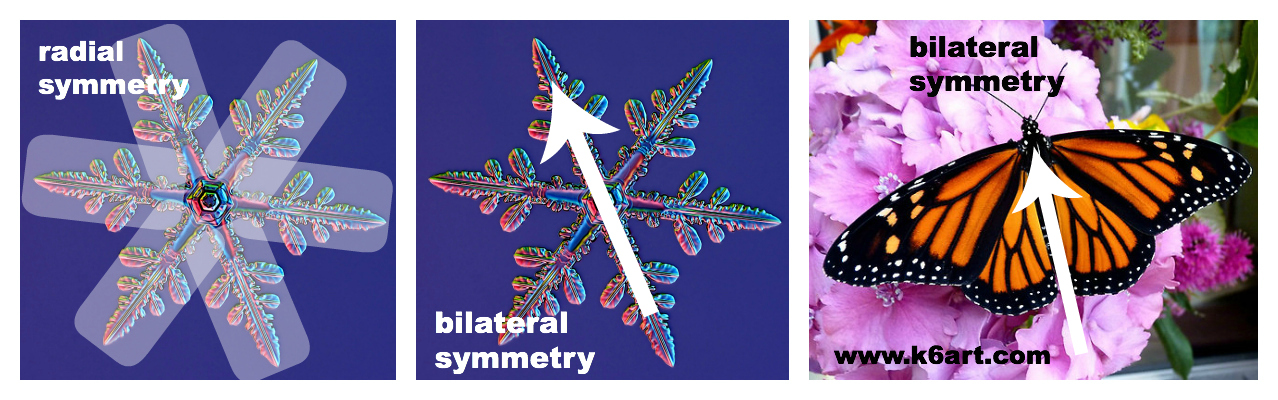
This is a good time to discuss radial and bilateral symmetry. Just like real snowflakes, our iPad and cut paper snowflakes will have radial symmetry, with six identical branches.
Folding the Paper
Next we folded our coffee filters in sixths. Students folded the round coffee filters in half, then used a protractor to divide the semi-circle into thirds. See this post from the Heart of Wisdom blog for great directions on folding the coffee filters.
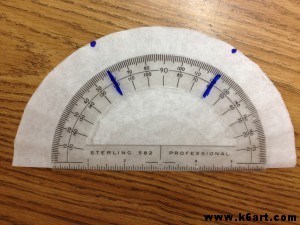
Cut paper snowflakes start with a round coffee filter folded in half, then into thirds. Then one more fold in half to create a skinny wedge.
Designing the Snowflake on the iPad
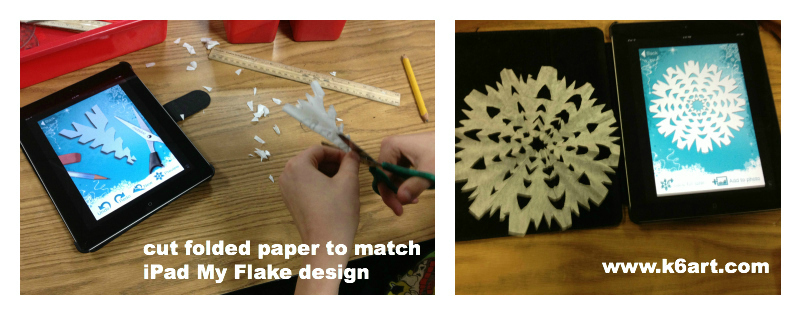
I demonstrated how to use the My Flake app, guiding my finger on the screen to make virtual cuts on the paper image.
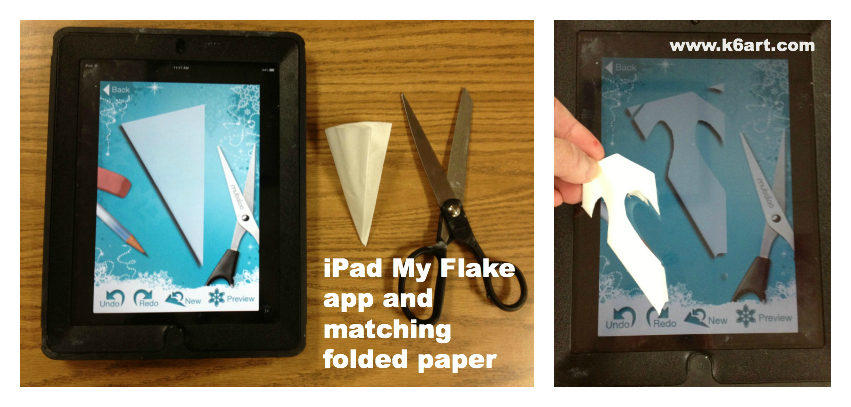
Students spent the next five minutes exploring the My Flake app. The app allows them to test out different designs virtually by ‘cutting’ a folded paper image, then previewing the design. They can go back and undo or redo one ‘cut’ at a time, and preview the resulting changes.
Once the students settled on a final design,they copied their My Flake design on the folded paper, and finally cut the folded paper to match.
Tip: encourage students to try a simple design on their first snowflake, and draw pencil lines lightly.
Sixth grade student work:
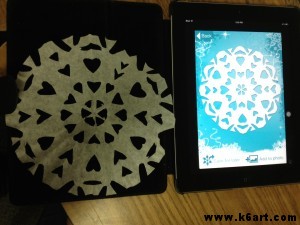
Matching paper and iPad snowflakes
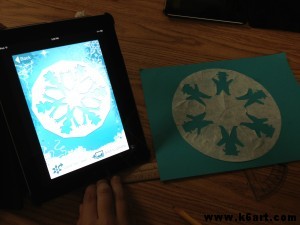
Mount cut paper snowflakes on construction paper.
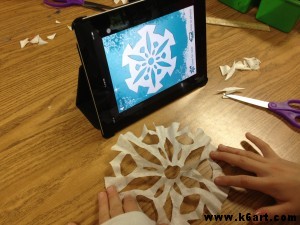
Our school is 1:1 iPads in grades 4-6. However, this project can be done collaboratively in pairs or in small groups. Several students can share an iPad, each adding a virtual cut or two. Then they can all cut the group design (U.S. art teachers – collaboration is a big part of new Common Core standards).
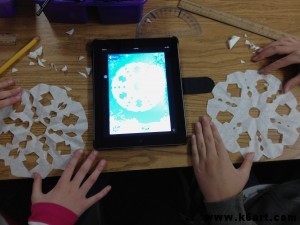
These two students collaborated on an iPad My Flake design, then both cut to match.
On its own, the My Flake app may also be an option for an inclusion activity. Students who cannot easily manipulate scissors may be able to design virtual snowflakes on My Flake and print them out for decorations.
More resources:
If you don’t have an iPad: use the Make a Flake website.
If you are looking for a book to accompany a snowflake project: our librarian likes Snowflake Bentley, the Caldecott-winning book by Jacqueline Briggs Martin about real-life snowflake photographer Wilson Bentley.
More fun snowflake resources on my cut paper Pinterest board.
Thanks to Dryden Art and Brunswick Acres Art for sharing My Flake and other resources on their blogs. Thanks to N.T., one of our awesome sixth grade teachers, for support on this project.
Do you use iPads in the art room?
Do you have a favorite app?