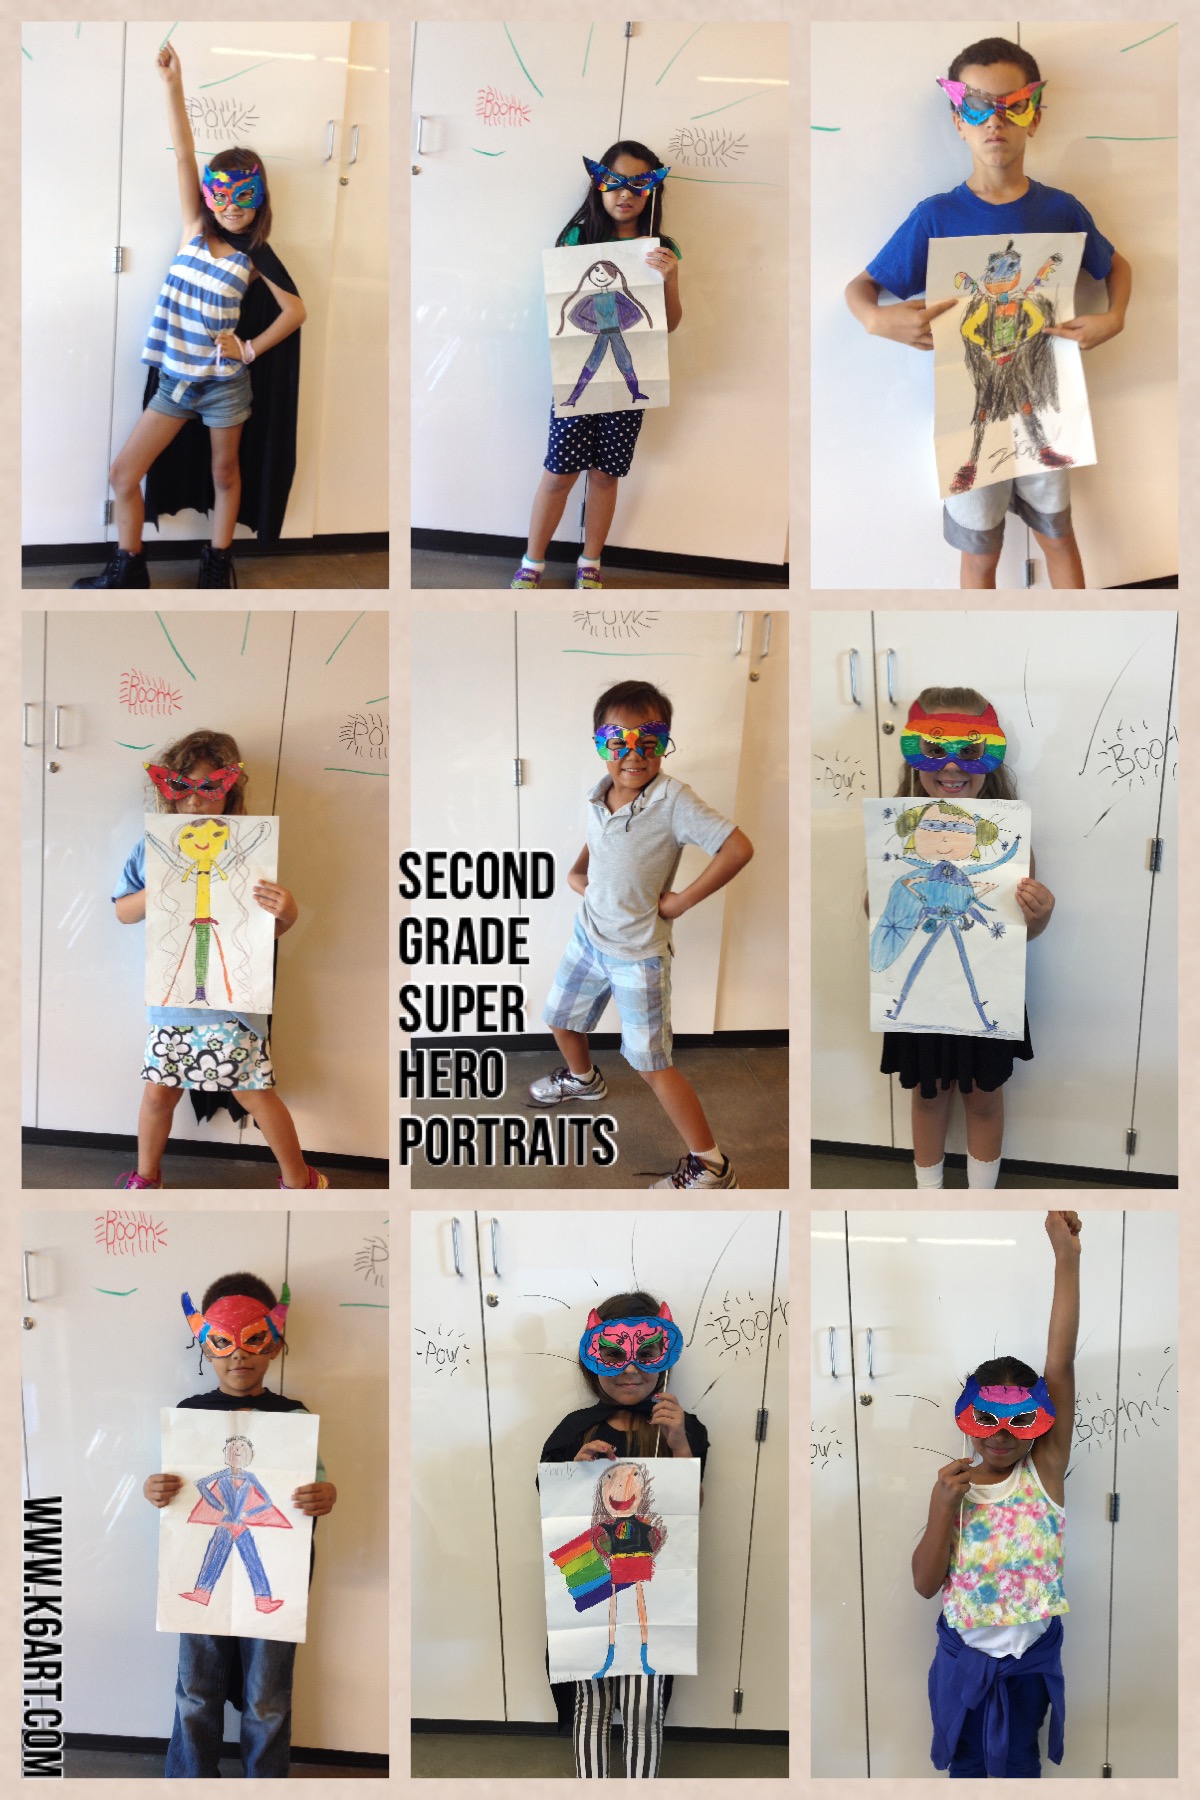
Our first graders just completed an Andy Warhol-inspired project in their general ed classroom. After reading Getting to Know Andy Warhol, they drew a single common object. In past years, their teacher would take the drawings to the copy machine, reduce them and make four images of each child’s art. The children would then color the copies. This year I consulted with the first grade teacher about how to use iPads to simplify the process. We ended up with two options using the iPad camera and two free apps: PicCollage and Pop Art Lite.
Pop Art Lite does only one thing: turn artwork into 4-part Warhol grids. I like Pop Art lite because you can change the color scheme. Warm, cool, complementary, analogous are choices you can make.
For PicCollage, kids take a photo of their drawing with the iPad, then put that photo in each quadrant of a grid. You can adjust the filter color, or print out the PicCollage and then hand color it.  Getting To Know DVDs – $29.95 from: Blick Art Materials (compensated affiliate link)
We used this Warhol soup can template from the E is for Explore blog during our art show. I read that Warhol used a ‘semi-mechanized’ method for creating his soup cans – I figure a copy machine is also semi mechanized. Here are the results.
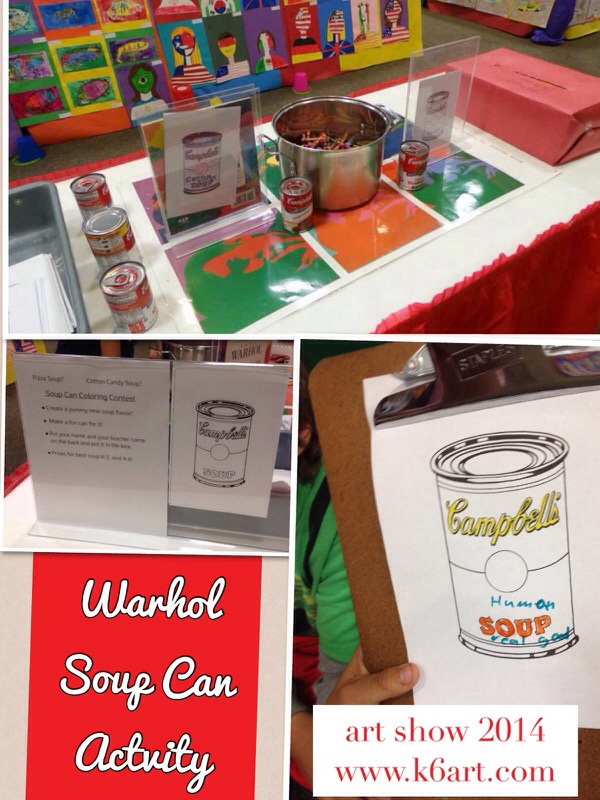
Our interactive coloring contest ties in to the FEAST! unit.