I received an advance copy of a new book, Too Much Glue. It’s a story absolutely perfect for kindergarten and first grade for the first days of art class – especially when you are teaching them how to use glue!
The story is about a boy named Matty who ignores his art teacher’s rules for white glue – ‘raindrops, not puddles’ – and uses so much glue that he glues himself to the table. His friends try to help, but they make the problem worse. By the middle of the book Matty is still trapped. The bell is about to ring! The carpool is waiting! How will Matty get out of this mess?
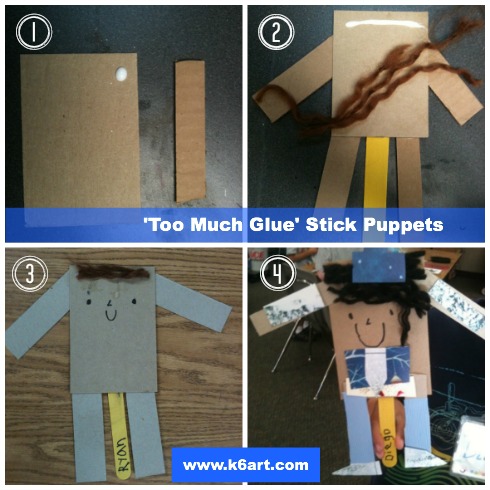
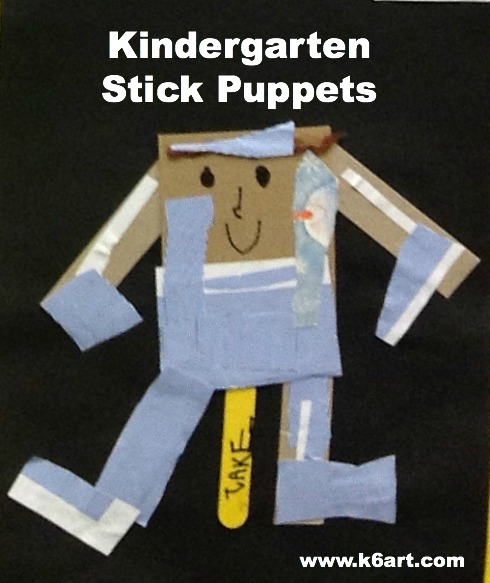
My kindergarten stick puppet lesson is a great tie-in project for this book. We used white glue, cardboard, Sharpies, popsicle sticks and paper and yarn scraps. Kinders LOVE to make art they can play with! Click here to see all the instructions.
This year we added ‘clothing’ with the amazing glue sponge. Click here.to learn how to make your own!
Too Much Glue by Jason LeFebvre and Zac Retz will be available at Amazon.com and Barnes and Noble by December, 2013.
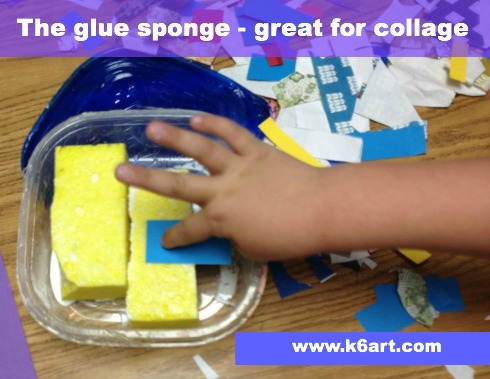
If you like to do collage projects with young students, this post is for you. I just discovered the glue sponge! It is perfect for gluing small pieces of paper. It is much easier and neater than glue bottles and glue sticks, especially for kindergarten and first grade.
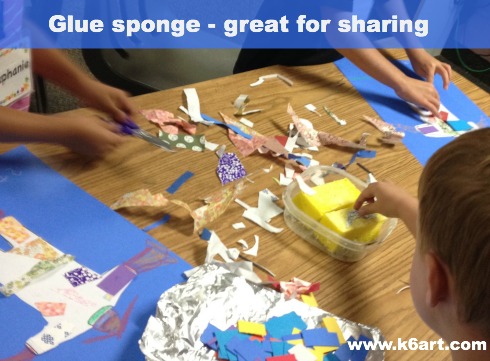
To make your own glue sponge, click here. You’ll need a lidded plastic container, sponge, white glue, and a spray bottle of water. It was a great way to use my half-empty glue bottles leftover from last year. We made one glue sponge per table, to be shared by four students.
Kinders collaged origami paper, construction paper and copy paper. They loved it. The papers dried smooth and flat. Nothing fell off!
Benefits
much less messy than white glue in the bottle
easier than glue sticks
no waste
easy to share
easy to store
Just mist with water before closing, and turn sponge occasionally. Tip: don’t saturate with water – these work best when tacky.
Take a look at the kindergarten paper sculpture in this post from Art for 1170. The glue sponge is good for paper sculpture too!
We’ll still use glue sticks for larger pieces of paper, and glue bottles for beads and such. For collage with small pieces of paper, I’m sticking with the glue sponge 🙂
Elmer Day Parade plus book Elmer(lesson plan purchase from Deep Space Sparkle). Spring
Note which season we completed the art projects. Kindergarteners develop so much during the school year. I would never do my spring projects the first weeks of school! Most kids just aren’t ready yet. Be patient – they will be by late spring.
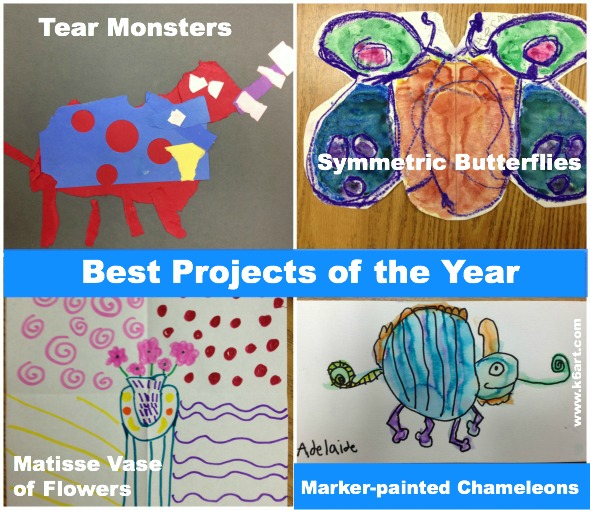
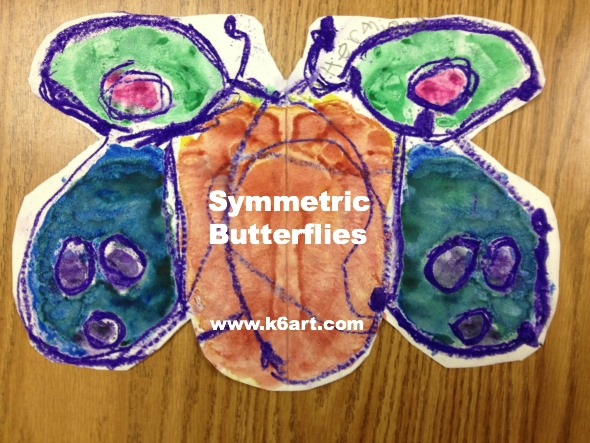
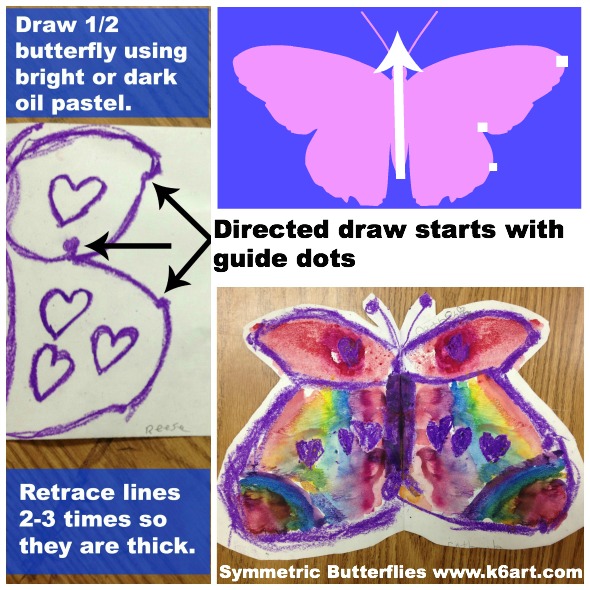
Here is a nice butterfly watercolor resist project that teaches symmetry. It was very popular with the kindergarteners and first graders.
Materials:
white paper, 9″x12″
oil pastels in bright or dark colors (NO yellow, light pink, light blue, white, etc.)
rubbing tool – optional (I use the flat side of a beginner pencil)
watercolors
Optional: scissors, glue stick and colored paper for mounting
Discuss symmetry
Introduce symmetry. We talk about how our faces are symmetric. Then we look at butterflies and identify the line of symmetry.
Create 1/2 butterflies:
Students fold paper in half ‘the short way’ (aka hamburger fold). Do not unfold paper. Using oil pastel, direct students to create a series of dots on ONE folded half. The students then connect the dots to make a 1/2 butterfly.
Now ask students to trace their lines two more times using that same oil pastel. Students should press hard – oil pastel lines should be thick and dark.
Students can add some simple decorations such as shapes and lines to their 1/2 butterflies. Remember, each decoration must be traced a total of three times.
Ready to rub:
Now students close up their papers so the color is on the inside of their ‘books’. Time to rub HARD. I have students stand up so they can put their whole bodies into it! We use the flat side of a beginner pencil for this. You could use the flat side of a popsicle stick as well.
Now open the ‘book’. Students should see a ‘ghost’ image (faint lines) opposite their oil pastel drawing. You will hear oohs and aahs of amazement!
About 75% see the ghost image the first time they try this. If the oil pastel didn’t transfer, it means a) the students didn’t retrace their lines hard enough and/or 3)the students didn’t rub hard enough. I ask neighbors to help their friends out at this point. On their second try, the remaining students all succeeded.
The next step is to retrace the ghost lines with that same color of oil pastel.
Paint
Finally, paint the butterflies with watercolor. Encourage students to keep their butterflies symmetric – match up the paint colors on the right and left sides of the line of symmetry.
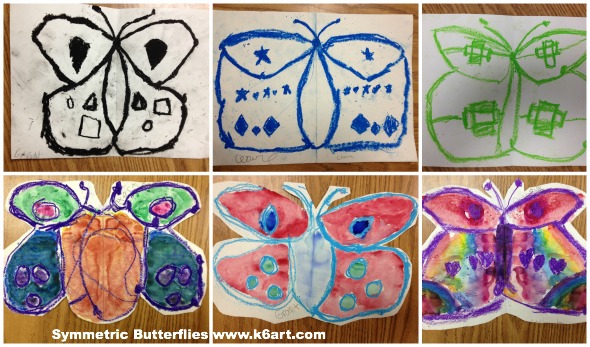
Kindergarten and first grade results
Options for finishing the project: cut out the butterflies, mount on construction paper. Or just trim and stick onto your window or bulletin board.
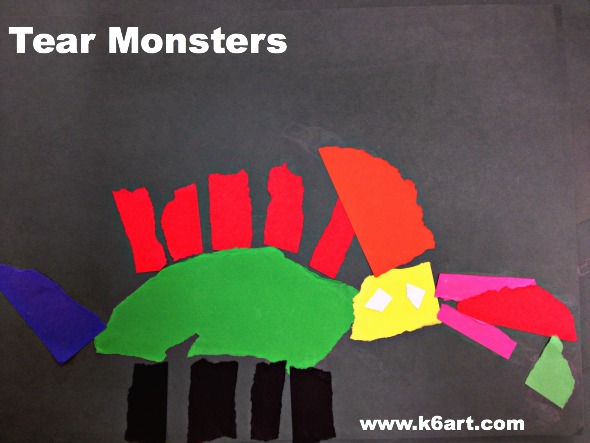
Here is a project I did in the late spring with the kindergarteners. It was a fun way to use up all my colored paper scraps. The kids loved it!
Materials
black construction paper, 12″x18″
colored scraps of construction paper
glue sticks
Art Project
Talk about monsters. What body parts do they have? Claws, fangs, wings? What else? Do monsters have to be scary? Or can they be friendly?
Model Tearing
Model the correct way to tear: ask students to hold up a small rectangle of paper, and pinch the paper with both hands. Now put the hands together. Make a short tear in the paper, then another and another, always keeping the hands together.
Tear, Arrange and Glue
Students can begin by tearing a larger shape for the monster’s body. The ragged edges look like monster fur! Keep tearing the larger pieces such as neck and head. Arrange these pieces on the paper. Students can rearrange until they find a composition they like.
Glue down the large pieces. Now add the small details – stripes, claws, eyes, etc.
Encourage kids to share scraps. Don’t let them throw away anything! Others can use the scraps for their monsters.
I love how each monster is unique. Friendly, funny, scary, weird…each one has their own personality.
Enjoy!
P.S. Want to organize and manage all those paper scraps? Click here and here and here for helpful ideas via Pinterest.