

Textured curling ribbon tied in a bow looks great on this wrapped gift. The gingerbread man is trimmed in rick rack.
Need a fun and flexible holiday project? Try making you own collagraph crayon rubbings, using cardboard and scraps. The project takes about one hour and is adaptable to all sorts of holidays like Valentine’s Day and birthdays.
Materials:
- light cardboard, 8.5×11″, two per student
- scissors
- pencil
- glue stick
- textured fabric trim such as ribbons, rick rack and lace
- optional: hole punch
- optional: ‘wavy’ craft scissors (like these scallop Fiskars Paper Edgers)
- copy paper 8.5×11″ or other thin paper
- peeled crayons
Create the collagraph rubbing plate
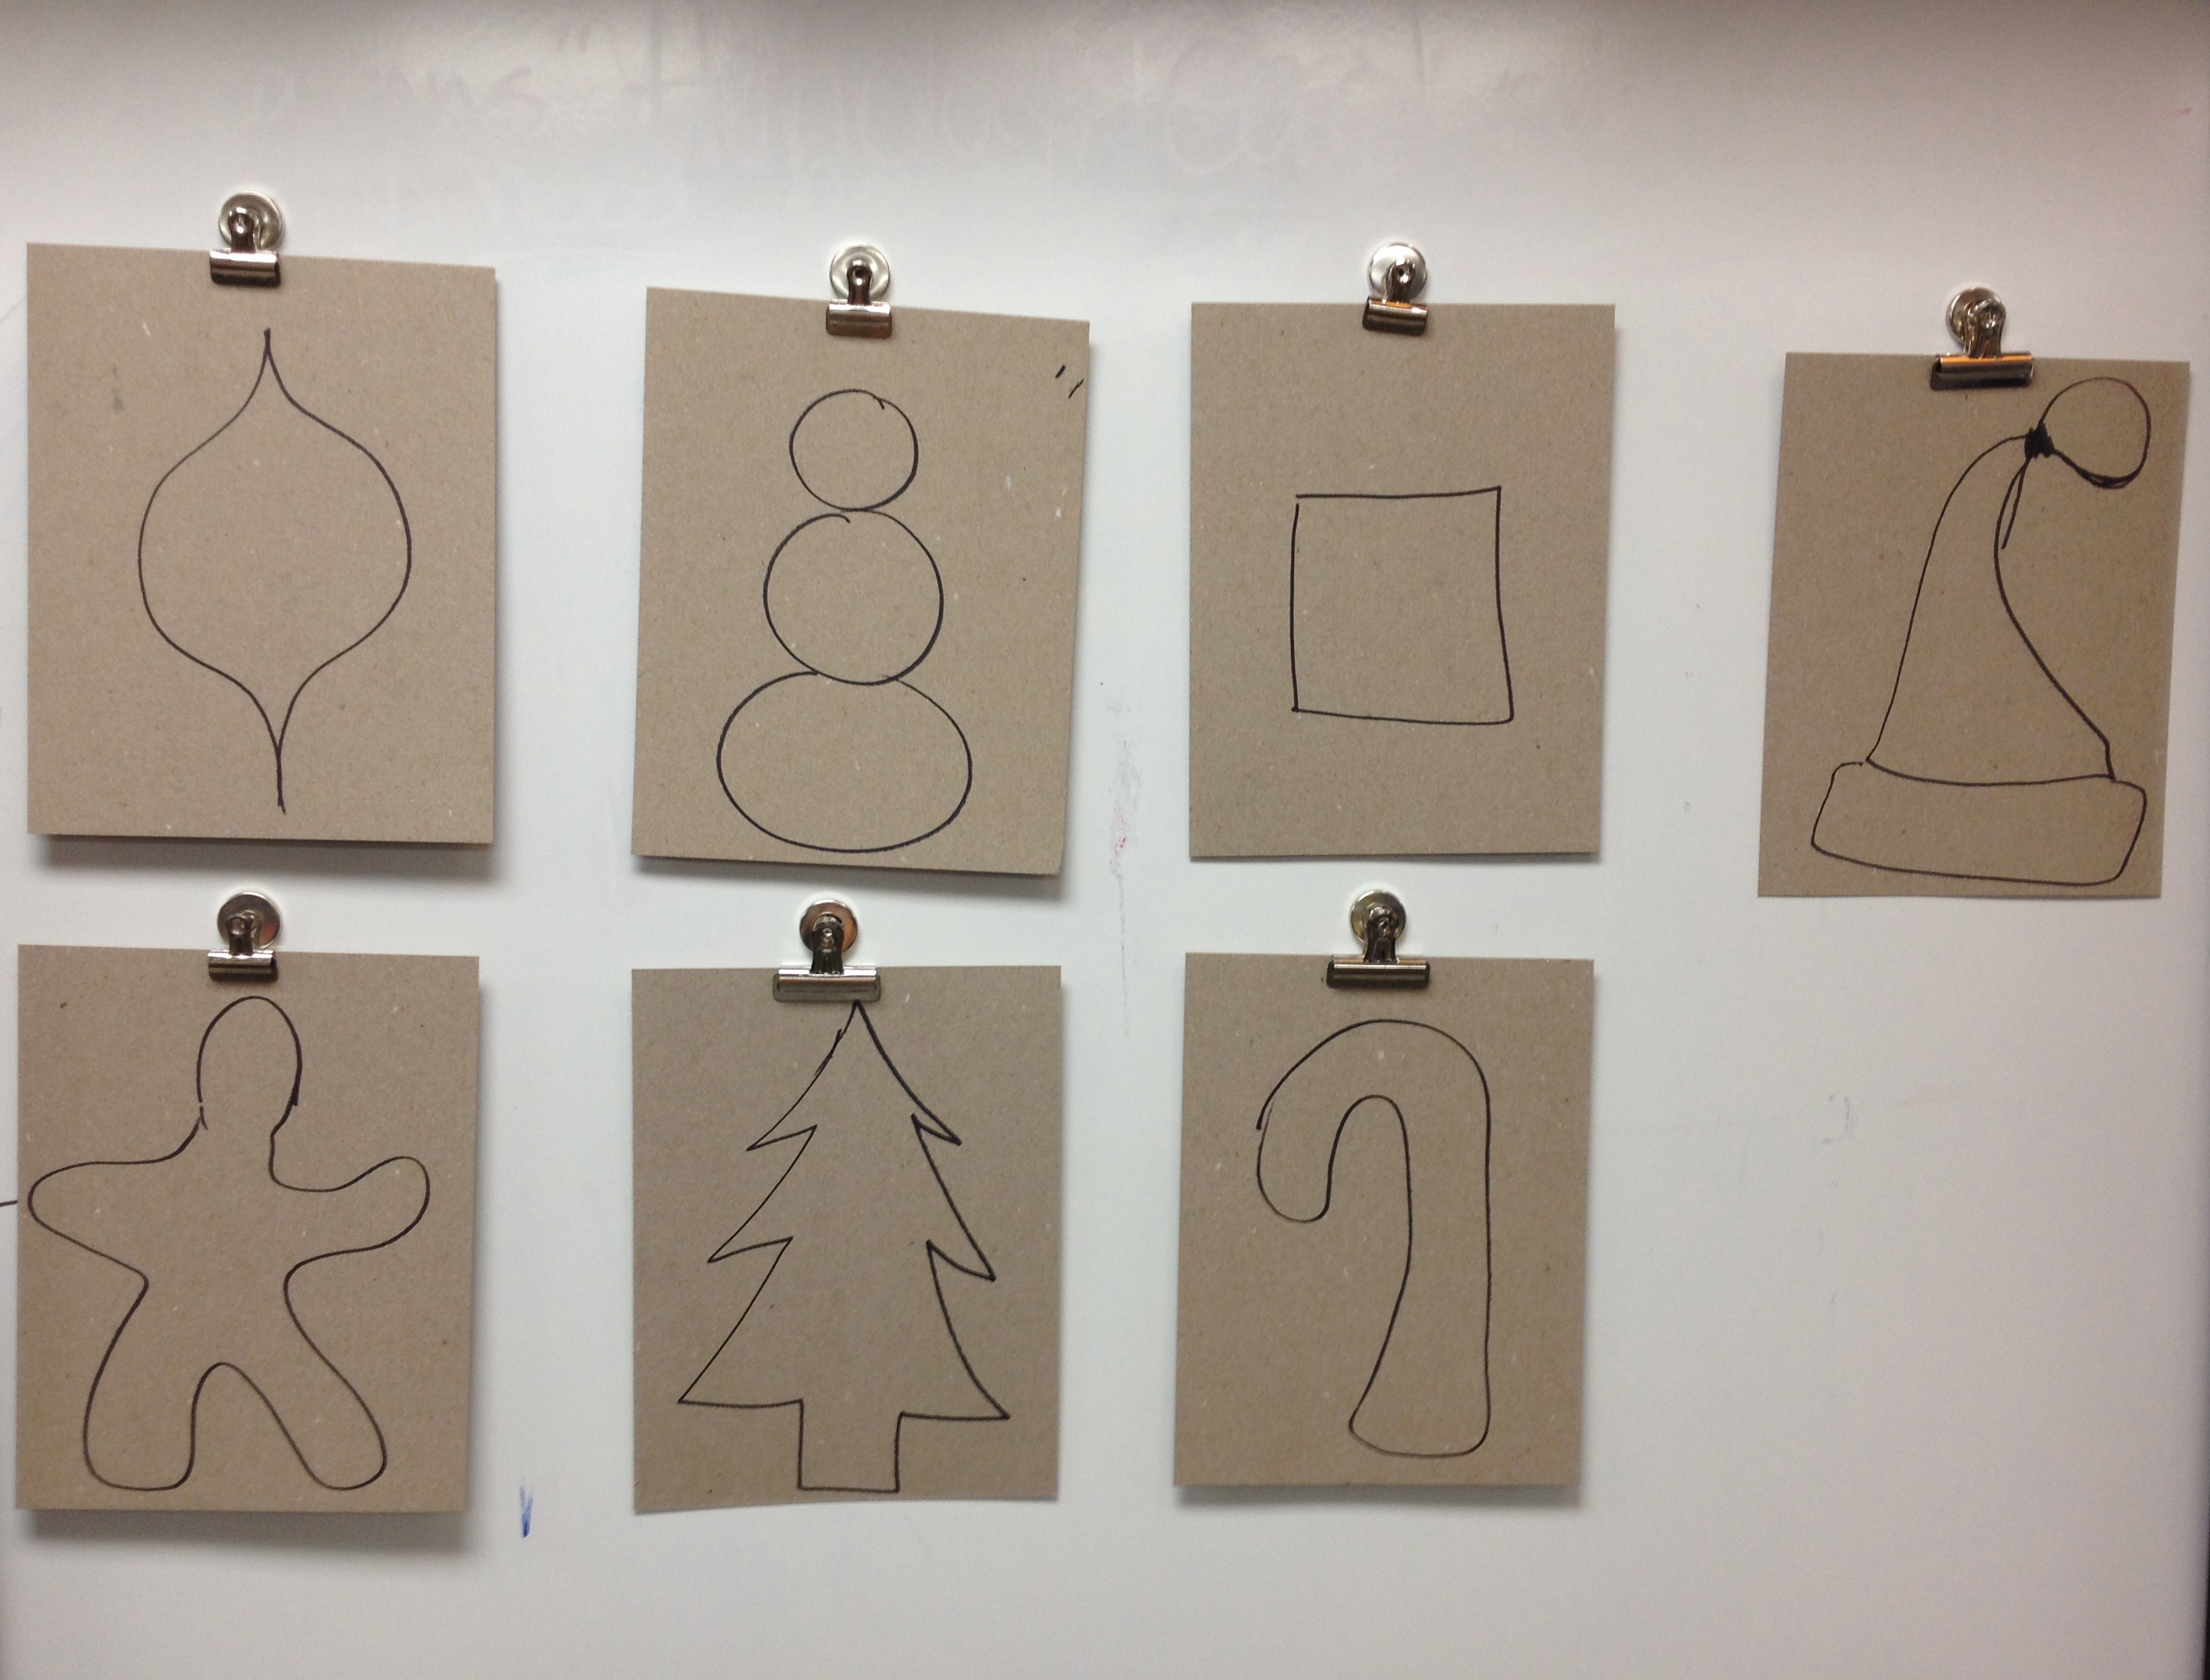
Students drew one holiday shape on cardboard, then cut it out.
Select one holiday shape for the main part of the collagraph. Draw the shape on the first piece of cardboard and cut it out (note: for those students creating their own designs, emphasize that the design needs to be simple and stretched to the top and bottom of the page).
Glue the cut-out shapes to the second piece of cardboard using glue stick. You have now created a collagraph rubbing plate.
Now for the fun!
Cut decorations for your collagraph plate from your cardboard scraps and from fabric trim. Experiment with the craft scissors and the hole punch. Glue these decorations on top of and around your main shape. LAYERING IS GOOD! TEXTURE IS GOOD!
Now flip over the collagraph plate and place it face down on your chair. SIT ON THE CARDBOARD AND COUNT TO 30. (It is so fun to do this step!) Now all the pieces are glued down are we are ready to rub.
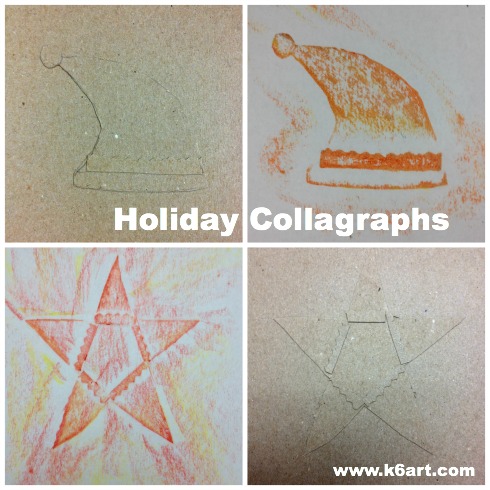
Santa hat and star, decorated with cardboard cut with Fiskar paper edgers.
Creating the crayon rubbing
Place your collagraph face up on the table. Cover with the copy paper. Rub with a peeled crayon (note: it is helpful to have a partner hold the plate while the student rubs). Repeat with another crayon color.
Now trade collagraph rubbing plates with your neighbor. Or rotate tables so everyone comes away with a set of holiday cards.
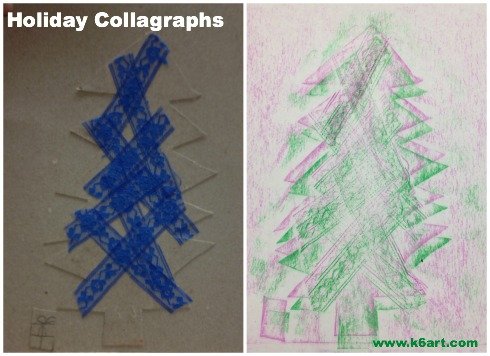
This students glued lace to her tree for texture. She did two rubbings with green and magenta crayons.
This technique would make awesome cards for birthdays – imagine a collagraph layer cake with rick rack candles. Imagine a textured doily rubbing plate for Valentine’s Day cards.
If you want to take this project a step further, you can roll printer’s ink on the collagraph and pull some prints. You can also color or paint the collagraph plate so it become an artwork.
Want more ideas? Check out my previous post on 30-minute collagraph printmaking.
Enjoy!

Do you have a fun way of making holiday cards?


