Decorated Clay Cupcakes

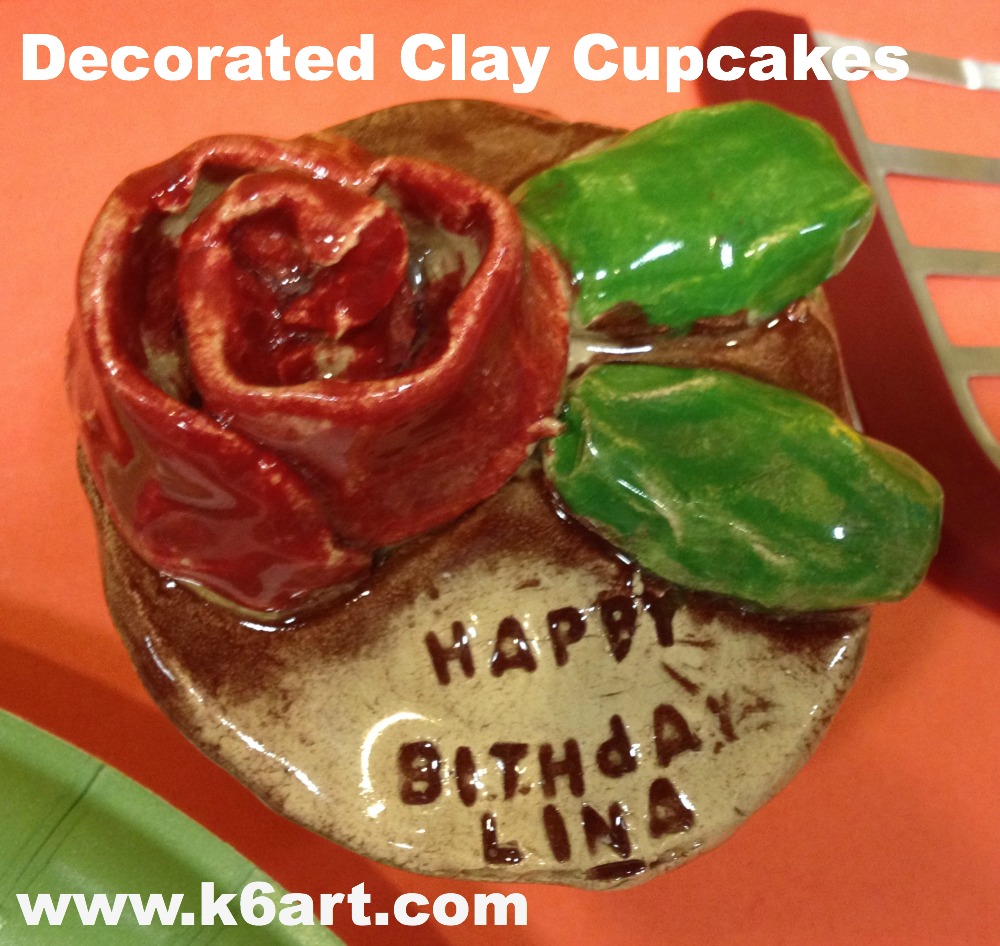
decorated clay cupcakes feature lettering and clay roses and

These lidded clay cupcake boxes are extra-special: they feature lettering and clay roses!

decorated clay cupcakes feature lettering and roses

Materials:

  • clay (we used low-fire white)
  • individual silicone cupcake molds (such as Wilton Silicone Baking Cups
    )
  • pin tool or plastic knife.
  • white vinegar
  • q-tips
  • alphabet pasta (I use La Moderna brand from the Hispanic food section at Wal Mart).
  • underglaze
  • clear glaze

Make the cupcake base

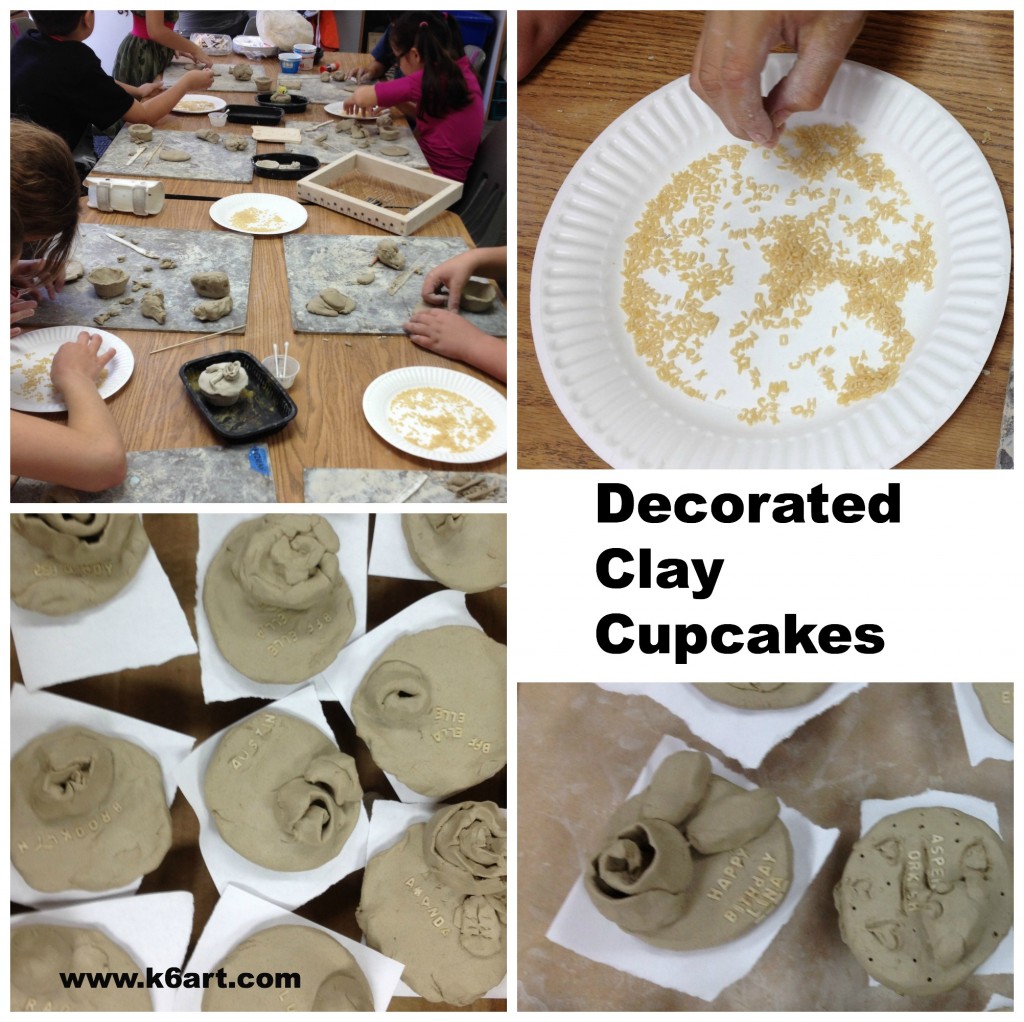
Give each student a lump of clay and a silicone cupcake form. Create a pinch pot, place it in the silicone form and press the clay all around against the textured sides of the form. If the clay pot is higher than the form, trim the clay with a pin tool or plastic knife.  Turn form inside out and remove from clay. Students should write their name on the bottom at this time.

Make the cupcake lid

Take some more clay and roll into a ball. Flatten the ball. Invert the top of the cupcake form and place onto of the flattened clay. Trim clay to fit cupcake form. Write student name on one side of the lid.

Want more tips? Check out this clay cupcake post from The Art of Ed.

Adding roses

I saw this great post on making simple clay roses on the smART Class blog. Essentially, you create a coil (rope) of clay, lay it on the table, pinch the top (‘spine’) along the length of the coil, and spiral into a rose.  Please see the smART Class blog post for a full photo tutorial.

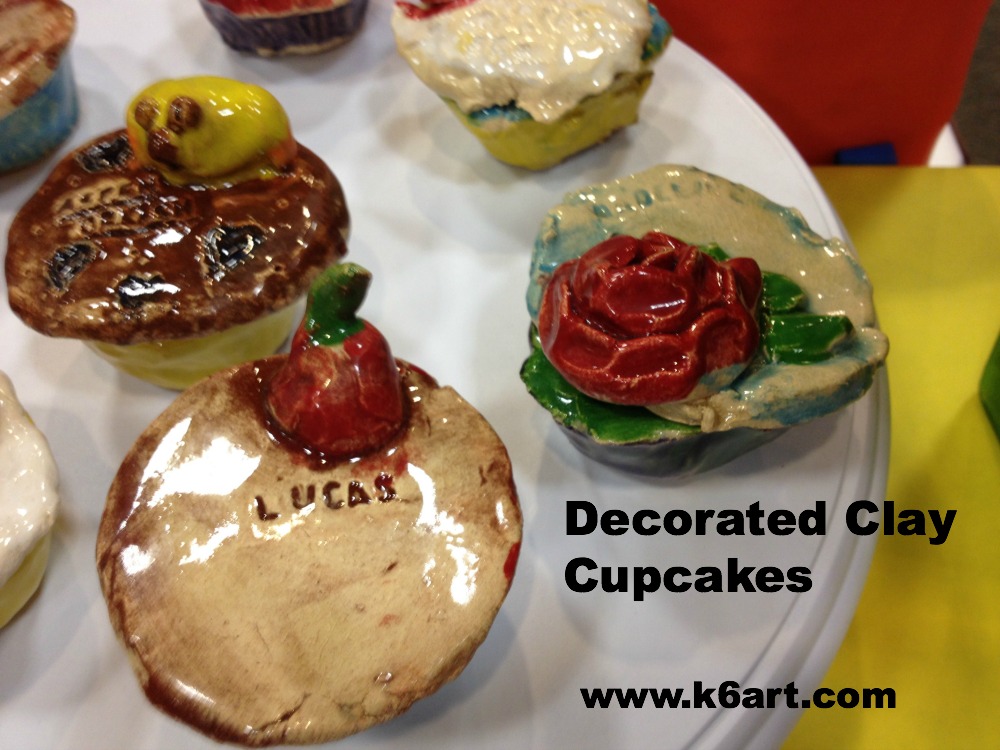
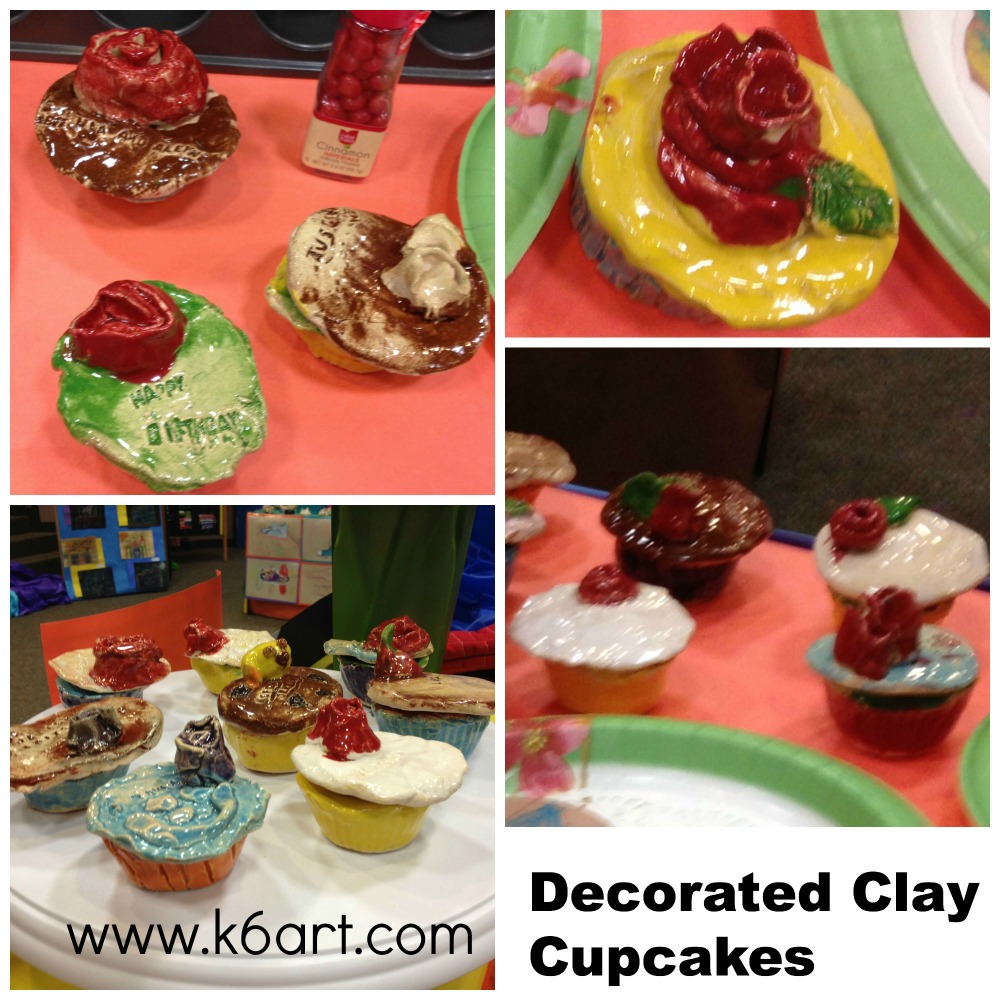
We attached our roses (and optional leaves) to the lid using vinegar applied with a q-tip. Some students skipped the roses and added other decorations. Variations included a sun, animal, wrapped present, and cherry.

(Note: vinegar is our glue. We use it instead of slip when attaching small clay objects).

Adding text

Pour some alphabet pasta into a plate. Press alphabet pasta into wet clay. Write a birthday message or anything else. Do not remove (the pasta will burn out in the kiln).

Fire to cone 04.

decorated clay cupcakes feature text and roses.

Glaze the cupcake

Glaze the base with three coats of underglaze.

If the lid has text, use a stiff brush to press a dark color of underglaze into text indentations. Wipe off the underglaze. The text should now be legible. Carefully glaze the roses/leaves/decorations with three coats of underglaze. When dry, add 2-3 coats of clear glaze. Fire to cone 06.

decorated clay cupcakes at the art show.

Enjoy!

p.s. This would be a nice Wayne Thiebaud lesson!

Art + Cooking Camp Recipe: Japanese Cupcakes

20140716-095721.jpg

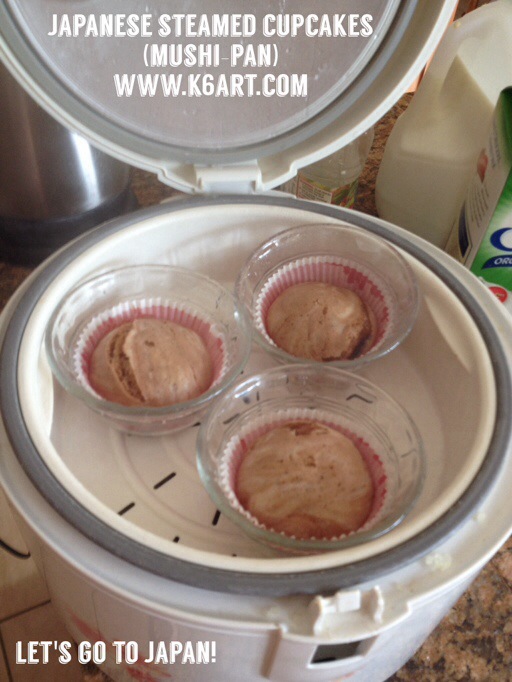
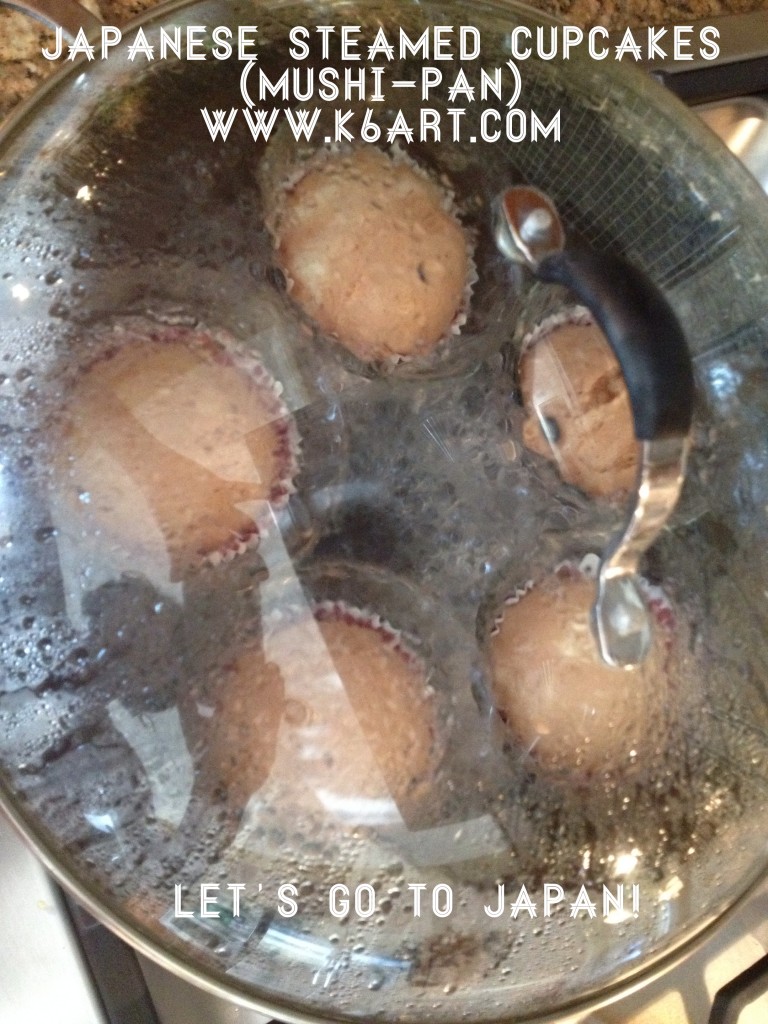
Japanese steamed cupcakes (mushi-pan) cook in the rice cooker or on the stove top.

We had so much fun at my Japanese art + cooking camp! Each day we made a different recipe. We had a lot of fun making a special type of Japanese cake called mushi-pan: steamed cakes prepared in your rice cooker or on your stove top. Mushi-pan are soft, fluffy and moist, and can be prepared in just 15 minutes from start to finish.

We made two recipes: apricot mushi-pan and frosted Nutella mushi-pan.

Apricot Steamed Cupcakes (mushi-pan)
Makes 10-12
Ingredients:

  • 1 cup all-purpose flour
  • 2 tsp. baking powder
  • 2 eggs
  • 4 Tbsp. milk
  • 8 Tbsp. sugar
  • 2 Tbsp. vegetable oil
  • 1/2 tsp vanilla extract
  • 2 heaping Tbsp. of apricot preserves

Equipment:

  • Rice cooker with steamer basket OR
  • Large frying pan with lid
  • Heat-proof Pyrex or Corning-Ware glass ramekins (I used 6 oz. Pyrex Clear Custard Cups)
  • paper cupcake liners

Instructions:

  • Fill rice cooker with water to depth of 2-3 inches. Turn on.

OR

  • Fill a large frying pan with water to 2/3 full and bring it to a boil (and turn off the heat if you are not ready yet)
  • Put a cupcake liner in each glass ramekin.
  • In a medium bowl, sift or whisk together the flour and baking powder combining well.
  • In a small bowl, combine egg, milk, sugar, and vegetable oil and whisk together.
  • Pour the egg mixture into the flour mixture and mix with a fork until smooth.
  • Add in the apricot preserves and stir to combine. You should still have chunks of preserved apricot visible even after stirring.
  • Spoon the mixture into the cupcake liners. Fill each liner approx. 1/3 to 1/2 full. Don’t overfill as these cakes rise!
  • Place the ramekins directly in the rice cooker steamer basket or in the skillet with the boiling water. Cover and cook for 8 minutes.
  • Uncover and test a cake with a bamboo skewer. The cakes are done if the skewer comes out clean. If the cakes are not done, recover and steam for two more minutes. Don’t over cook!

CAUTION: the steam is very hot and can burn you. Parental supervision is recommended.

  • When cool, remove the cakes from the ramekins. They should pop out of the cups easily. If not, you can run a butter knife around the edges to loosen.
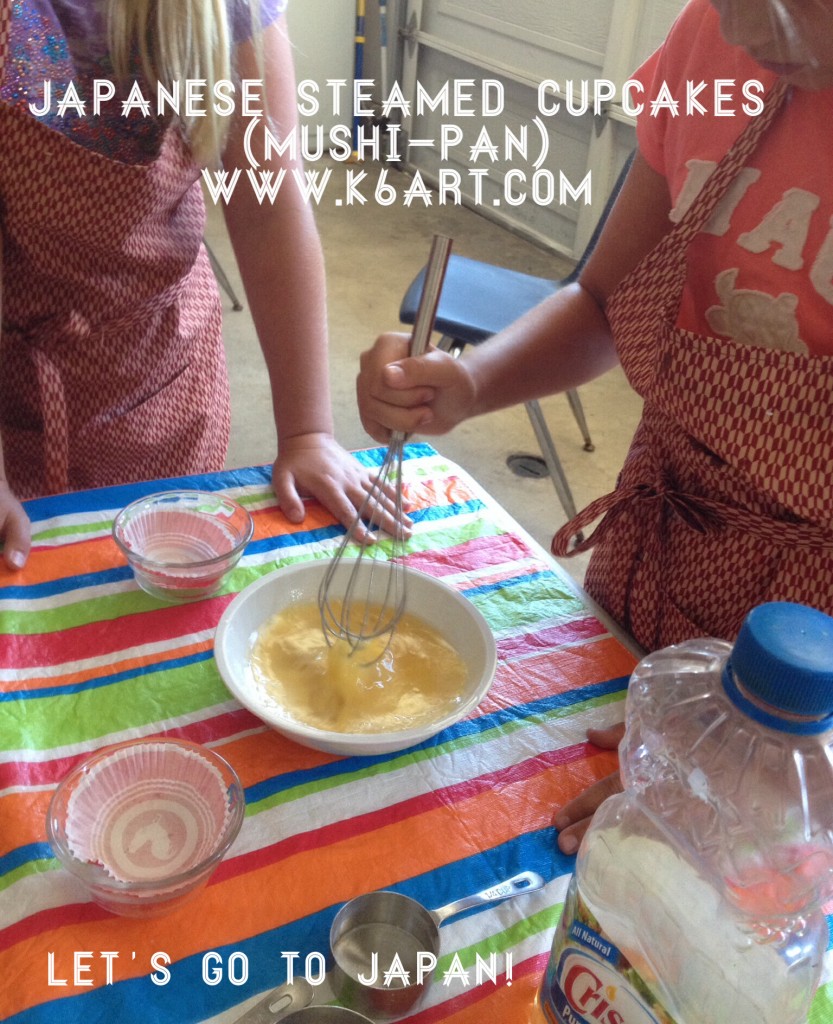
Kids prepare Japanese mushi-pan. Batter is spooned into paper lined glass ramekins, then steamed for 8 minutes.

Kids prepare Japanese mushi-pan. Batter is spooned into paper lined glass ramekins, then steamed for 8 minutes.


Frosted Nutella Steamed Cupcakes (mushi-pan)
I used the recipe from Magpies Recipe blog. . Click here for the recipe
We increased the sugar to 4 Tbsp./single batch, then frosted the cooled cupcakes with more Nutella.


These Nutella-flavored Japanese mushi-pan cupcakes cook in only 8 minutes on the stove top.

These Nutella-flavored Japanese mushi-pan cupcakes cook in only 8 minutes on the stove top.

Results:

The campers loved both varieties of mushi-pan cupcakes. You should try them!

Want more help? Check out this cooking lesson from the Japan Society.

http://youtube.com/watch?v=14giDBtMPvg

Enjoy!

Do you like cooking with kids?

Tasty Cakes: Scratch Foam Printing with Watercolor Markers

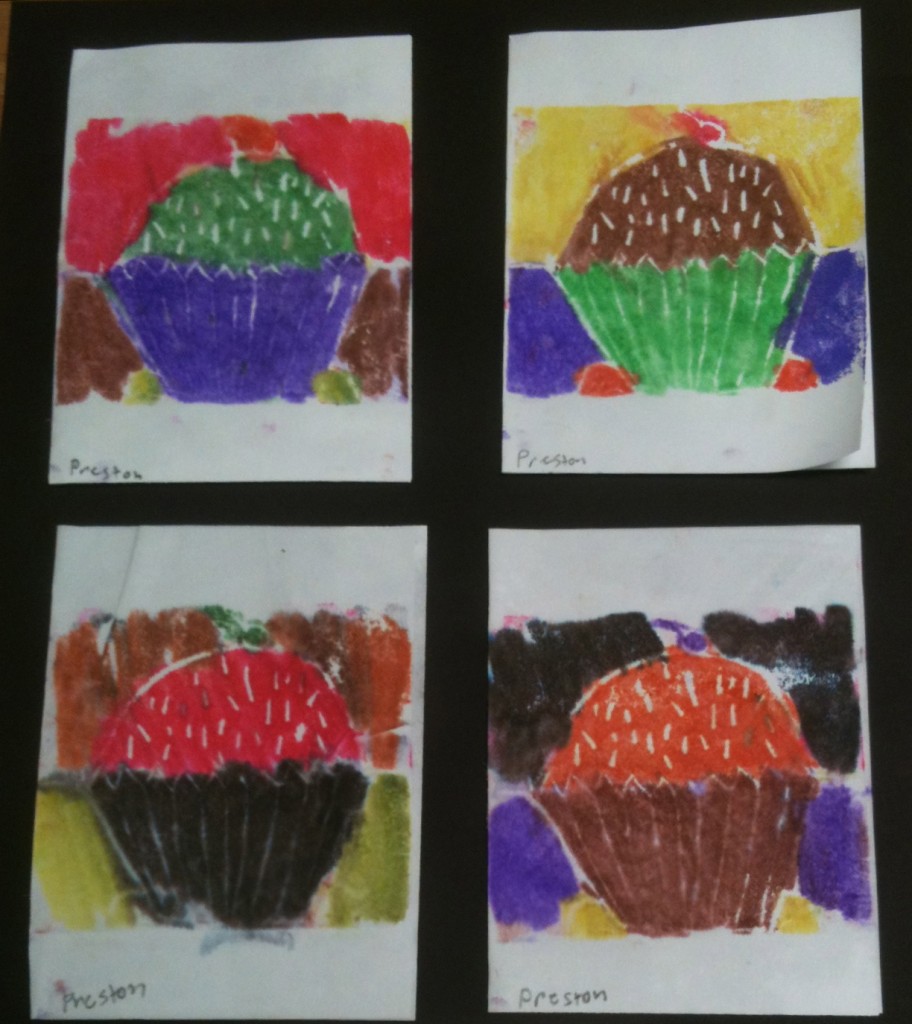
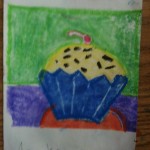
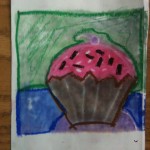
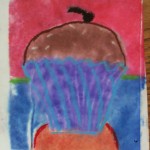
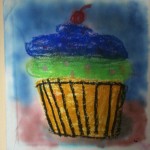
Maybe you have used scratch foam for printmaking in the art room. I’ve seen a lot of beautiful art work using scratch foam and printer’s ink applied with brayers. But did you know scratch foam prints can look like this?

This set of four cupcake prints were all made from the same scratch foam plate during a single 40-minute class.

3rd graders used watercolor marker and scratch foam to create multiple prints. We did an easy directed drawing of a cupcake onto scratch foam, colored the foam with watercolor markers, and then printed the cards onto damp paper.

Materials:

  • Scratch foam, cut to desired size
  • sketch paper, cut to same size as foam
  • dull pencil
  • masking tape
  • watercolor markers in assorted colors (I use Mr. Sketch markers)
  • oil pastels or other embellishments (optional)
  • shallow tub (dishpan) of water
  • beach towel (several if you are teaching multiple or large classes)
  • plastic sleeve protectors for printing station
  • white construction paper for printing – cut larger than scratch foam

Prep:

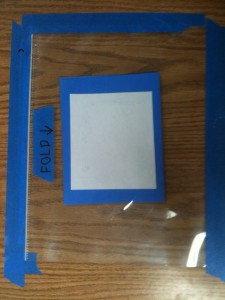
Set up a printing station. Fill tub with water depth of 2-3 inches. Set out a folded towel. Tape a sleeve protector to the table. Slide in an alignment sample (see below).  Cut a stack of printing papers, enough for each student to make at least 3 prints. Think about drying space (always an issue when printing multiples). Drying rack? Clothes line?


Drawing

  • draw cupcake onto sketch paper.  Click here for my step-by-step  how to draw a cupcake instructions.
  • Remind students: NO LETTERS, NO WORDS, NO NUMBERS.
  • tape sketch paper on top of scratch foam.
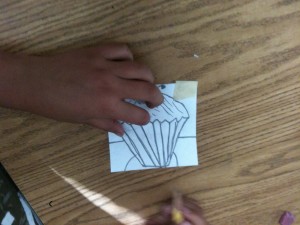
  • go over cupcake sketch with a dull pencil.  The lines should transfer to the scratch foam below.
  • pull up the paper.  Drawing directly on the foam, go over any lines you missed with the pencil.  You can also add sprinkles or other small lines at this time.
  • discard the sketch paper and tape.

Tape sketch on top of scratch foam. Go over lines with dull pencil to incise foam below.

Inking

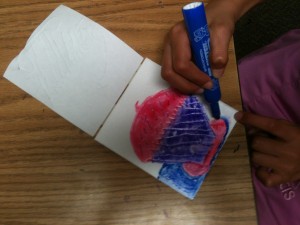
  • use the watercolor markers to ink the scratch foam.  Students should use multiple colors.  Fill the scratch foam completely with color.

Color in the scratch foam with watercolor markers.


Printing

  • take your foam to the printing station.
  • write your name in small letters on white construction paper. Use pencil.
  • dip white construction paper in water
  • put wet paper in folded towel to blot
  • align inked scratch foam on sleeve protector INK SIDE UP
  • put damp white paper on scratch foam NAME SIDE UP (align using the sleeve protector)
  • rub paper firmly without wiggling
  • PULL THE PRINT

Printing station. Students align foam with white rectangle, damp paper with blue rectangle.


The third graders were amazed!!!! Vibrant colored cupcakes for their beautiful birthday cards.

ARE YOU READY FOR EVEN MORE FUN?????

Re-inking

  • Students re-ink the scratch foam plates using a different color scheme.  It doesn’t matter if the plate still has a little color on it – go right over the plate with a different color.

Print again!

Students should carefully sign their name on the back of the foam plate WITH PENCIL. Write small.


A word of caution: as always, test this project out yourself before attempting with your students.

1) The degree of dampness of the printing paper is critical.  Too dry and the ink won’t transfer to the paper.  Too wet and the ink will bleed and blur as the paper dries. For blotting, a fresh beach towel is ideal. My towel was too damp by the third class of the day. I wish I had a couple of fresh dry ones with me. Next year!

2) Size of drawing matters. Tiny drawings the size of a thumbnail just won’t look good.

Day 2: Embellish Prints with Oil Pastels

Students have the option of embellishing their dry prints.  These cupcakes are decorated with oil pastel. This is a great way to rescue students less-than-perfect prints. Can you imagine these with a little clear glitter and/or a sequin?

Next we trim our cupcake prints and glue them onto colored construction paper. What fabulous birthday cards for all our family and friends.


Fun – colorful – successful – easy to clean up!

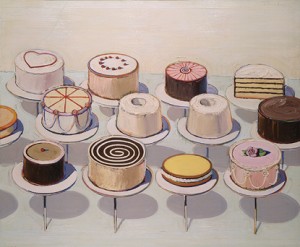
This would be a great Wayne Thiebaud lesson plan – it relates to his dessert paintings in terms of subject matter and repetition.

Wayne Thiebaud. Cakes. 1963


A huge thank you to Carol Catelano Webb, master art teacher, who taught this printing process at a San Diego Art Educators workshop back in 2005.


Related Posts Plugin for WordPress, Blogger...