The folks at Prang/Dixon Ticonderoga just sent me a big box of back-to-school supplies to test out. First up: Prang Oval-8 watercolors.
I have used these watercolors for the past nine years. You know what I love about them? You can pop out individual watercolors and replace them with fresh pans.
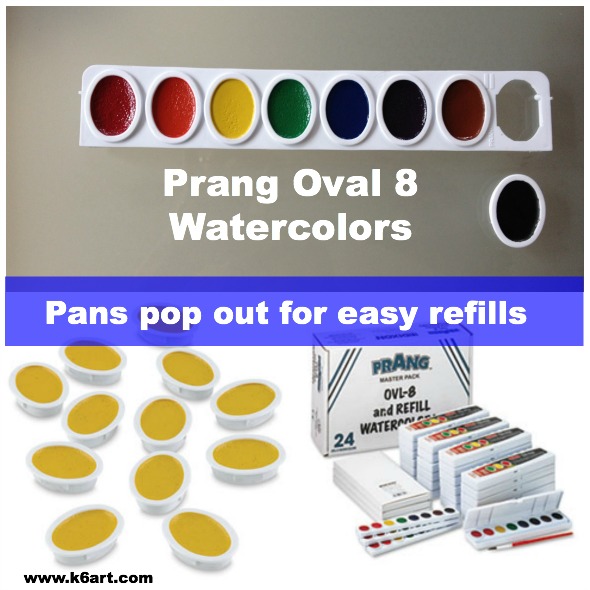
Customizable
I love to customize my Oval-8s. I prefer to pop out and remove the black, and replace it with a pan of special ordered magenta oval refill pans. When the blue gets used up, I replace it with a pan of special ordered turquoise. You can get lots of tertiary color pans for your Oval-8s and customize your watercolor palette.
If you want the whole range of colors, try Prang Oval-16 Pan Watercolor Set, with primary, secondary and tertiary colors (includes the magenta and turquoise).
(note: this post contains compensated affiliate links)
Less waste
Refill strips and individual color pans are available. You generate less waste because you don’t need to replace entire white plastic case, when you run out of watercolors. In addition, the white plastic case is recyclable.
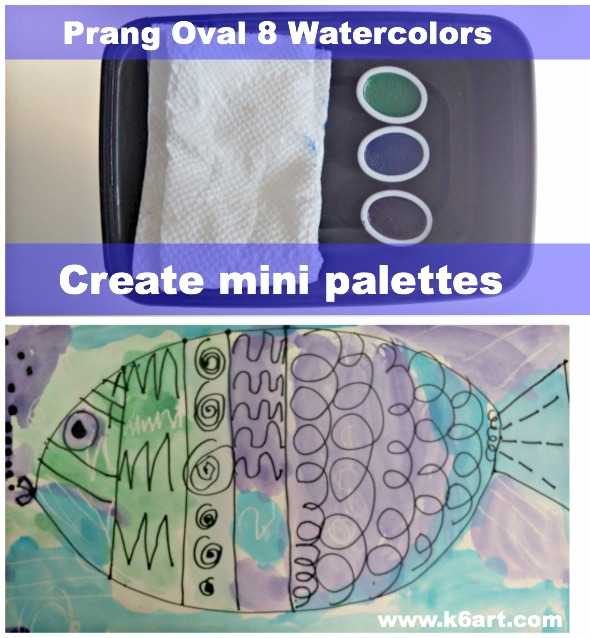
Great for creating mini-palettes for special projects
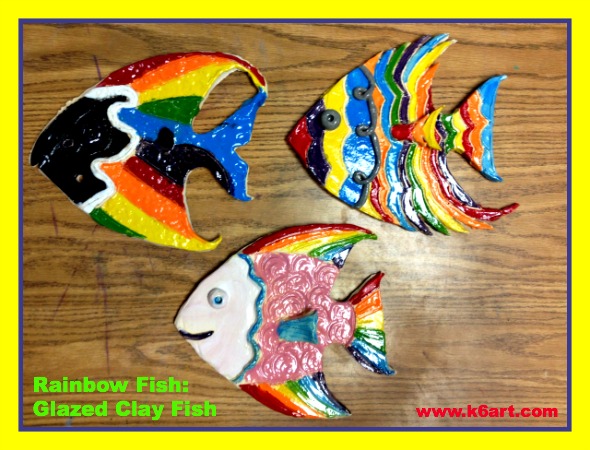
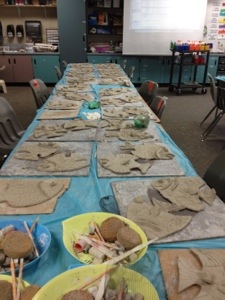
I use my refills to create mini-palettes of cool colors (or warm colors), especially when I’m working with kindergarteners. For this Rainbow Fish project, I set out individual pans of just the cool colors in small trays.
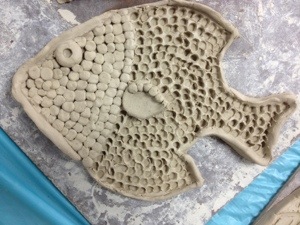
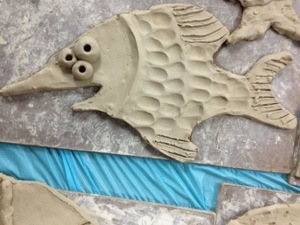
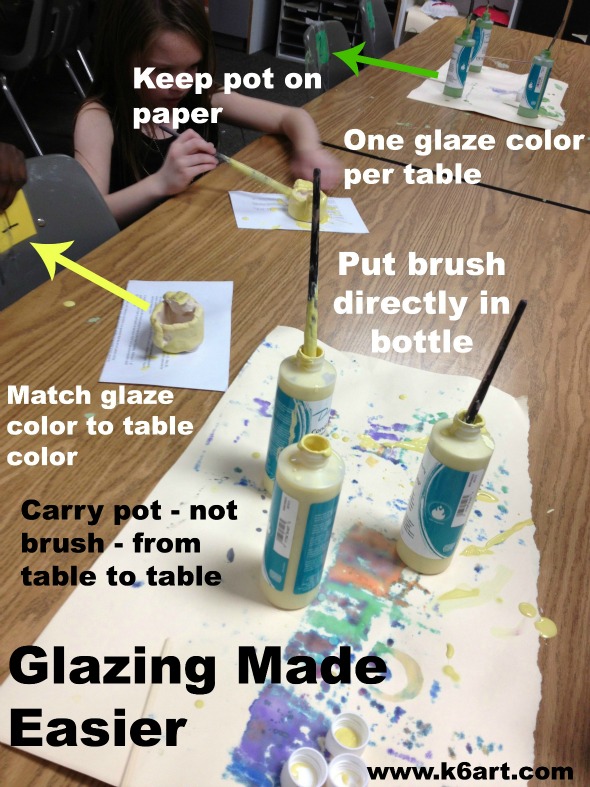
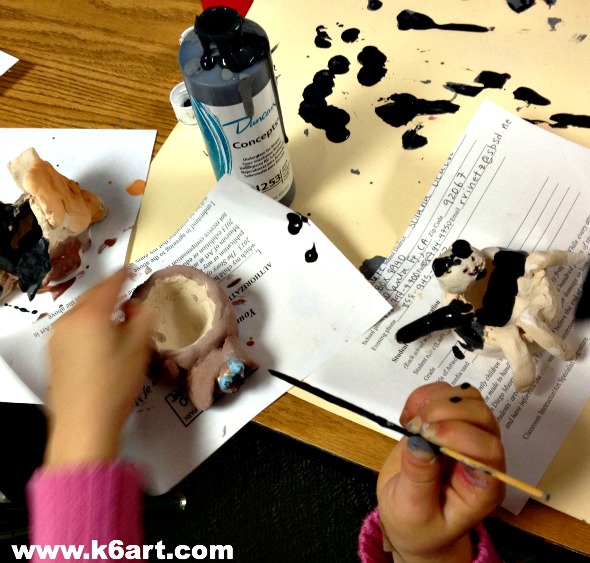
Great on Bisque-fired Clay
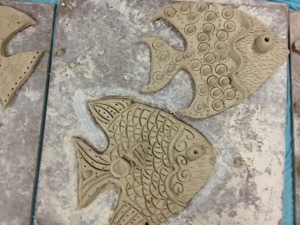
Have you ever tried watercolor on bisque-fired clay? Prang Oval 8s look great on our Clay Sea Rocks. So easy!
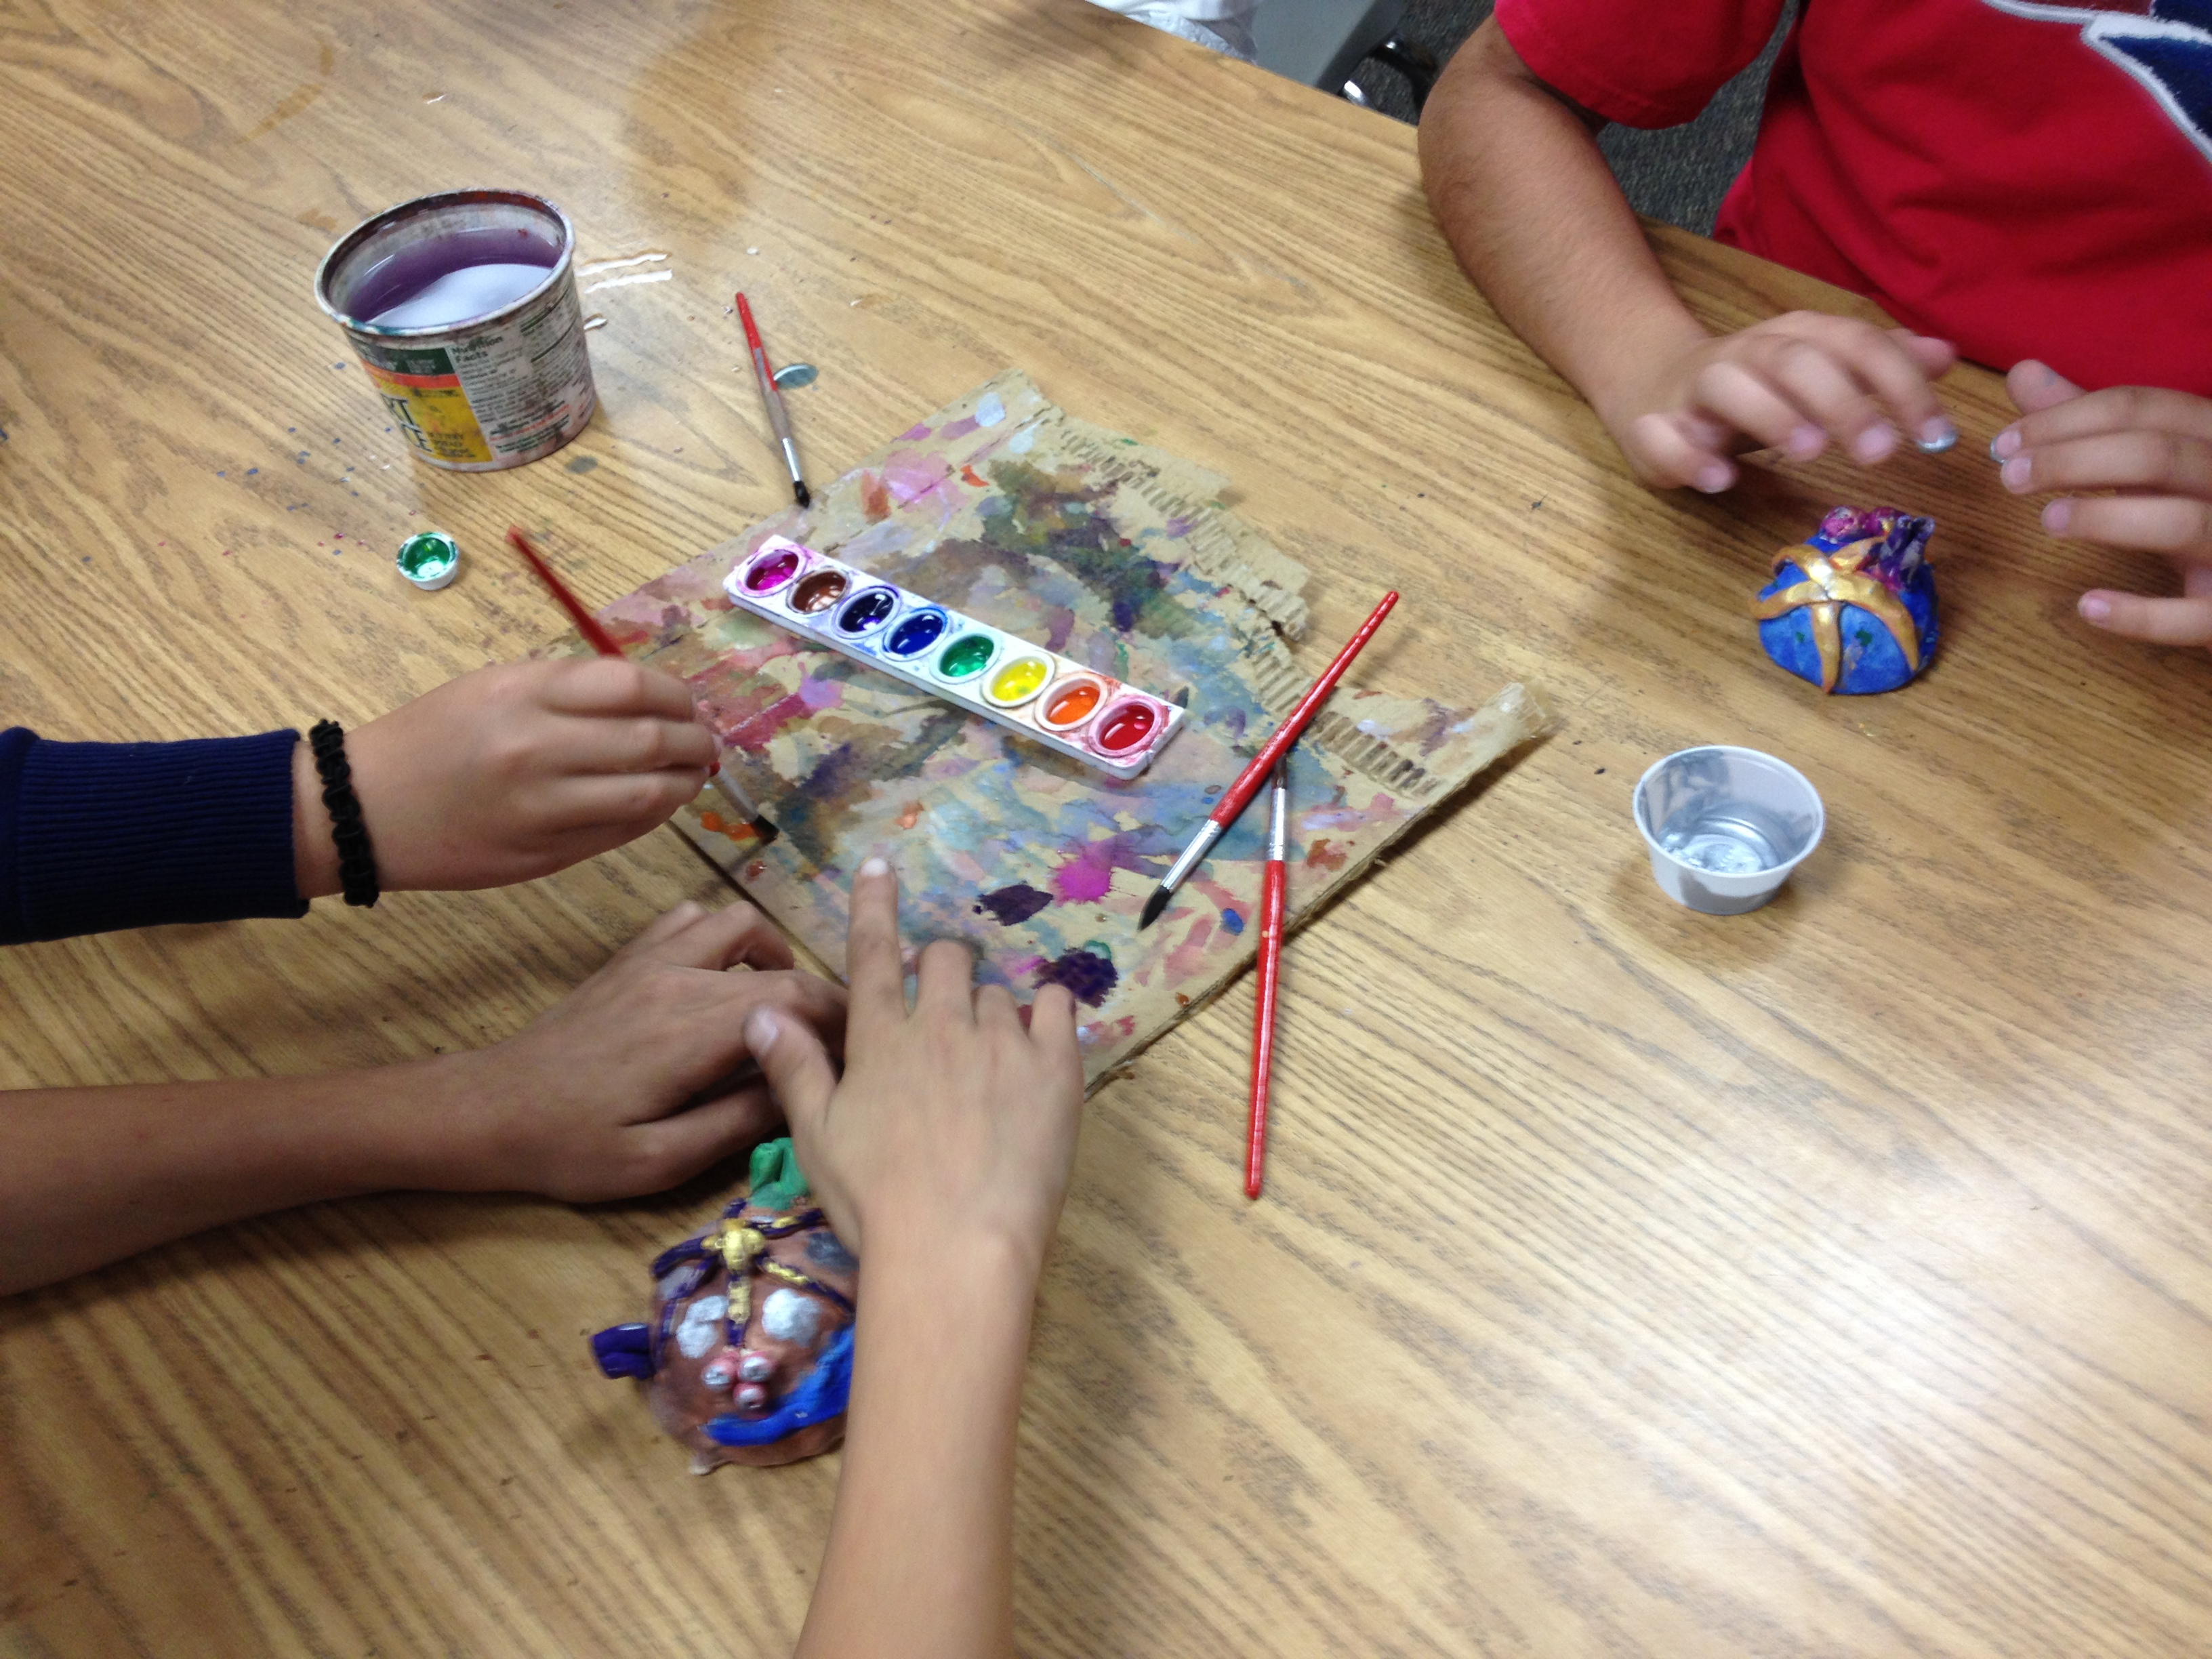
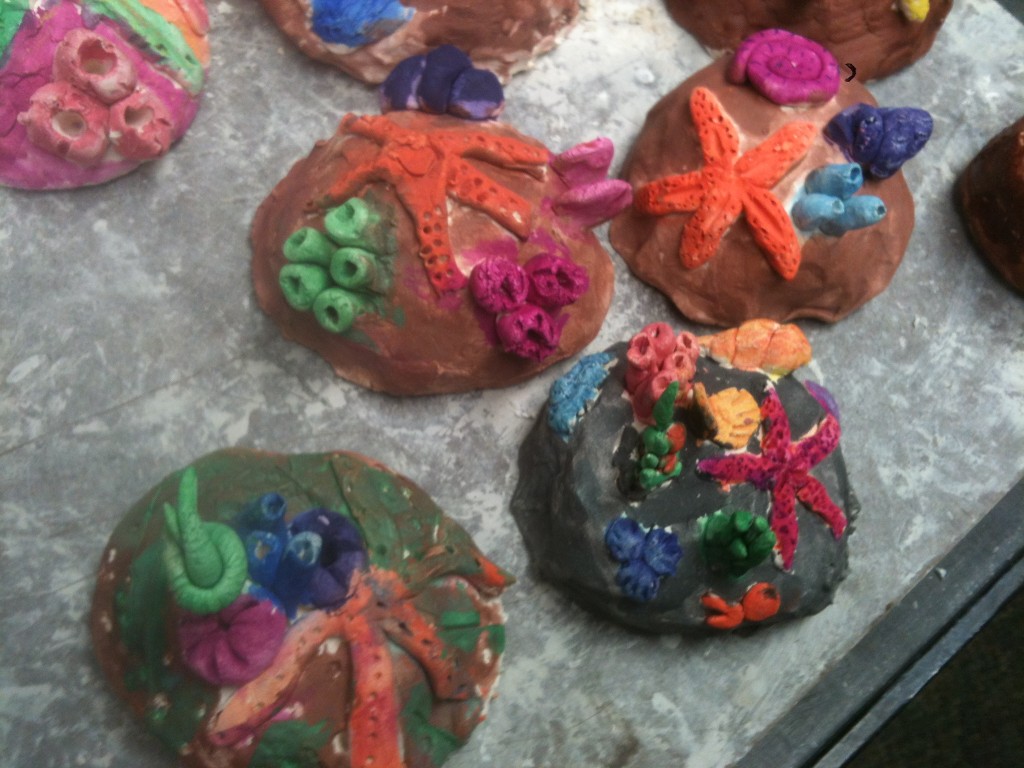
Bisque-fired clay painted with Prang watercolors (including that magenta!)
Available in class packs
Prang Oval 8s are available in class packs from Amazon, Blick, and many other art supply (and even office supply) catalogs.
Prang also offers ‘Prang Power’ – a frequent buyer program that lets you save points towards school supplies.
Have a great school year!
Enjoy!