CD Case Greeting Cards

CD case valentines

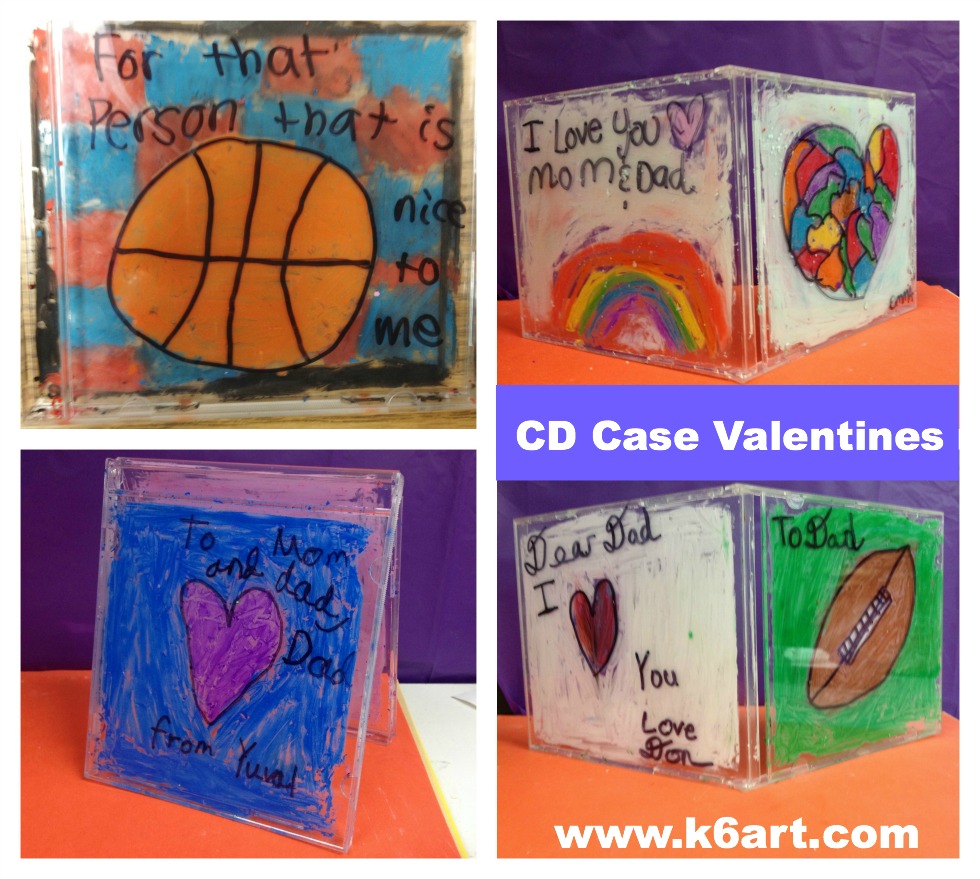
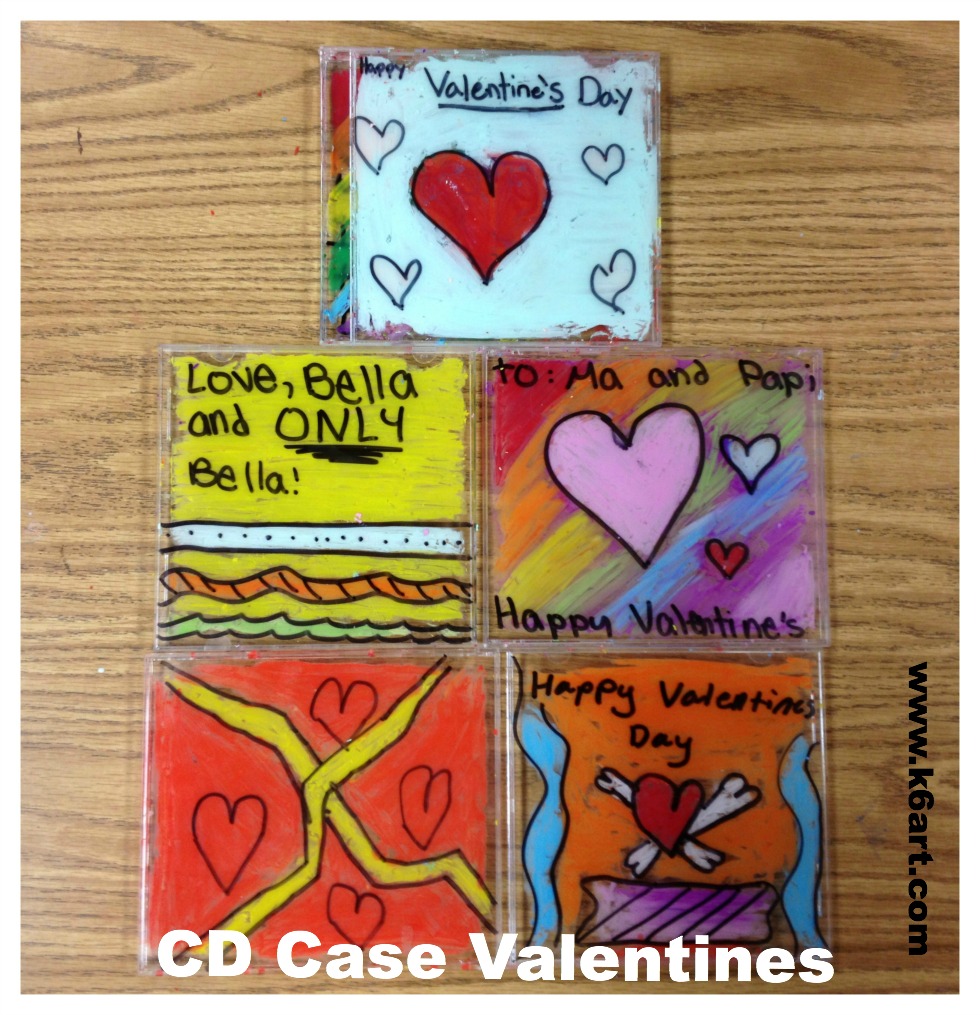
Got old CD cases? Here’s a great way to use them: create greeting cards using oil pastels and Sharpie. Our 5th and 6th graders made Valentines, birthday cards and more during a single 40-minute class.

Materials:

  • CD jewel cases (trays removed)
  • oil pastels
  • Sharpies
  • rubbing alcohol
  • baby oil
  • baby wipes for clean up
CD case greeting cards

Several students made birthday cards. One made a farewell card. Another made a card consoling his father on the Bronco’s loss in the Superbowl.

Sharpie on the Outside, Oil Pastel on the inside

Students start by drawing a design on the front of the CD case using a black Sharpie. Then they open up the case and color the inside with oil pastel. The process is repeated on the back of the case. A lot of students wrote personal messages on the back of the case.

CD case valentine Joey

CD case valentines open

 Correcting Mistakes:

It’s easy to fix mistakes. Rubbing alcohol will remove Sharpie. Baby oil will remove oil pastel. Our 5th and 6th graders fixed their own mistakes.

Keep it neat:

CD cases trap the oil pastel-mess on the inside of the case. These greeting cards can travel home without making a mess in the backpack.

At clean up time, wipe down the tables with baby wipes.

EASY! Plus you are keeping those old CD cases out of the dump!

Enjoy!


Kindergarten Cookie Collage

kindergarten cookie collage

Our kindergarteners just finished a fun paper cookie collage project. We used real cookie cutters as tracers to create our own paper cookies. Here’s one ‘cookie cutter art project’ you and your students will really enjoy.

Materials:

  • large colorful paper plates, one per person
  • paper doilies, one per person
  • manila paper, 9″x12″
  • construction paper, light brown and dark brown, 9″x12″
  • cookie cutters in simple shapes (star, heart, bell, gingerbread men)
  • circle tracers (old lids)
  • pencil
  • construction paper crayons
  • optional: metallic crayons
  • glue stick
  • scissors

Kindergarteners trace real cookie cutters onto brown paper, decorate with construction paper crayons, and glue onto a paper plate. Allow 60 minutes.

The Art Project

Pass out brown papers and a variety of cutters for each table. Students trace a cutter, then swap cutters with their neighbors. We were able to fit about five large ‘cookies’ on each sheet of paper.

Decorate with ‘frosting’ (color with construction paper crayons).

Now get the paper plate ready. Rub glue stick all over the front of the plate, place doily on glue and pat down. Cut out the cookies and use glue sick to attach them to the doily. Overlapping is fine.

We added a few final decorations with metallic crayons.

The project was inspired by this post from ARTASTIC!

Connections to literature:

Mr. Cookie Baker by Monica Wellington is a nice book to read as an intro to the project.

What’ll I do differently next time:

  • Use embellishments (glitter, beads, yarn, etc.)
  • Have a ‘cookie exchange’ so kids can swap with a friend
  • Use a variety of colored paper plates and doilies
  • Adjust the project for Valentine’s Day (heart cutters, red plate) or Mother’s Day.

Enjoy!

P.S. Want to see more food-related projects for kindergarten? Check out these Common Core-aligned lesson plans from San Diego’s New Children’s Museum.