iPad Symmetric Butterflies

20140318-083501.jpg

Spring arrives this month. It’s time for a butterfly art project. This year our 6th graders created symmetric butterflies using iPads and the free app Sketchbook X. We are a 1:1 iPad school; students created a butterfly on their own iPad during a single 40 minute class.

We used two basic tools: the symmetric drawing feature and flood fill.
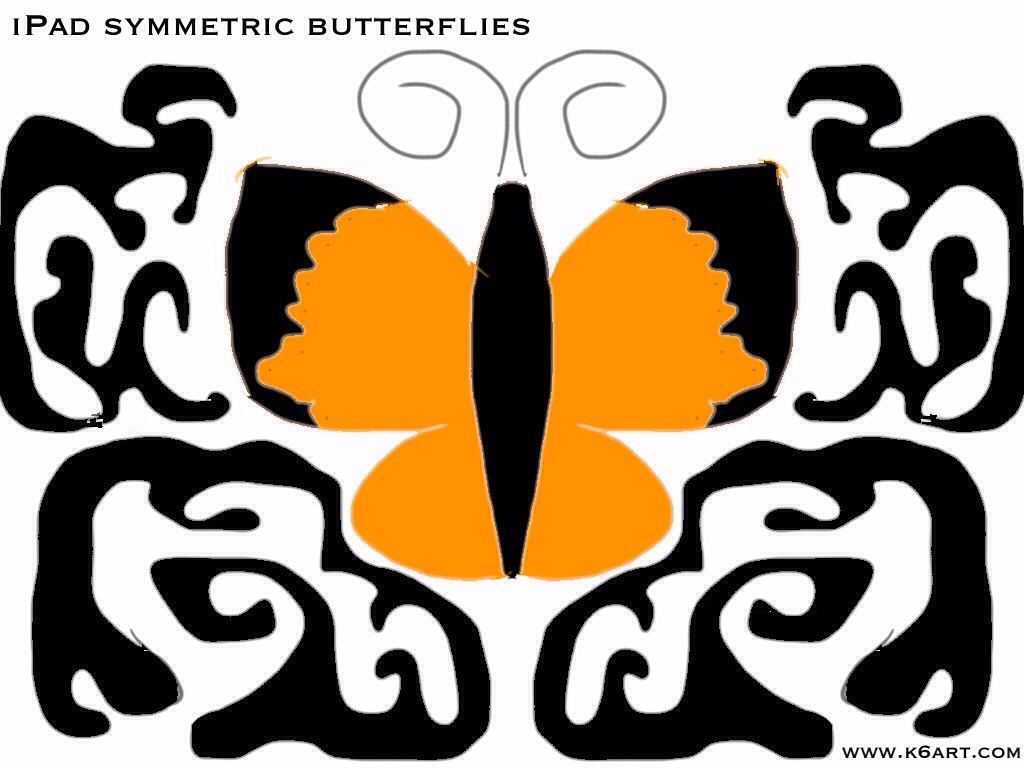
20140318-084455.jpg

Background design

Students had the option of using a colorful background, or of filling the negative space with a design. I love how this student created a background design that echoes the wing design.

Flood Fill to Color Individual Sections

20140318-085636.jpg

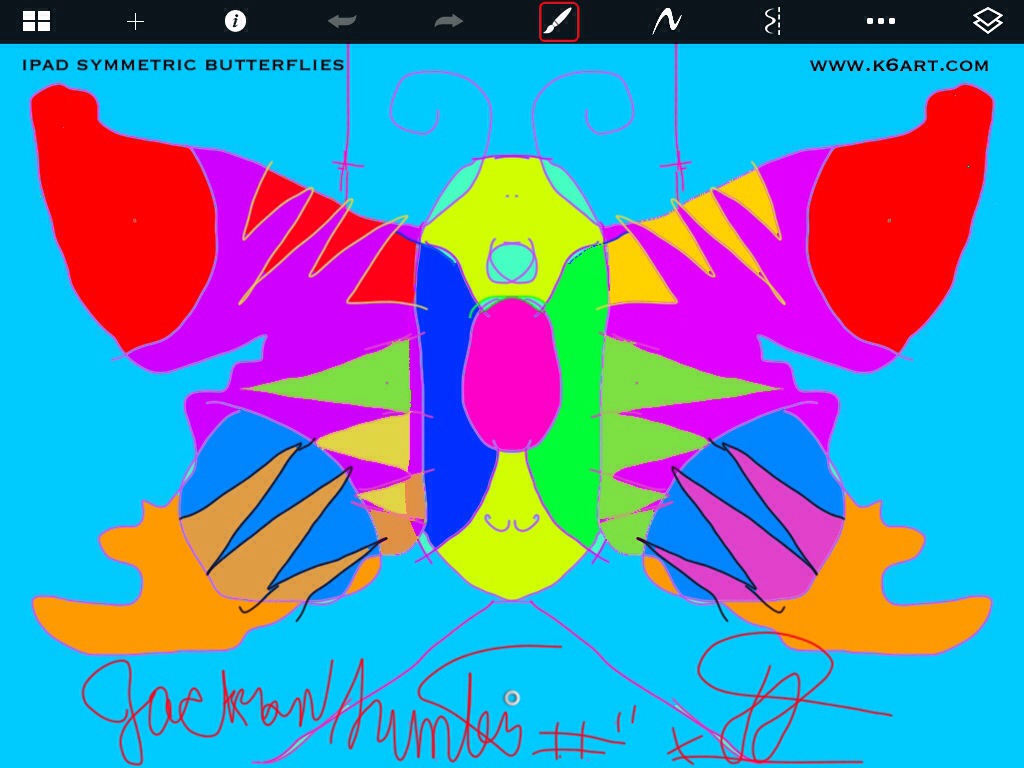
Notice how the lines are symmetric but the colors aren’t?

20140318-085119.jpg

Love it!

20140318-090152.jpg

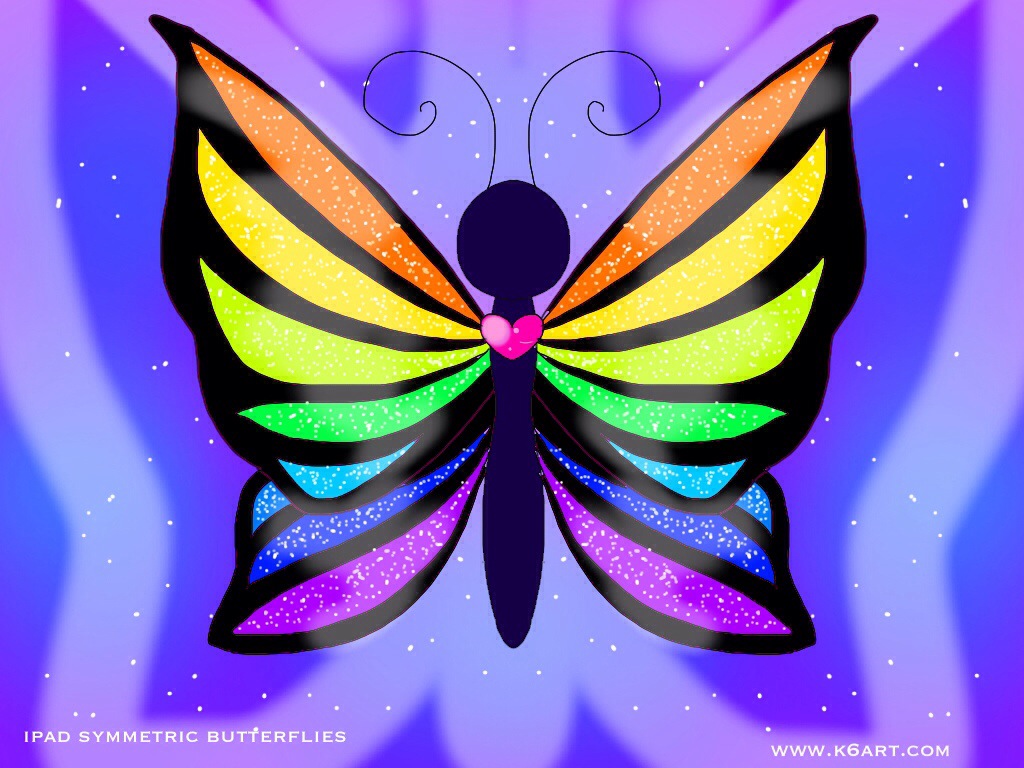
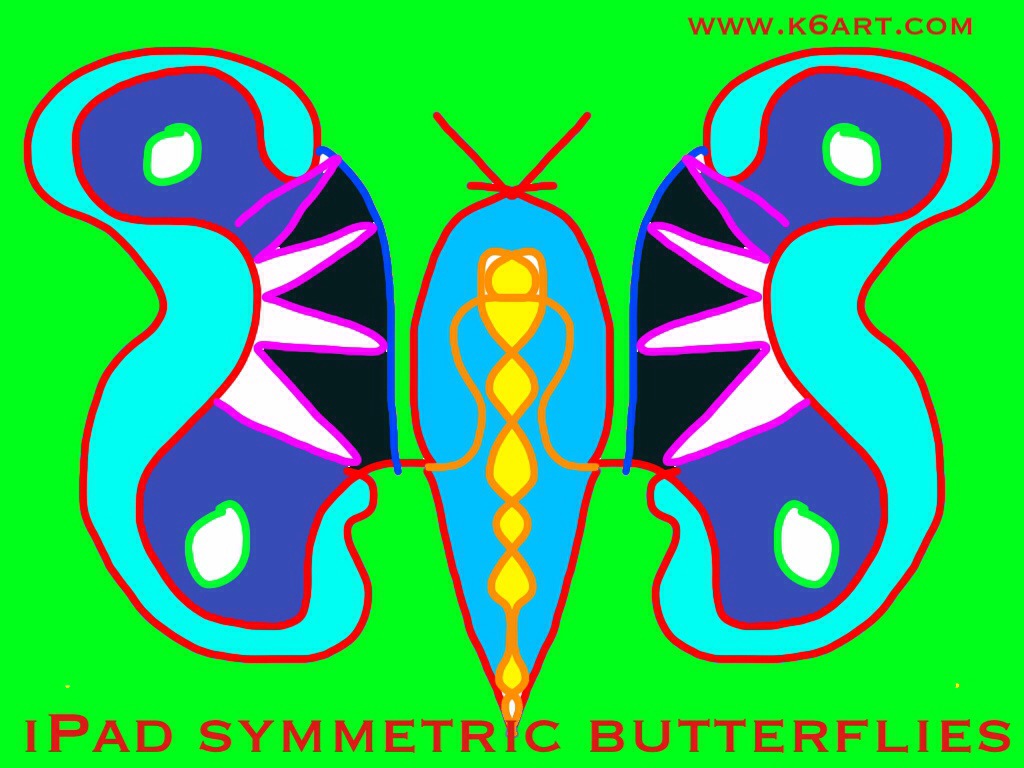
Using Layers For Complex Designs

Finally, here is the butterfly from our most advanced student. This design incorporates the layer tool on Sketchbook X. I’m going to ask this student to guide the class through a layer tool lesson at our next iPad art session.

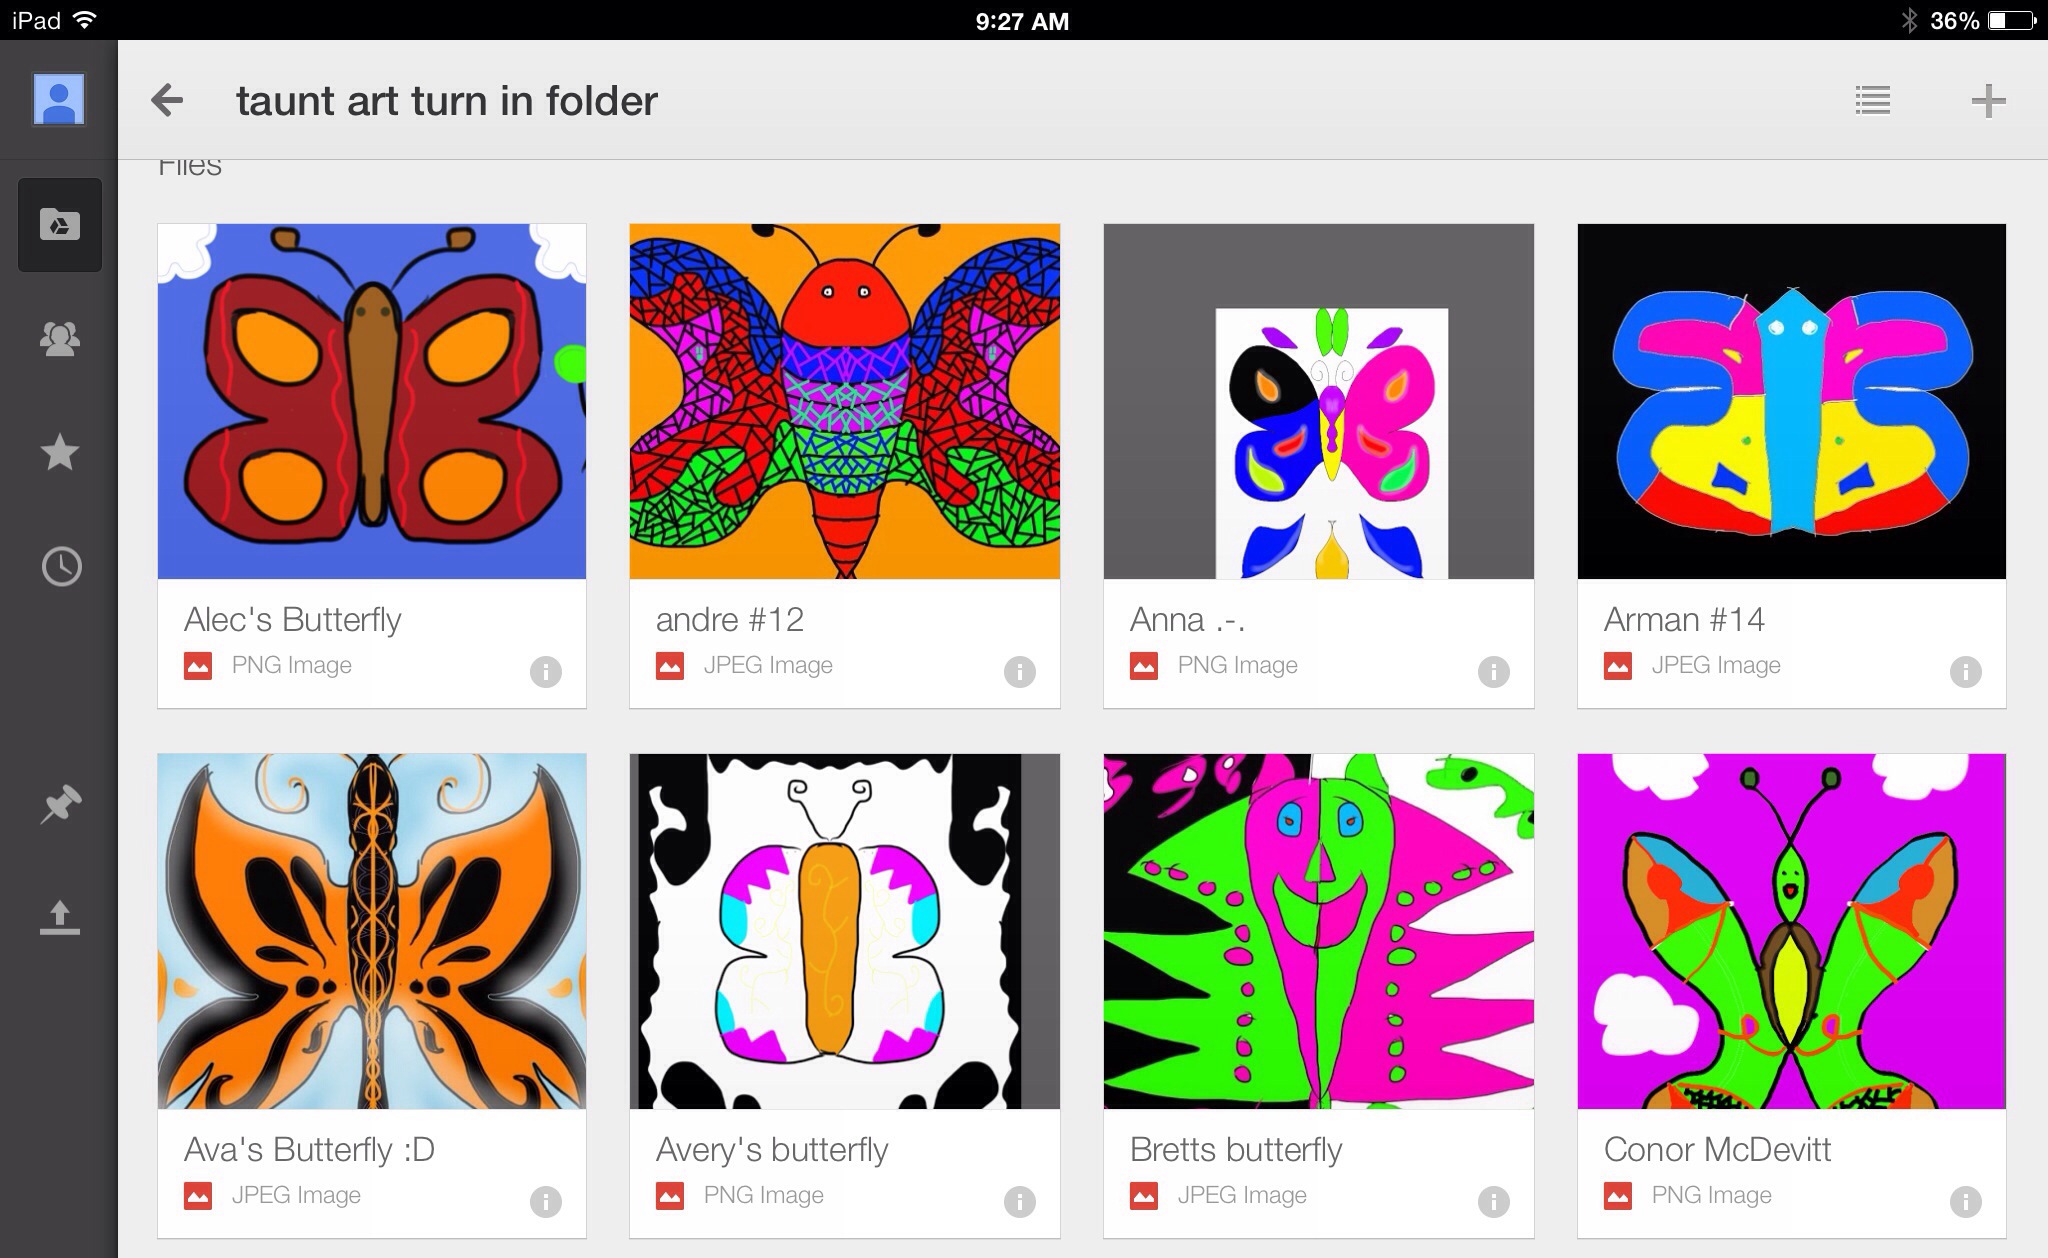
Use Shared ‘Turn in’ Folder on Google Drive to Collect Student Work

Our sixth graders use Google drive in their general Ed classrooms and are familiar with it. Here are the steps we used to turn in digital art:

1. I set up a ‘turn in art’ folder for each sixth grade class.
2. I shared it with each student in the class. To do this, I had to individually enter each student’s school email address. I walked around the class with my iPad and had each student type in their own address. This took less than a minute per student, and I did it while they worked.
3. The students saved their butterflies to their camera rolls.
4. The students opened google drive and uploaded their butterflies to the shared folder. They had to rename the photo with their first names.

Here’s what the turn in folder looked like at the end of class

20140318-092913.jpg

Don’t be Afraid

Check out Sketchbook X tutorials on YouTube. Ask students for help ahead of time – I did! My students are ‘digital natives’ – they mastered the whole process better than I did. In fact, our school has a ‘genius bar’ staffed by tech savvy sixth graders.

Here is a basic Sketchbook X tutorial for the art room from Tricia Fuglestad.
http://vimeo.com/74661099

Enjoy!

Symmetric Butterflies

symmetric butterflies pinable

Here is a nice butterfly watercolor resist project that teaches symmetry. It was very popular with the kindergarteners and first graders.

Materials:

  • white paper, 9″x12″
  • oil pastels in bright or dark colors (NO yellow, light pink, light blue, white, etc.)
  • rubbing tool – optional (I use the flat side of a beginner pencil)
  • watercolors
  • Optional: scissors, glue stick and colored paper for mounting

Discuss symmetry

Introduce symmetry. We talk about how our faces are symmetric. Then we look at butterflies and identify the line of symmetry.

Create 1/2 butterflies:

Students fold paper in half ‘the short way’ (aka hamburger fold). Do not unfold paper. Using oil pastel, direct students to create a series of dots on ONE folded half. The students then connect the dots to make a 1/2 butterfly.

Now ask students to trace their lines two more times using that same oil pastel. Students should press hard – oil pastel lines should be thick and dark.

Students can add some simple decorations such as shapes and lines to their 1/2 butterflies. Remember, each decoration must be traced a total of three times.

Ready to rub:

Now students close up their papers so the color is on the inside of their ‘books’. Time to rub HARD. I have students stand up so they can put their whole bodies into it! We use the flat side of a beginner pencil for this. You could use the flat side of a popsicle stick as well.

symmetric butterfly instructions

Now open the ‘book’. Students should see a ‘ghost’ image (faint lines) opposite their oil pastel drawing. You will hear oohs and aahs of amazement!

About 75% see the ghost image the first time they try this. If the oil pastel didn’t transfer, it means a) the students didn’t retrace their lines hard enough and/or 3)the students didn’t rub hard enough. I ask neighbors to help their friends out at this point. On their second try, the remaining students all succeeded.

The next step is to retrace the ghost lines with that same color of oil pastel.

Paint

Finally, paint the butterflies with watercolor. Encourage students to keep their butterflies symmetric – match up the paint colors on the right and left sides of the line of symmetry.

Kindergarten and first grade results

symmetric butterflies before and after

Options for finishing the project: cut out the butterflies, mount on construction paper. Or just trim and stick onto your window or bulletin board.

Enjoy!


‘Tie-Dye’ Butterfly

It’s spring! Time for a butterfly art project. How about a lesson that delivers perfect symmetry, color and fun in only one 40-minute session?

Materials:

  • round (basket) coffee filter paper, white (available at the dollar store)
  • Sharpies
  • watercolor markers (we used Crayolas)
  • pencils
  • spray bottle of water

Instructions:

  1. flatten coffee filter
  2. fold filter in half.
  3. use sharpie to draw 1/2 a butterfly on the folded paper.
  4. Trace over all the Sharpie lines again (this helps transfer ink to the other half of the filter paper).
  5. Open the paper. 
  6. Retrace all the faint lines with Sharpie.
  7. Re-fold the paper into its original position.
  8. Color the folded paper using watercolor markers. We used warm and neutral colors for the butterfly, and cool colors for a band around the edge of the paper.
  9. Place folded filter paper on drying rack, colored side facing up.
  10. Spray with water. I try to saturate the paper (note: put some newspaper on the floor under your drying rack to catch the colored drips).
  11. Let dry before removing from rack.

I love the faux tie-dye effect created by the diffused color. I also love the round format. Bonus: coffee filters are available at the dollar store! So this project costs a couple of cents.

Second graders use Sharpie and crayola marker to make symmetric butterflies. Allow one 40 minute session.

Inspiration for the Sharpie/coffee filter/watercolor marker method goes to Kati Oetken at ARTASTIC!

More coffee filter art experiments on this post.

Related Posts Plugin for WordPress, Blogger...