Healthy Food Mural

IMG_2914.JPG

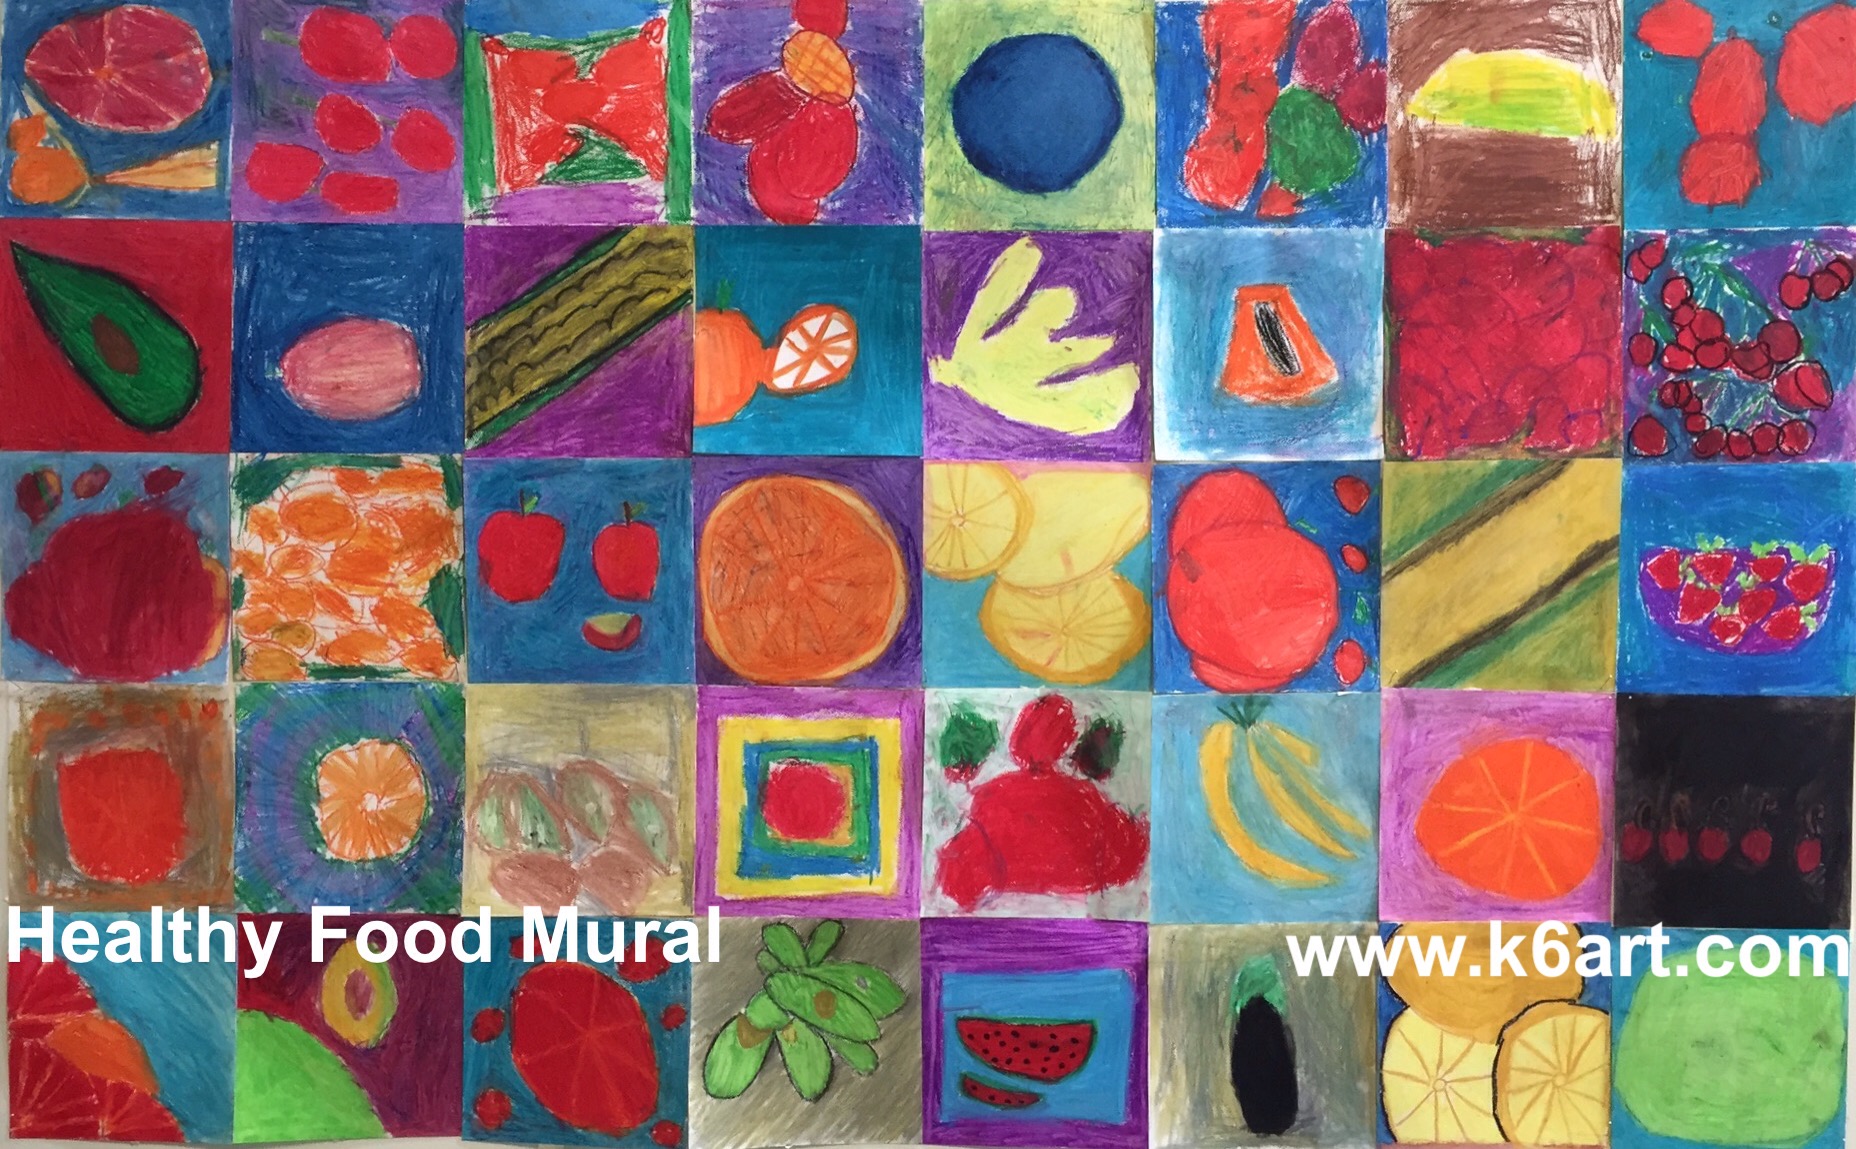
Our second graders are studying healthy foods. We created this mural as part of the project. It was also an extension of our warm and cool color lesson.

Materials:
watercolor paper, 7″x7″
oil pastels
baby oil
q-tips
reference photos of fruits and vegetables (we used the weekly grocery store ads from the newspaper)

Directions
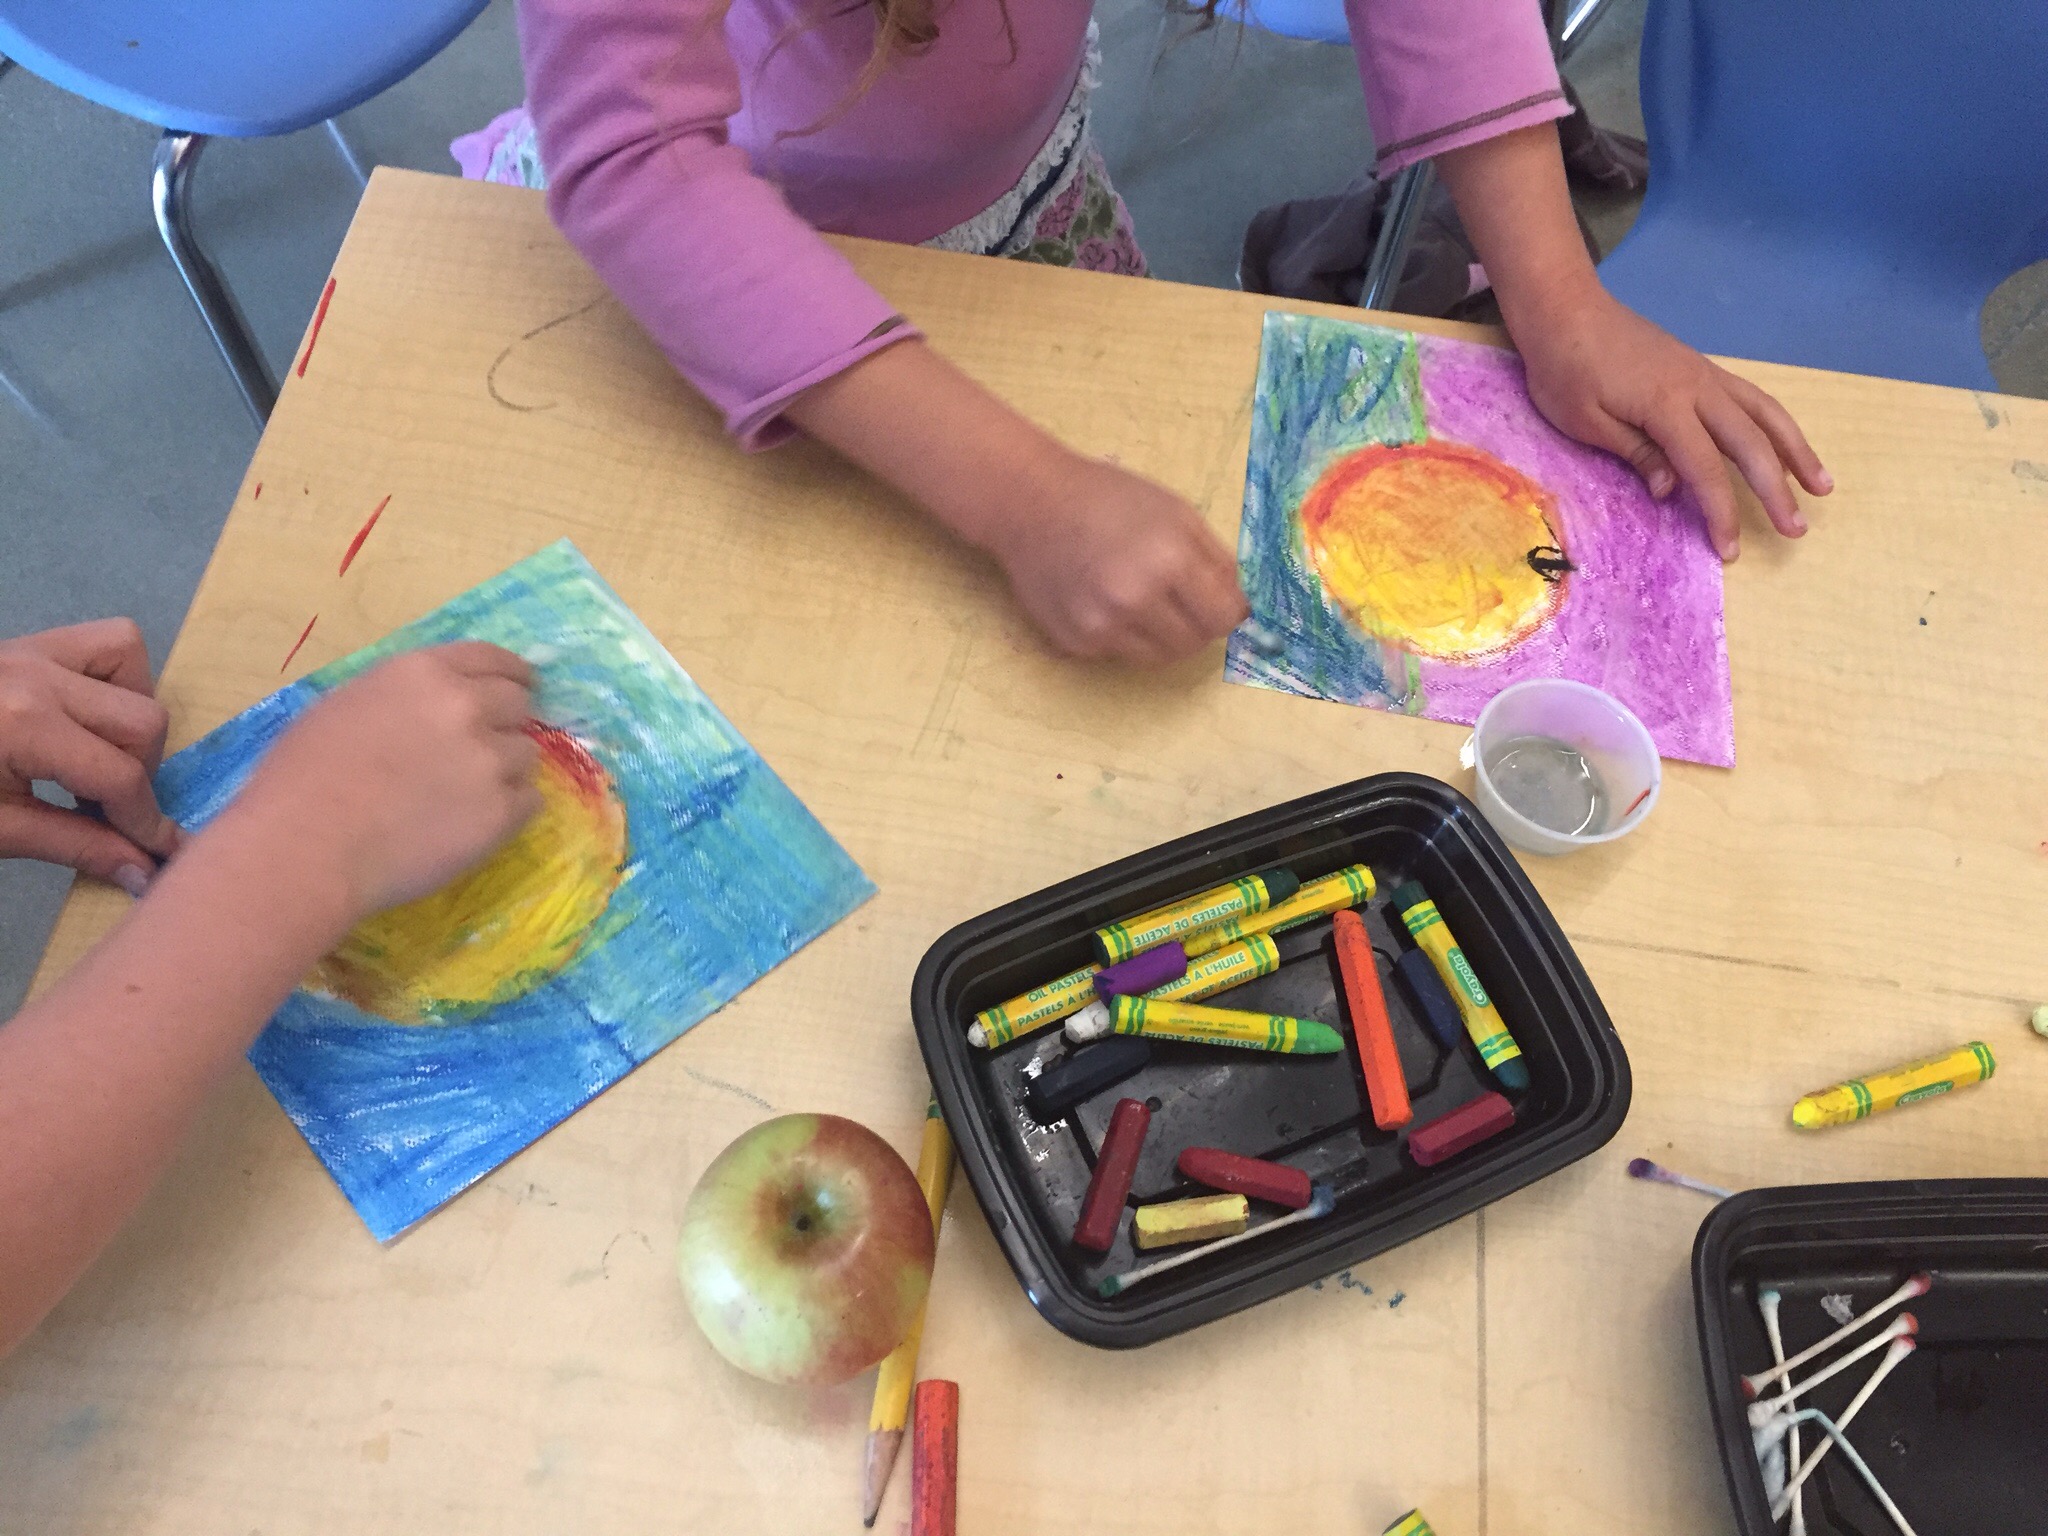
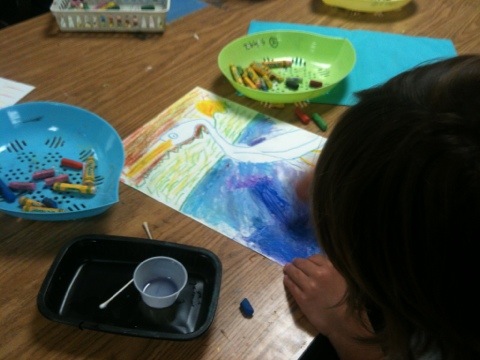
Draw one type of fruit or vegetable on the paper using oil pastel. Fill the square. Use and warm and cool color scheme – if you draw a warm color fruit, use a cool color background, and vice versa.

After drawing, blend the oil pastels with a q-tip dipped in a BIT of baby oil. Be sure to use two q-tips – one for blending warms, and one for blending cools.

Place completed artworks on a drying rack for a day or two so excess oil can absorb into the paper.

Mounting:
I laid out the artwork face down in a grid, and taped all the seams together with masking tape. If you use enough tape on the back you can hang it as a single piece.

If you ever decide to take down your masterpiece, you have the option of cutting on the seams and returning individual artworks to students.

Enjoy!

IMG_4379.JPG

Oil Pastel and Baby Oil ‘Paintings’

Want to amaze and engage your students? Try oil pastel ‘painting’. The colors are vibrant, set up and clean are a breeze and students love the process.

Materials
Oil pastels
Q-tips
Baby oil
Small cups for oil
Watercolor paper

We did a directed draw of a great blue heron. We grouped our oil pastels so that they would blend nicely. This was a good opportunity to review warm and cool colors and analogous colors.

Heron: cool colors (purple, blue, green)
Water: purples and blues (analogous colors)
Sunset sky: warm colors ( red, orange, yellow) and pink
Hills: green and yellows (analogous colors)

20120605-220805.jpg

20120605-220935.jpg

Students make short strokes of oil pastel. Use two or three colors side by side. Then dip a q-tip in baby oil and blend the colors. A little oil goes a long way!

20120605-221320.jpg

20120605-221343.jpg
Dry on a drying rack.

Tips:
Use watercolor paper. Construction paper is too thin and oil will soak the paper.
Blot excess oil with tissue.

Have fun!

I learned this process from art teacher Nicole Nelson at The San Diego Museum of Art.


Related Posts Plugin for WordPress, Blogger...