Ah, the first days of art. It is so neat and clean and organized in the art room….I just had to share some photos before the room reverts to its natural ‘studio’ state. Here are seven photos taken on opening day.
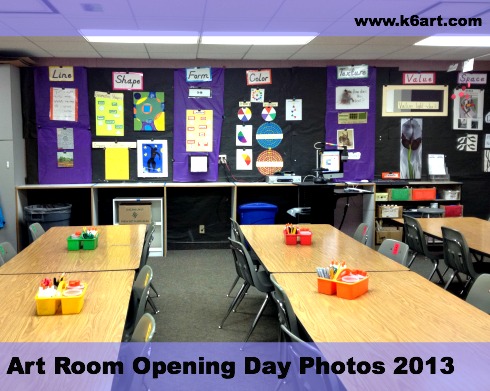
1. Table Colors and Numbered Seats
In the photo above you can see tables organized by color. All the seats are numbered – four seats to a table.
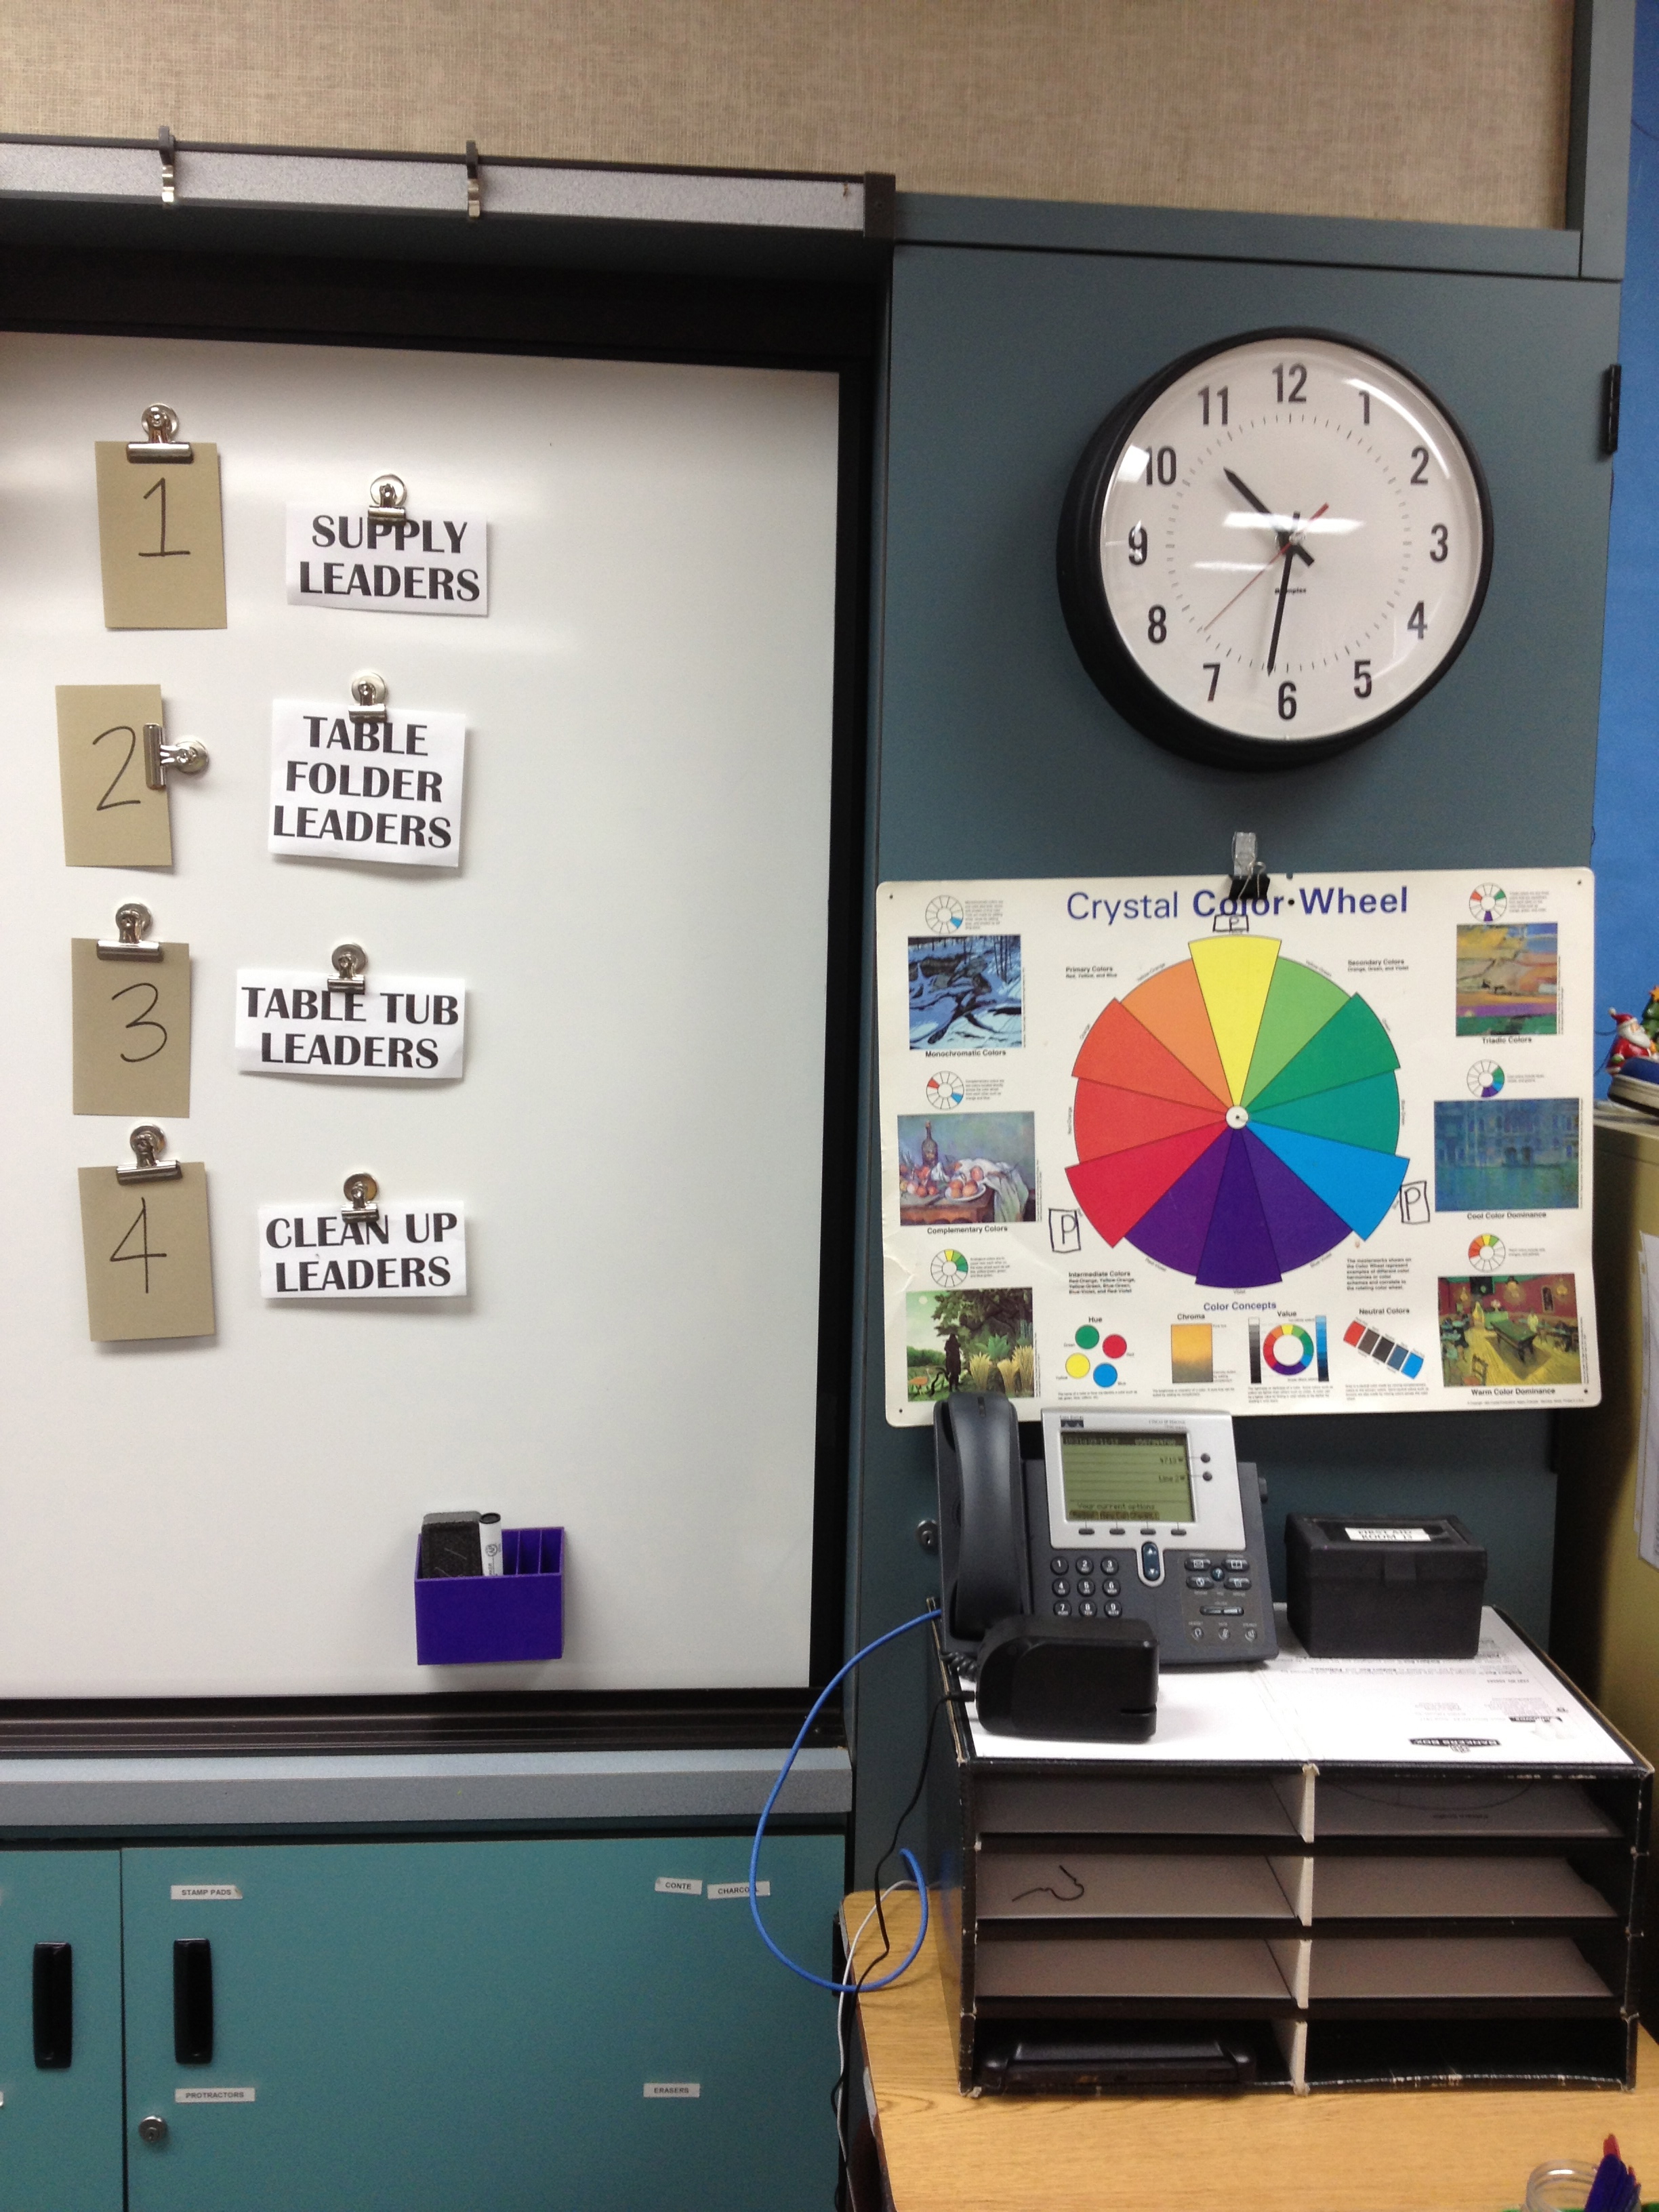
2. Rotating Jobs by Seat Number
Last year I rotated jobs by table. This year I am rotating jobs by seat number.
3. Rules Poster
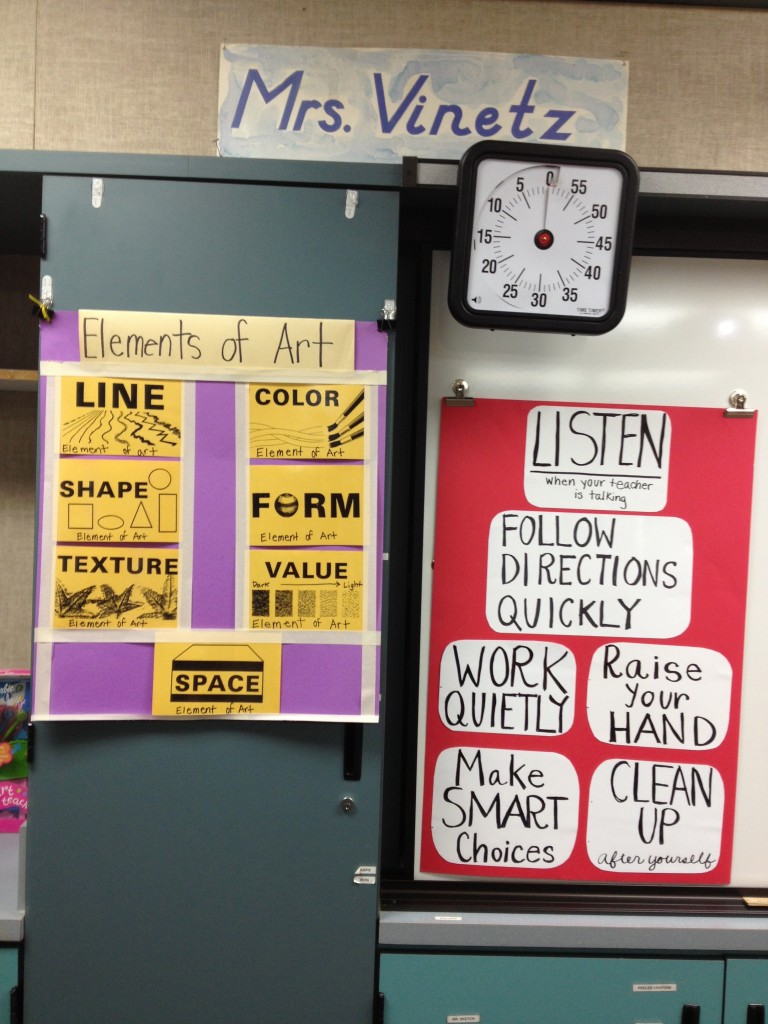
My rules poster underneath the amazingly helpful Time Timer.
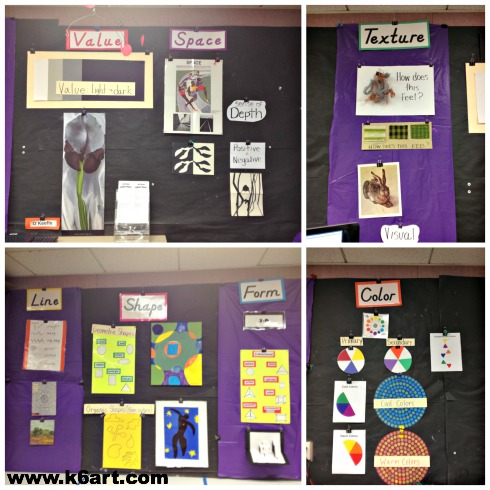
4. Elements Bulletin Boards
New Organization Projects!!!!
I did three big organization projects:
- Grade level prep boxes
- Lesson plan organization
- Free draw area
5. Grade Level Prep Boxes

These boxes fit perfectly on my shelves, and are big enough to hold 12×18 paper and all my supplies for each project.
I have a big shelf unit on wheels. I filled it with these yellow catering boxes from the local Jamba Juice smoothie shop. Three boxes fit perfectly on a shelf. The boxes are large and great for organizing all the supplies. They will be really helpful for organizing prep for our parent volunteers.
(Note: see all that cut wire in the 5th grade prep box? Our parent volunteers just cut 100 3-ft. lengths of it in preparation for our Calder wire sculpture project next week. It all fits in the box with room to spare!).
6. Lesson Plan Organization
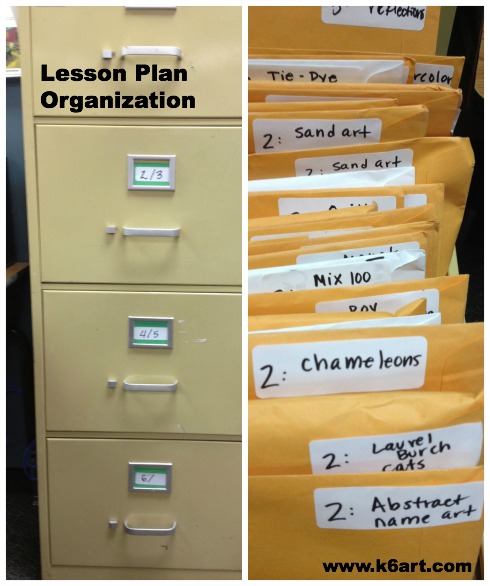
Lesson plans go into individual manilla envelopes.
I completely cleaned out all my lesson plan files this year. Each lesson plan (plus samples) is stored in an individual manilla envelope. I turned each envelope ‘landscape’ and labeled each one. Once turned sideways, they fit perfectly in my file cabinet. This makes me SO HAPPY. Imaginary angels sing when I open the file drawers and see all the organized glory.
(NOTE: I read about the manilla envelope method on Deep Space Sparkle. If you are looking for more ideas check out these great lesson plan organization ideas from Deep Space Sparkle).
7. Free Draw Area
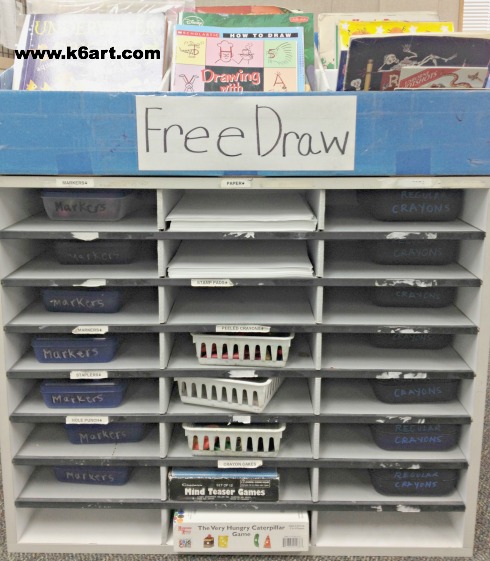
On top:
- how-to-draw books
- origami books
- stencils
- rubbing plates (organized in ziploc bags)
In the cubbies below:
- copy paper
- origami paper
- markers, one box per table
- crayons, one box per table
- peeled crayons
- crayon cakes
- art games
Let the games begin! Have a super new year everyone!
Enjoy!

P.S. Click here to see our 2012 Art Room Opening Day photos
Did you make any changes to your art room this year?