I received the book Green by Laura Vaccaro Seeger as a gift from a parent. This beautiful book (it won the Caldecott Honor in 2013) is filled with all things green. It is the perfect tie-in to a color mixing lesson.
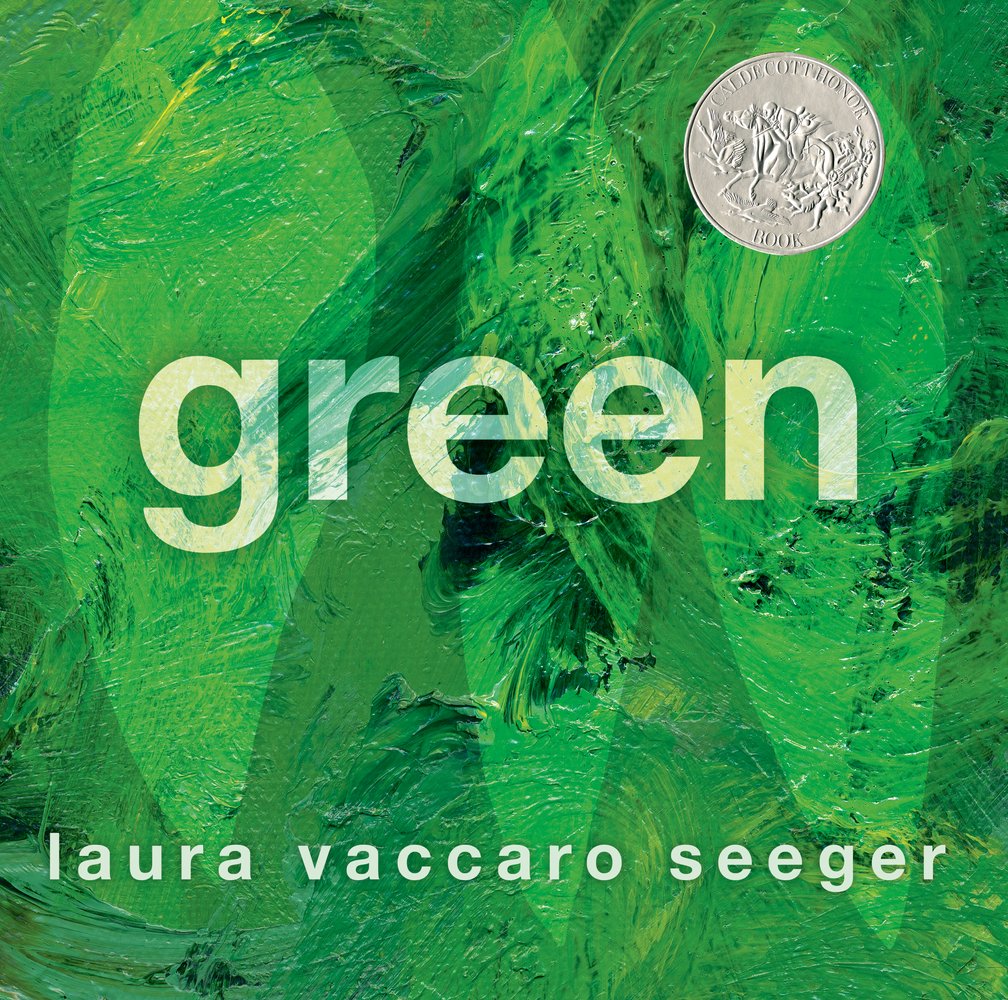
Green by Laura Vaccaro Seeger, winner of the 2013 Caldecott Honor.
I read Green to my second grade art students. They loved it – the book is full of die-cut holes and the kids enjoyed peeking through them. Can you see the die-cut holes in this video?
Materials:
- white sulfite drawing paper (or other paper that will hold up to painting)
- black crayons
- paper placemats (we used 12″x18″ construction paper)
- brushes
- paper plates
- tempera paint: blue and/or turquoise, yellow, black and white
- black construction paper for mounting
- scissors
- glue sticks
- colored construction paper (to create jungle animal collage)
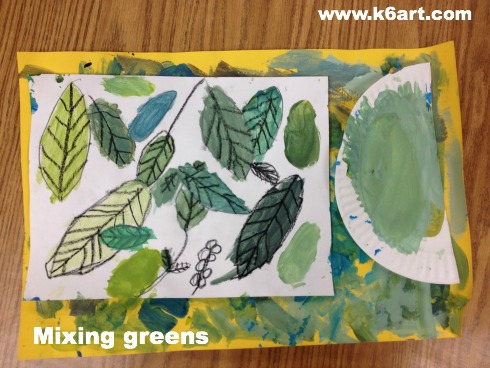
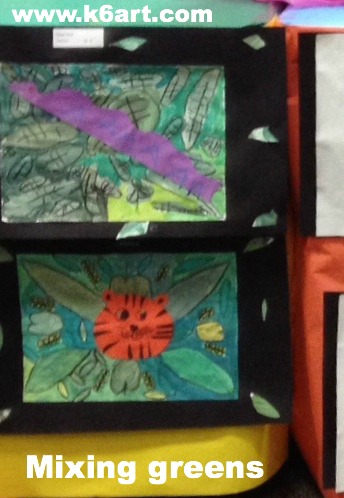
Second graders used blue, turquoise, yellow, black and white tempera to mix shades of green.
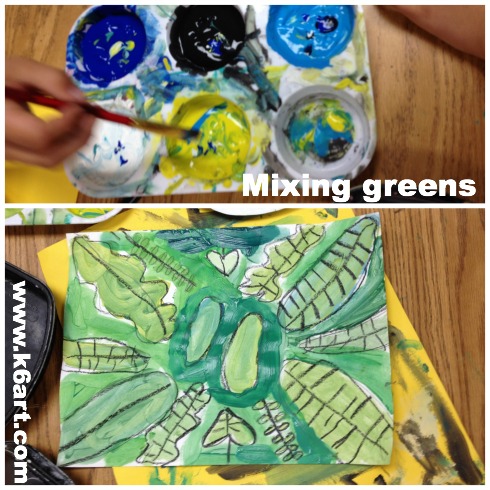
Mixing greens
After reading the book, we got to work creating our own jungle. Students began by drawing a variety of leaves on their paper. They added veins and stems. They placed their white paper onto the construction paper placemats. Next, they scooped up a small amount of yellow paint onto their paper plates. They added dots of blue paint and mixed to create green, then painted a leaf.
The students experimented – adding white to create tints and black to create shades. Students were excited to create army green and blue-green. Seriously – they called each other over when they created cool new colors. They loved color mixing so much we had to do it a second session.
We did not use water for this project. The goal was to mix a wide variety of greens. If necessary, they brushed excess paint onto their placemats.
Create a jungle collage
After the paints dried, we mounted the paintings on black construction paper. Students cut leaves out of their painted paper plates and used them to decorate the corners or create a border. Then they constructed jungle animals from colored paper and glued them on top of the paintings.
This was a very successful lesson plan! The students enjoyed color mixing so much we could have done it for weeks.
Enjoy!

p.s. the project would be nice as an Henri Rousseau lesson plan.