
School Auction Repousse Murals: Round Up
Yesterday I shared copper repousse mural from an old School Arts Magazine. It got me thinking….are any schools making repousse murals today?
P.S. Freestanding repousse murals make great group art projects for the school auction. If you are interested in making a repousse mural at your school, please read this excellent repousse mural tutorial from Donna Kern Ball. For more ideas, be sure to check out my ‘School Auction Ideas: Repousse’ board on Pinterest.
Yes!
I found several.
This auction project uses all the two-tone foils from blick. Nice!
Another mirror. This one has a liver of sulfur patina.
Here is another mural. Click here to see close-ups of all the copper tiles. Used a liver of sulphur patina.
Want to try? Click here for full-color tutorial for making copper repousse tiles.
Materials:
For school use, Mural 2 below uses two tone copper tooling foil roll cut into pieces. or 5″x5″ pre-cut copper tooling foil squares. These pieces are copper toned on one side and aluminum on the other. I’ve used these products and they are easy to work. Mural 1 below used heavier all-copper sheets – I haven’t used them.
(note: these are all compensated affiliate links).
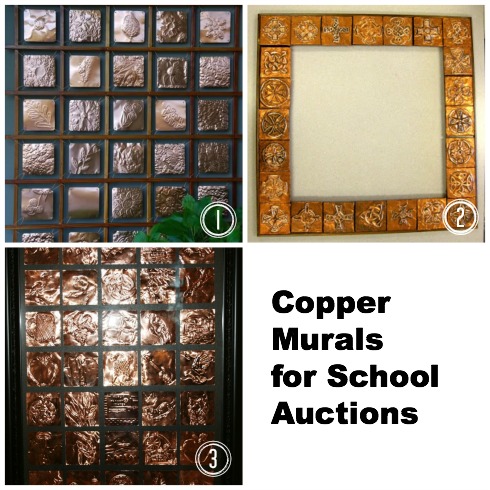
- Photo source mural 1. Photo source mural 2. Photo source mural 3.
Do you like these copper repousse school auction murals? Click here for mural 1, click here for mural 2, and click here for mural 3.
I did a repousse lesson with the fourth grade – click here for my foil repousse lesson plan.
Enjoy!

note: this post contains affiliate links.
 Two-Tone Tooling Foil – $16.50
from: Blick Art Materials (compensated affiliate)
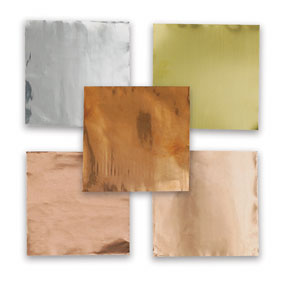 Art Metal Foil Sheets – $2.81
from: Blick Art Materials (compensated affiliate)
Easy Warhol Pop Art Project
Our first graders just completed an Andy Warhol-inspired project in their general ed classroom. After reading Getting to Know Andy Warhol, they drew a single common object. In past years, their teacher would take the drawings to the copy machine, reduce them and make four images of each child’s art. The children would then color the copies. This year I consulted with the first grade teacher about how to use iPads to simplify the process. We ended up with two options using the iPad camera and two free apps: PicCollage and Pop Art Lite.
Pop Art Lite does only one thing: turn artwork into 4-part Warhol grids. I like Pop Art lite because you can change the color scheme. Warm, cool, complementary, analogous are choices you can make.
For PicCollage, kids take a photo of their drawing with the iPad, then put that photo in each quadrant of a grid. You can adjust the filter color, or print out the PicCollage and then hand color it. 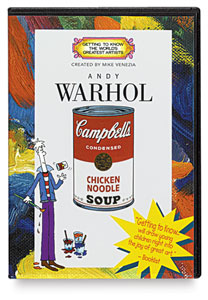 Getting To Know DVDs – $29.95 from: Blick Art Materials (compensated affiliate link)
We used this Warhol soup can template from the E is for Explore blog during our art show. I read that Warhol used a ‘semi-mechanized’ method for creating his soup cans – I figure a copy machine is also semi mechanized. Here are the results.
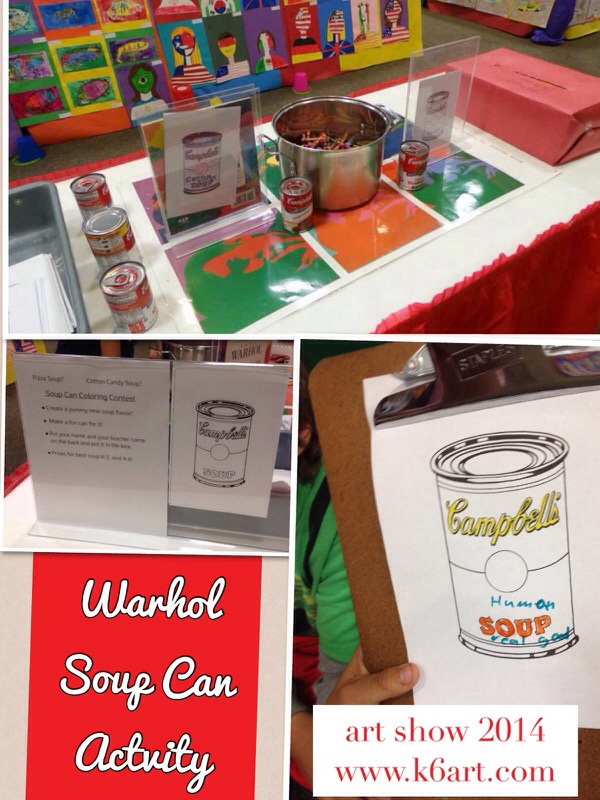
Our interactive coloring contest ties in to the FEAST! unit.
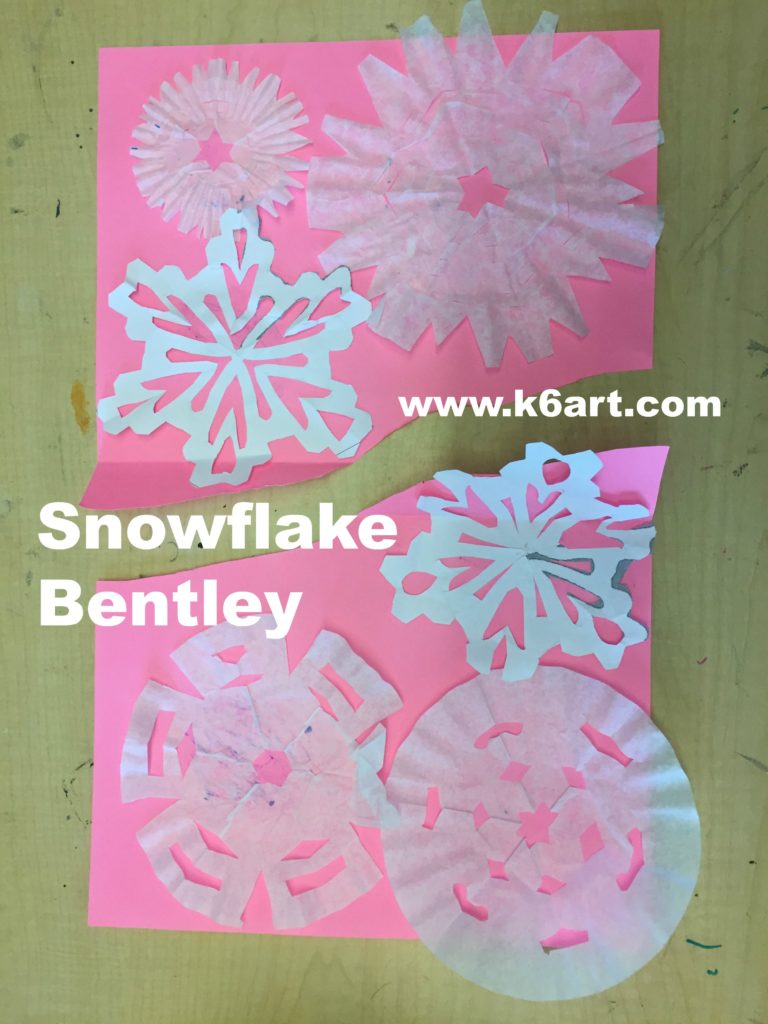
Snowflake Bentley
Hello friends! I hope you are all having a great winter. If it’s December, January or February, you can’t go wrong with a snowflake lesson.
Here is my Snowflake Bentley lesson. It’s based on the work of photographer and tinkerer Willson Bentley. Bentley was the first person to photograph individual snowflakes on a microscopic level. Thanks to Bentley, we know that each snowflake is unique and six-sided.
I’m using my new favorite tool, the Smore (www.smore.com) to share it with you. Enjoy!!!
P.S. This makes a great sub plan.
Happy winter!
Monster Silhouettes 2016
I’m doing shadow puppets with my 5th grade students this fall. The preliminary lesson focuses on creating interesting silhouettes in black paper and simply gluing them down to a piece of white paper.
This was a big hit back with the 5th graders back in 2014. This time around, I’m planning my lessons using the online tool smore.com. I’ve shared my monster silhouette smore ‘flyer’ below.
From a lesson planning perspective, smore.com flyers rock the house. I can quickly assemble a lesson with text, video and photos and project it. I can email it, tweet it and share through my K6art facebook page. I can share it with students who were out and need to make up the lesson.
Check it out:
I learned about the shadow puppet process (and this exact lesson) from master art teacher Grace Hulse at the 2014 NAEA conference. At the very same conference, I learned about smore.com as a means to organize all the resources in my lesson plans.
I will be posting many future lessons organized with the smore.com tool. Let me know if you find them useful.
Enjoy!