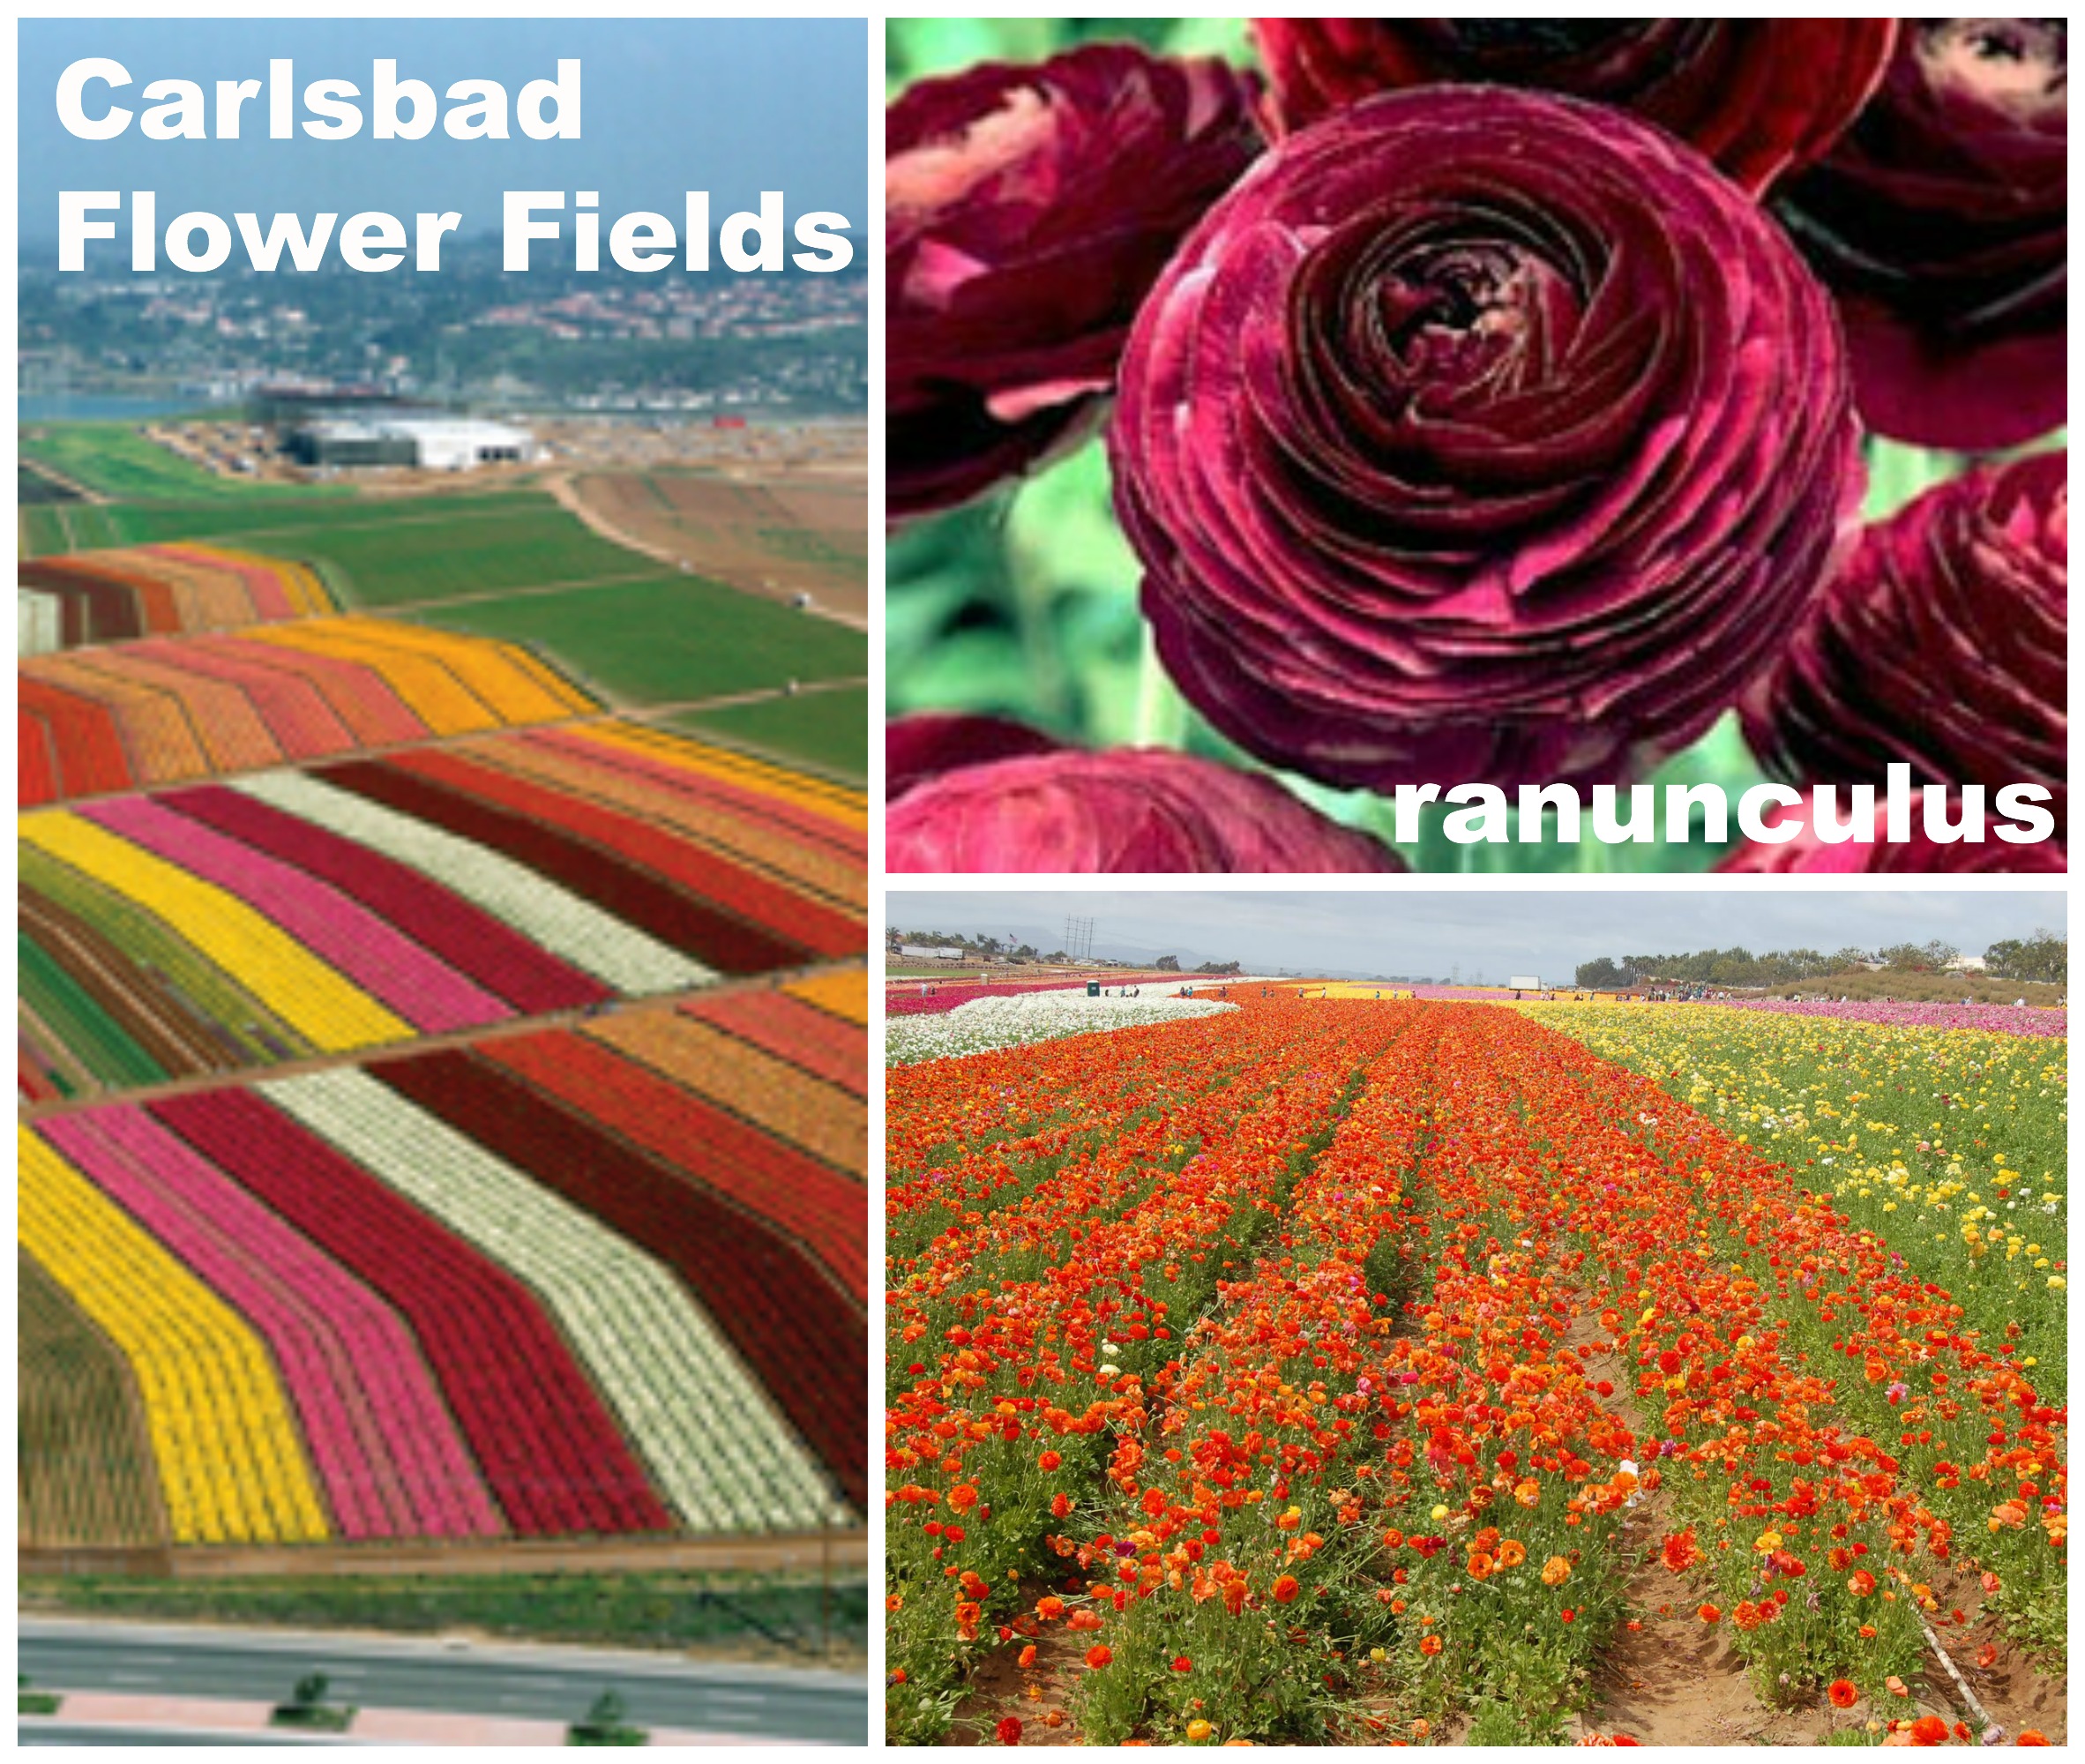
Flower Fields in Carlsbad, CA. Photo sources: bloomingbulbs.com;
The fields are filled with colorful ranunculus flowers. Each spring families throughout San Diego trek to the Flower Fields to admire their beauty. This outing is very popular – a show of hands revealed almost all my 5th and 6th graders had visited the Flower Fields.
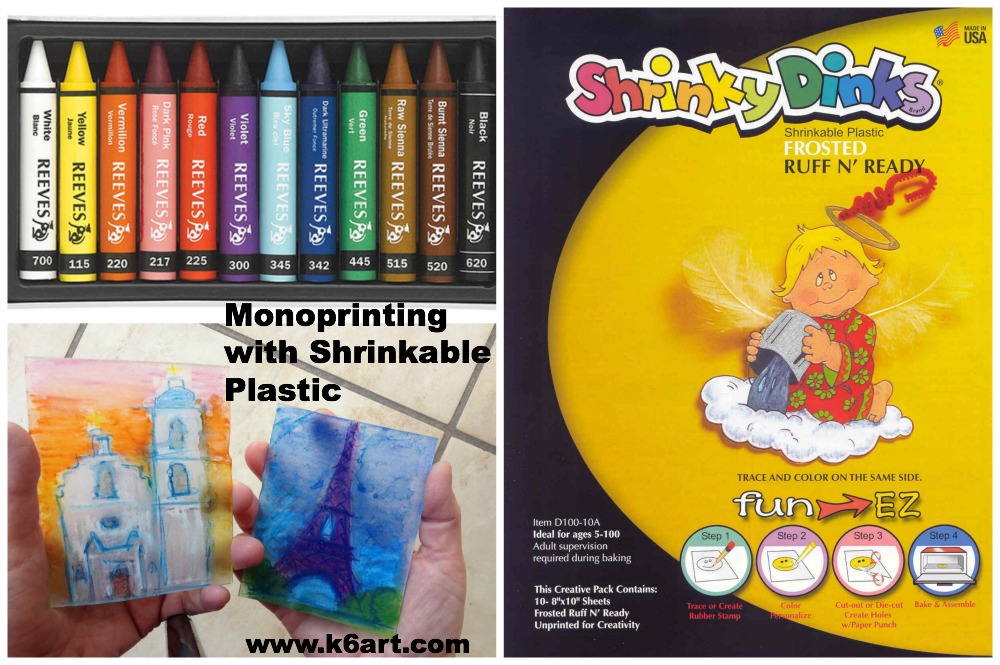
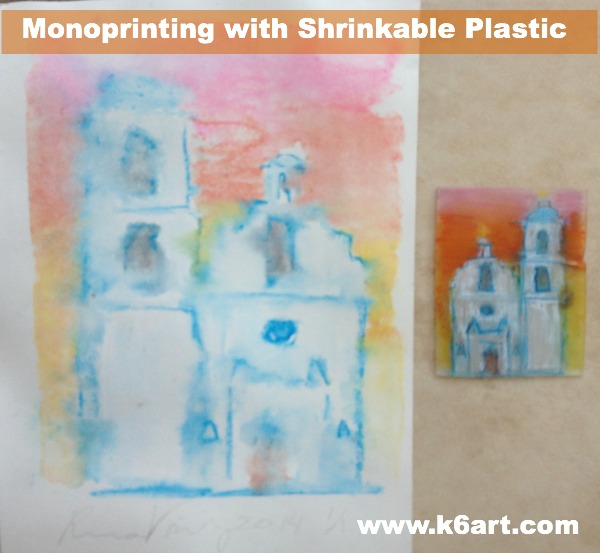
We drew the flower fields in one-point perspective to create an illusion of depth. We used colored 9″x12″ construction paper, rulers, pencils and erasers and oil pastels. In this 13 minute video, I demonstrate drawing the horizon line, vanishing point, and orthogonals to create the illusion of depth.
GIVEAWAY! I have six sets Reeves Wax Pastels to give away, courtesy of the nice people at ColArt. If you are going to NAEA ’14 in San Diego, please be sure to stop by booth 537 and check out all of their wonderful art supplies.
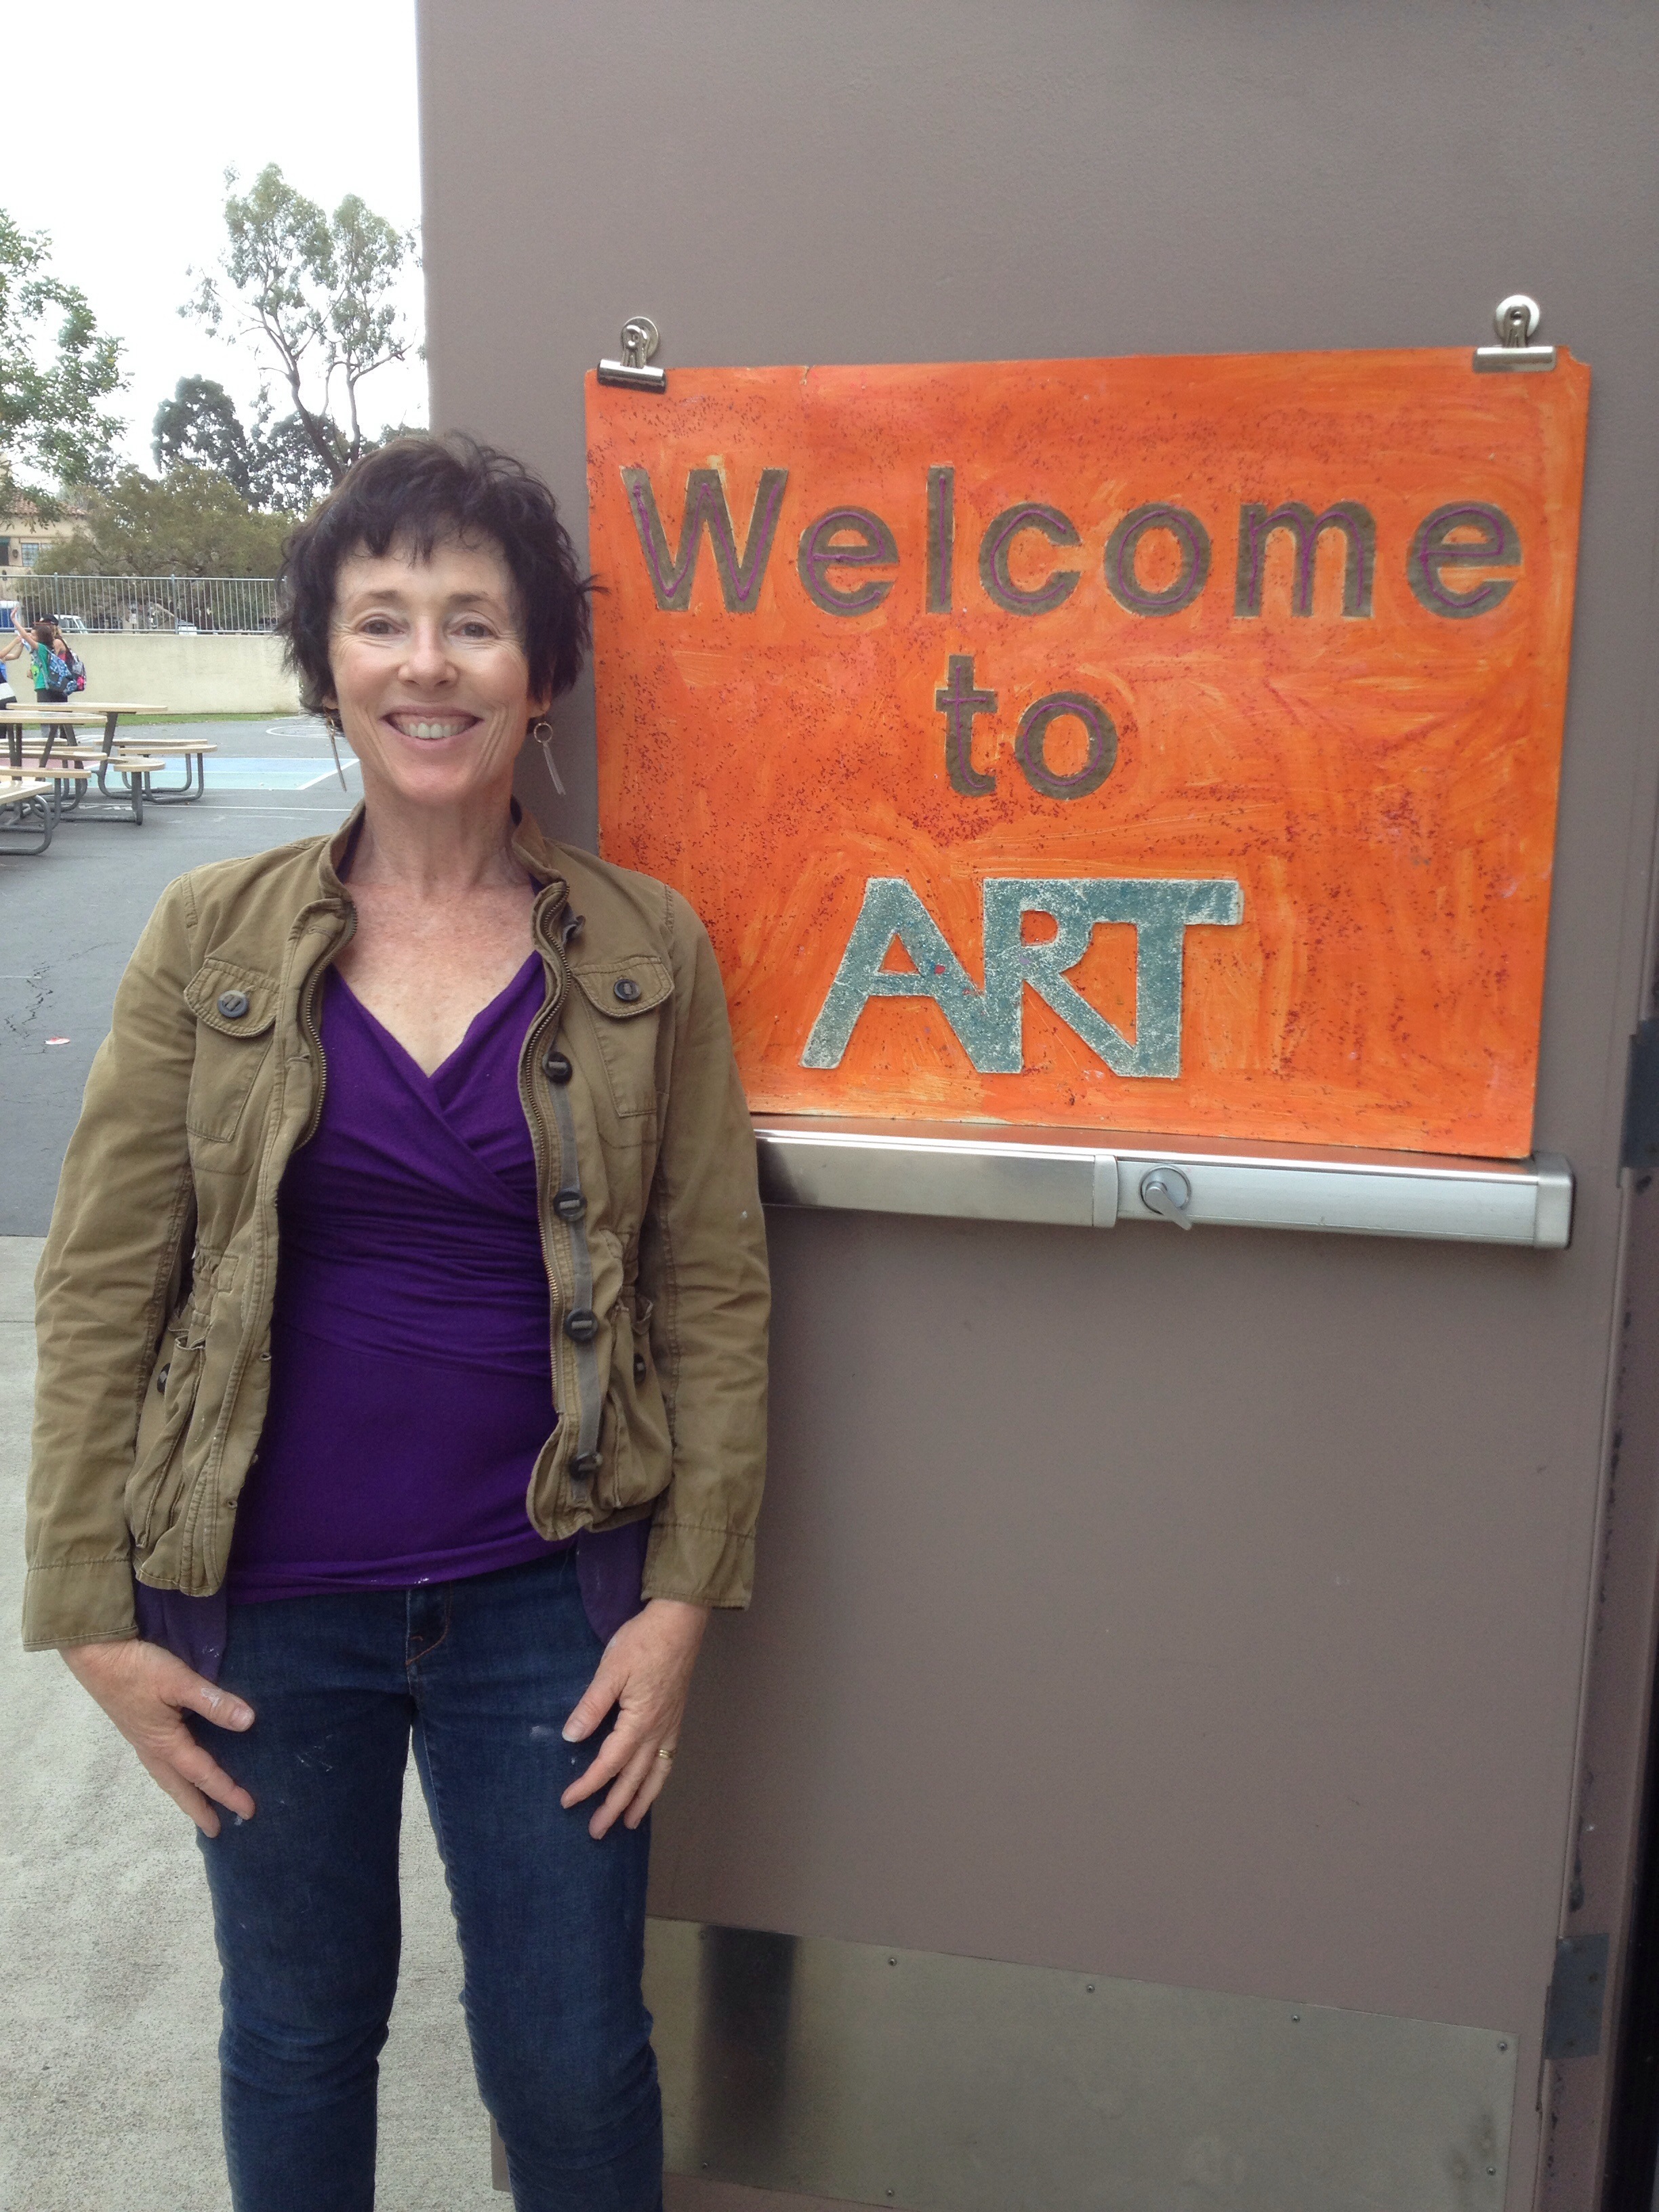
Welcome to San Diego!
While you are in town, try to visit the museums in beautiful Balboa Park, including the Mingei craft museum and the San Diego Museum of Art. The New Children’s Museum has the amazing FEAST! exhibition – you will get lots of ideas at this unique contemporary art museum for children and families.
If you can, try a fish taco 🙂
I’ll be at the pre -conference tour of Zamorano’s mural installations, the opening dinner, hat party, elementary luncheon and shadow puppet session.
If you see me, please say ‘hi’!
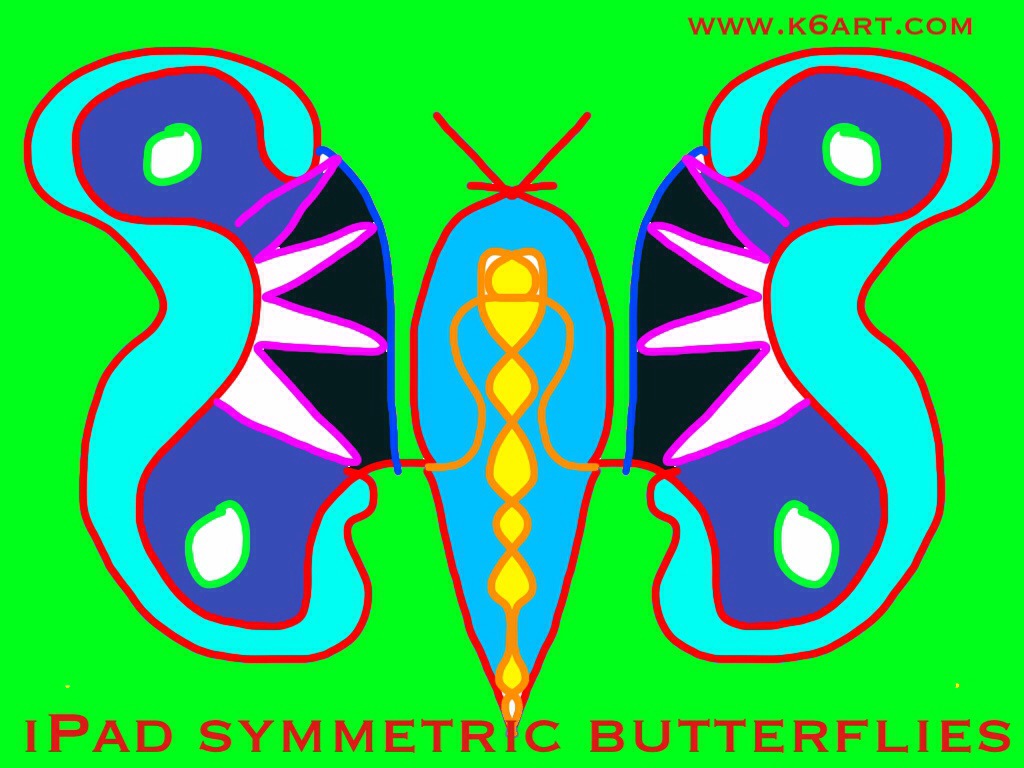
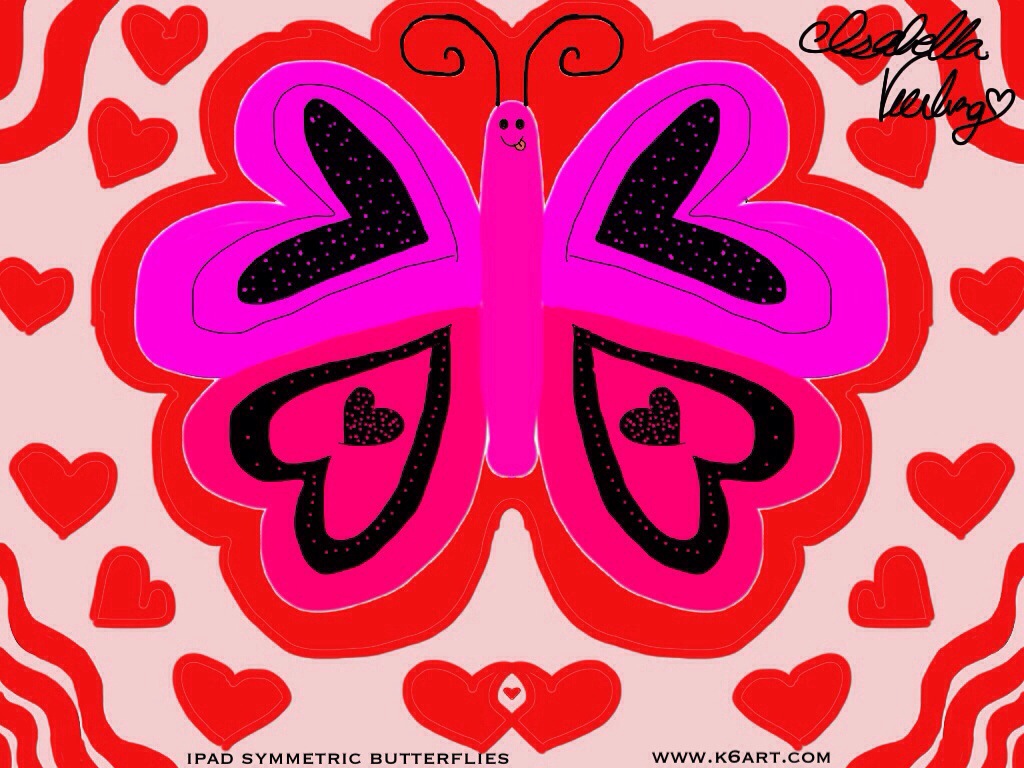
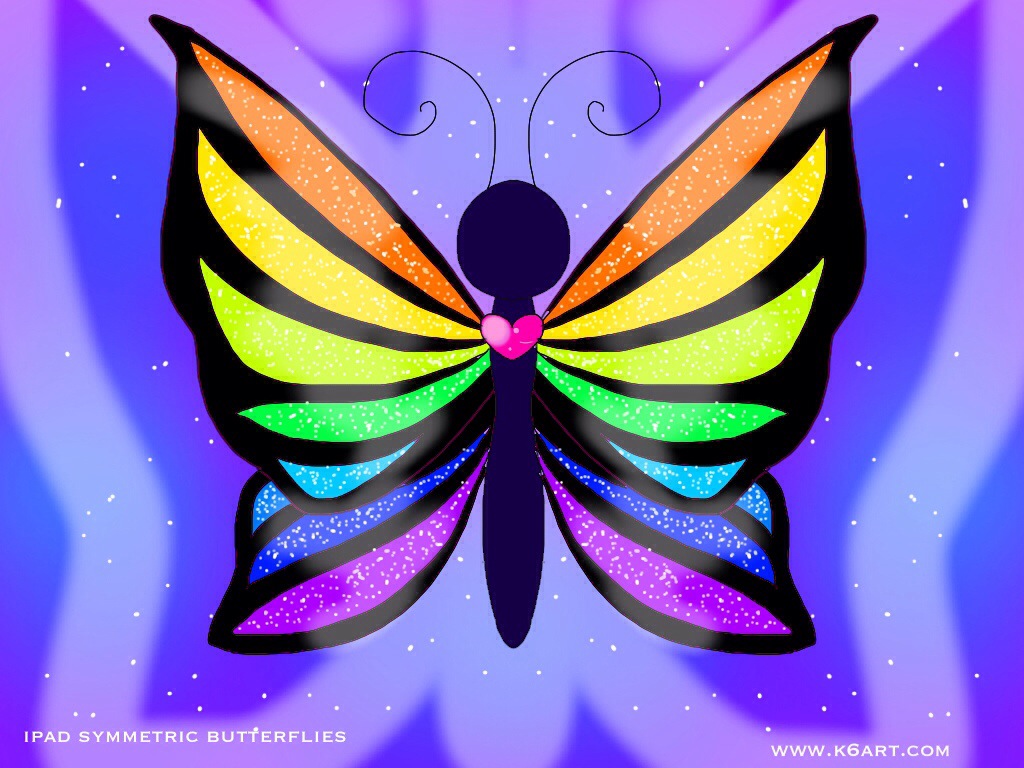
Spring arrives this month. It’s time for a butterfly art project. This year our 6th graders created symmetric butterflies using iPads and the free app Sketchbook X. We are a 1:1 iPad school; students created a butterfly on their own iPad during a single 40 minute class.
We used two basic tools: the symmetric drawing feature and flood fill.
Background design
Students had the option of using a colorful background, or of filling the negative space with a design. I love how this student created a background design that echoes the wing design.
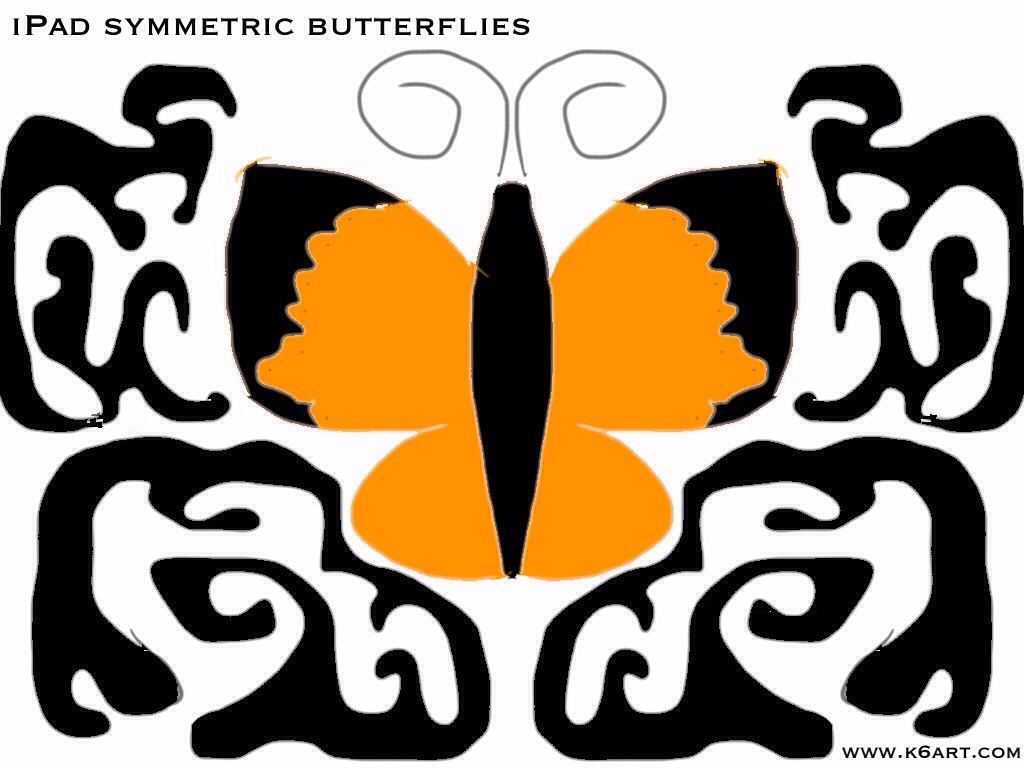
Flood Fill to Color Individual Sections
Notice how the lines are symmetric but the colors aren’t?
Love it!
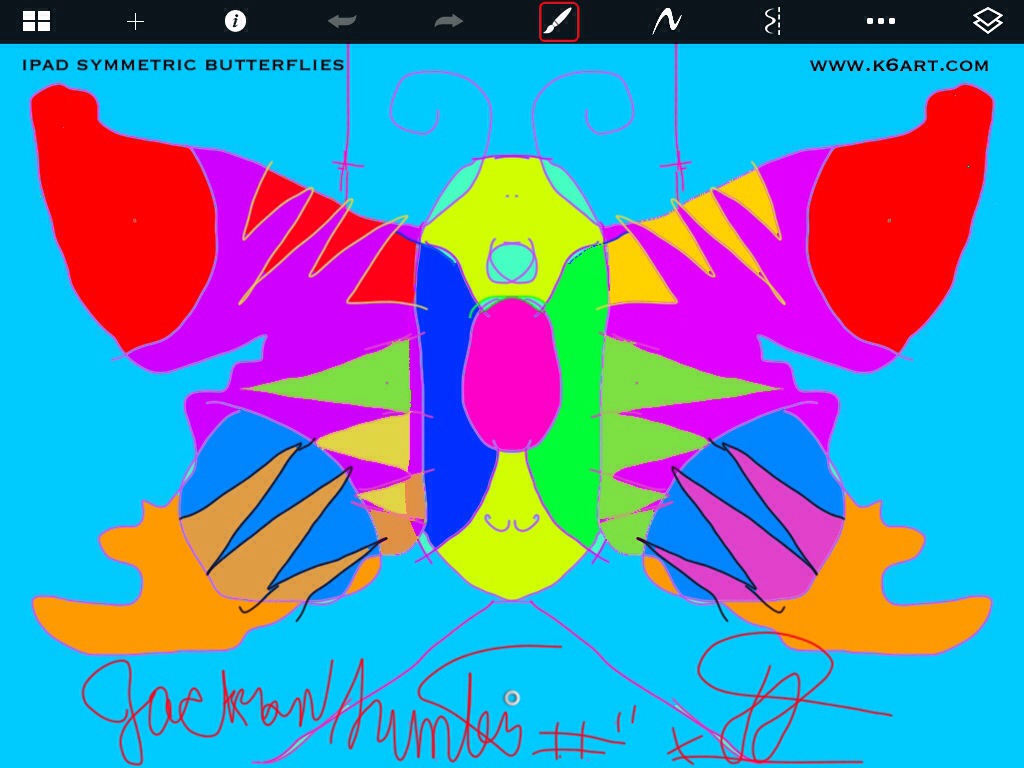
Using Layers For Complex Designs
Finally, here is the butterfly from our most advanced student. This design incorporates the layer tool on Sketchbook X. I’m going to ask this student to guide the class through a layer tool lesson at our next iPad art session.
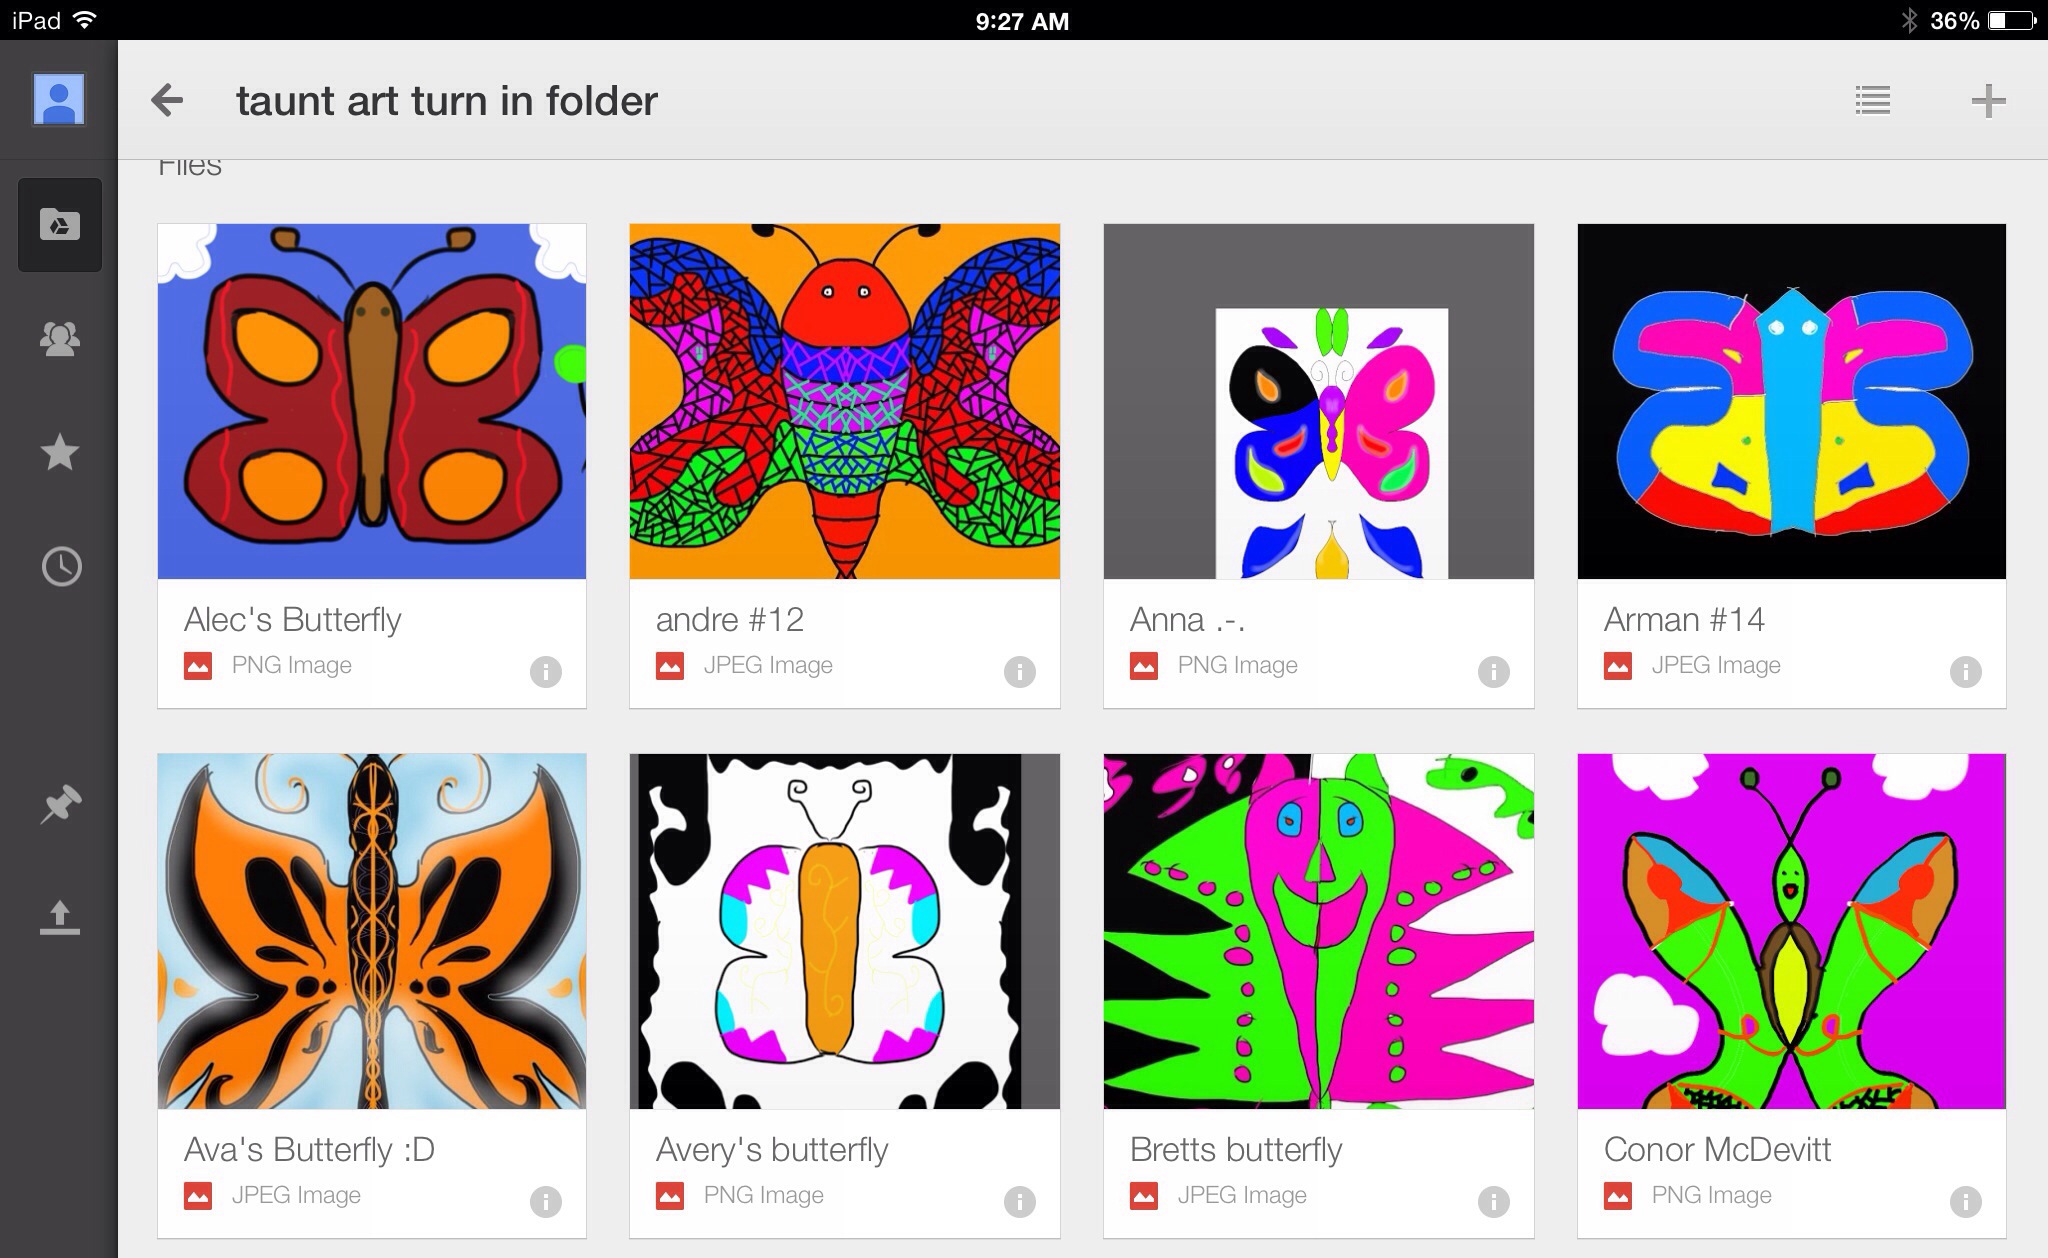
Use Shared ‘Turn in’ Folder on Google Drive to Collect Student Work
Our sixth graders use Google drive in their general Ed classrooms and are familiar with it. Here are the steps we used to turn in digital art:
1. I set up a ‘turn in art’ folder for each sixth grade class.
2. I shared it with each student in the class. To do this, I had to individually enter each student’s school email address. I walked around the class with my iPad and had each student type in their own address. This took less than a minute per student, and I did it while they worked.
3. The students saved their butterflies to their camera rolls.
4. The students opened google drive and uploaded their butterflies to the shared folder. They had to rename the photo with their first names.
Here’s what the turn in folder looked like at the end of class
Don’t be Afraid
Check out Sketchbook X tutorials on YouTube. Ask students for help ahead of time – I did! My students are ‘digital natives’ – they mastered the whole process better than I did. In fact, our school has a ‘genius bar’ staffed by tech savvy sixth graders.
Here is a basic Sketchbook X tutorial for the art room from Tricia Fuglestad.
http://vimeo.com/74661099
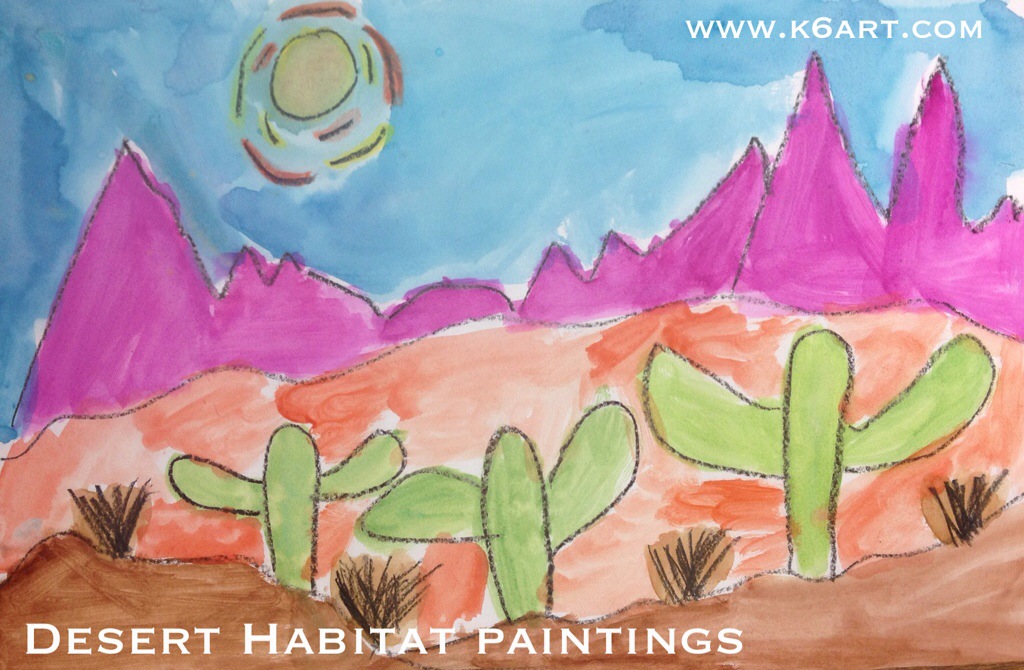
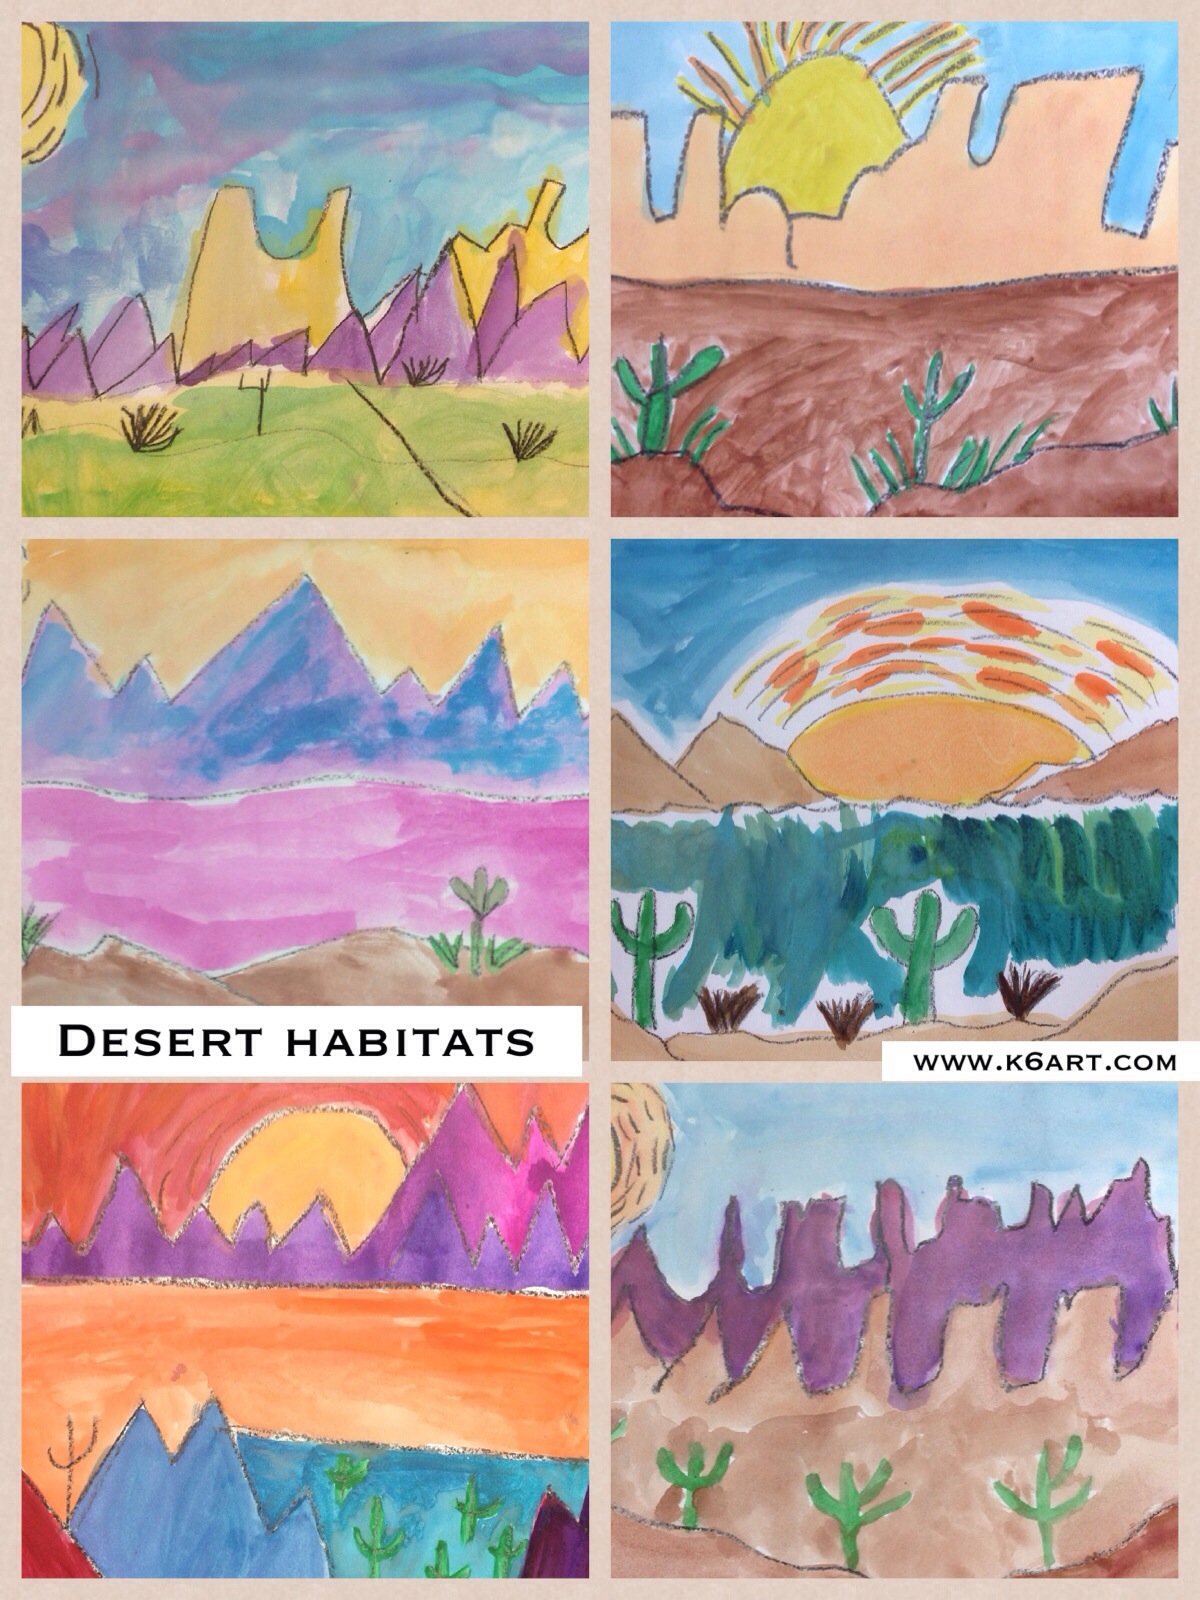
Each year our third graders study habitats (also known as biomes) in the science lab, in the General Ed classroom, and in the art room. These colorful watercolor paintings are our contribution to the habitat unit.
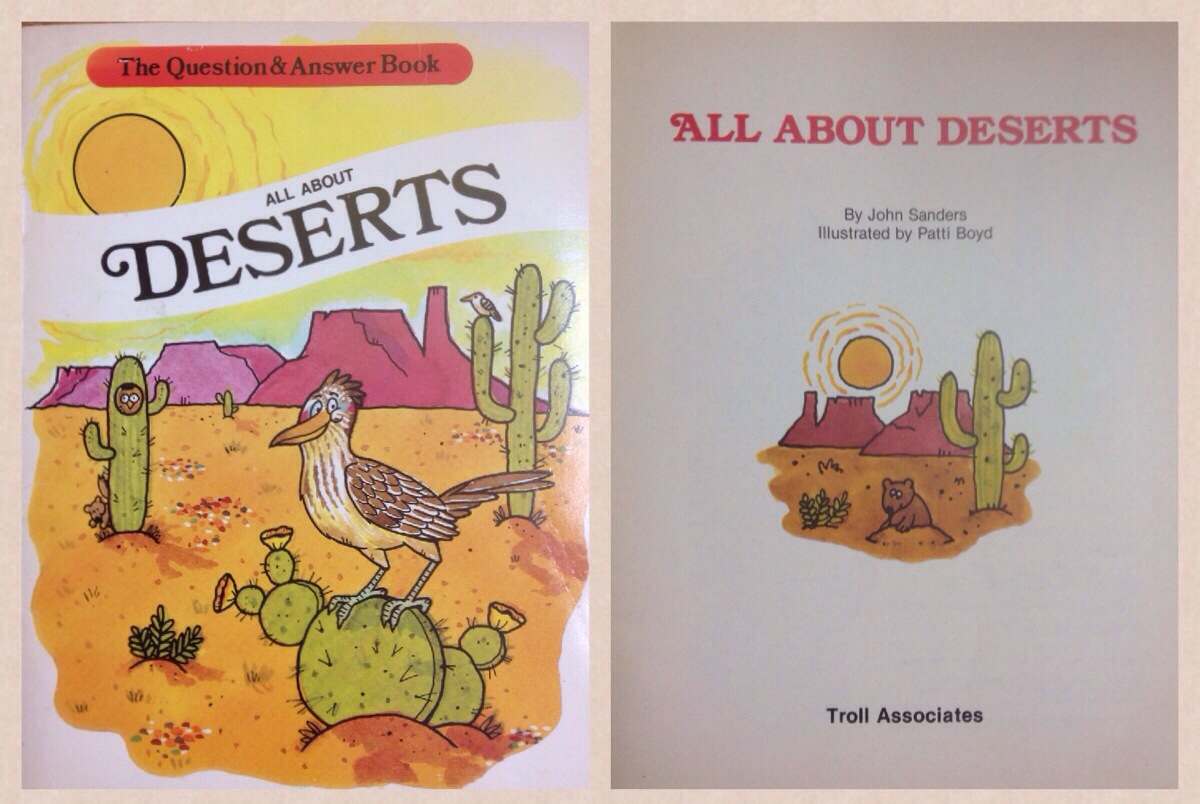
The book was full of fun facts and charming illustrations. We looked carefully at the desert landscape illustrations and identified foreground, middle ground and background. I emphasized that to create a sense of depth, items in the foreground should appear larger and more detailed while items in the background should appear smaller. I modeled several simple line drawings so they could get the hang of it.
We used just three materials: sulphite drawing paper, black crayons, and pan watercolor. We created the black crayon drawing on day one and painted it on day two.
Third grade results:
I am happy to report that this project was highly successful with the third graders.