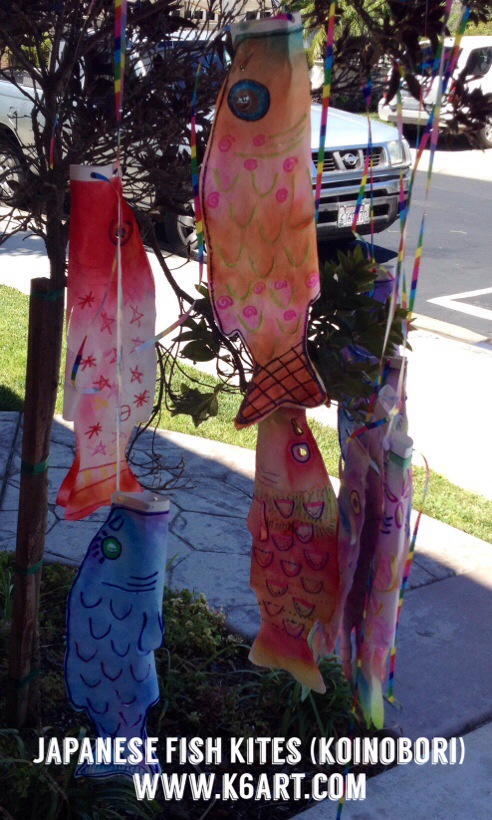
Japanese Fish Kites (Koinobori)

Koinobori fish kites

What are koinobori?

Koinobori are carp (koi) kites that are flown in Japan on Children’s Day (May 5th). The koi fish embodies the qualities that parents want for their children: courage, strength and determination. The holiday was formerly known as Boy’s Day, but now celebrates all children.

I Live in Tokyo by Mari Takabayashi covers the Japanese holidays and life in Japan month-by-month.

We learned about Children’s Day in the book I Live in Tokyo by Mari Takabayashi. The book covers Japanese holidays month-by-month. In Japan, families display koinobori on a flagpole: the top black fish is the father, the red fish is the mother, and the smaller fish are the children.

Koinobori are also flown in large group displays, as in this video. I love when the wind hits and koinobori actually look like they are swimming upstream.

The Art Project:

I saw this fabulous, simple koinobori project on Cassie Stephens blog. Click here for Cassie’s detailed instructions and gorgeous photos.

Materials:

  • Roylco Japanese Carp Windsock kit
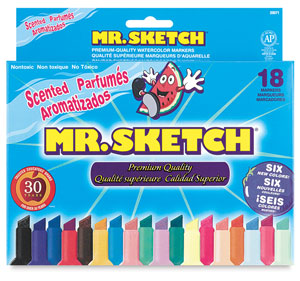
  • colored Sharpies
  • oil pastels (especially white)
  • watercolor markers (we used Crayola markers) and/or
  • watercolors
  • Ziploc bags, two per fish, taped together to create a long rectangle
  • tape
  • spray bottle
  • white glue or hot glue
  • clothespins (to clamp the mouth until glue sets)
  • hole punch
  • ribbon or yarn for hanging

Instructions:

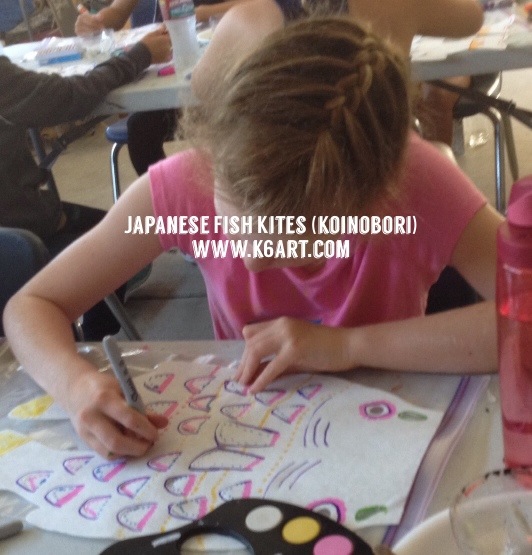
Decorate paper kites with colored Sharpies and oil pastel

Kids drew patterns, outlined eyes and scales, and created a border with oil pastels and colored Sharpies. To create white areas, color with white oil pastel to create a resist.

Color selectively with marker and watercolor


Next they added a some color with Crayola markers and watercolors. I emphasized they didn’t have to color in the whole fish as the markers and watercolors would diffuse when sprayed with water.

Kids colored paper koinobori with colored Sharpie, watercolor markers, and oil pastels.

Kids colored paper koinobori with colored Sharpie, watercolor markers, and oil pastels.

Spray with water

Then the kids placed their kites on the long Ziploc ‘placemats’ and sprayed them with water. Some carefully tilted the setup so the colors would diffuse in a certain direction. Let dry on mats.

20140714-223703.jpg

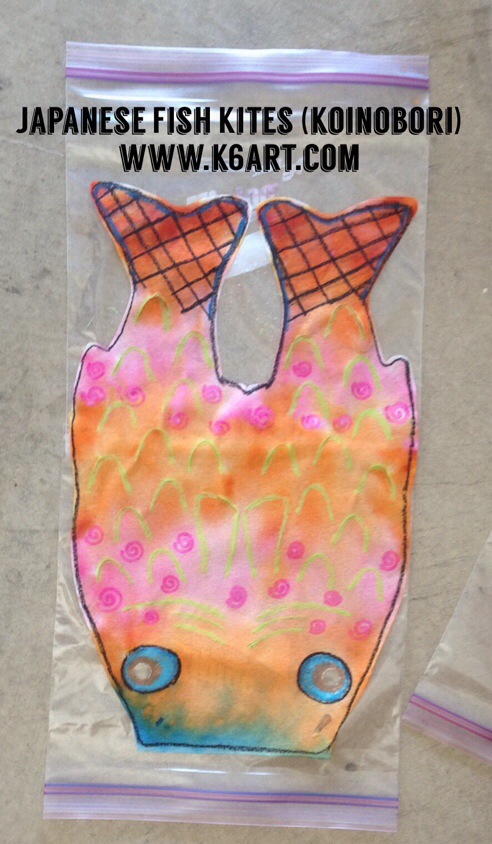
Koinobori paper fish kite drying on its double-Ziploc ‘placemat’. When sprayed with water, the Sharpie and oil pastel lines stayed crisp, while the watercolor marker diffused.

Glue and hang

After drying, I used hot glue to assemble the kites. I attached the cardboard strips that support the kites open mouth, and clipped each with a clothespin until set. I also used hot glue to close the back and part of the tail. Finally, we added three single hole punches to the cardboard mouth, and strung the kites with ribbon. All the instructions are included in the Roylco kit.

Enjoy!

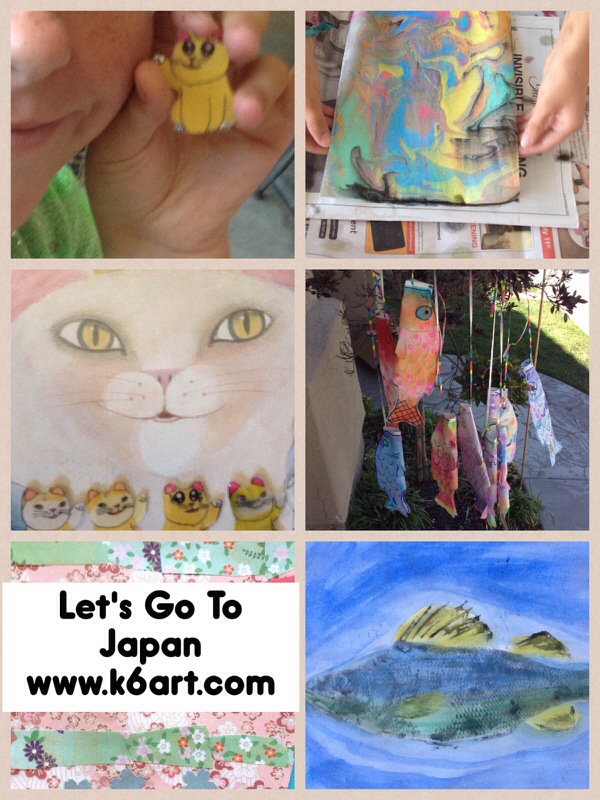
This project was part of my ‘Let’s Go To Japan’ art + cooking camp. Here are our other art and cooking projects:
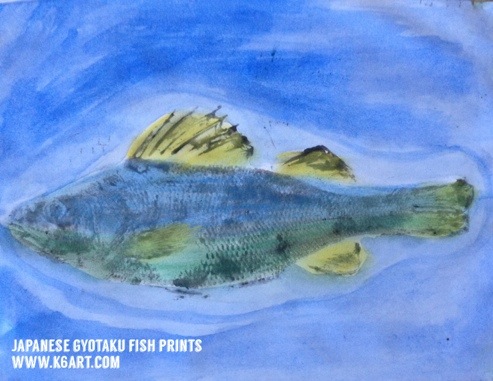
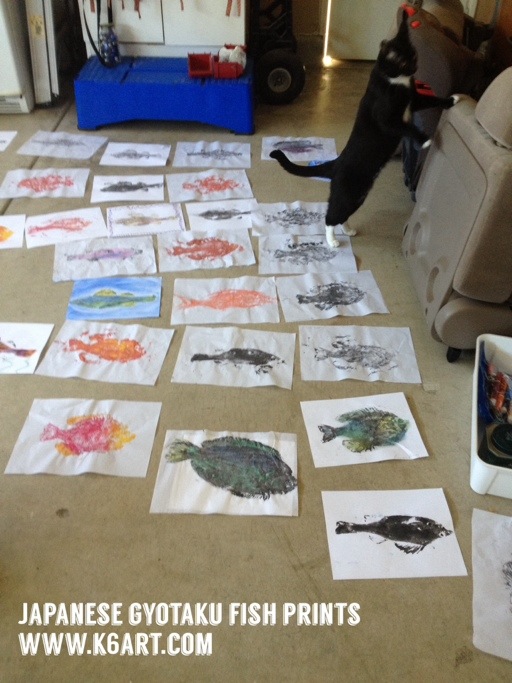
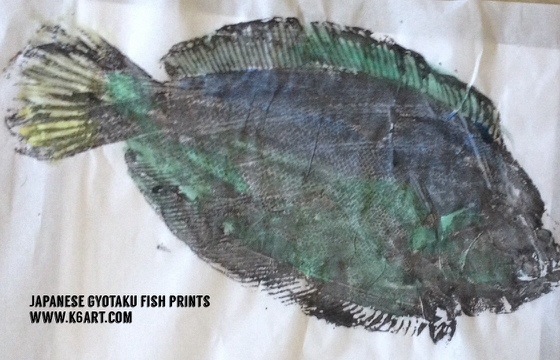
Plus tons of kids books about Japan!

Thanks to Dahra and Ilana, our fabulous teenage helpers for all their assistance at camp

Japanese Gyotaku Fish Prints

20140714-215156.jpg

Gyotaku means ‘fish rubbing’ and is a printmaking technique traditionally used by Japanese fishermen to record their catches. It was the perfect project for my Japan-themed art camp.

We began by watching this brief video of Hawaiian gyotaku artist/fisherman Naoki.

The campers were really excited to start!

Materials:

  • rubber Gyotaku Fish Printing Replicas (or fresh real whole fish).
  • black tempera cake, water and stiff brush
  • copy paper
  • paper towels
  • chalk pastels
  • watercolors

(note: this post contains compensated affiliate links. Which means if you buy the rubber fish, I get a small commission. The rubber fish rock, BTW. They last forever, and you can share them with other teachers).

Instructions

20140714-215533.jpg

We tried printing with thin Japanese paper and with copy paper. The thin paper wrinkled and copy paper stayed smooth. We also tried printing with liquid orange tempera.

Paint the fish with black tempera cake. Cover fish with copy paper and rub (don’t wiggle the paper!). Pull the print.
If the fine details (such as scales) don’t show, try Naoiki’s method: re-coat the fish and then pounce with a balled up paper towel to remove some paint. Cover with copy paper and take another print. Let dry.

Color the print with chalk pastels

In the video, Naoki hand-colors his gyotaku prints with watercolors. We used chalk pastels to add color to our fish. Campers blended the pastels with their hands or with tissues.
20140714-214632.jpg

I love how they turned out!

Campers also had the option of painting or decorating the negative spaces with watercolor. I really think they did a nice job.

The project was inspired by this post at the Fine Lines blog.

Enjoy!

This project was taught in my Japan-themed art + cooking camp. Each day we made an art project and a cooking project.


Gyotaku Fish Printing Replicas

from: Blick Art Materials

Art + Cooking Camp – Let’s Go to Japan!

20140712-123141.jpg

I just finished my annual art and cooking camp. This year’s theme was ‘Let’s Go to Japan’. We did lots of FUN art and cooking projects. All the campers were 9-11 years old.

Here’s a list of all the art and cooking projects we created:

Day one: koi fish kites (koi noburi) and bento box lunch
Day two: suminagashi prints and decorated rice balls bento
Day three: cloisonne collage and Japanese crepes
Day four: gyotaku fish prints and mushi-pan steamed cakes
Day five: Beckoning cat charms and ‘octopus’ bento

In addition, we read a lot of wonderful books about Japan, and practiced Japanese hiragana writing with brush pens.

I’ll be writing a bunch of posts with much more detail, including all the recipes! Check back this week to find out more.

Enjoy!

p.s. Want more art camp ideas? Check out my ‘Let’s Go to Paris’ art + cooking camp series from 2013. Click here to see more.

Drawing Weeds

20140602-164132.jpg

It’s the last week of art class and the weather is lovely. For their final project, the 5th and 6th graders did observational drawings of the weeds in our school garden.

Materials:
Clipboards
Copy paper
Colored pencils
Weeds

Each student picks one weed from the ground. They should try to keep the root intact. Weeds must be no longer than the paper.

Clip paper to board, then clip top of weed to the left side of the board (left-handed kids should clip weed on the right).

Draw a scale drawing of the weed.
Start with a long stem line. Mark leaf placement with short lines alone the stem line. Then draw the contour of the leaves. Look closely at the leaf veins and draw them. Add flowers and roots. Finally, draw irregularities such as bite marks.

What a fabulous way to end the art year. We practiced our drawing skills and weeded the garden path. Bonus!

Happy summer!

Enjoy!

\

Related Posts Plugin for WordPress, Blogger...